Share the Power BI App with your teams
Step 1
Section titled “Step 1”First, let’s start by giving members access to your CloudMonitor Power BI App.
Step 2
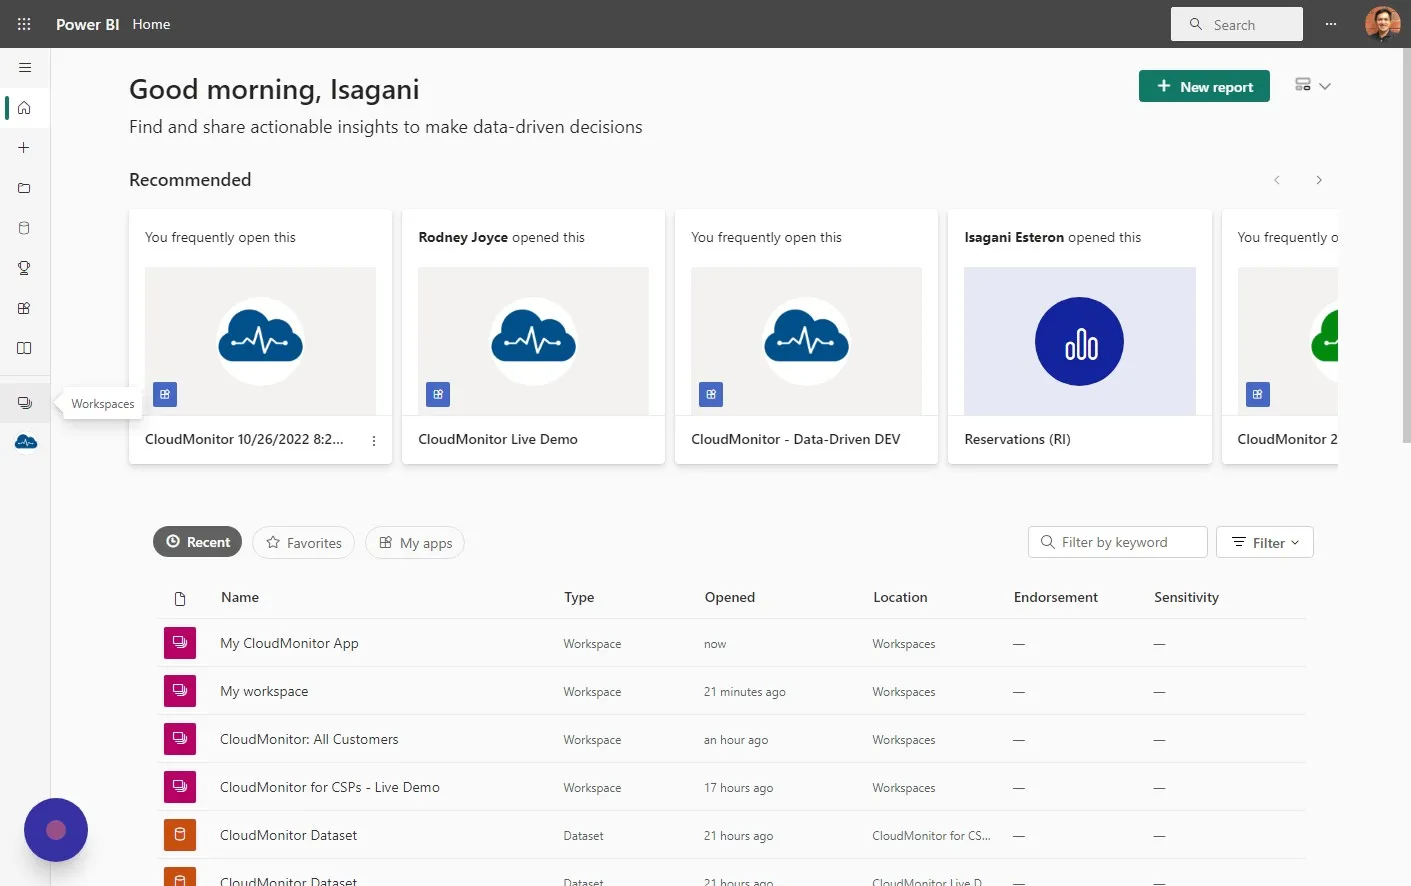
Section titled “Step 2”In Power BI click on “Workspaces” on the left menu to open your CloudMonitor workspace.
Step 3
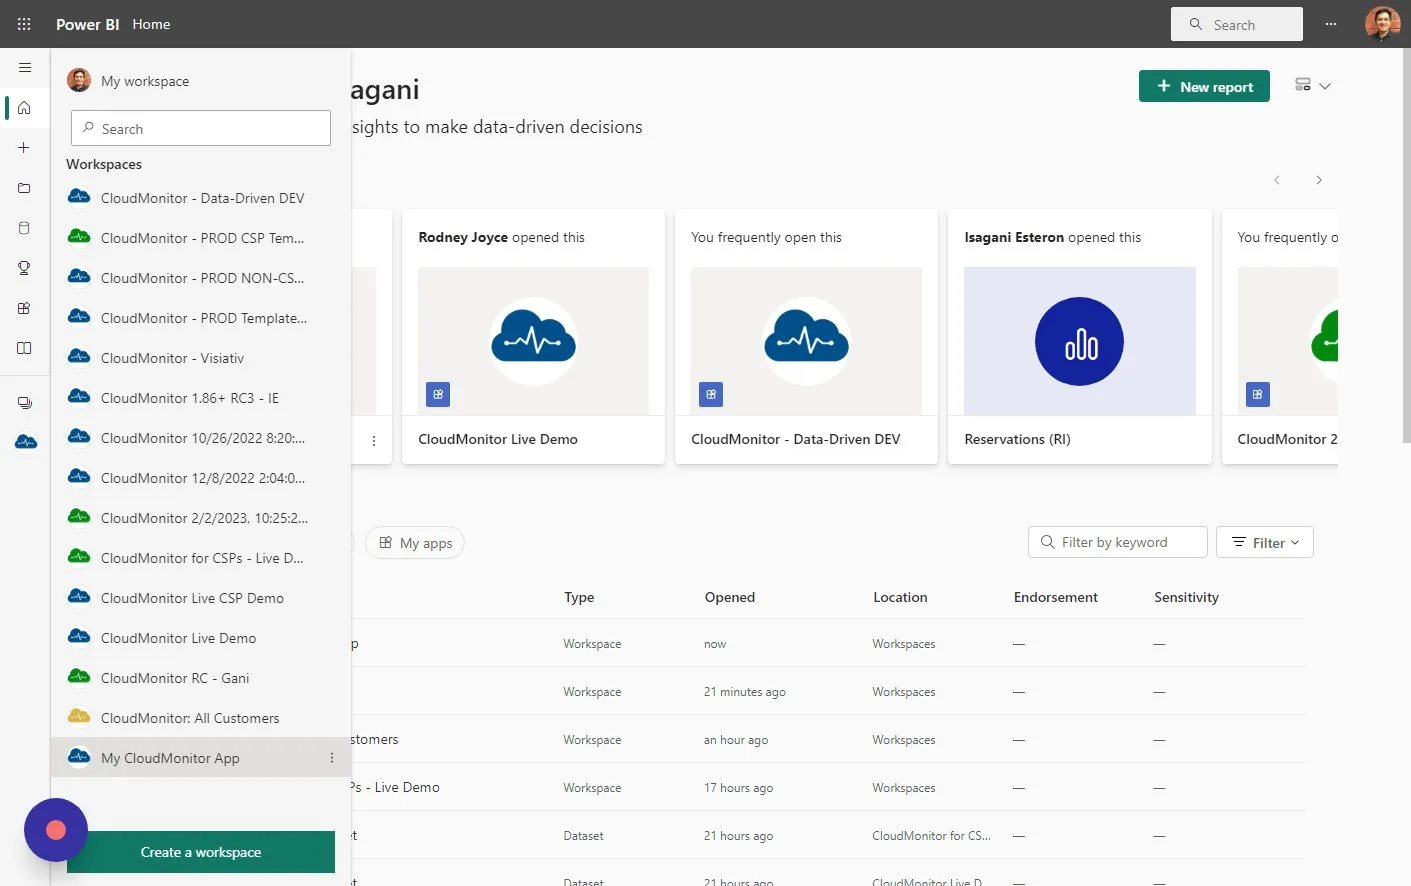
Section titled “Step 3”Click on the the workspace where your recently installed CloudMonitor Power BI app exists.
Step 4
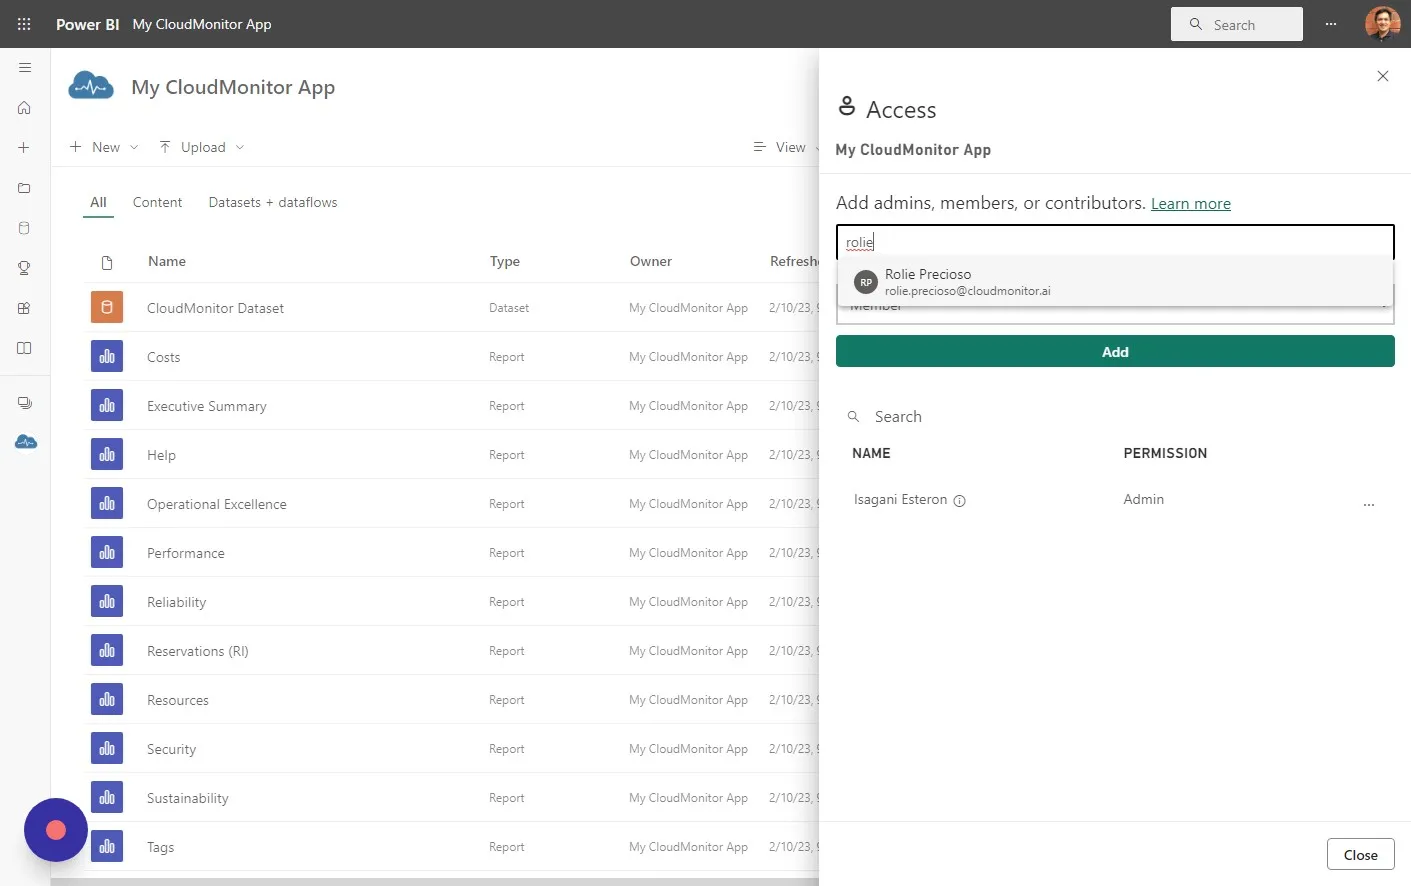
Section titled “Step 4”Click “Access”

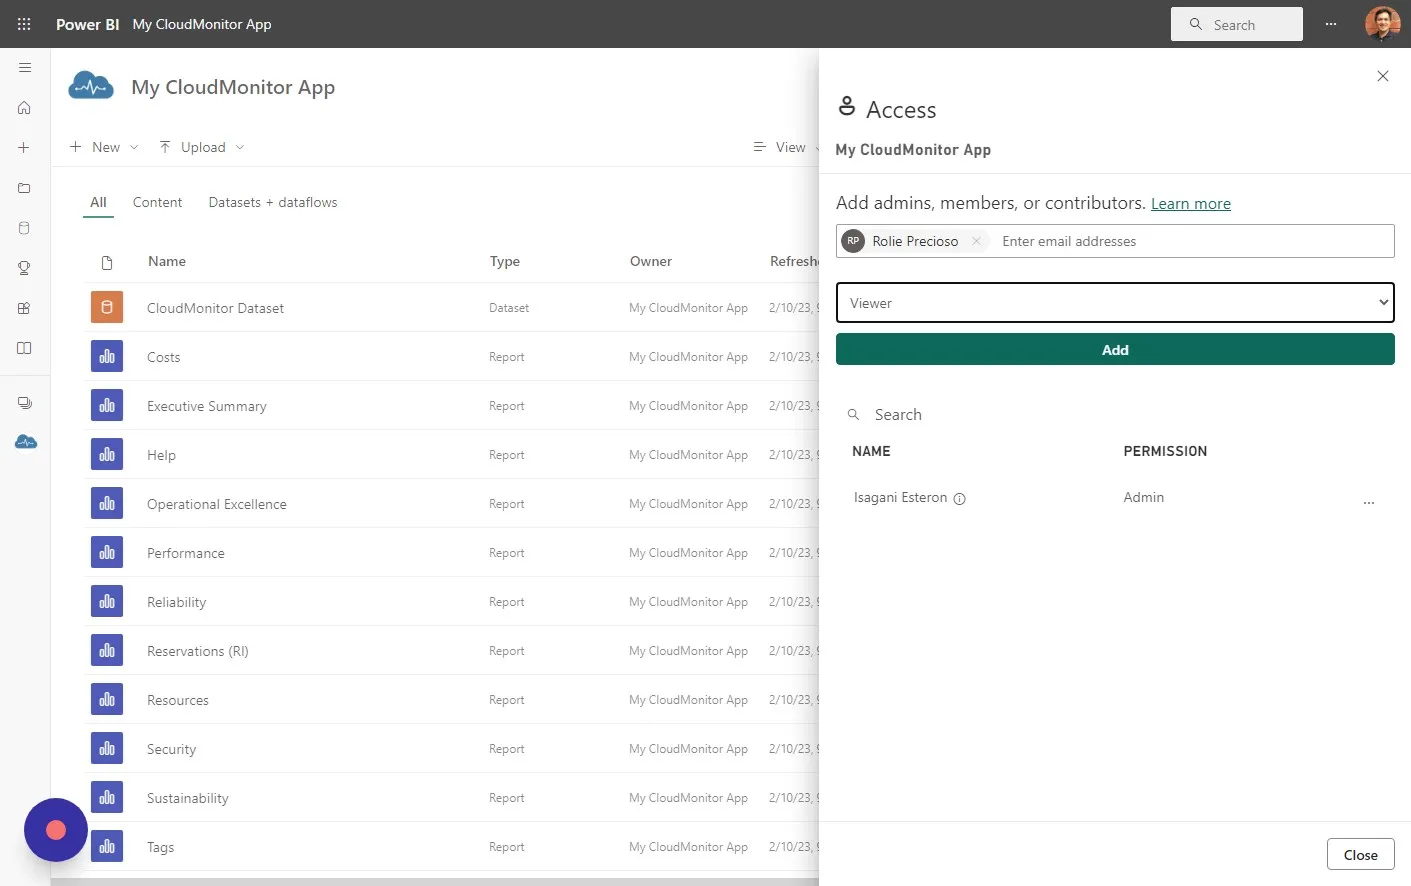
Step 5
Section titled “Step 5”Enter the email address of the person you would like to share your Power BI App to.
Step 6
Section titled “Step 6”Choose “Viewer” from the dropdown box.
Step 7
Section titled “Step 7”Click “Add”
Step 8
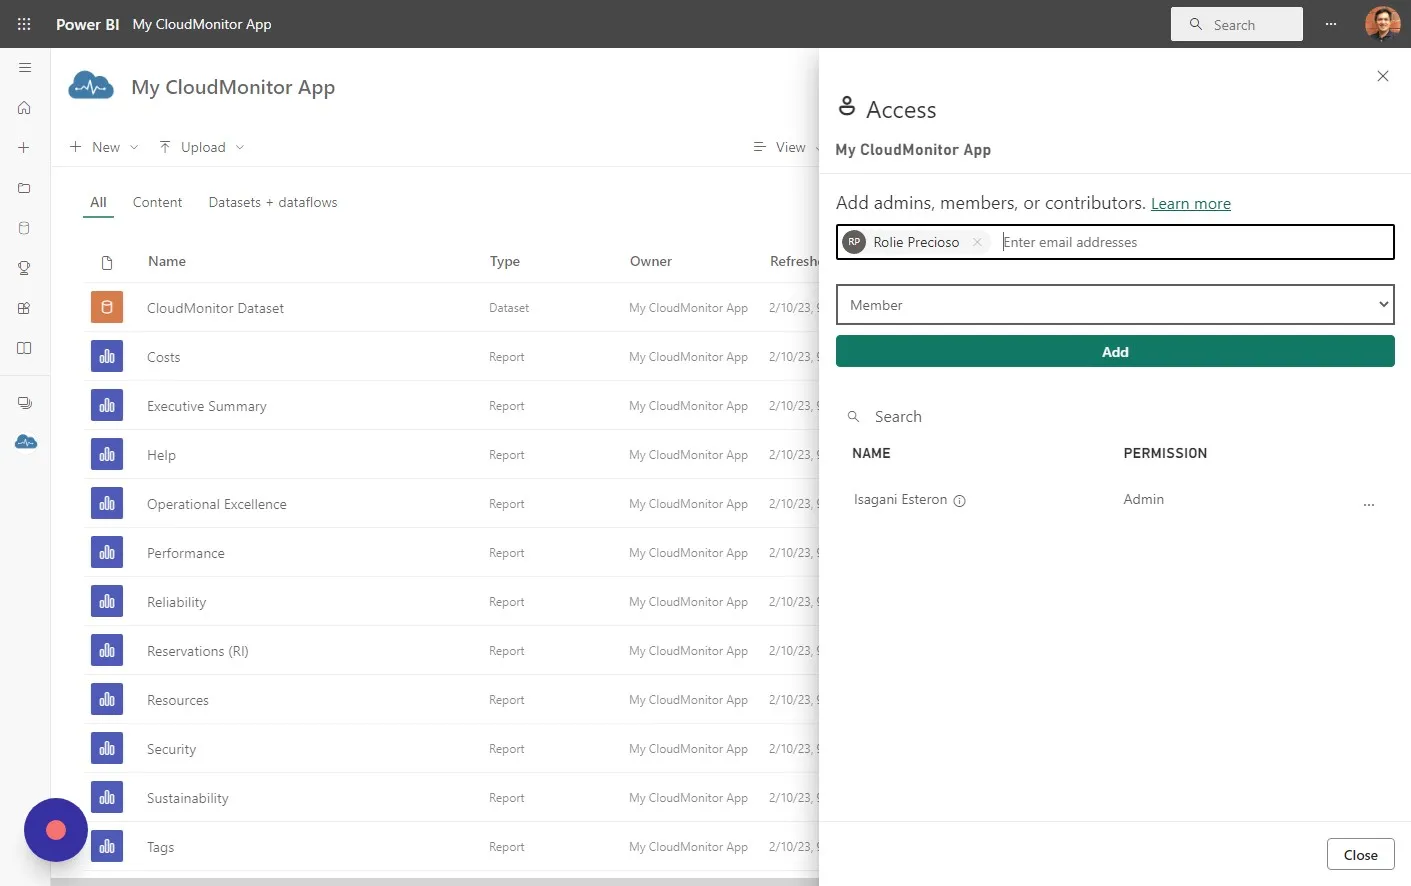
Section titled “Step 8”Add all the members you want to want to give access to your CloudMonitor Power BI App.
You can add as many as you like. In this example I added 2 new members.
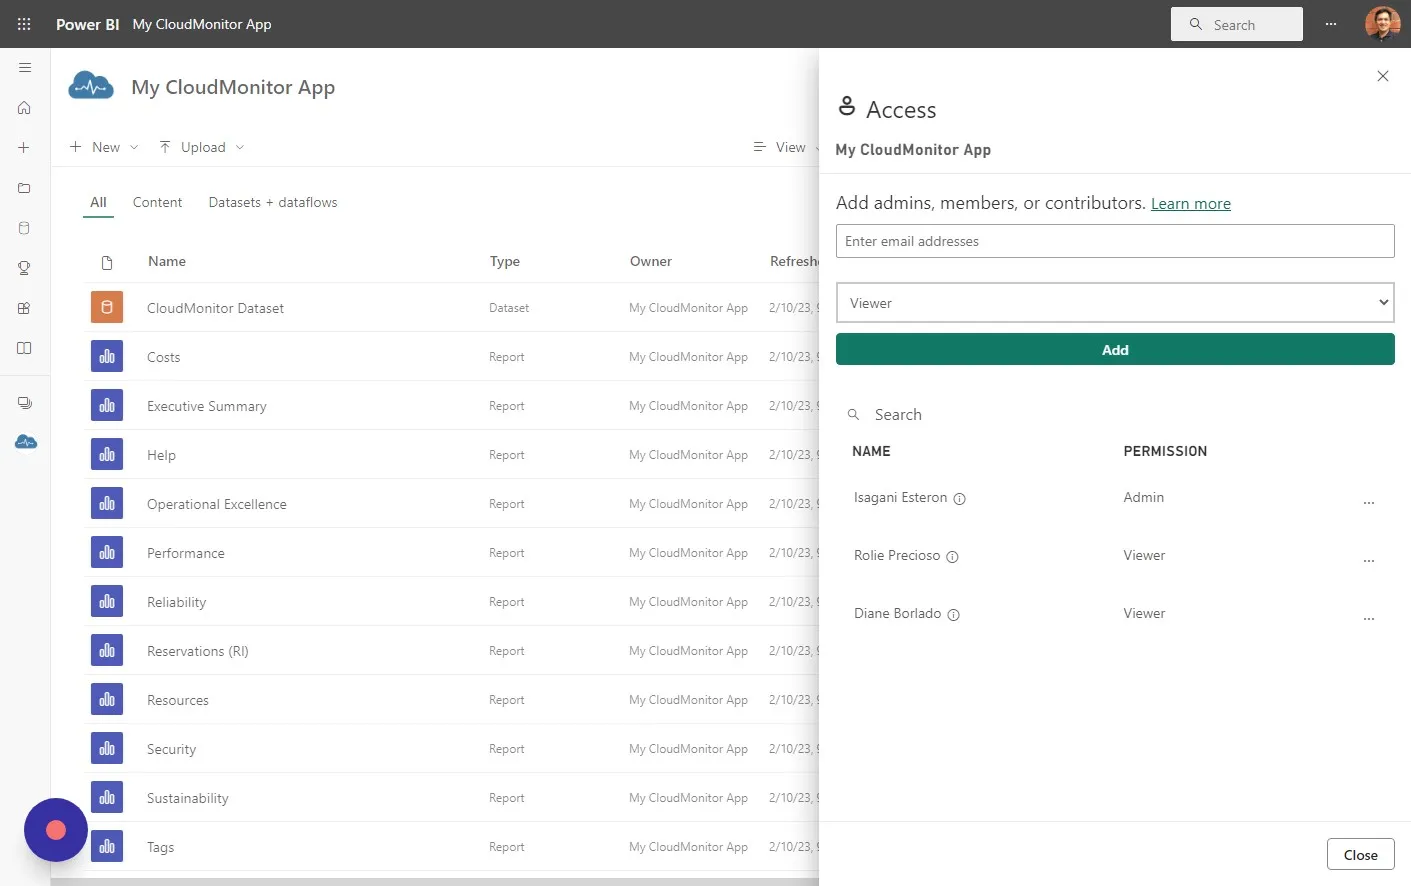
Step 9
Section titled “Step 9”Click “Close”
Step 10
Section titled “Step 10”Next is to choose which Cost Groups these new members can have access to. There are 3 types of access.
Full Access: Members added to this role will see the entire cost for all cost groups.
Cost Group Access: Members added to this role will only see the cost group where they have access to. This can be configured in the Admin App. Admin App link is available on the lower left of CloudMonitor main page.
Microsoft 365 Administrator: Members added to this role will have access to Microsoft 365 reports, which contain details about the Microsoft 365 tenant, including license spend, mailbox usage, user activity, group activity, and more.
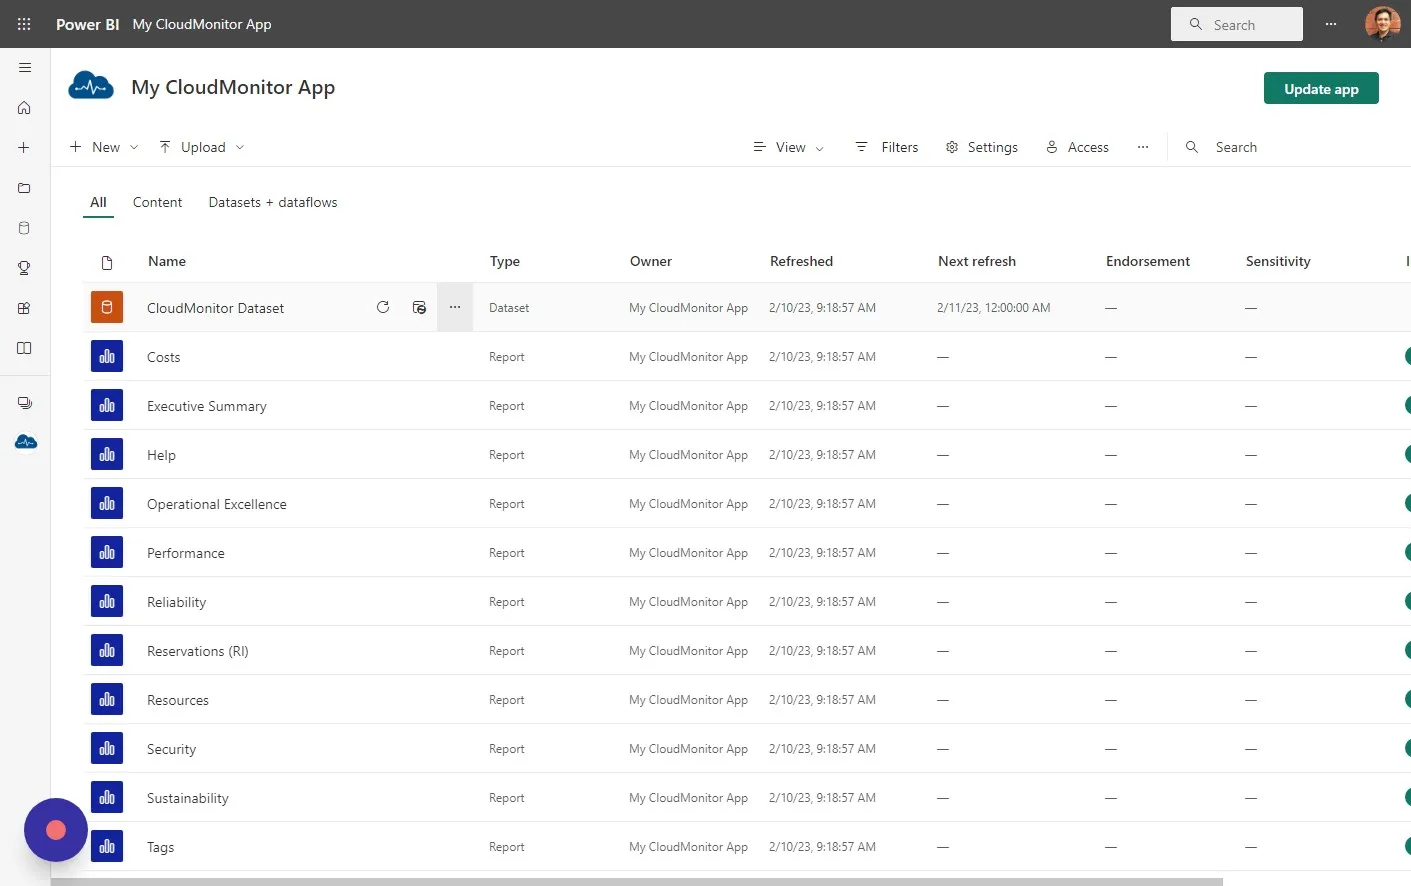
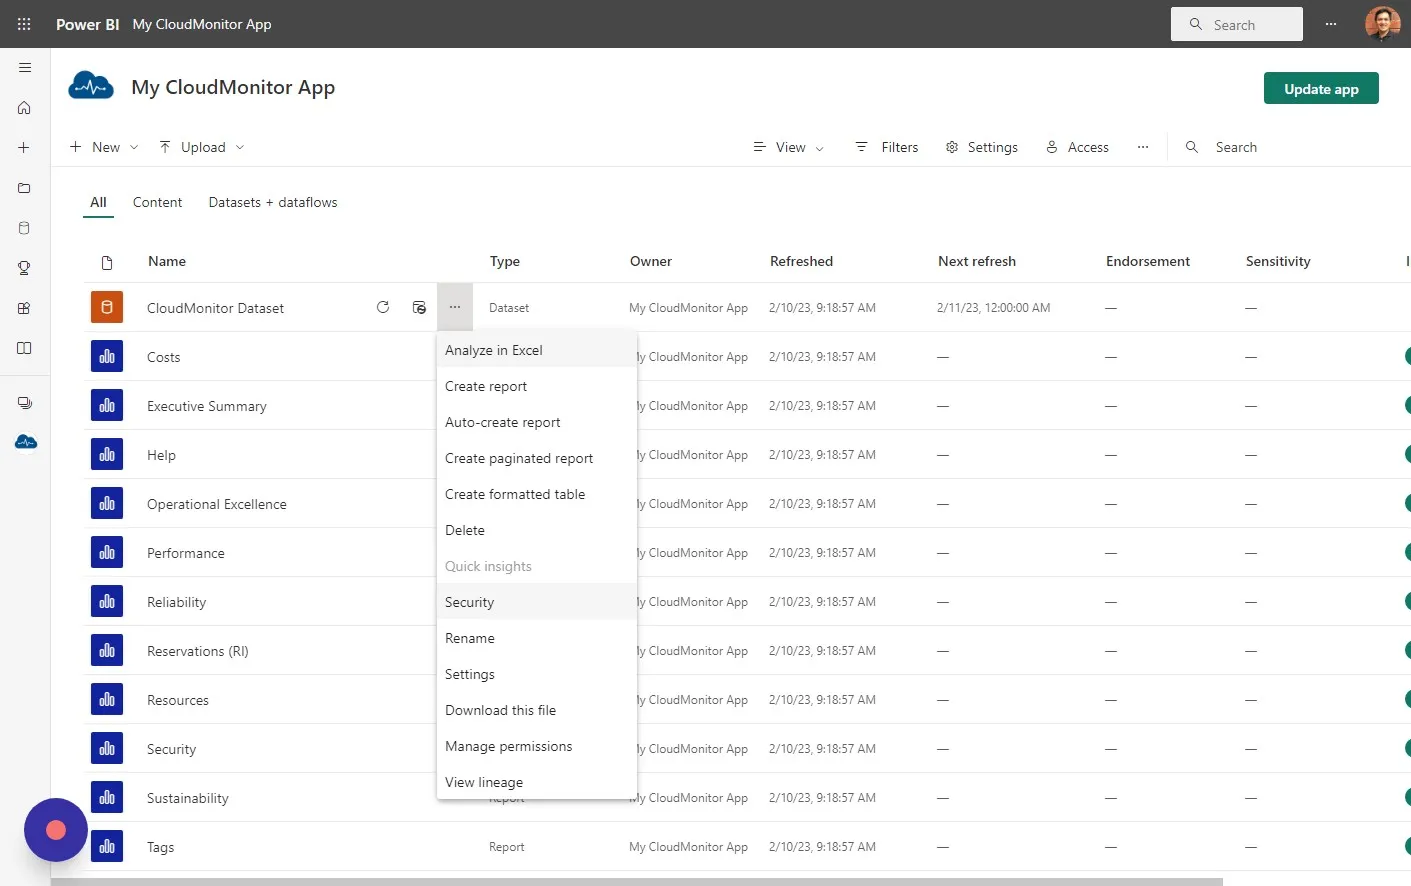
Step 11
Section titled “Step 11”On your CloudMonitor Dataset, click on the 3 dots to show more options.
Step 12
Section titled “Step 12”Click “Security”
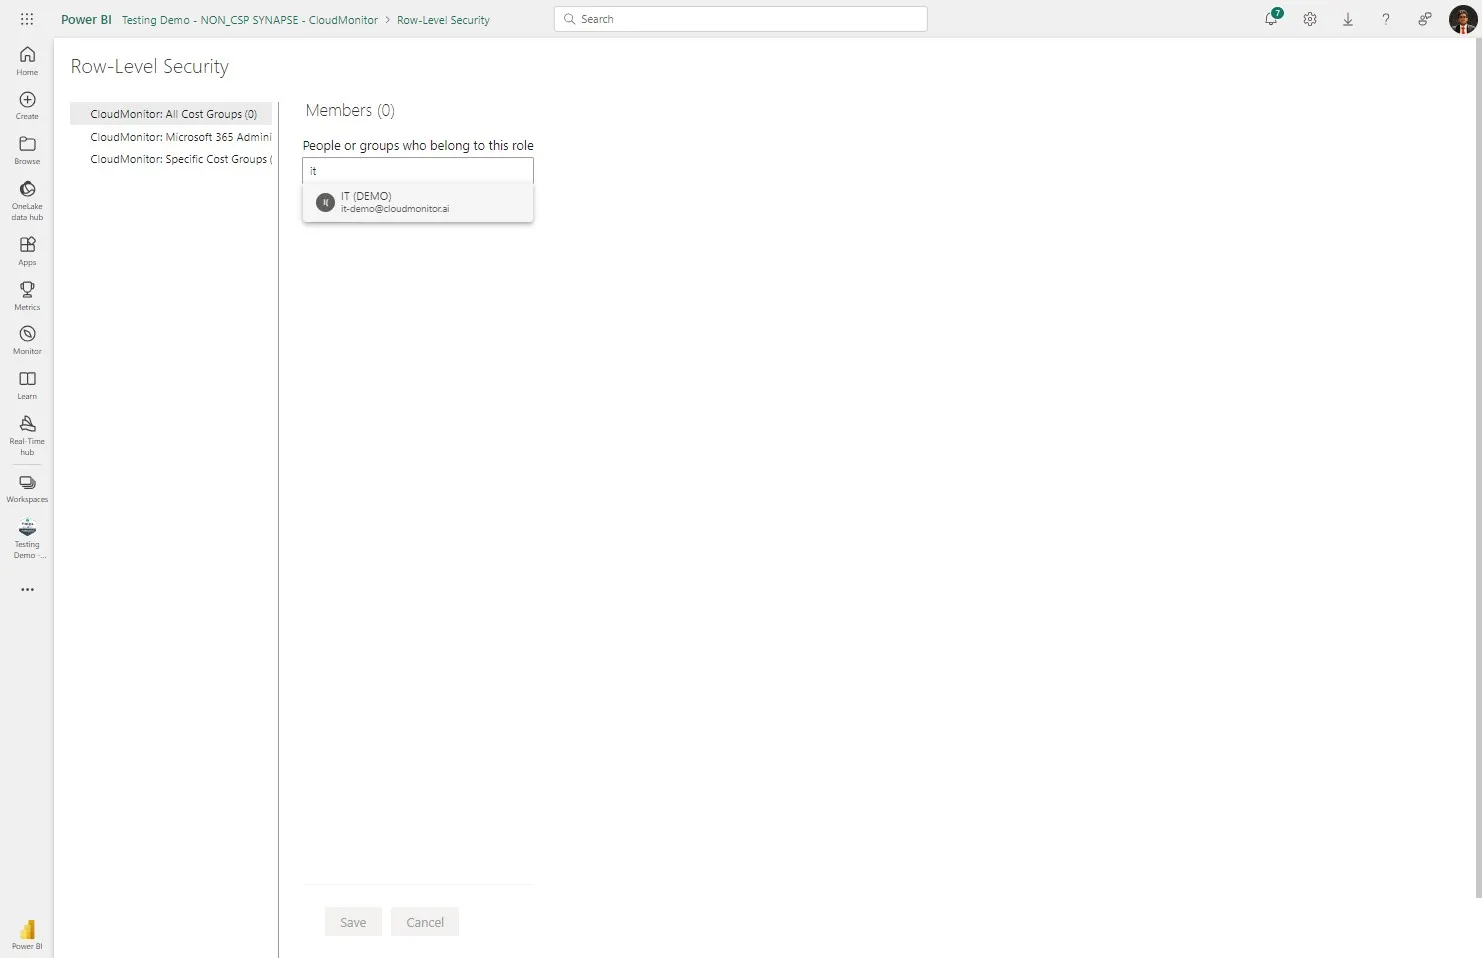
Step 13
Section titled “Step 13”In the “Full Access” tab choose the member you want to give Full Access to.
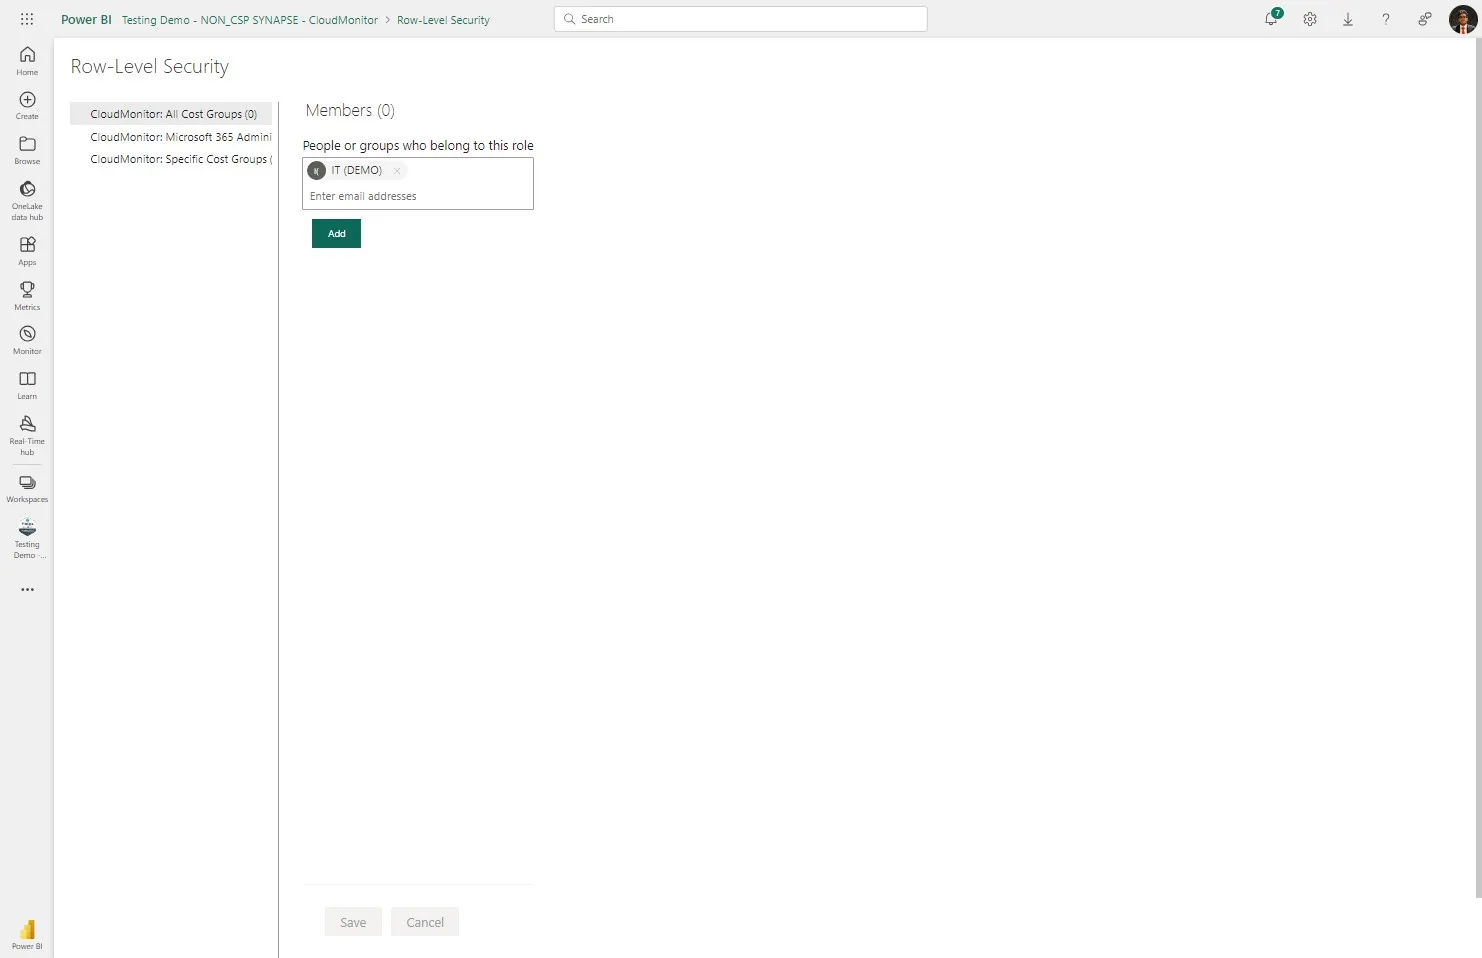
Step 14
Section titled “Step 14”Click “Add” to add that member.
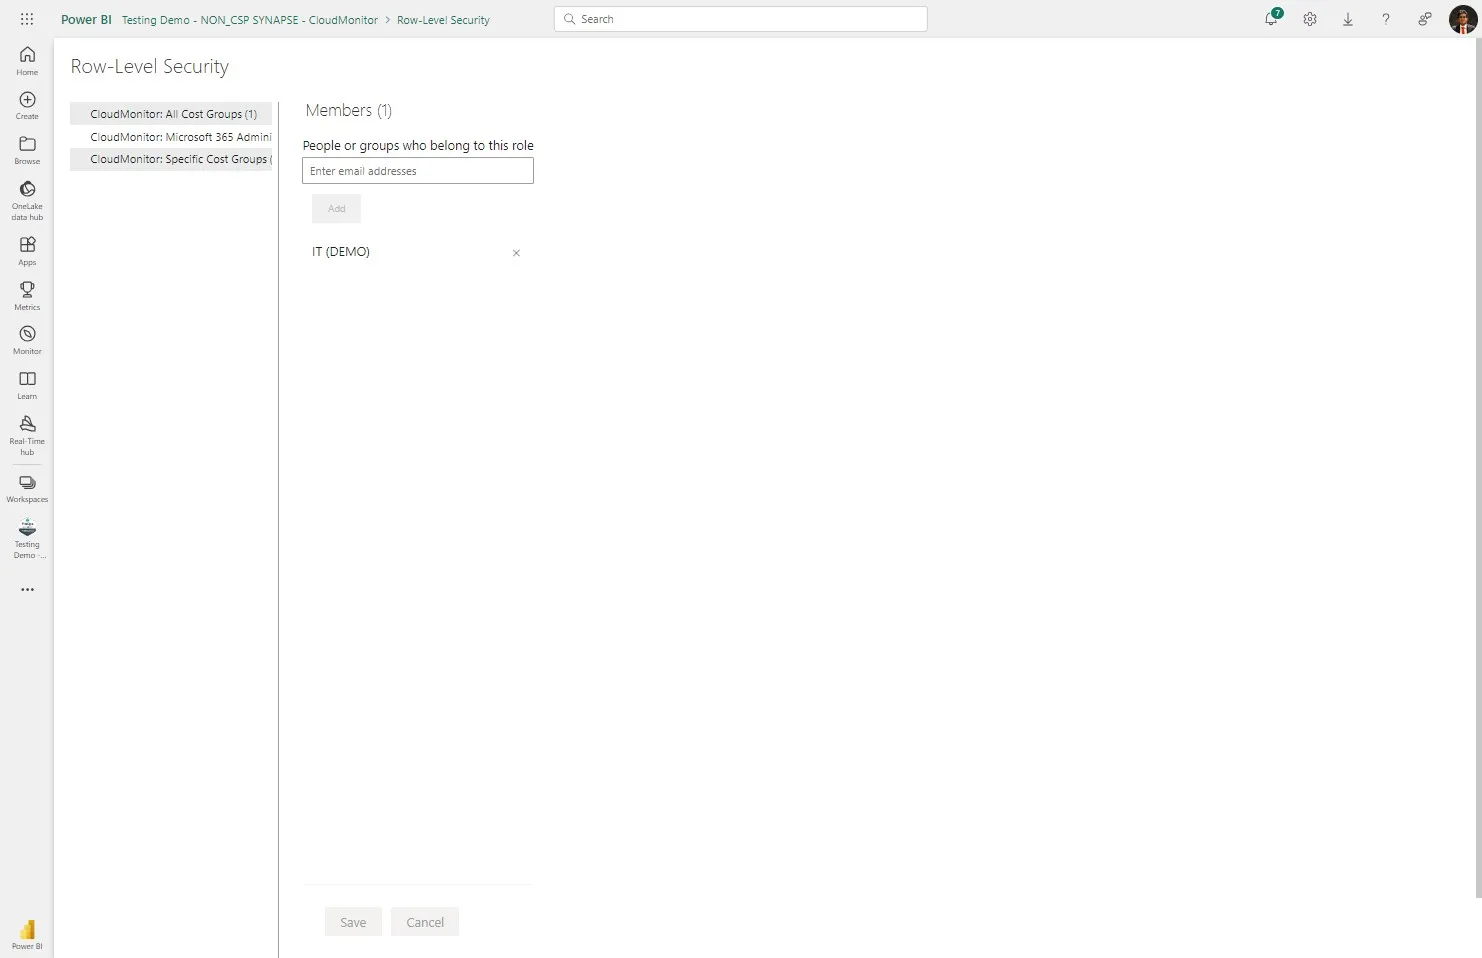
Step 15
Section titled “Step 15”Click “Save”

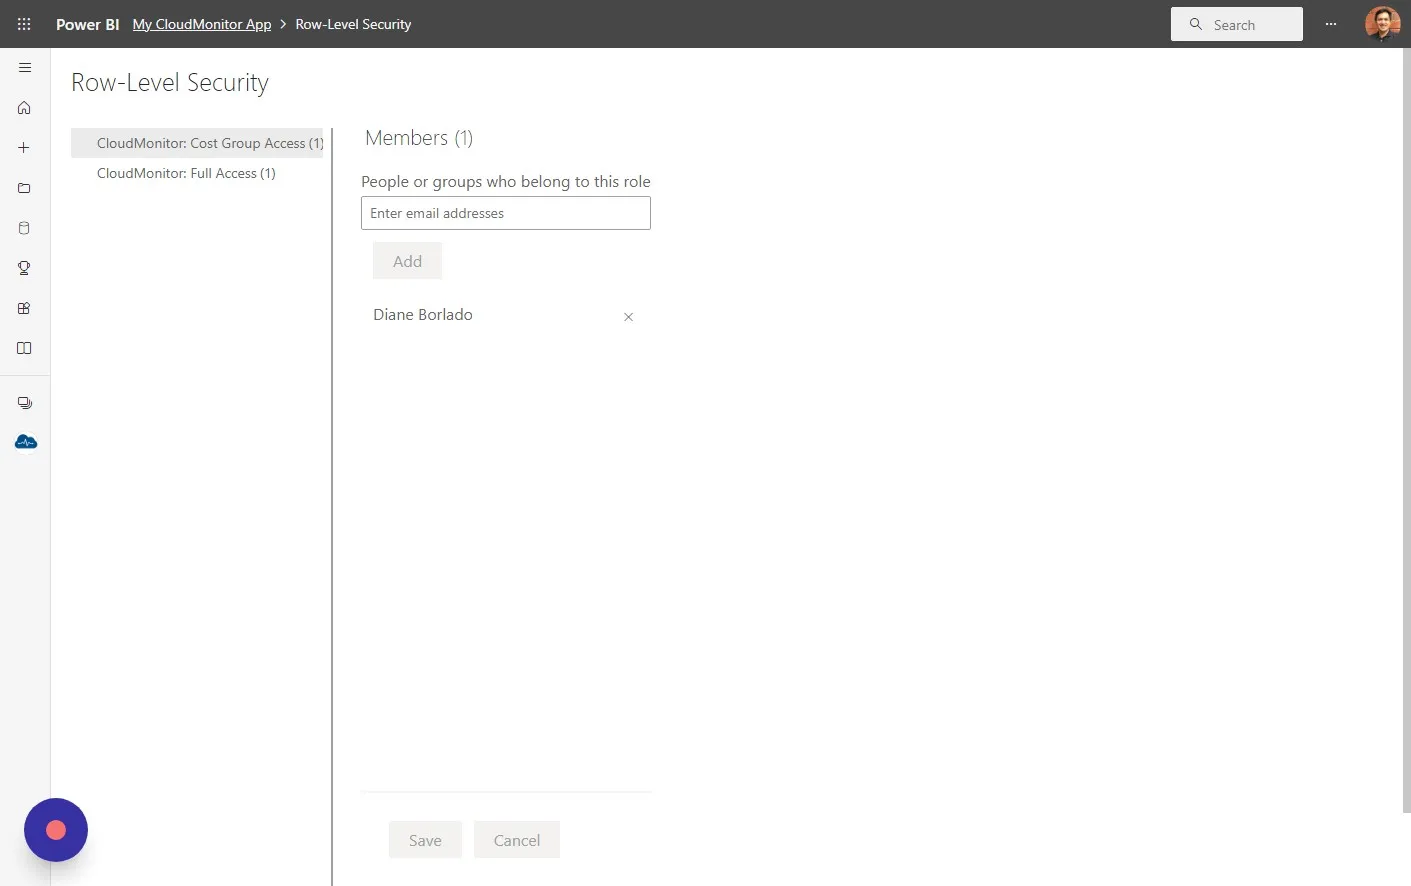
Step 16
Section titled “Step 16”Click “CloudMonitor: Specific Cost Groups”
Step 17
Section titled “Step 17”In the “Cost Group Access” tab choose the member you want to give Cost Group Access to.
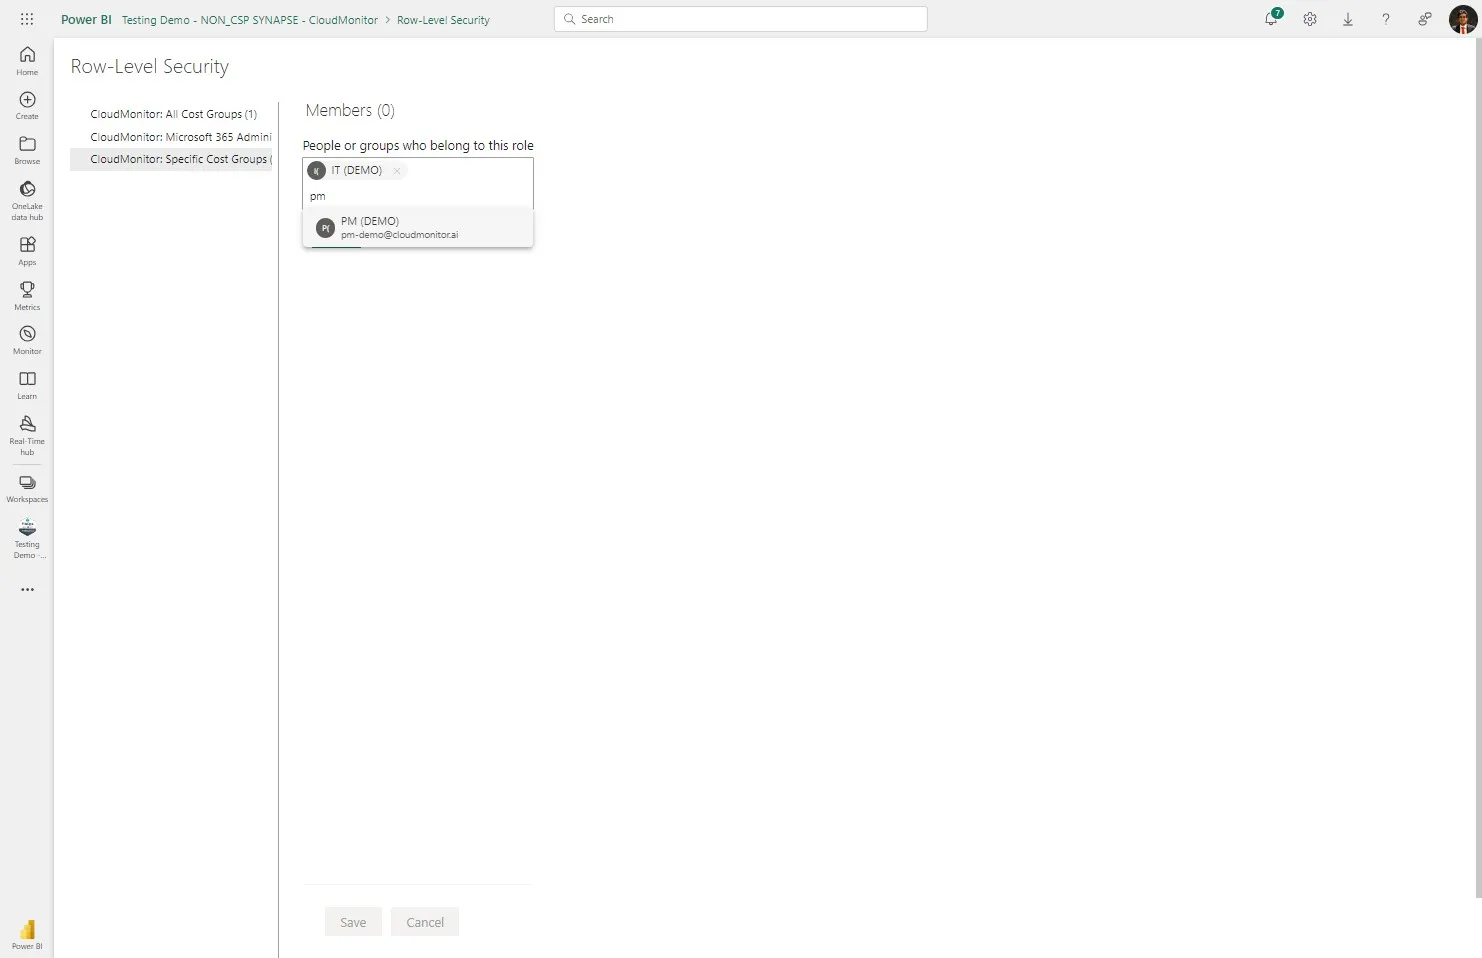
Step 18
Section titled “Step 18”Click “Add” to add that member.
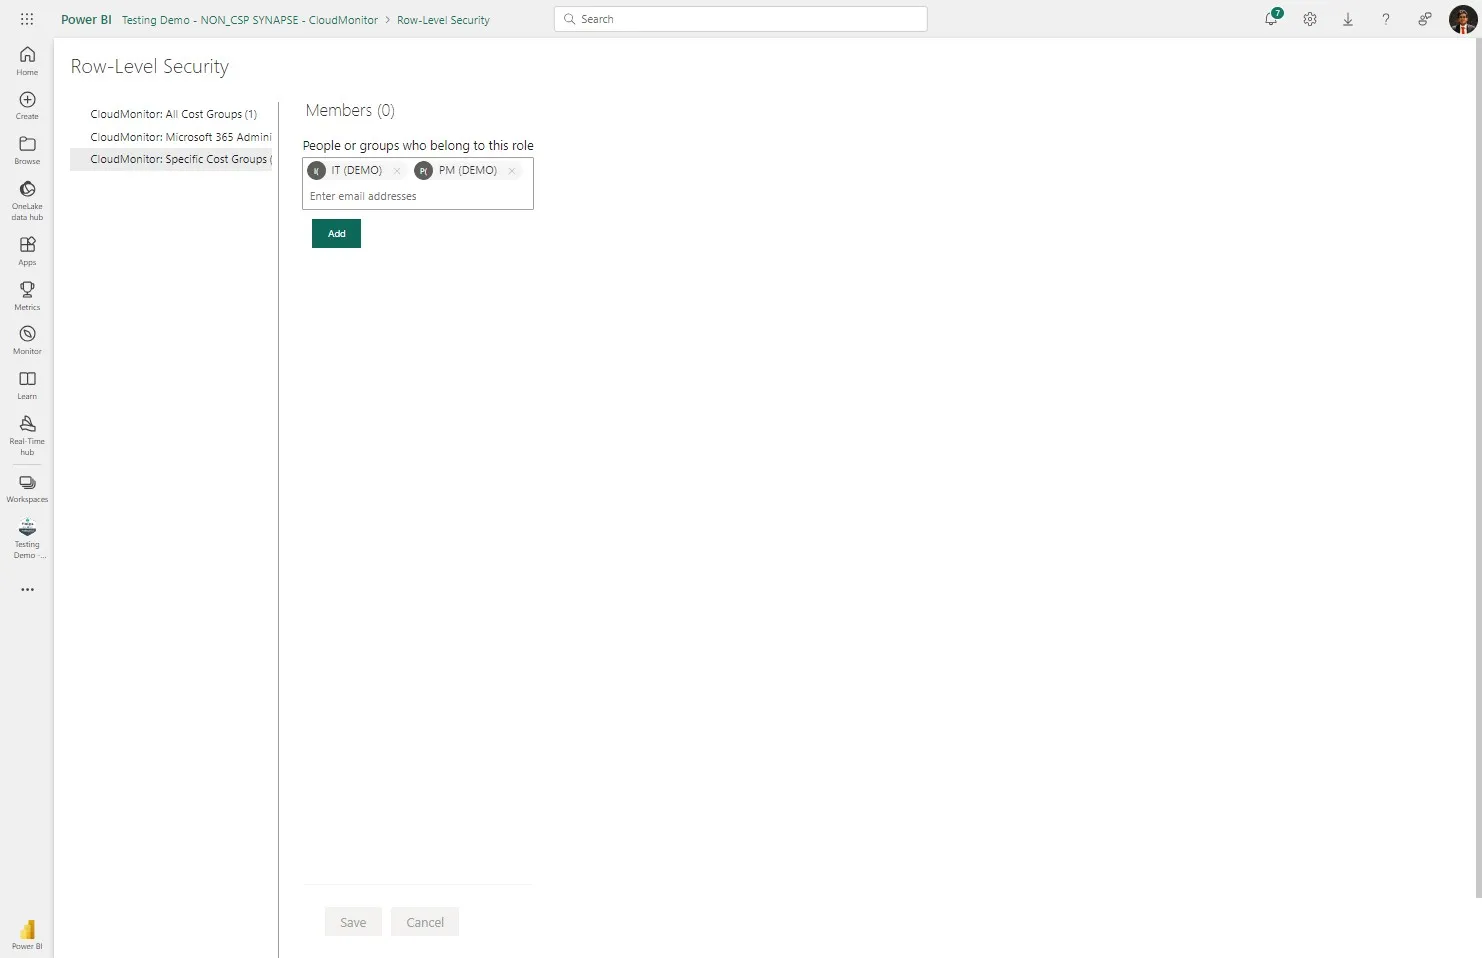
Step 19
Section titled “Step 19”Click “Save”

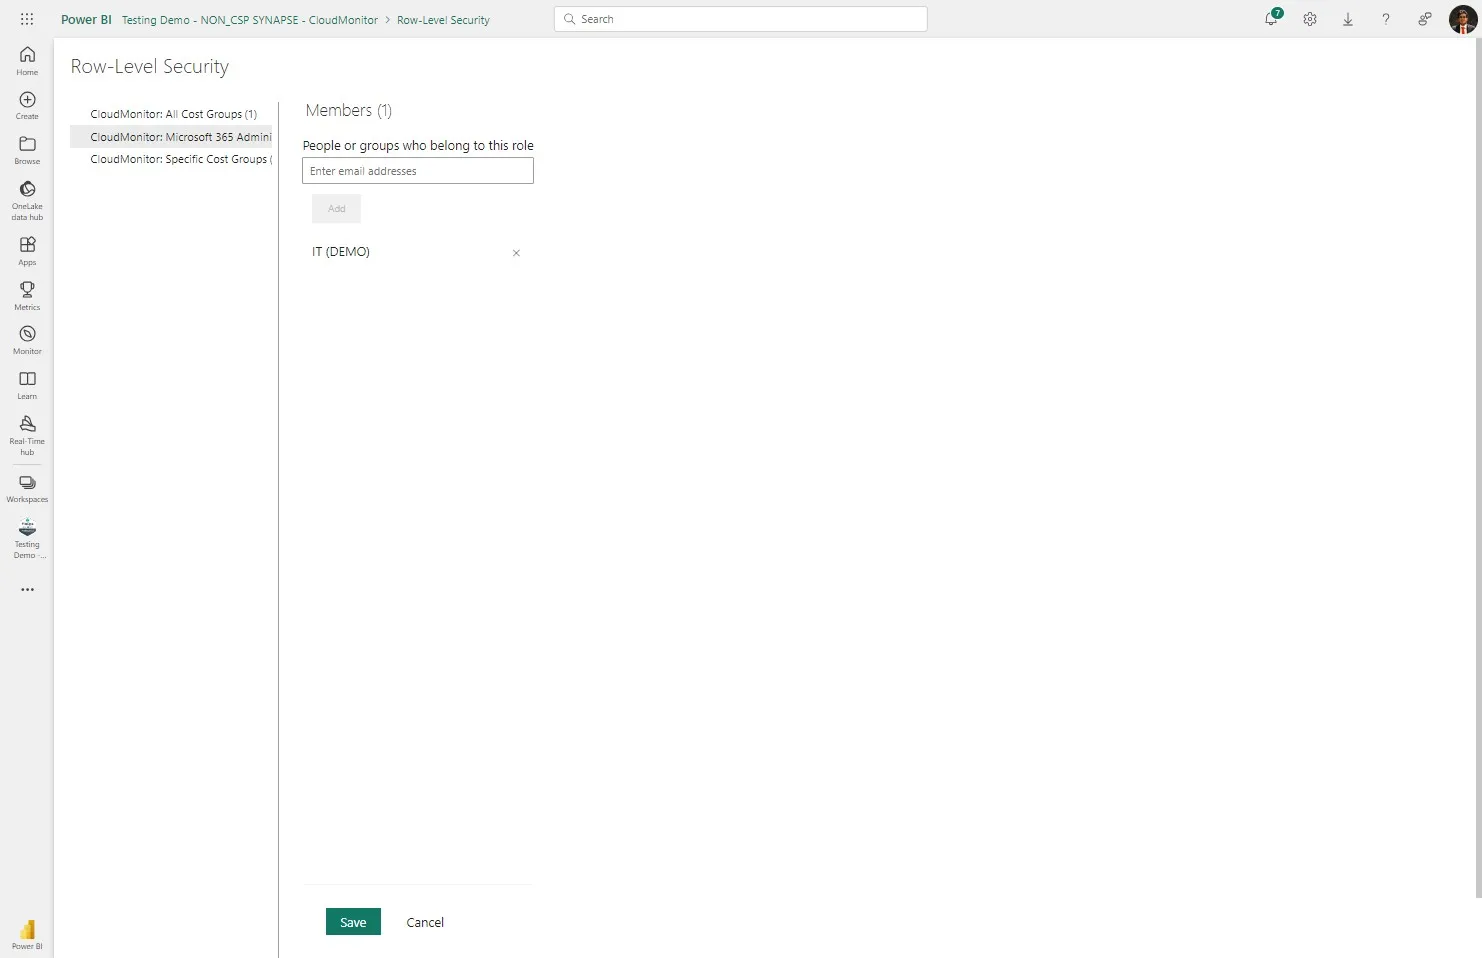
Step 20
Section titled “Step 20”Click “CloudMonitor: Microsoft 365 Administrator”
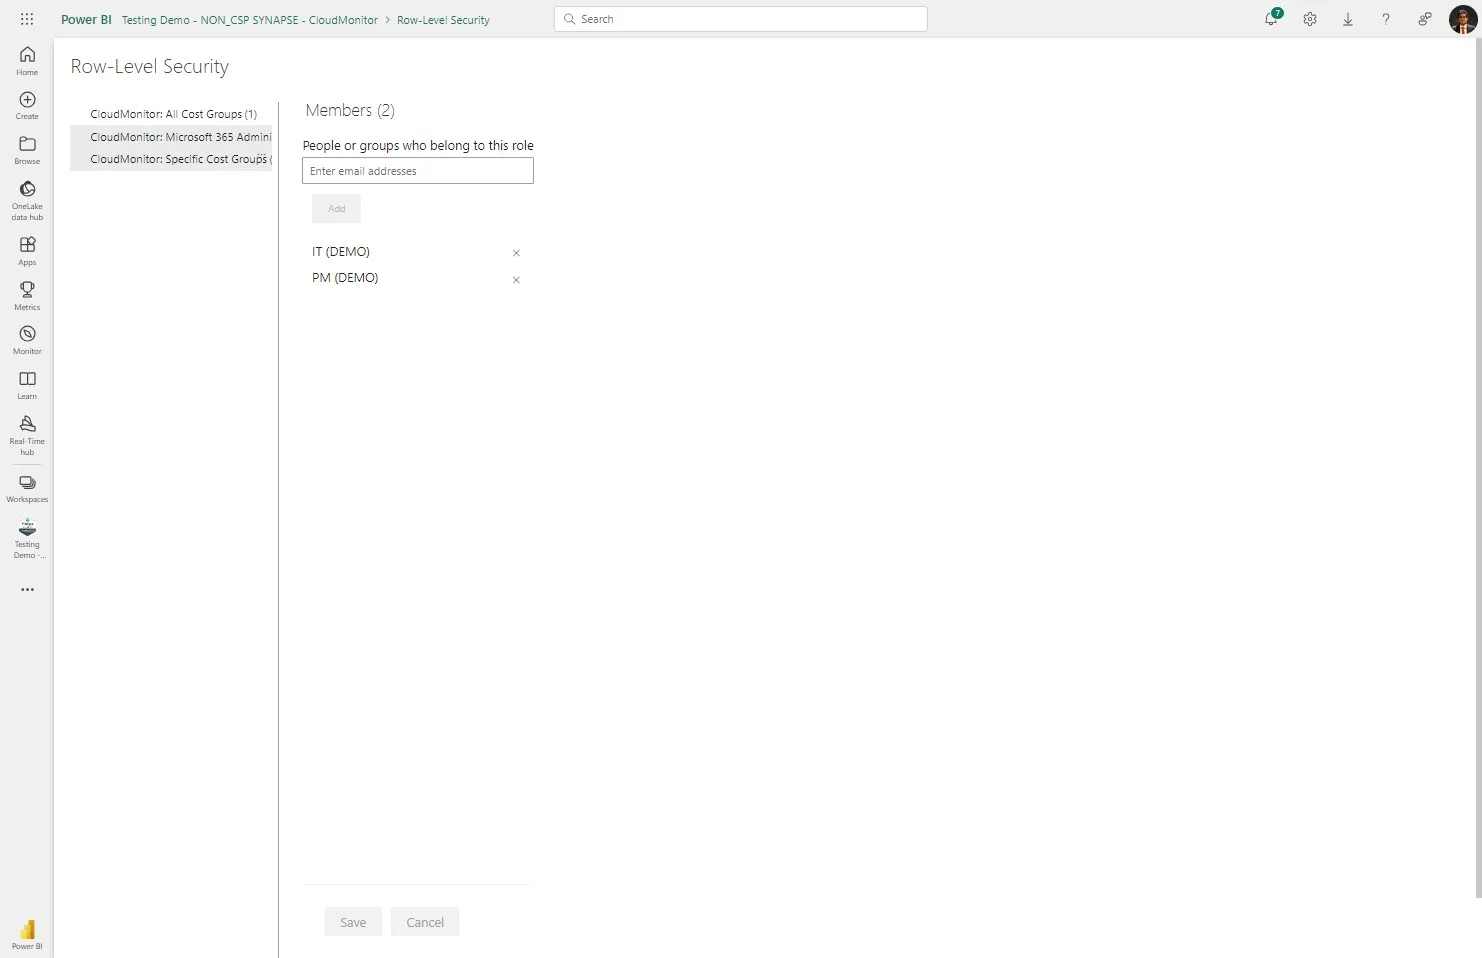
Step 21
Section titled “Step 21”In the “Microsoft 365 Administrator” tab choose the member you want to give Microsoft 365 Access to.
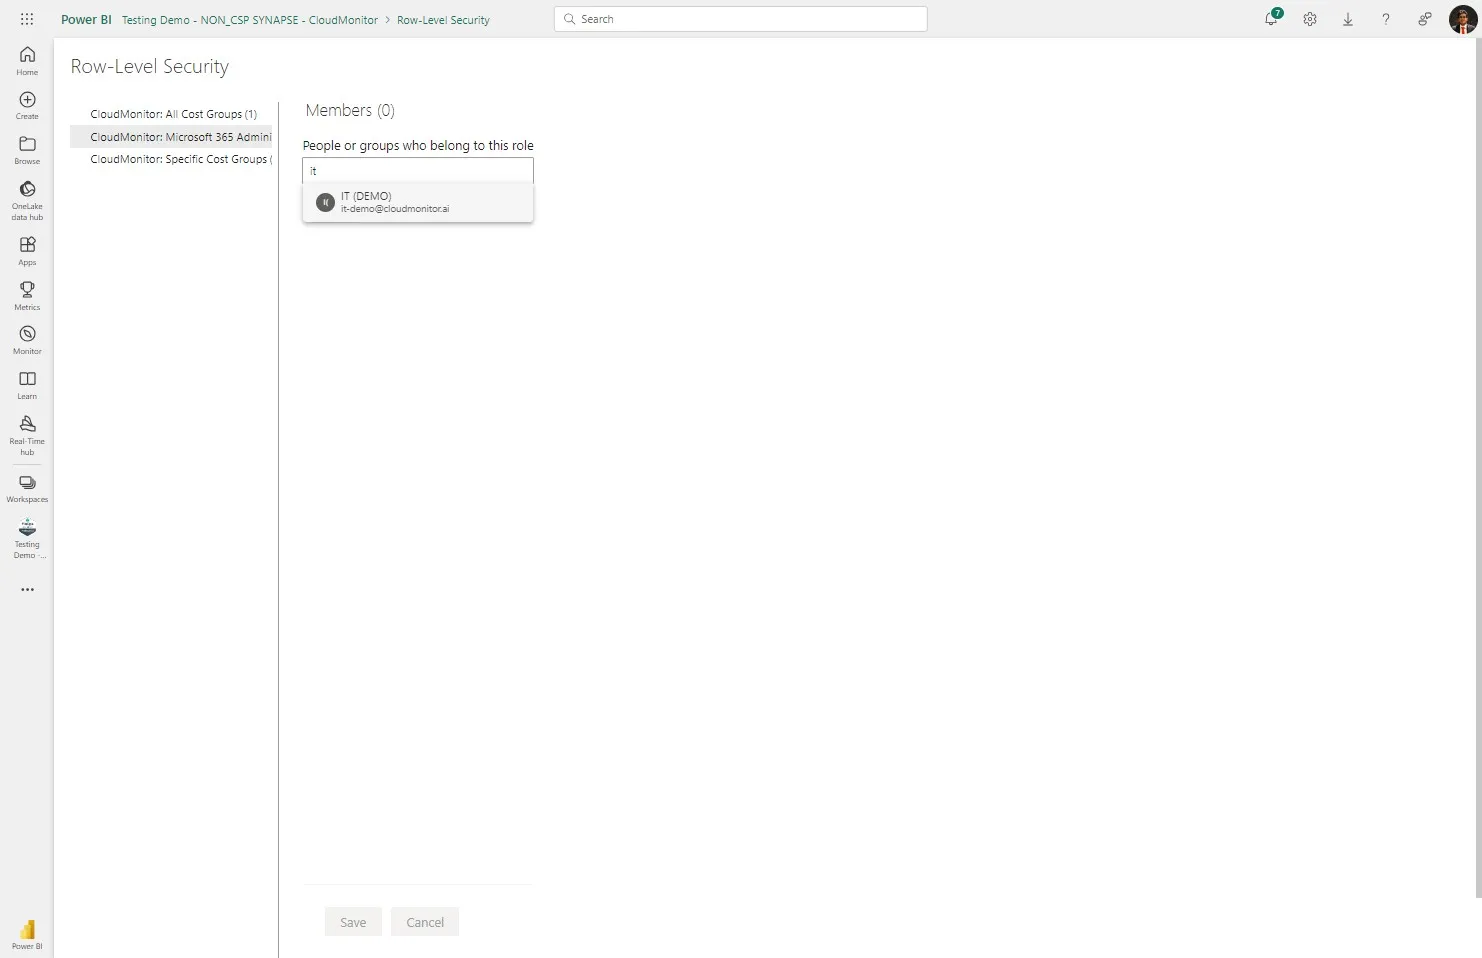
Step 22
Section titled “Step 22”Click “Add”

Step 23
Section titled “Step 23”Click “Save”
Step 24
Section titled “Step 24”Click this link to go back to your CloudMonitor Power BI App workspace.
Step 25
Section titled “Step 25”At this point these new members now have access to your CloudMonitor Power BI App.
Members with Full Access can see all cost groups, while those with Cost Group Access will not be able to see any other cost groups. Only M365 Administrators will be able to view the M365 reports.
You will need to use your CloudMonitor Admin App to configure the Cost Groups these new user can see.
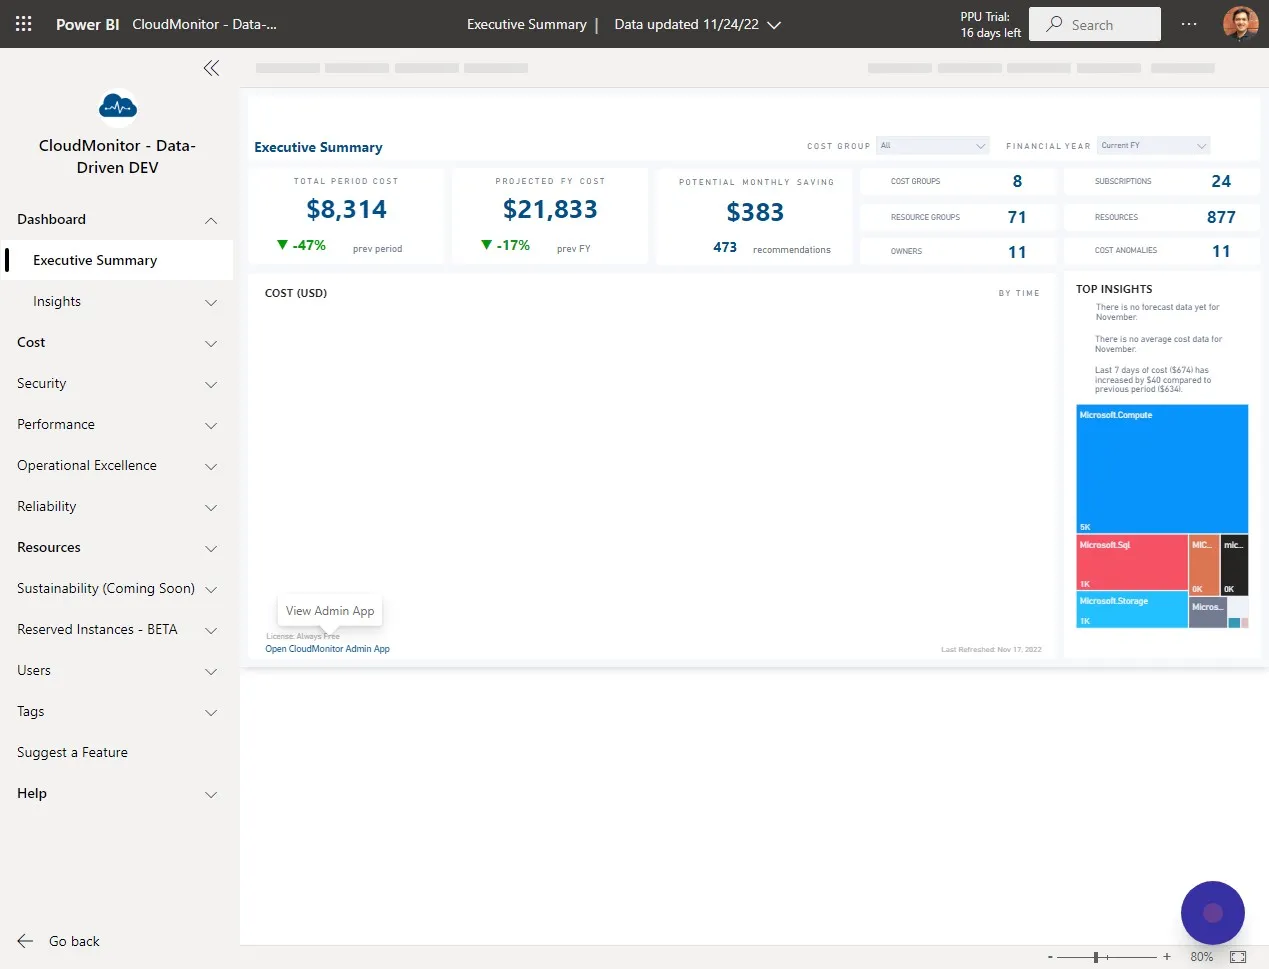
Step 26
Section titled “Step 26”Click “Open CloudMonitor Admin App” in your CloudMonitor Power BI App.
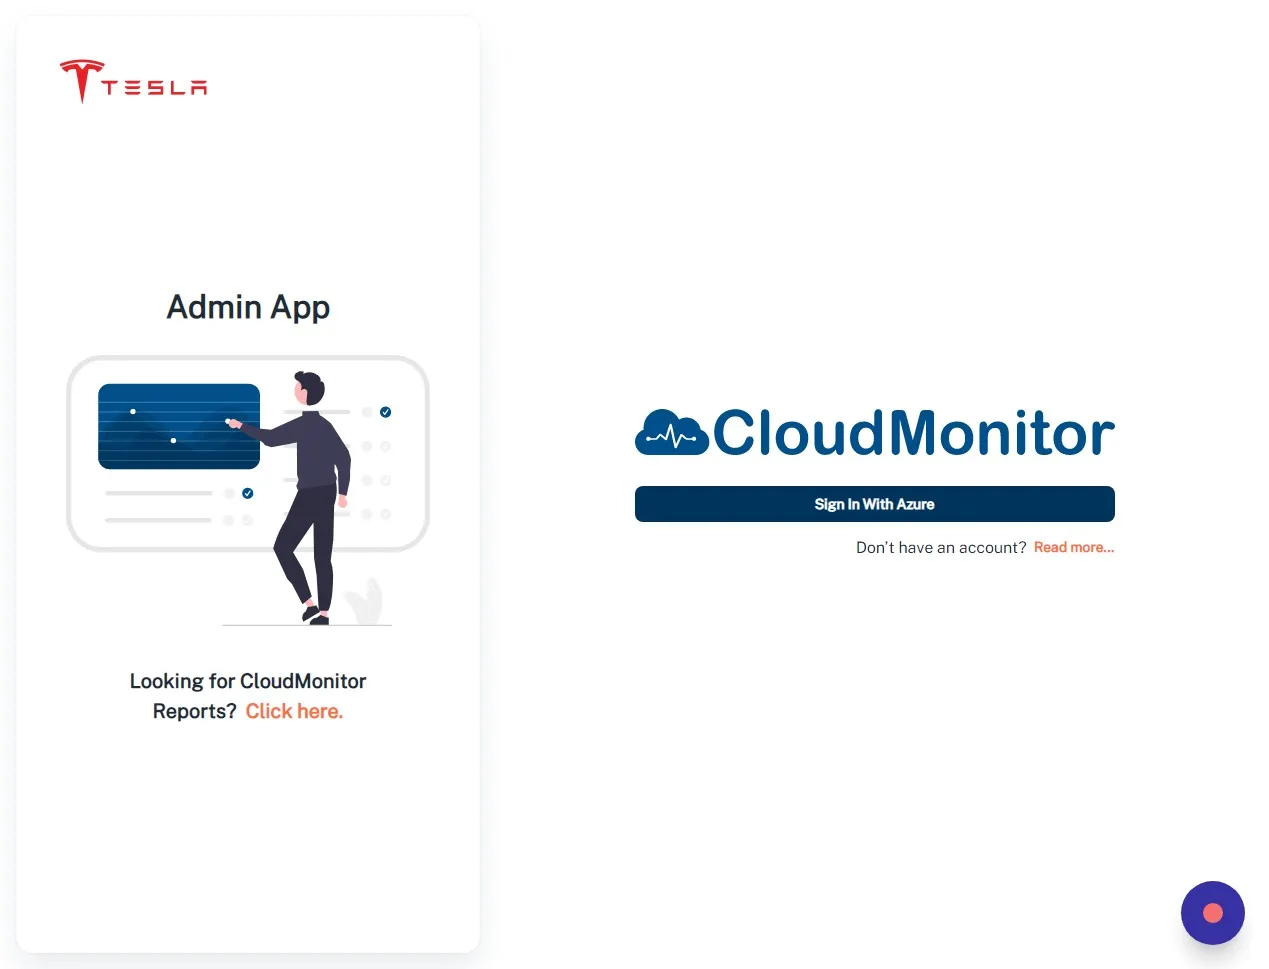
Step 27
Section titled “Step 27”Click “Sign In With Azure”
Step 28
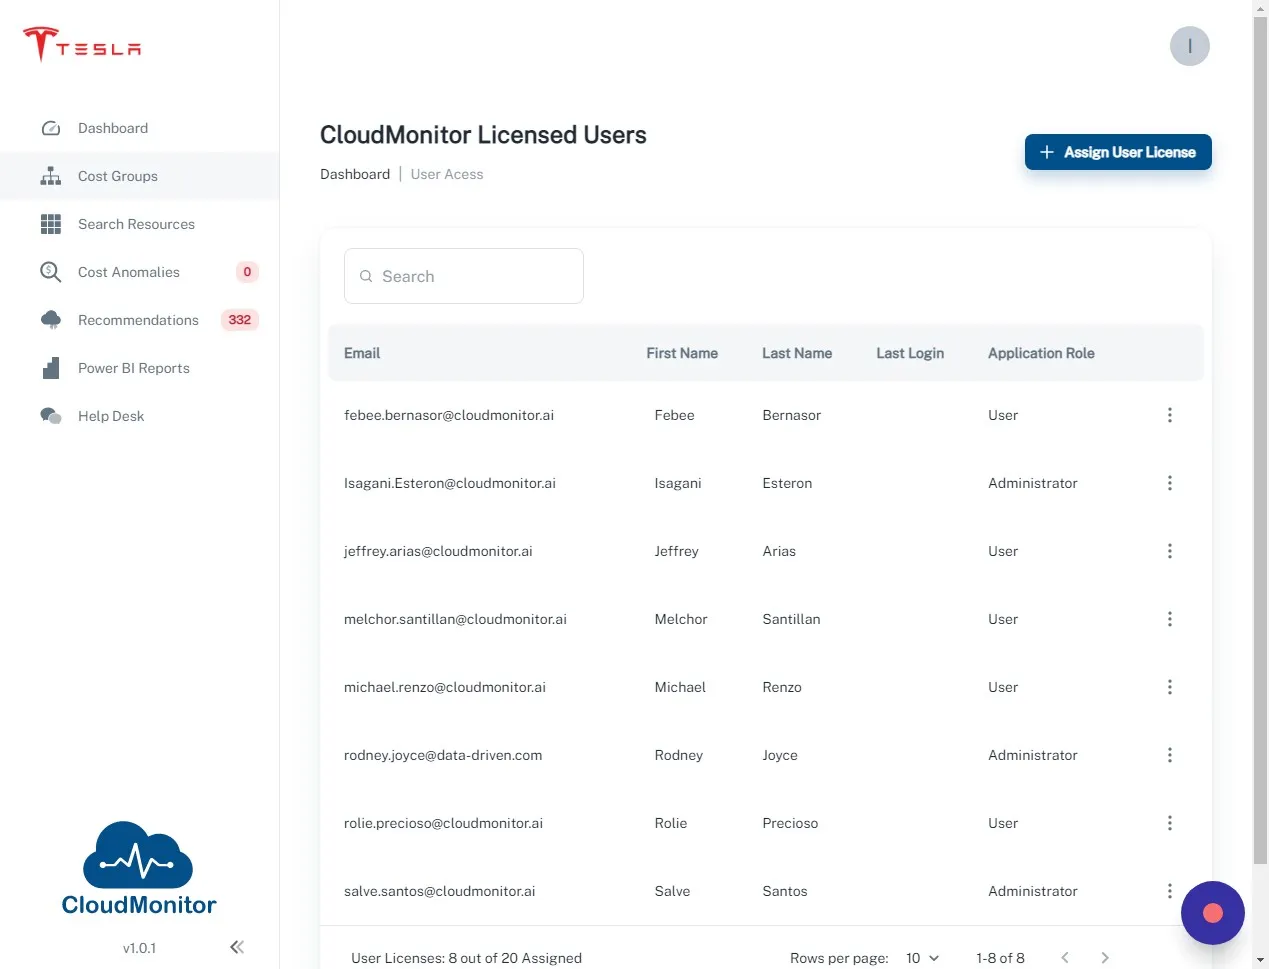
Section titled “Step 28”You must first assign a user license to the new user.
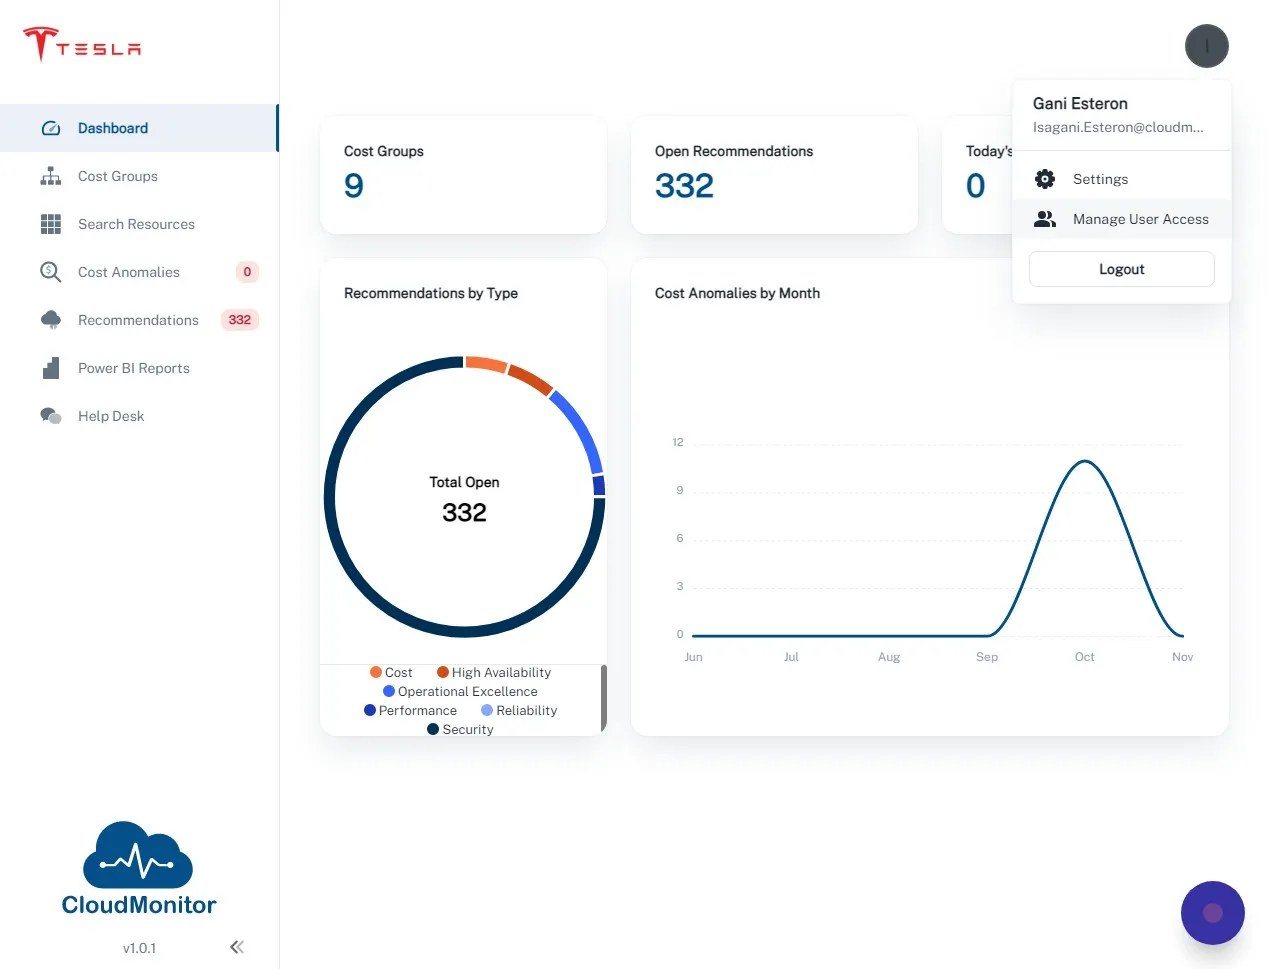
Step 29
Section titled “Step 29”Once logged in to the Admin App click on this button on the top right.
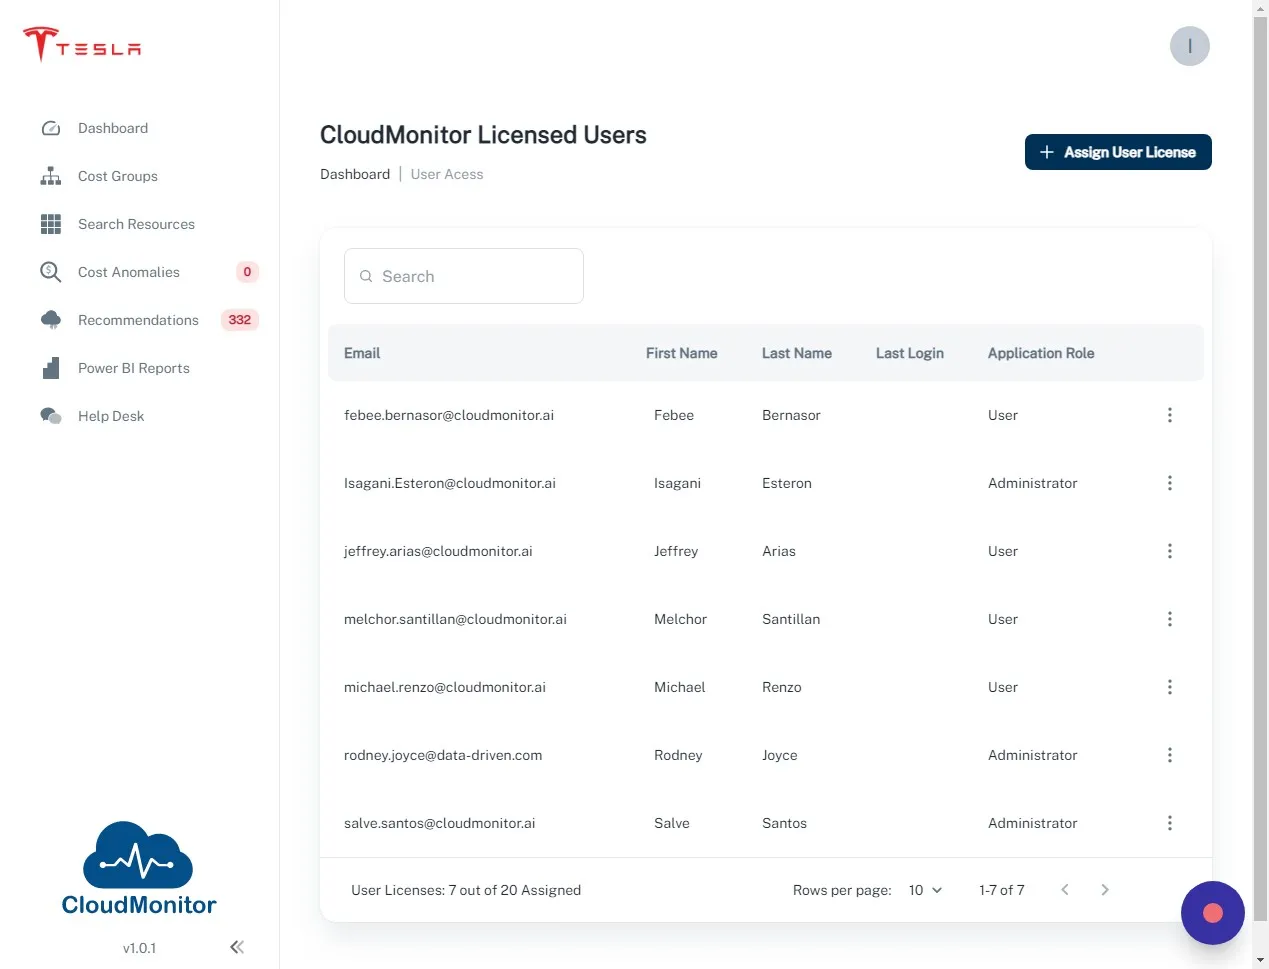
Step 30
Section titled “Step 30”Click “Manage User Access”
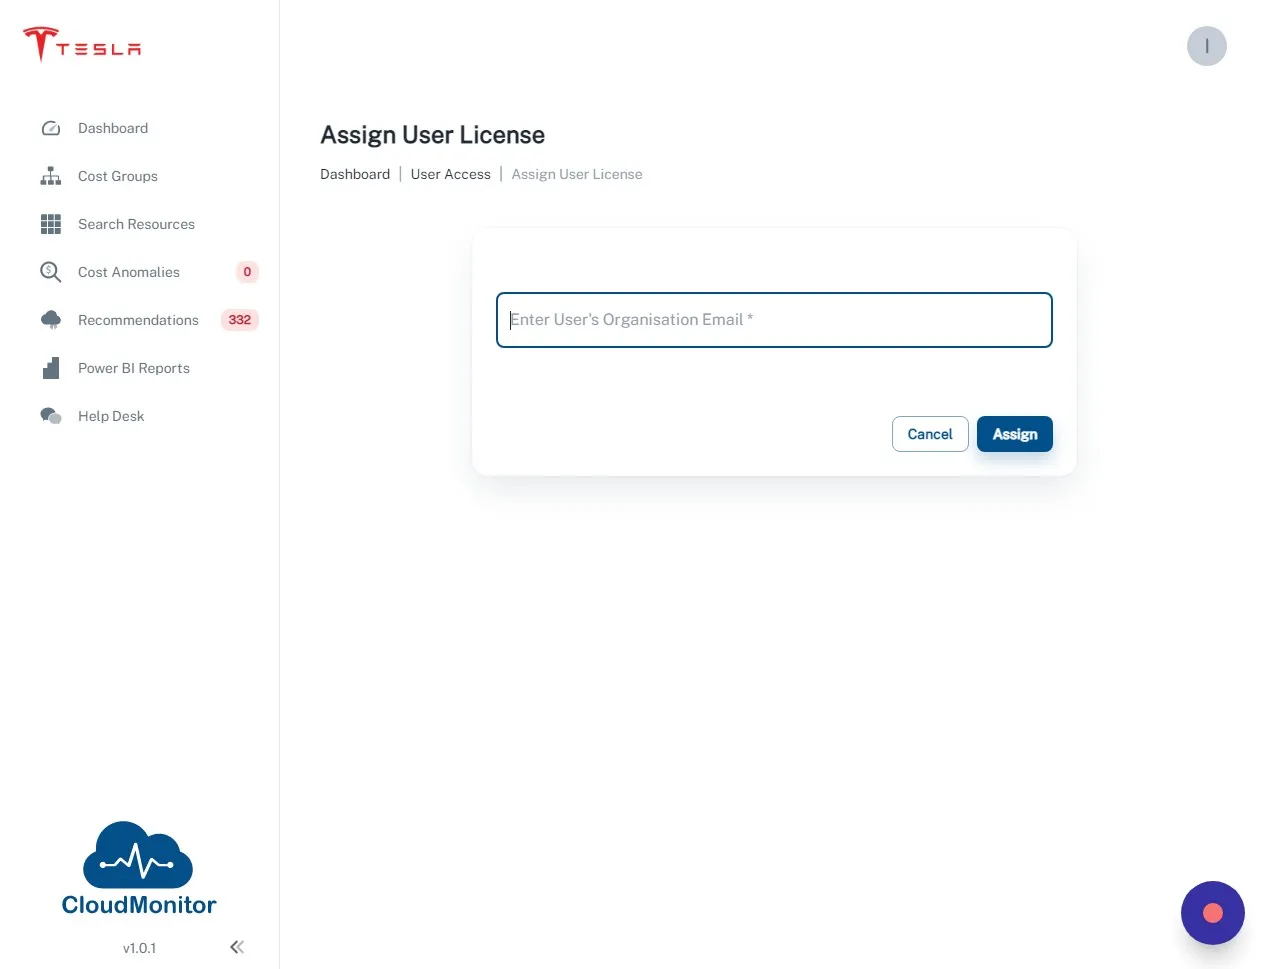
Step 31
Section titled “Step 31”Click “Assign User License”
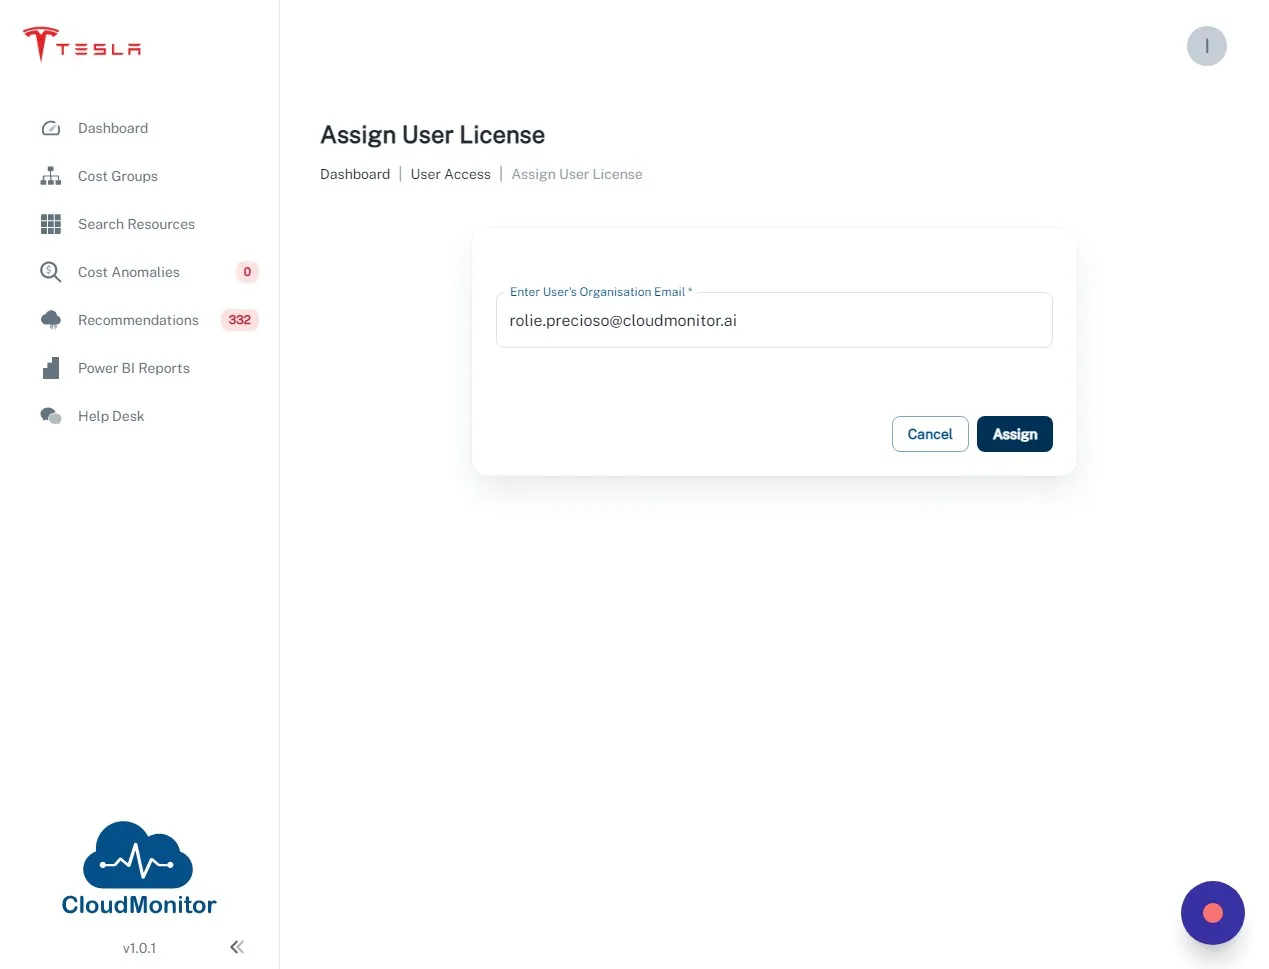
Step 32
Section titled “Step 32”Type in the email address of your new user.
Step 33
Section titled “Step 33”Click “Assign”
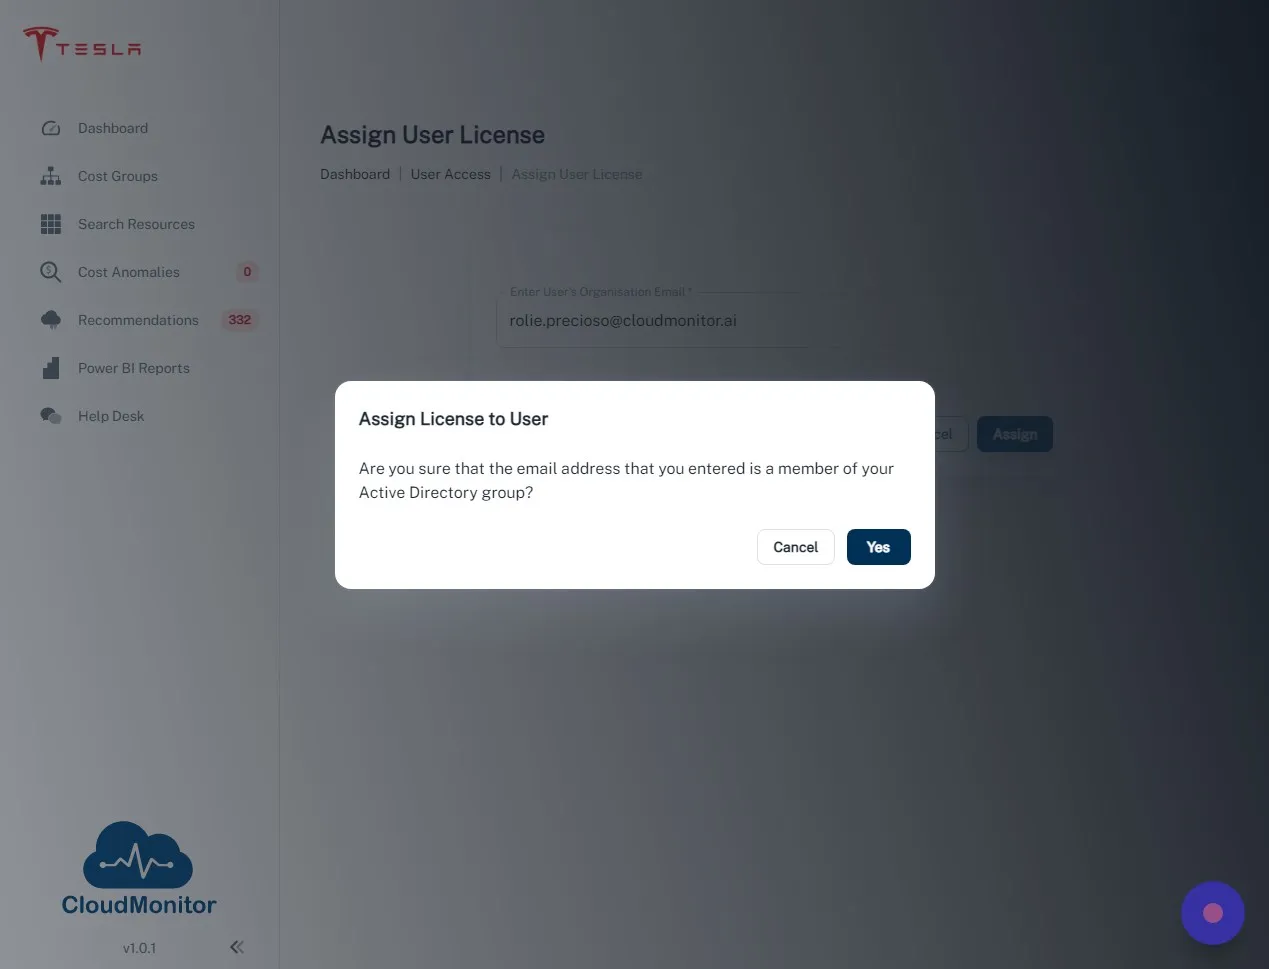
Step 34
Section titled “Step 34”Click “Yes”
Step 35
Section titled “Step 35”After successfully assigning a User License to your new user you have to select the Cost Groups you want your new user to be able to access.
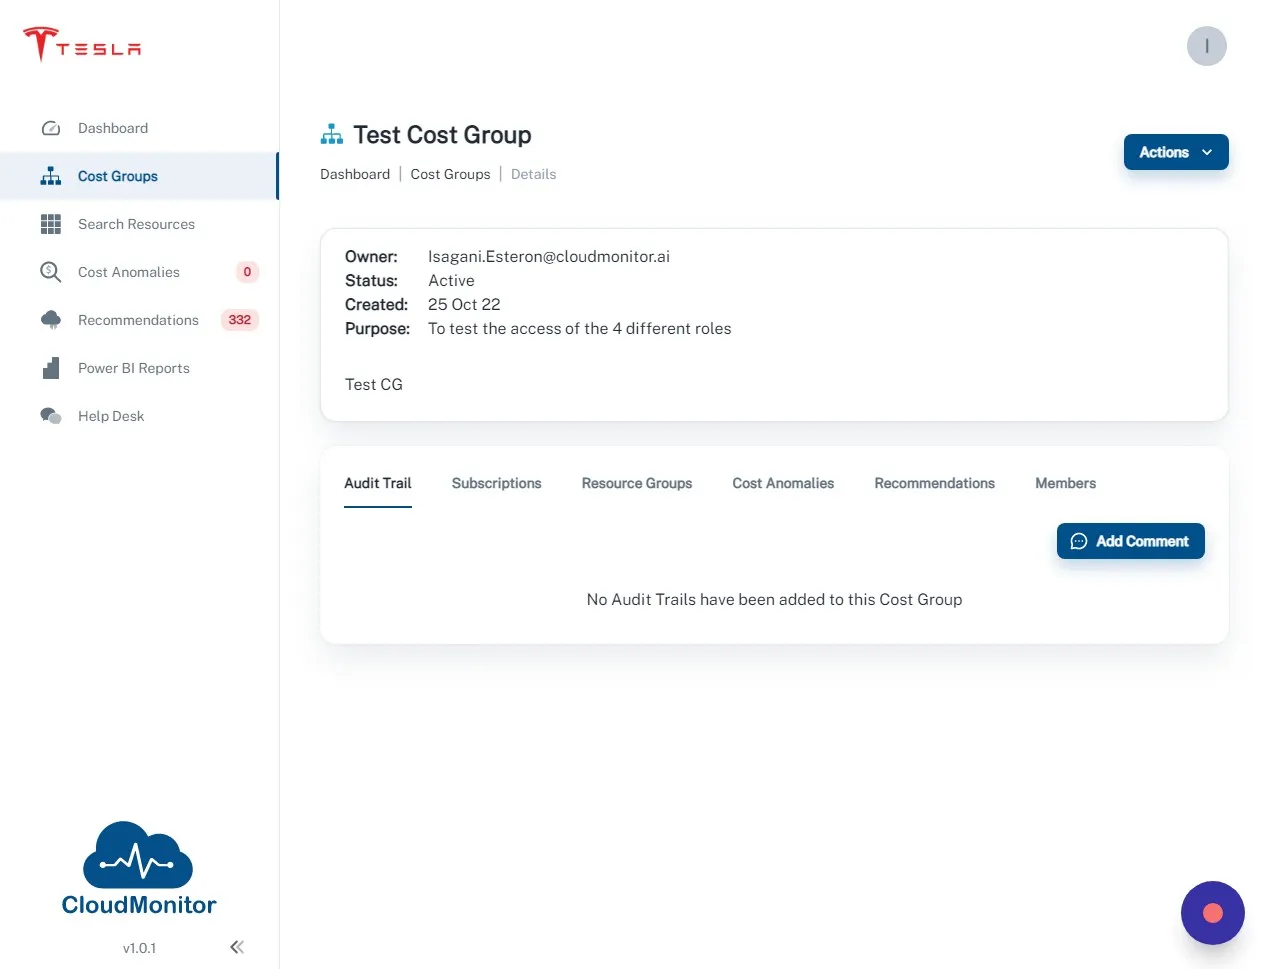
Step 36
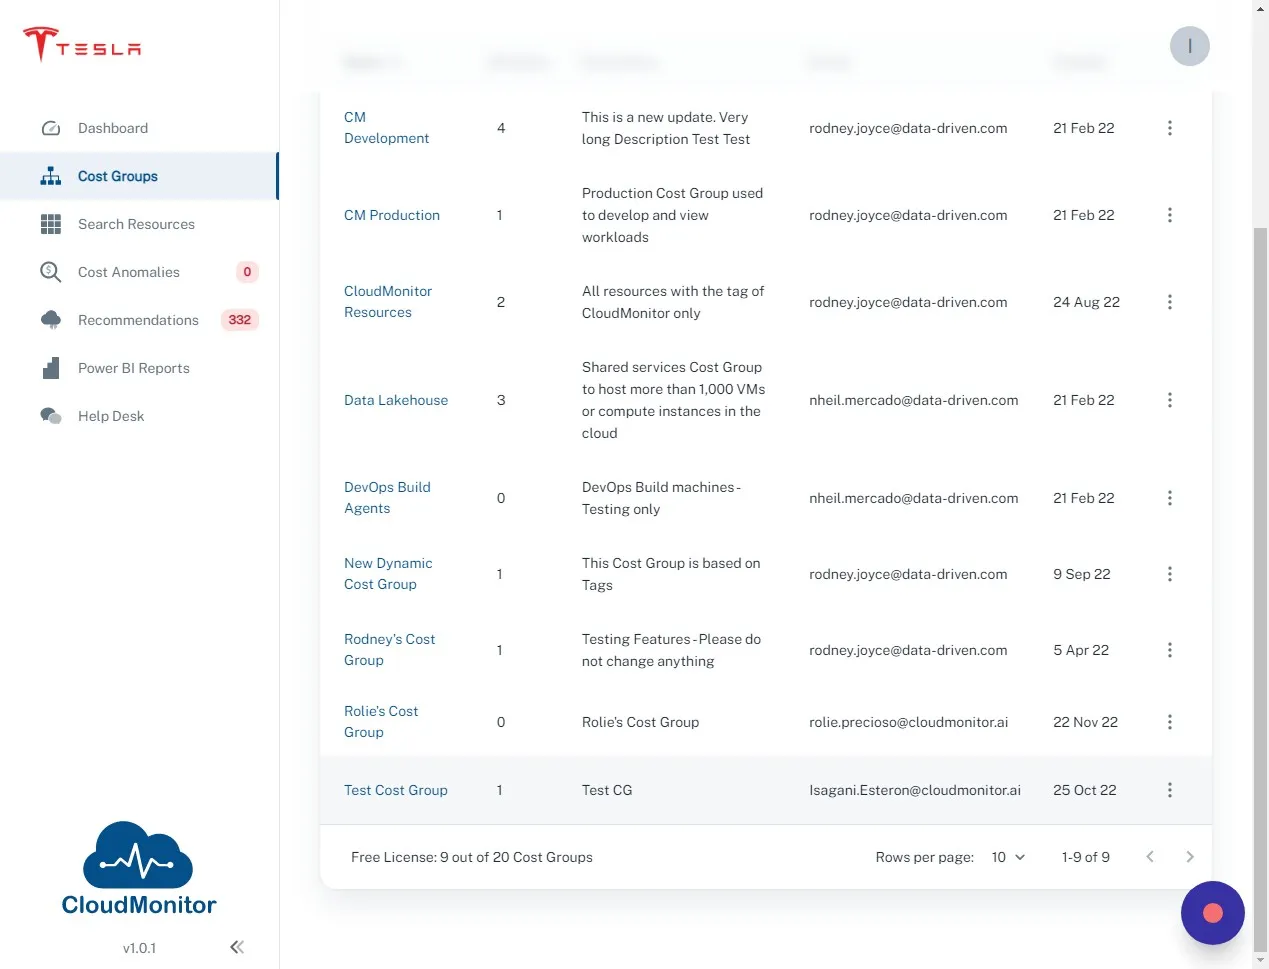
Section titled “Step 36”Click “Cost Groups”
Step 37
Section titled “Step 37”Select the Cost Group you want your new user to be able to access.
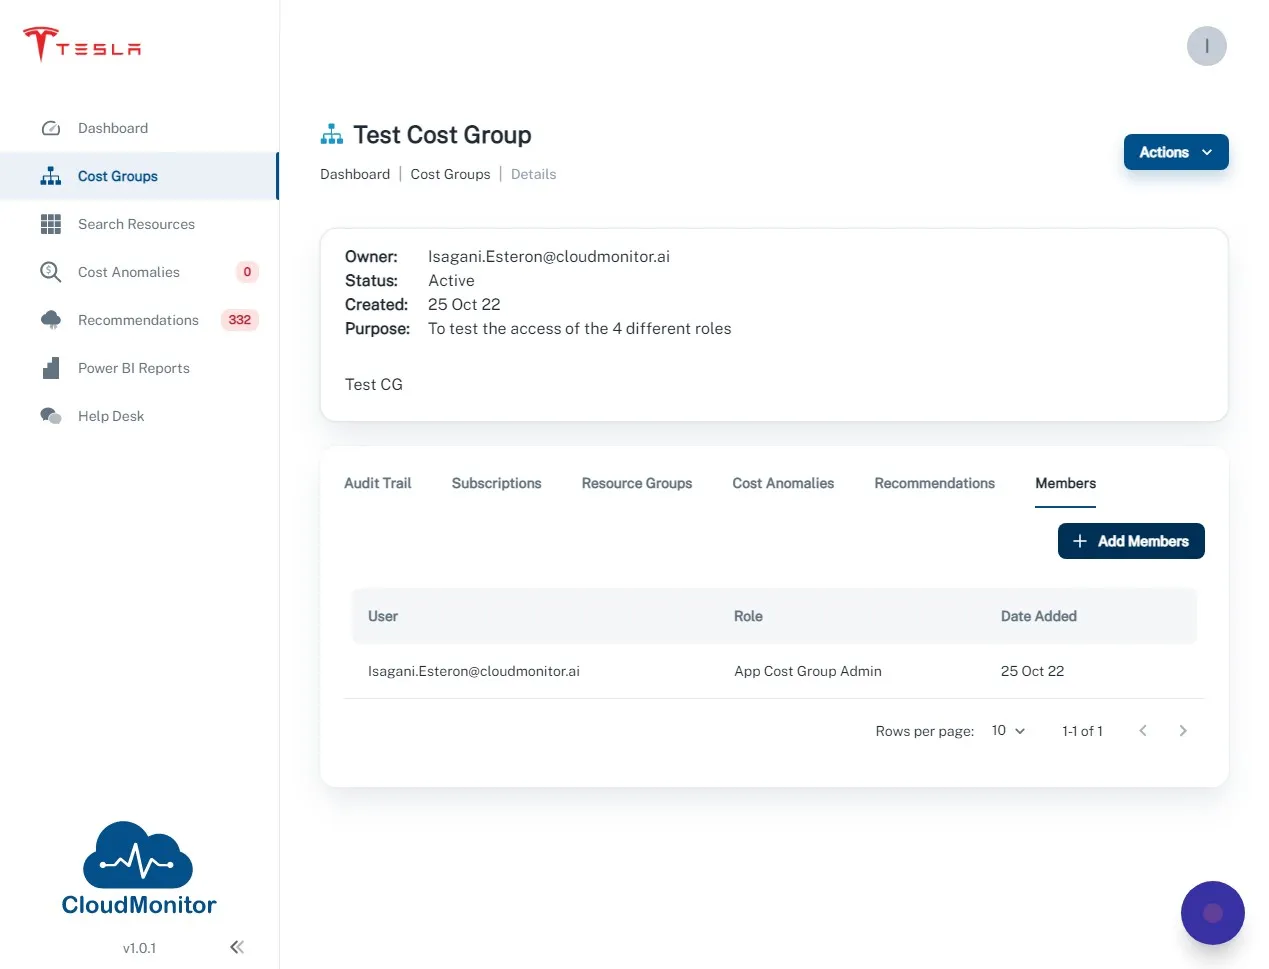
Step 38
Section titled “Step 38”Click “Members” tab.
Step 39
Section titled “Step 39”Click “Add Members”
Step 40
Section titled “Step 40”Search for the email address of your new user.
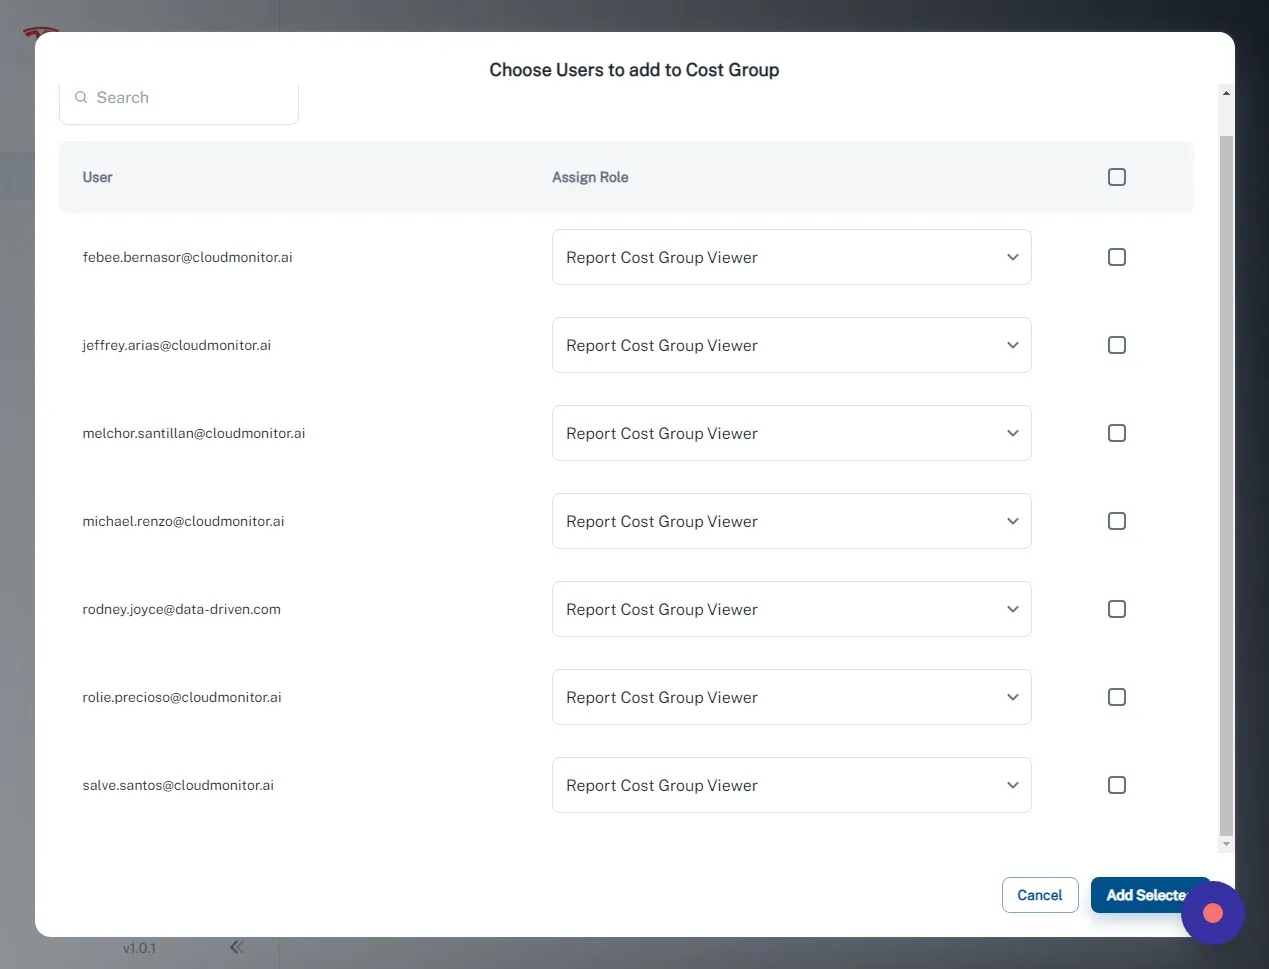
Step 41
Section titled “Step 41”Select “Report Cost Group Viewer”
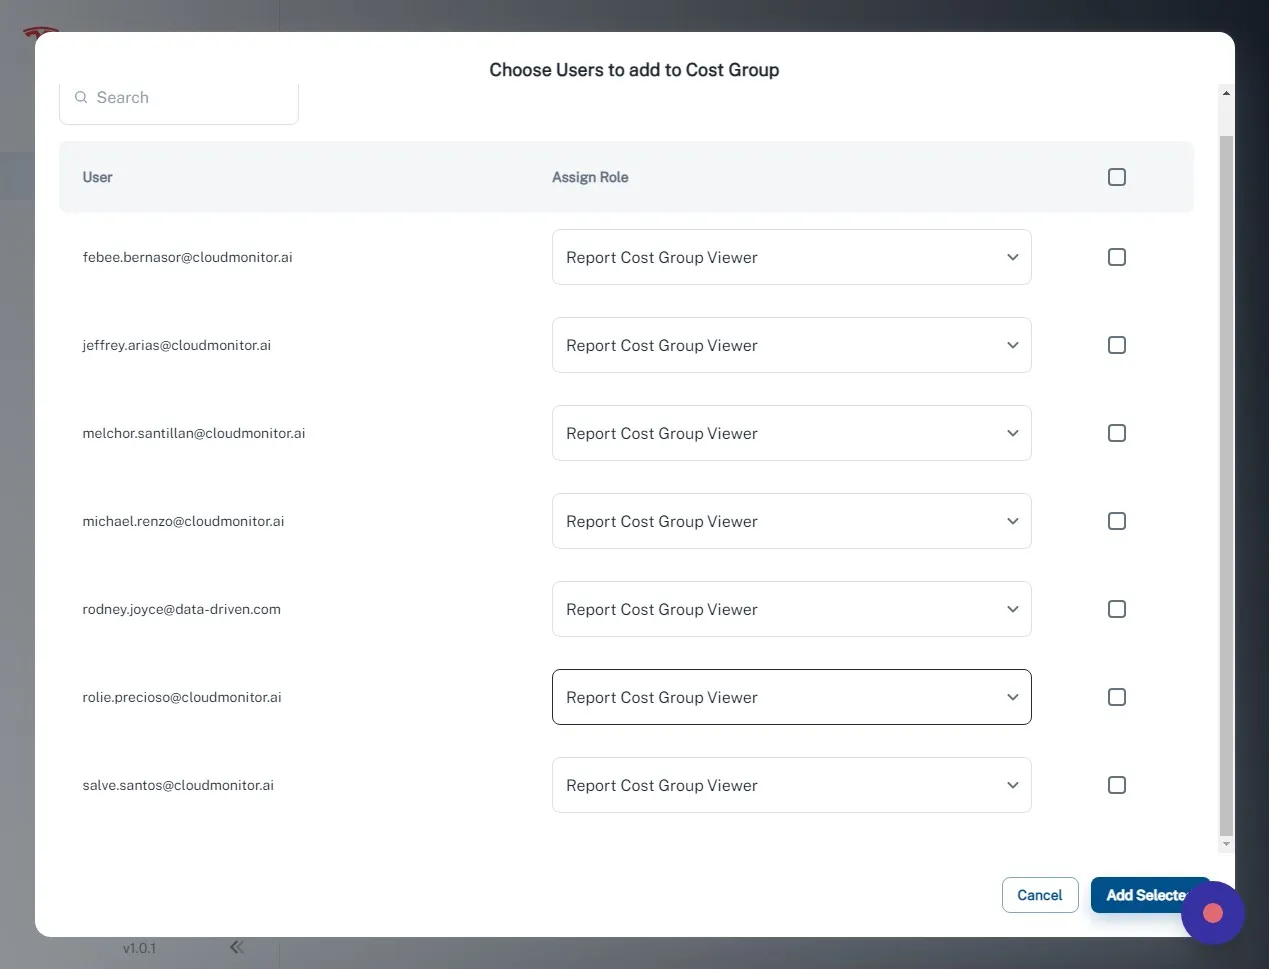
Step 42
Section titled “Step 42”Click this checkbox.
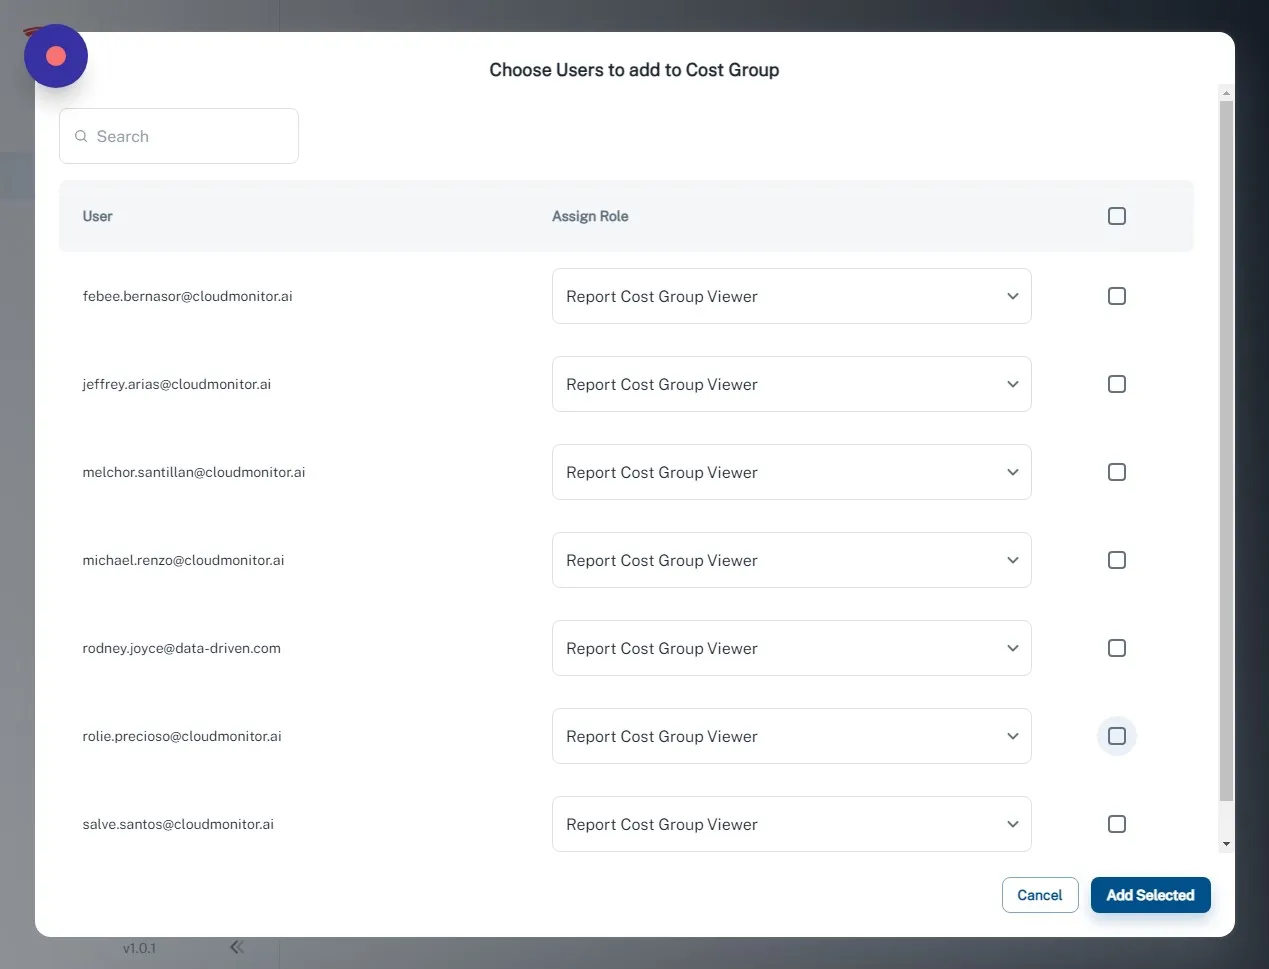
Step 43
Section titled “Step 43”Click “Add Selected”
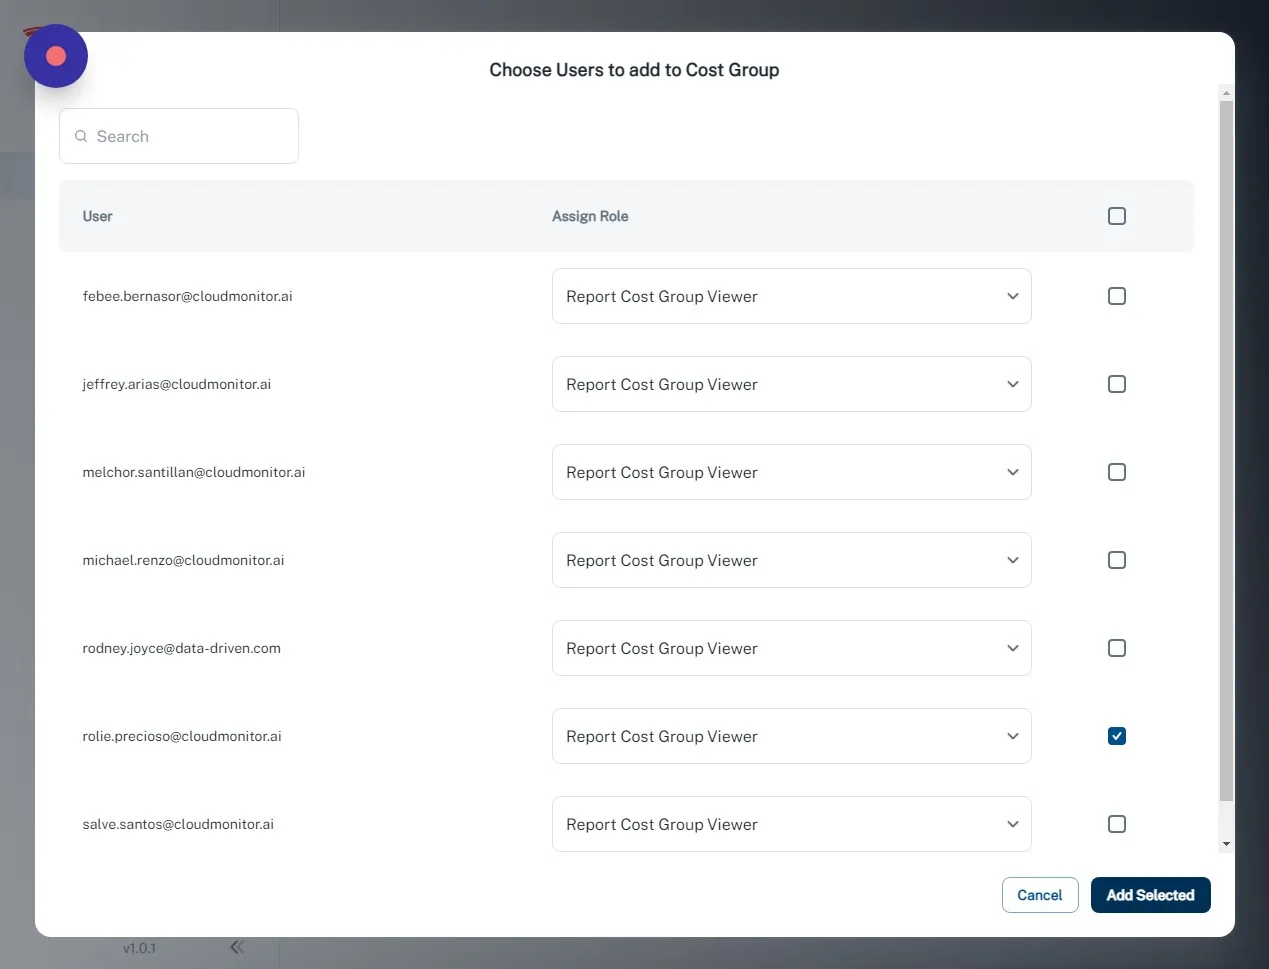
Step 44
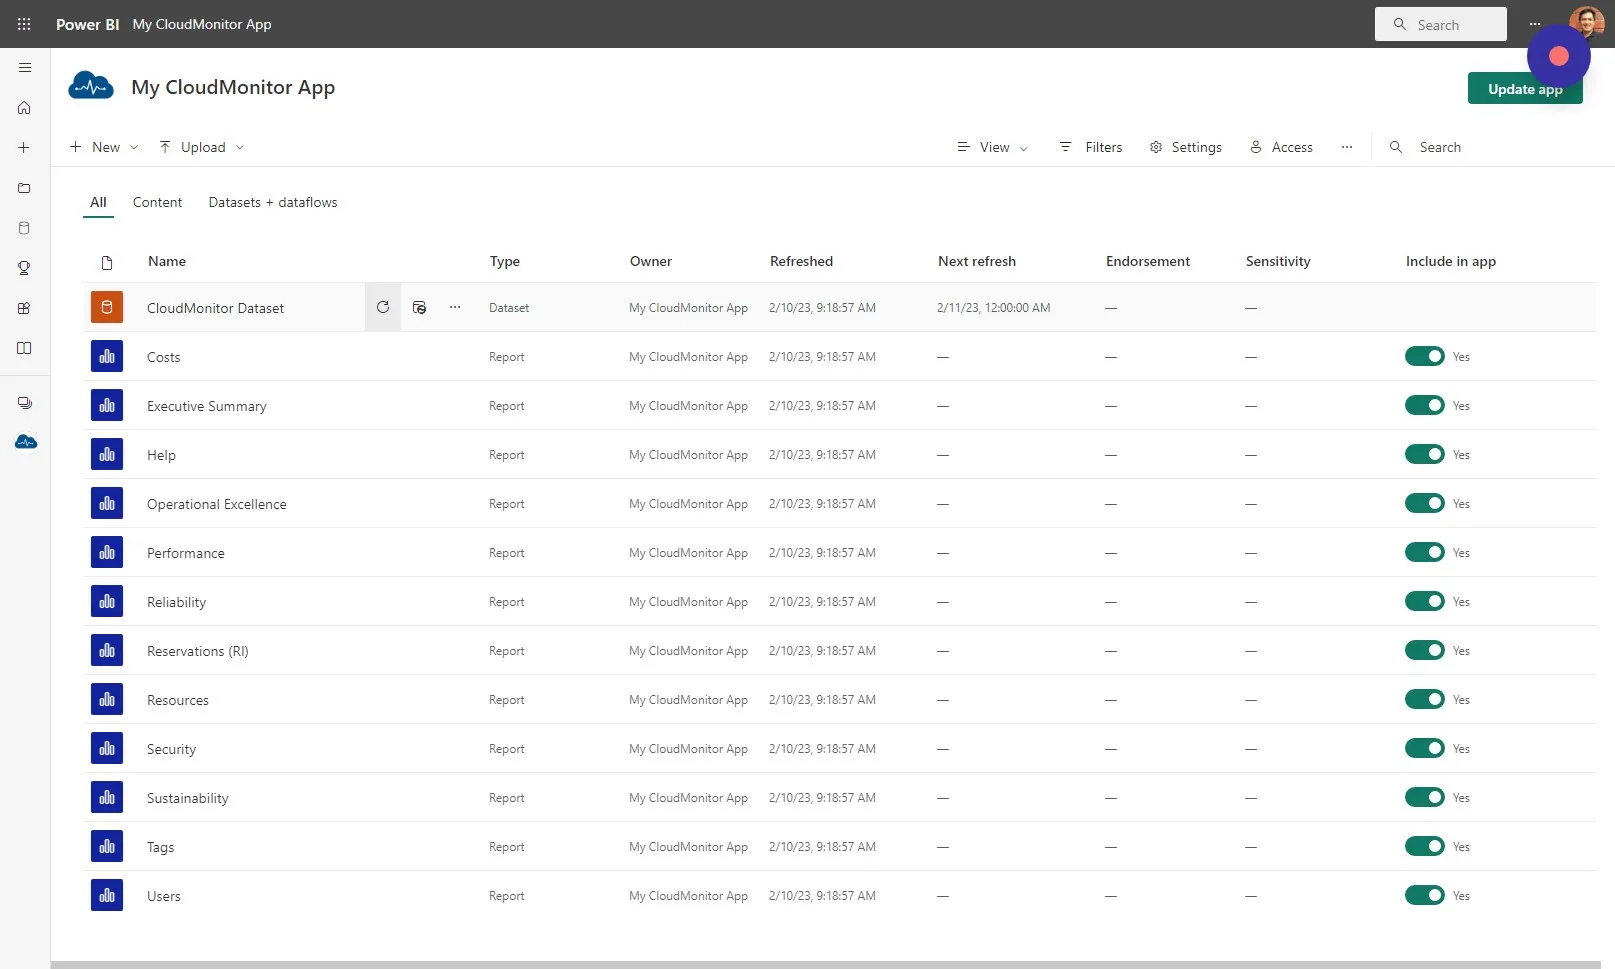
Section titled “Step 44”Head back to the workspace of your CloudMonitor Power Bi App and click the “refresh” icon next to your CloudMonitor Dataset. This will take a few minutes to complete.
Step 45
Section titled “Step 45”Your new user will now be able to see any data that belongs to the Cost Group you selected and you can now share your CloudMonitor Power BI App to your new user.
Step 46
Section titled “Step 46”Last step is to get the link to your CloudMonitor Power BI App.
Step 47
Section titled “Step 47”Click “Update app”

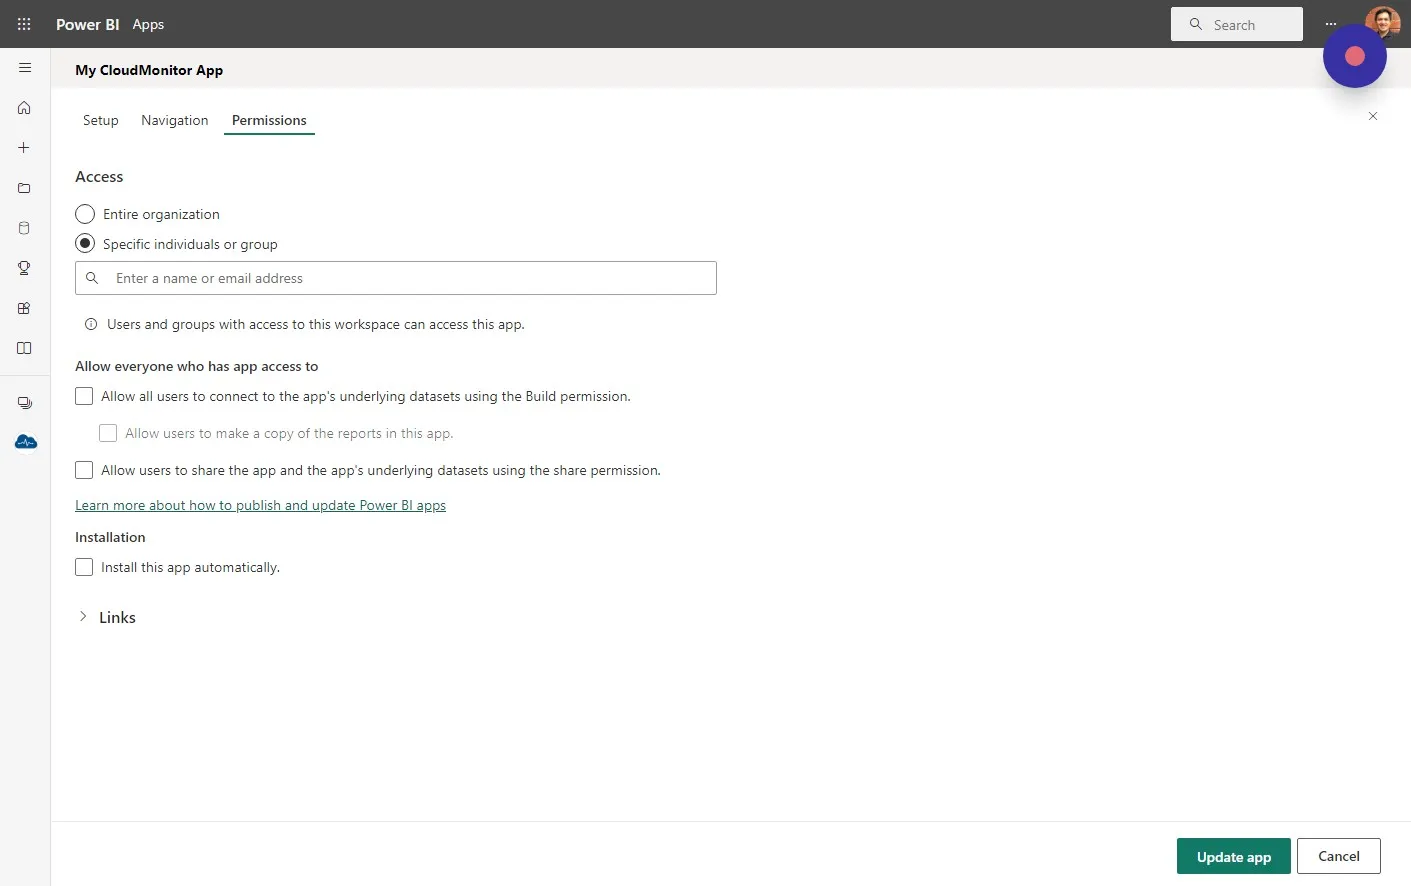
Step 48
Section titled “Step 48”Click “Permissions”
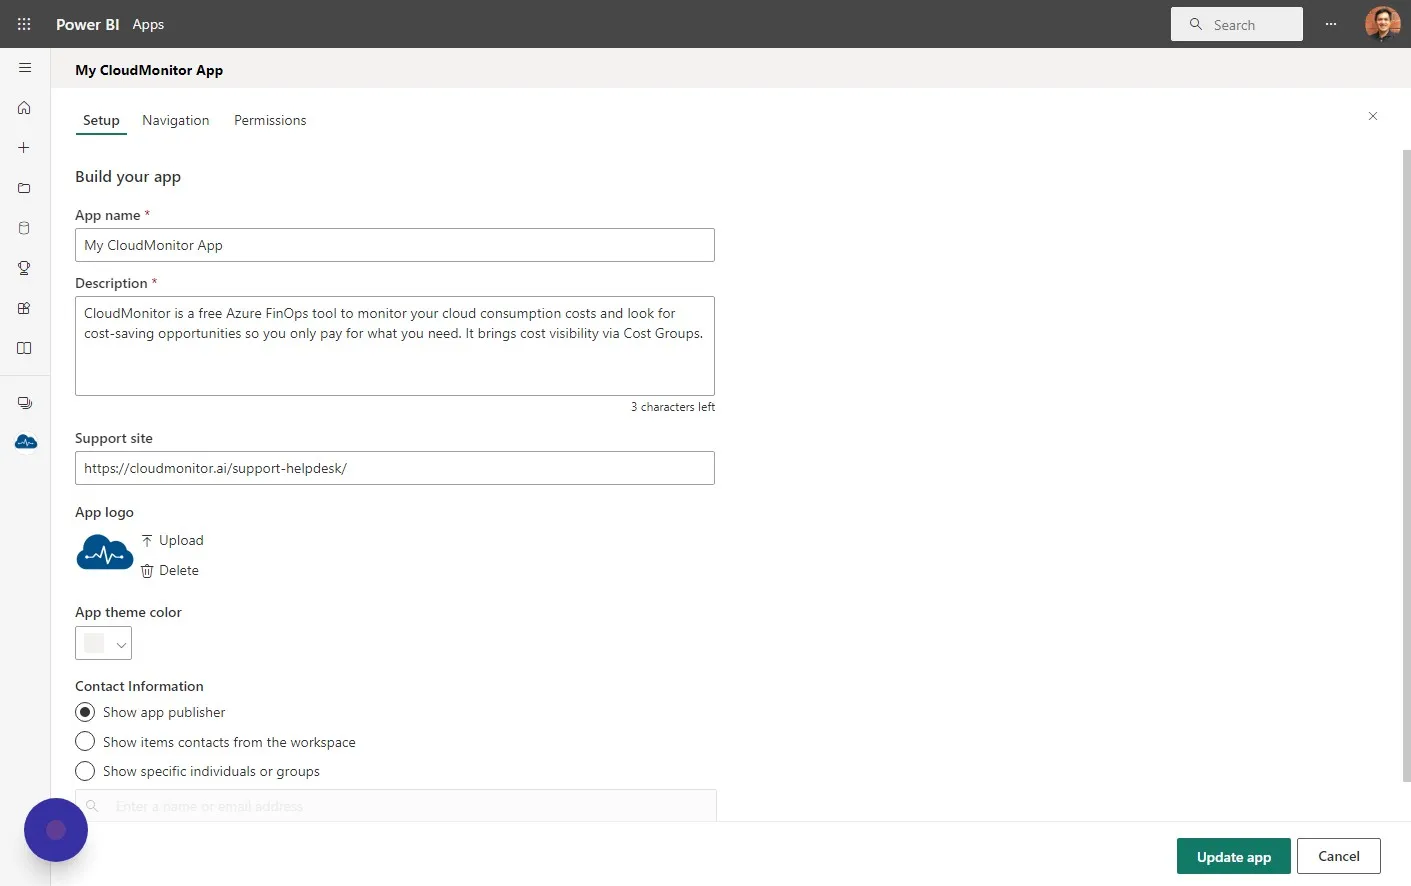
Step 49
Section titled “Step 49”Click “Links”
Step 50
Section titled “Step 50”You can now share and send this link to your new members.
