Configure Storage for scheduled Exports legacy
Step 1
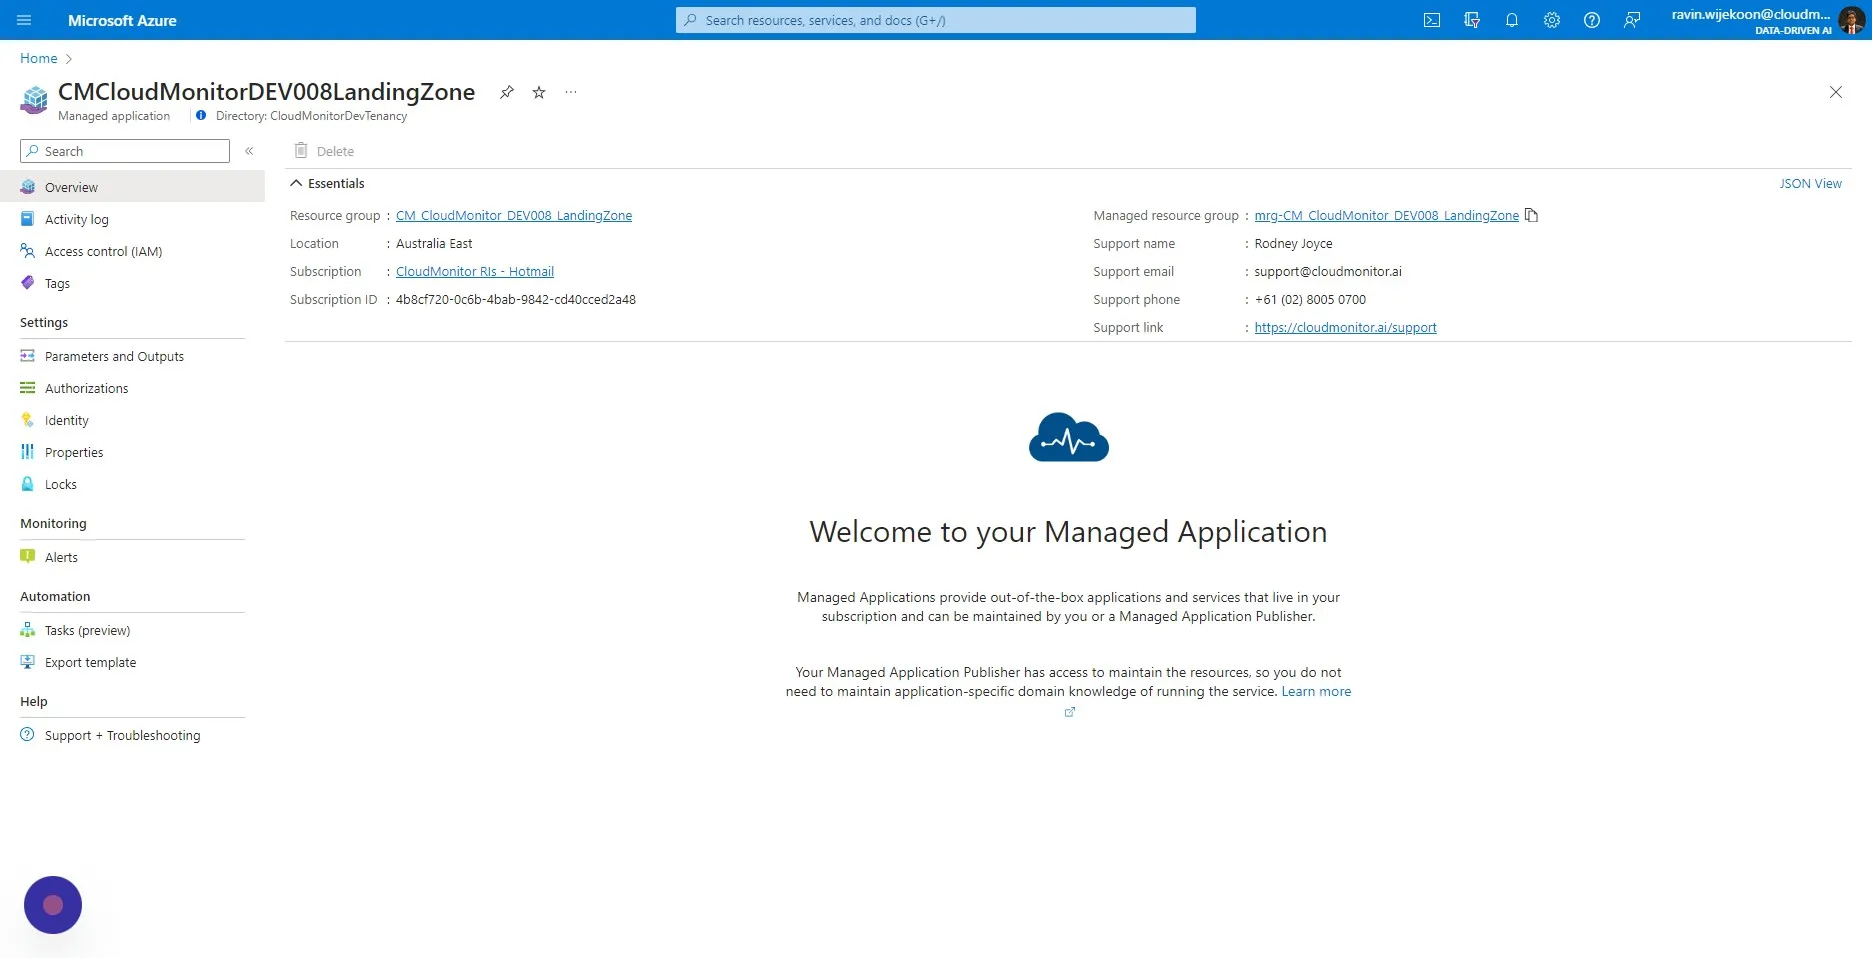
Section titled “Step 1”Navigate the CloudMonitor Managed Application and Click on the Managed Resource Group.
Step 2
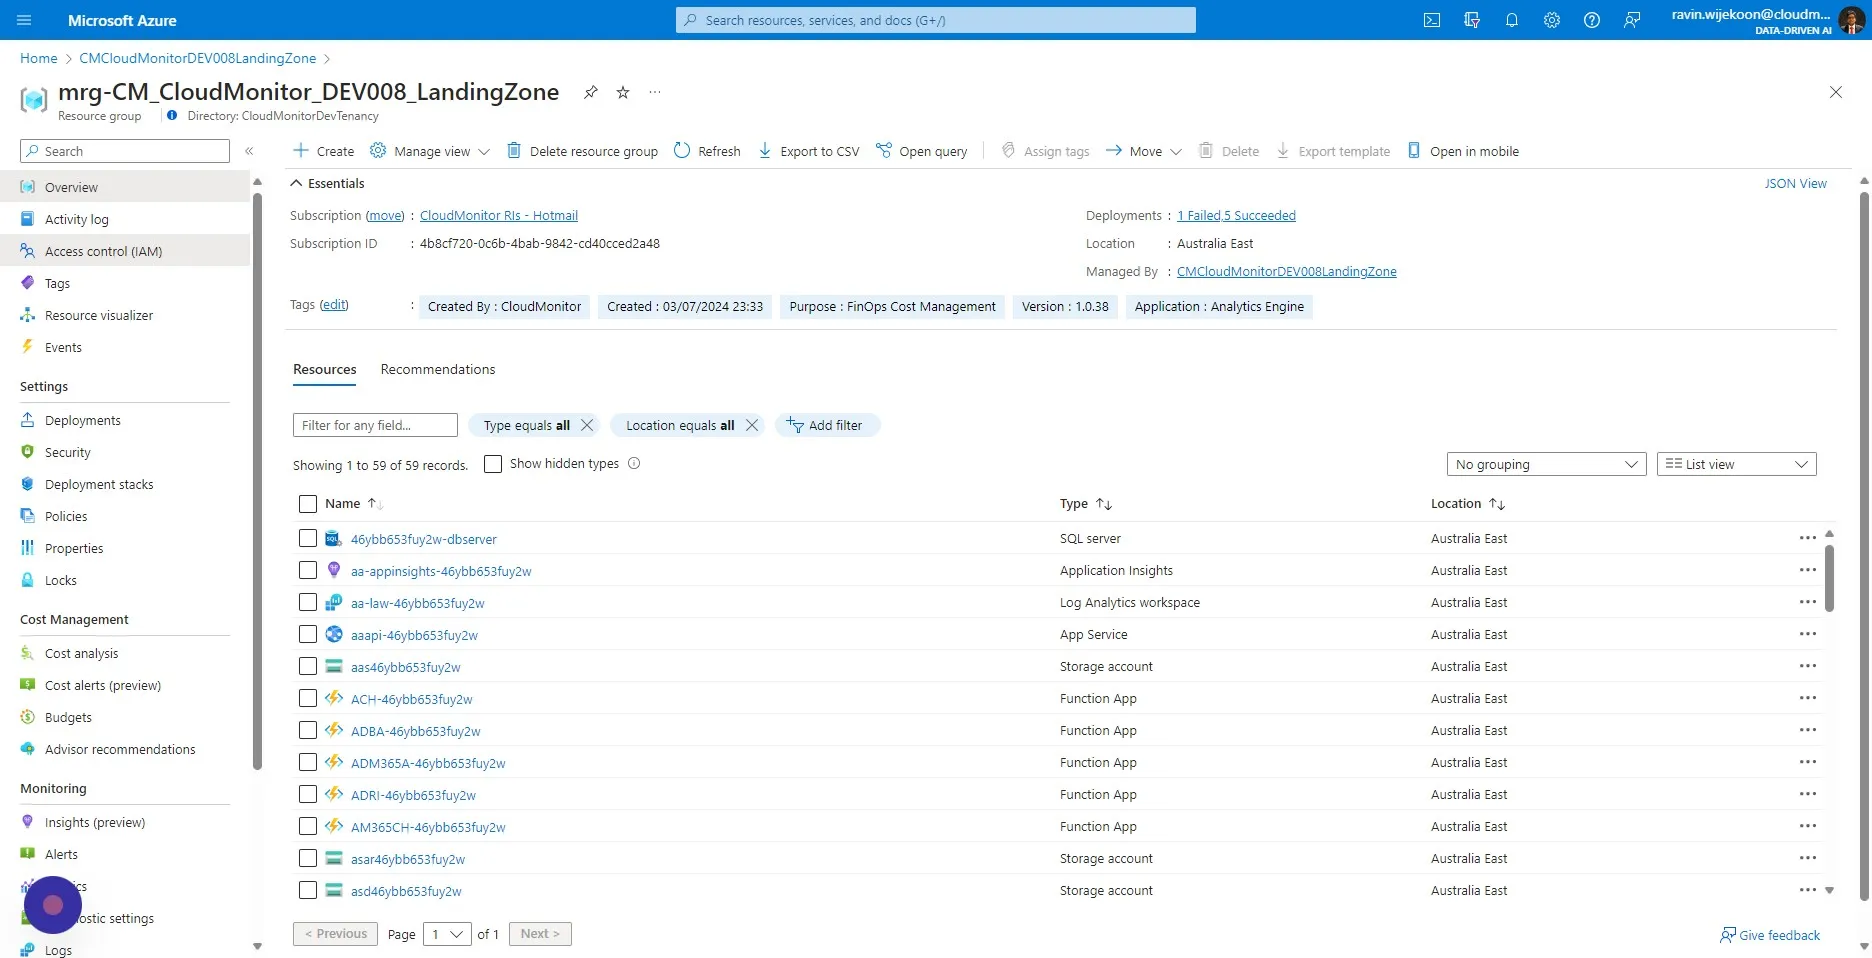
Section titled “Step 2”Click “Access control (IAM)”
Step 3
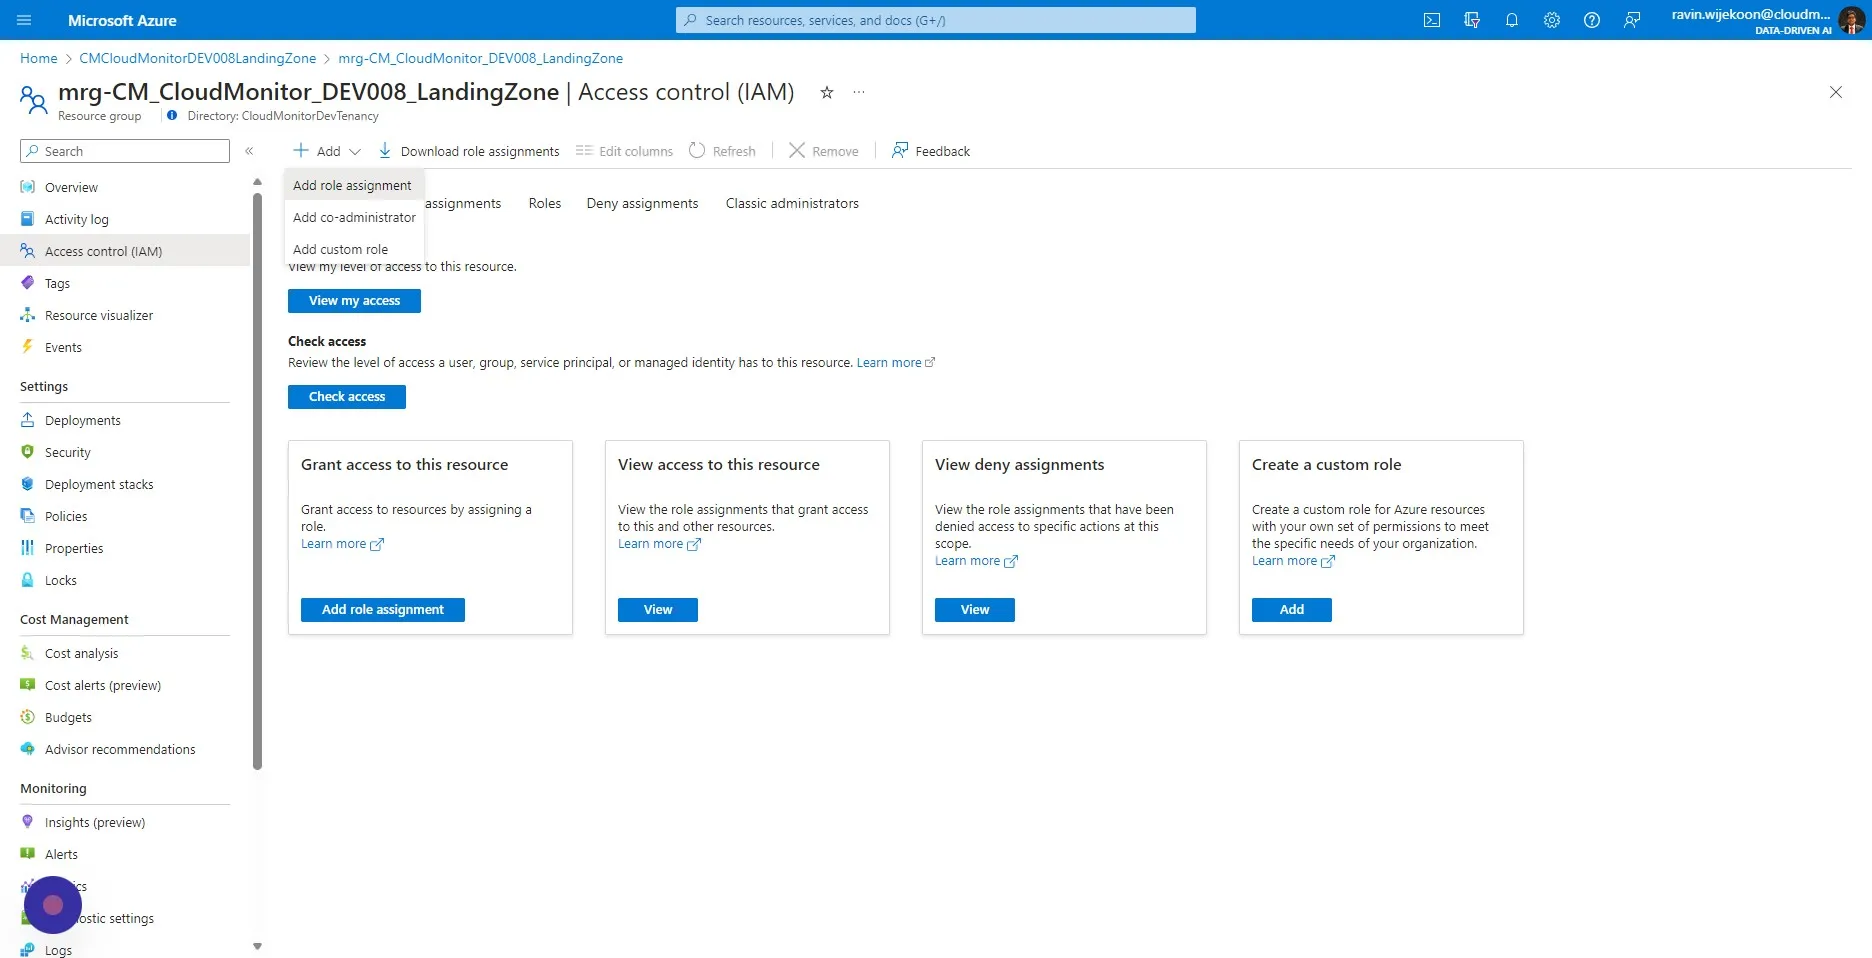
Section titled “Step 3”Click on “+Add” and then select “Add role assignment”.
Step 4
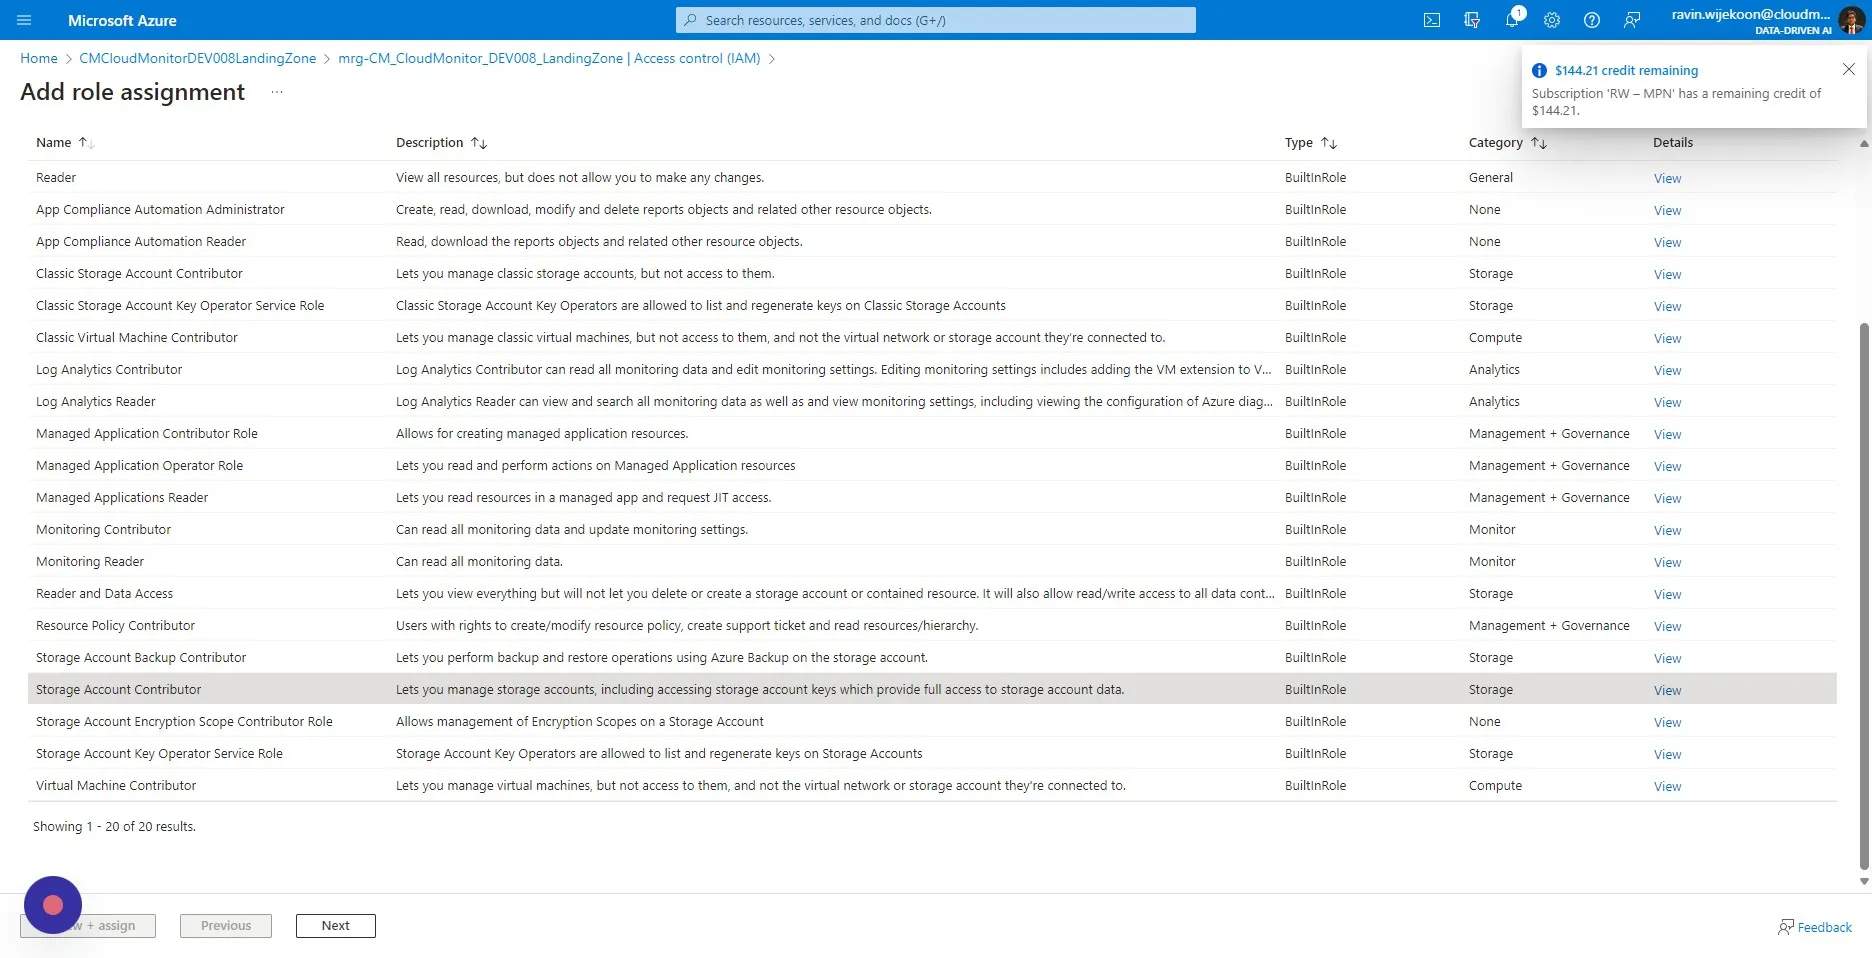
Section titled “Step 4”Search and select “Storage Account Contributor”
Step 5
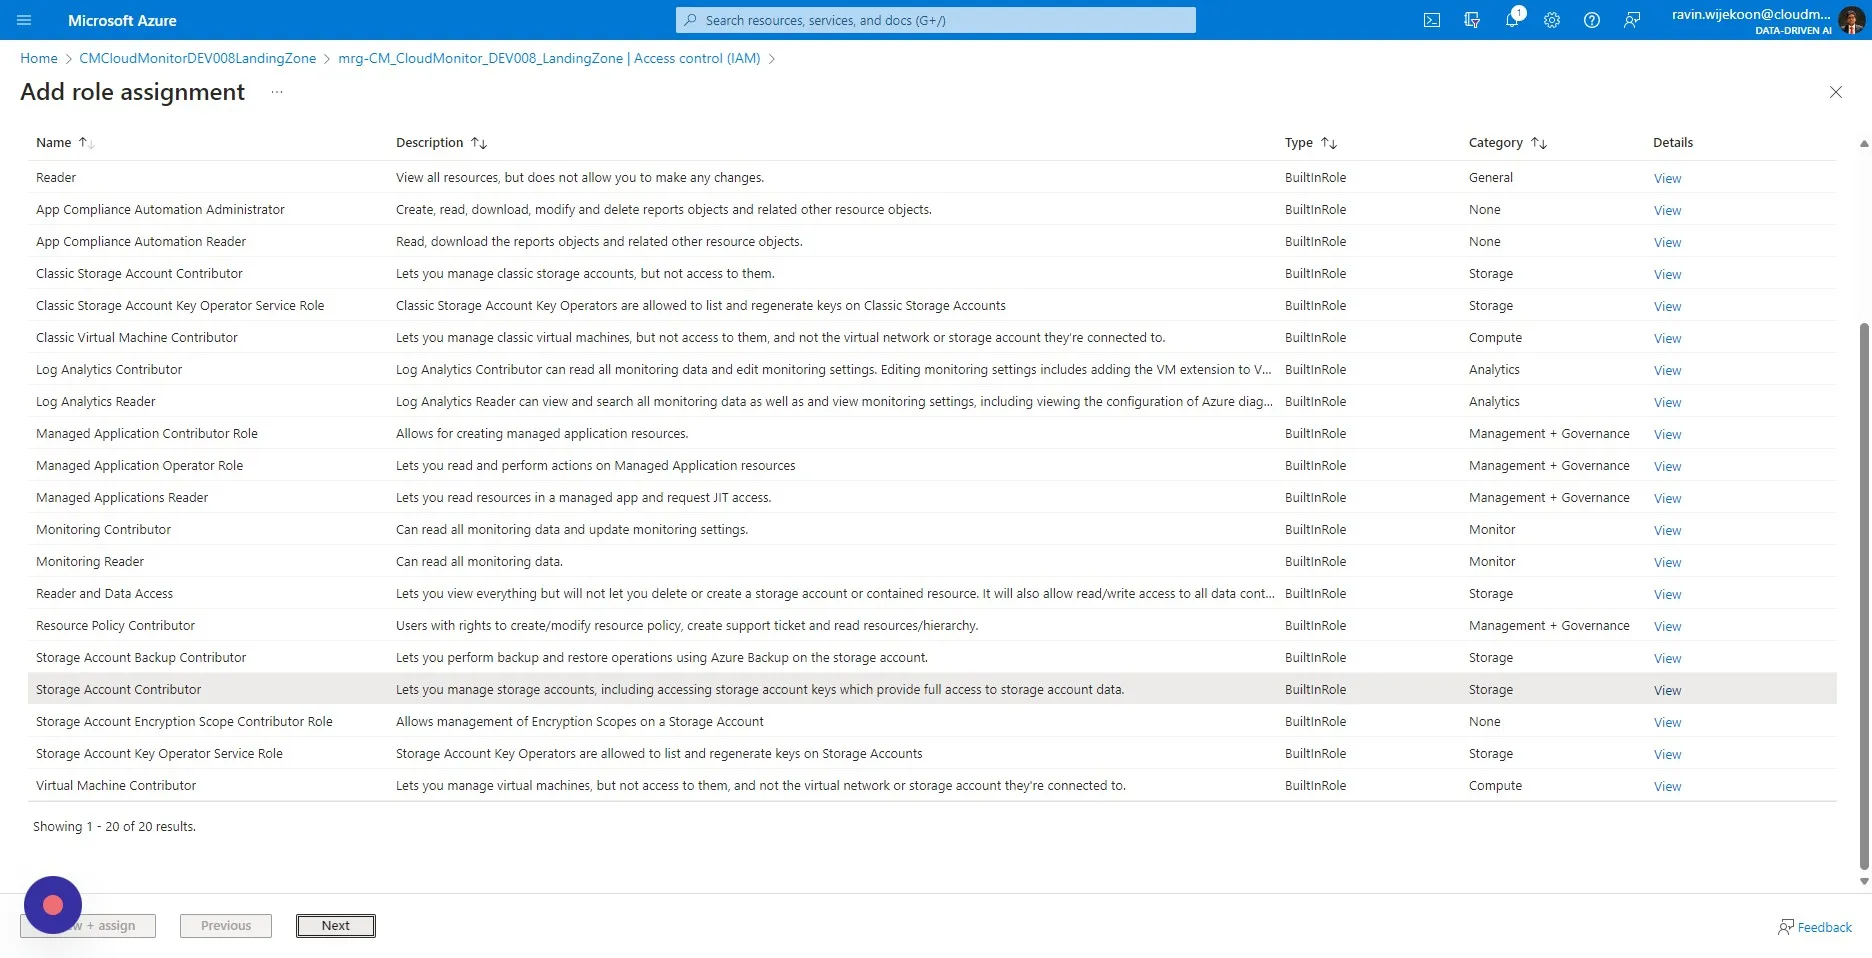
Section titled “Step 5”Click “Next”
Step 6
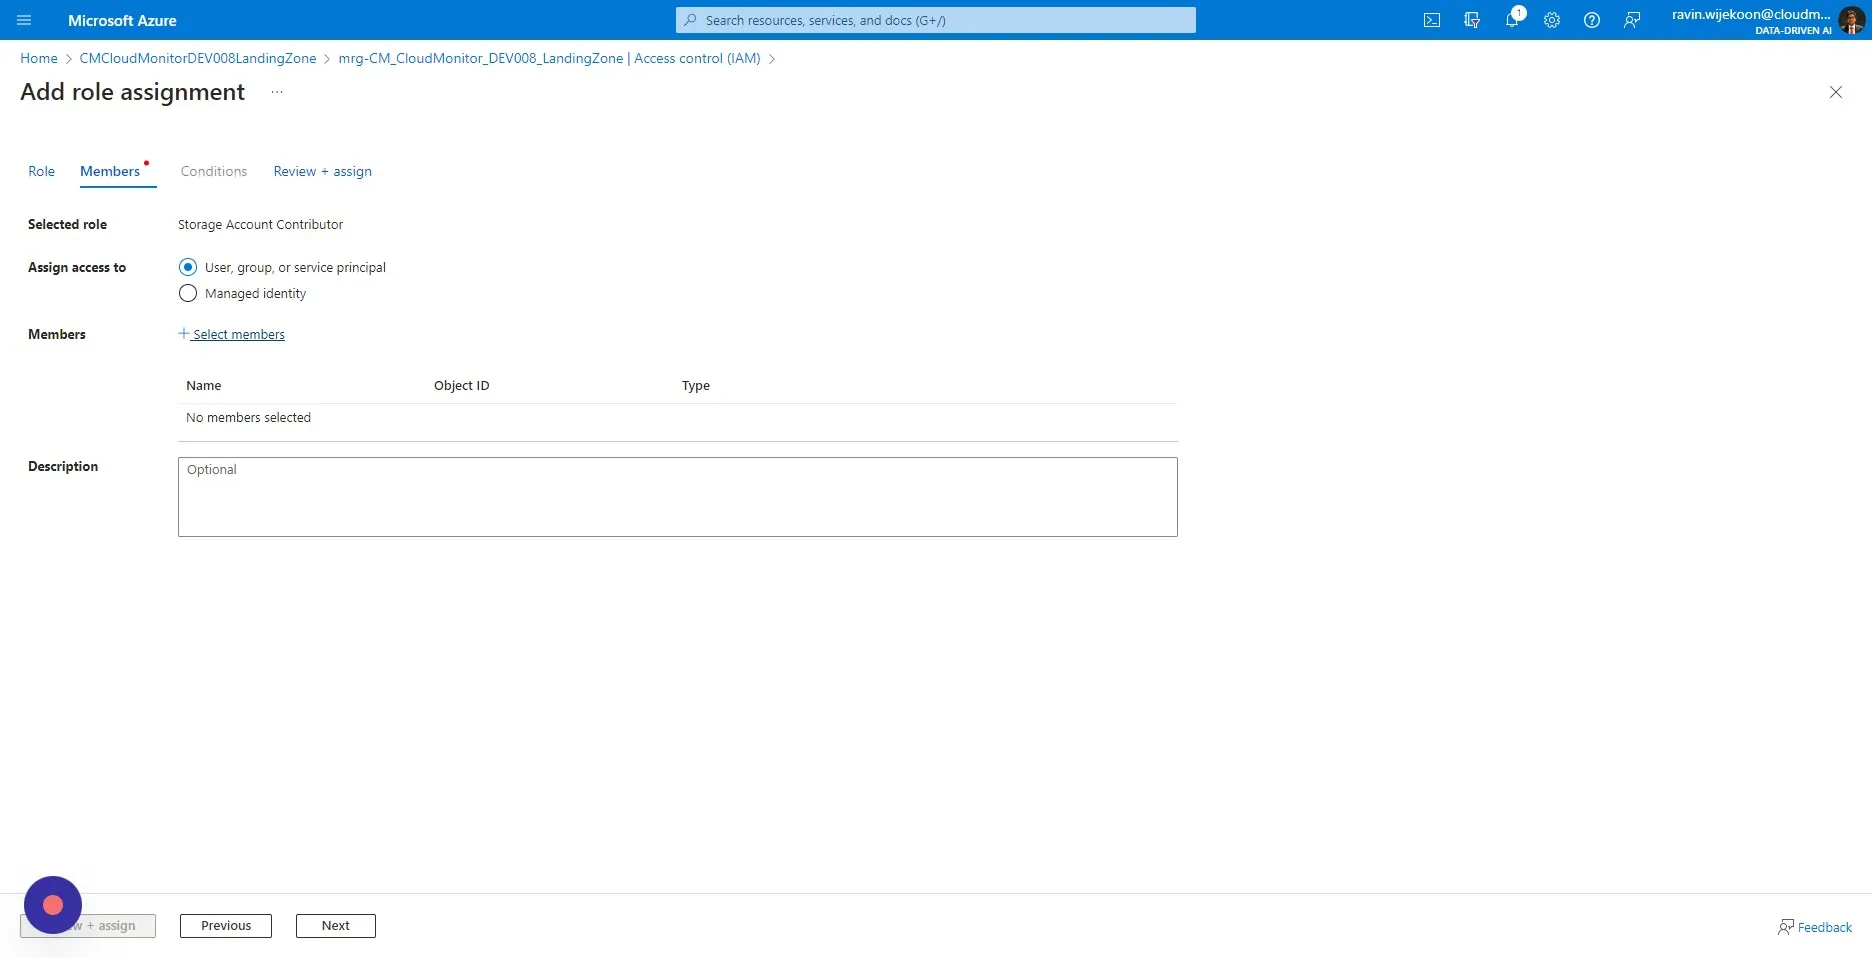
Section titled “Step 6”Click “Select members”
Step 7
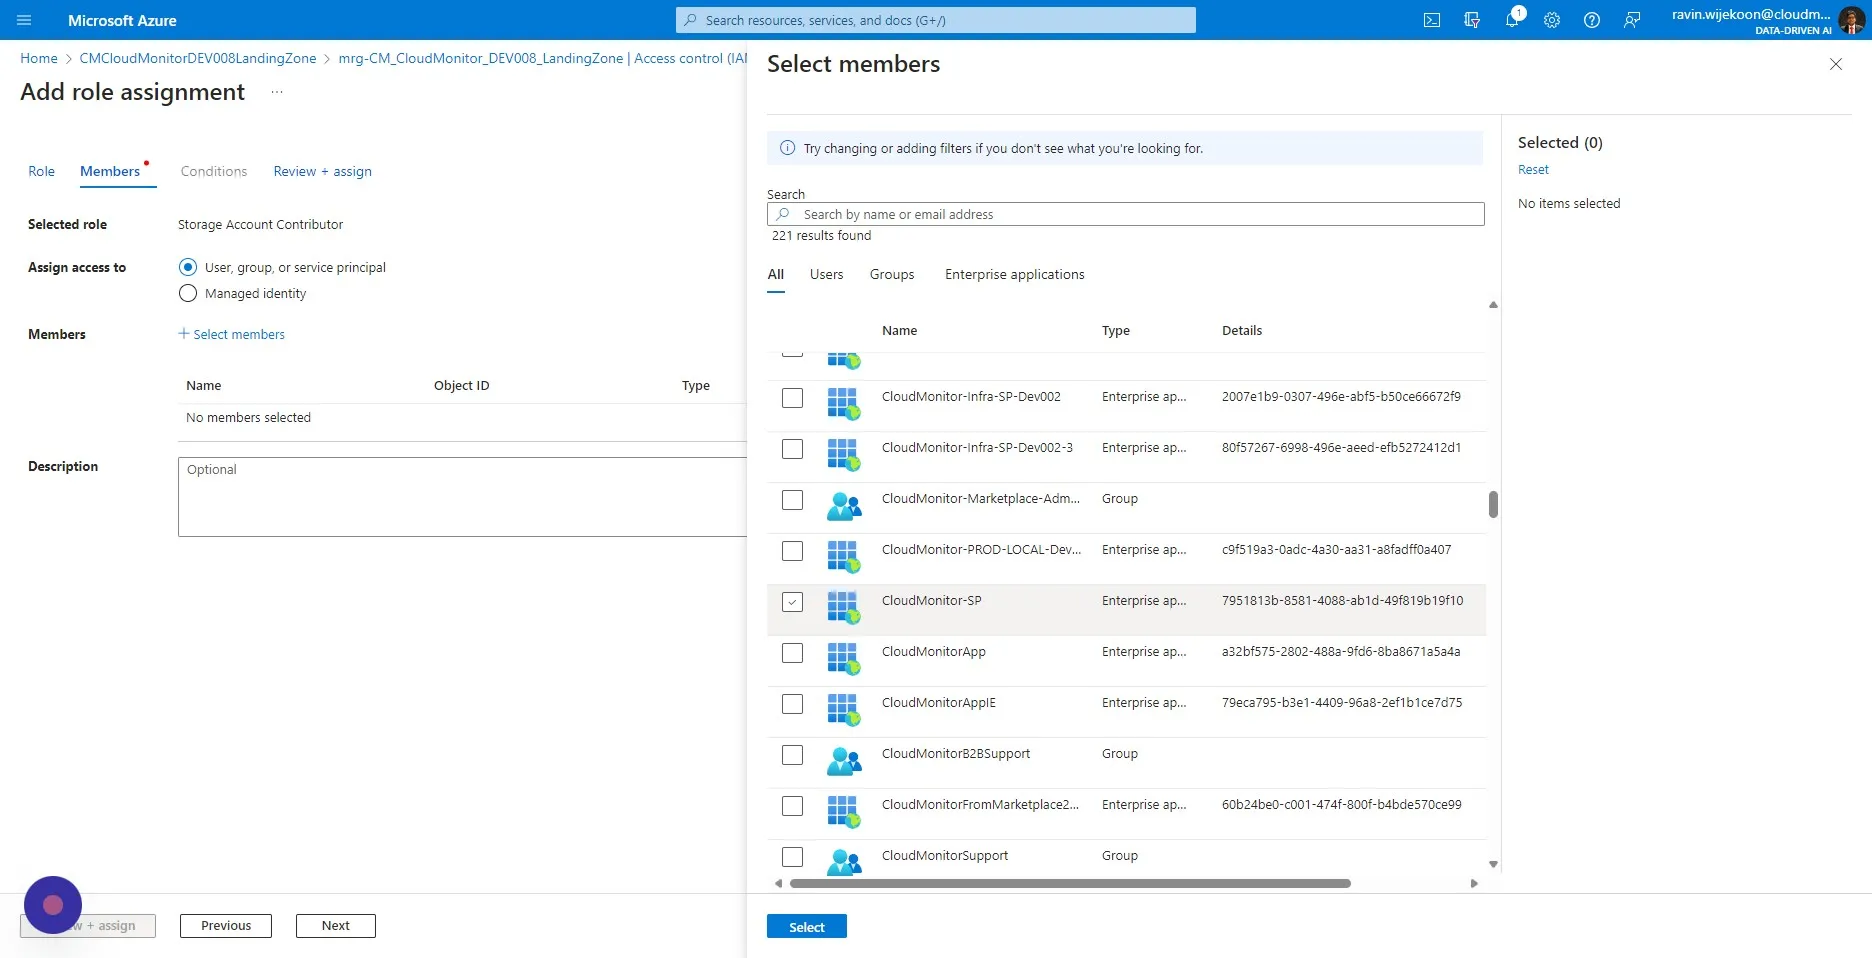
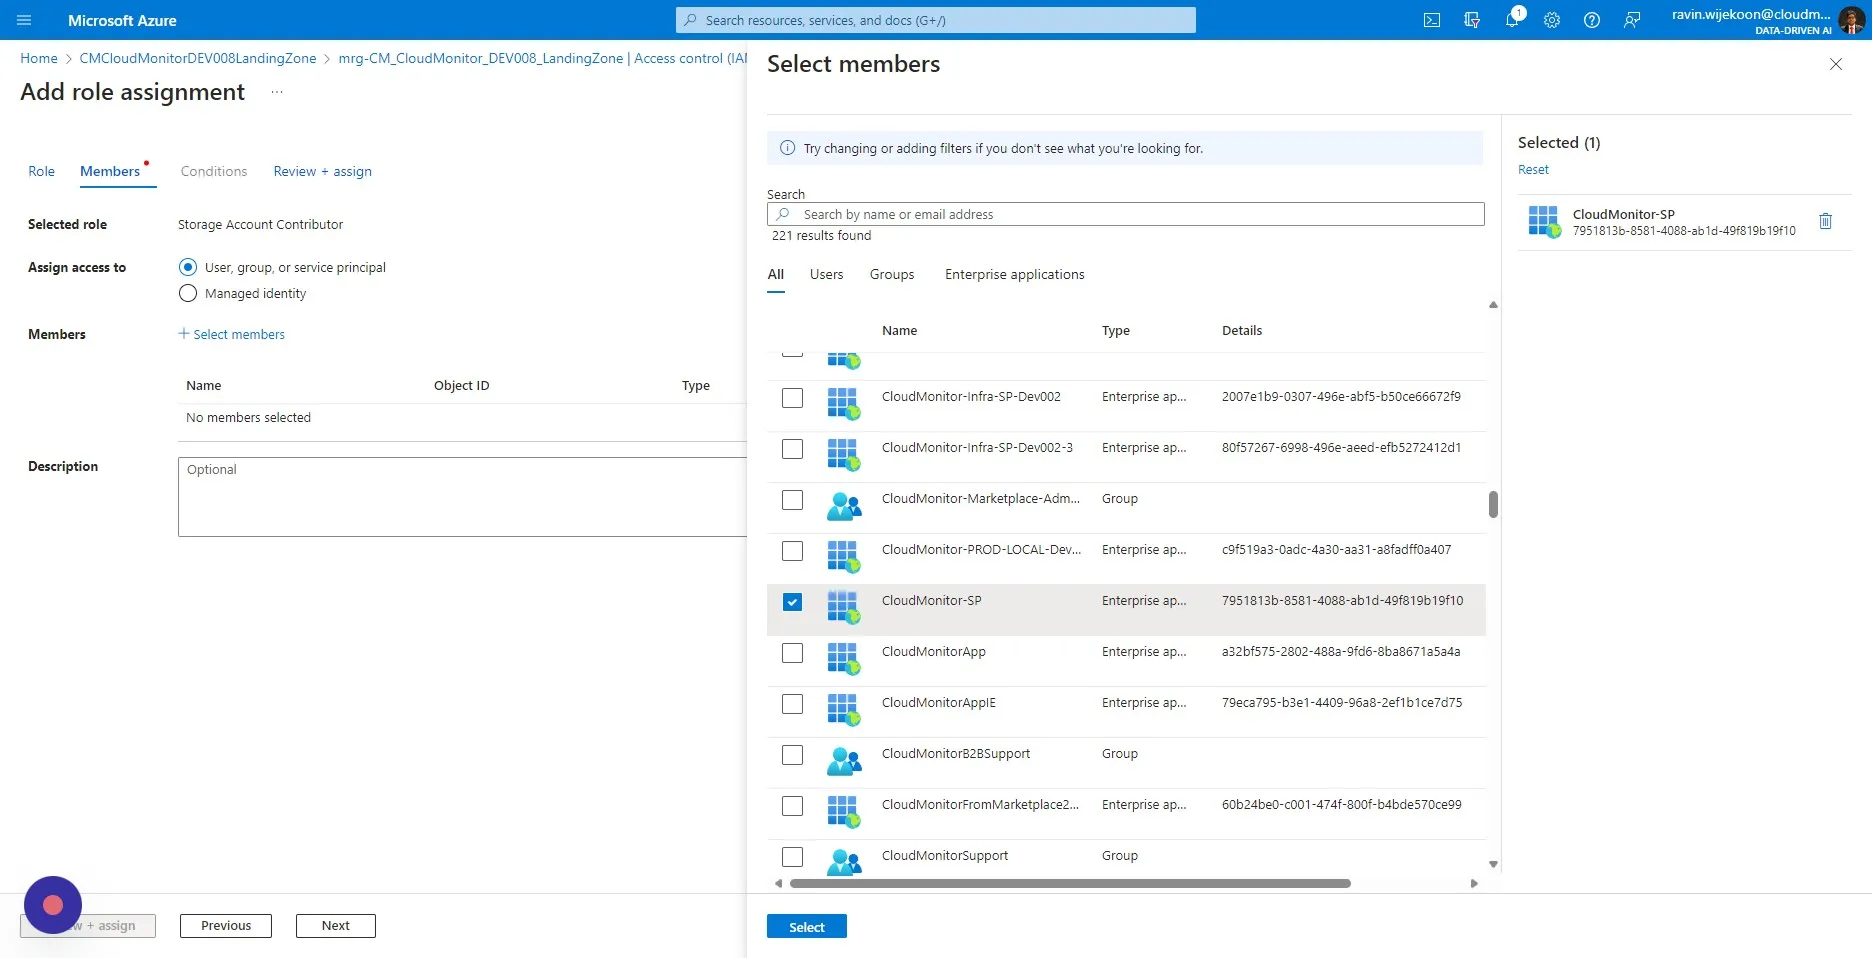
Section titled “Step 7”Select the CloudMonitor Service Principal which was used in the installation.
In this case we are selecting “CloudMonitor-SP”
Step 8
Section titled “Step 8”Click “Select”
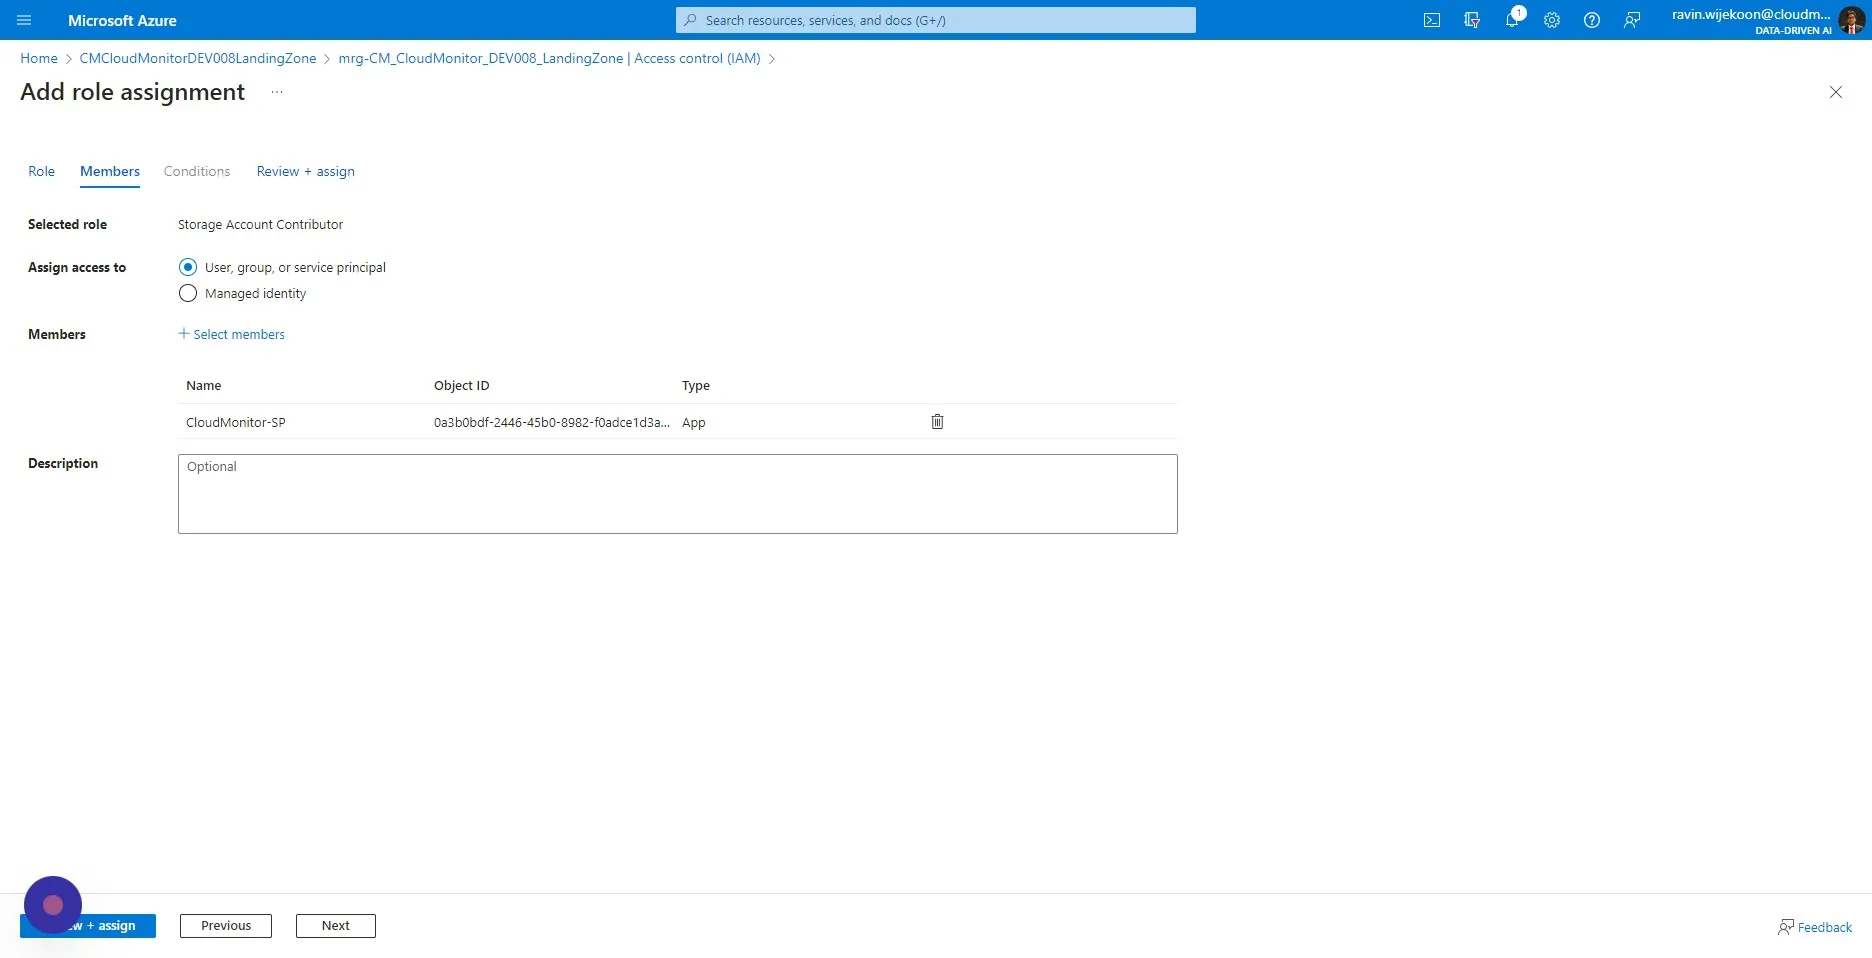
Step 9
Section titled “Step 9”Click “Review + assign”
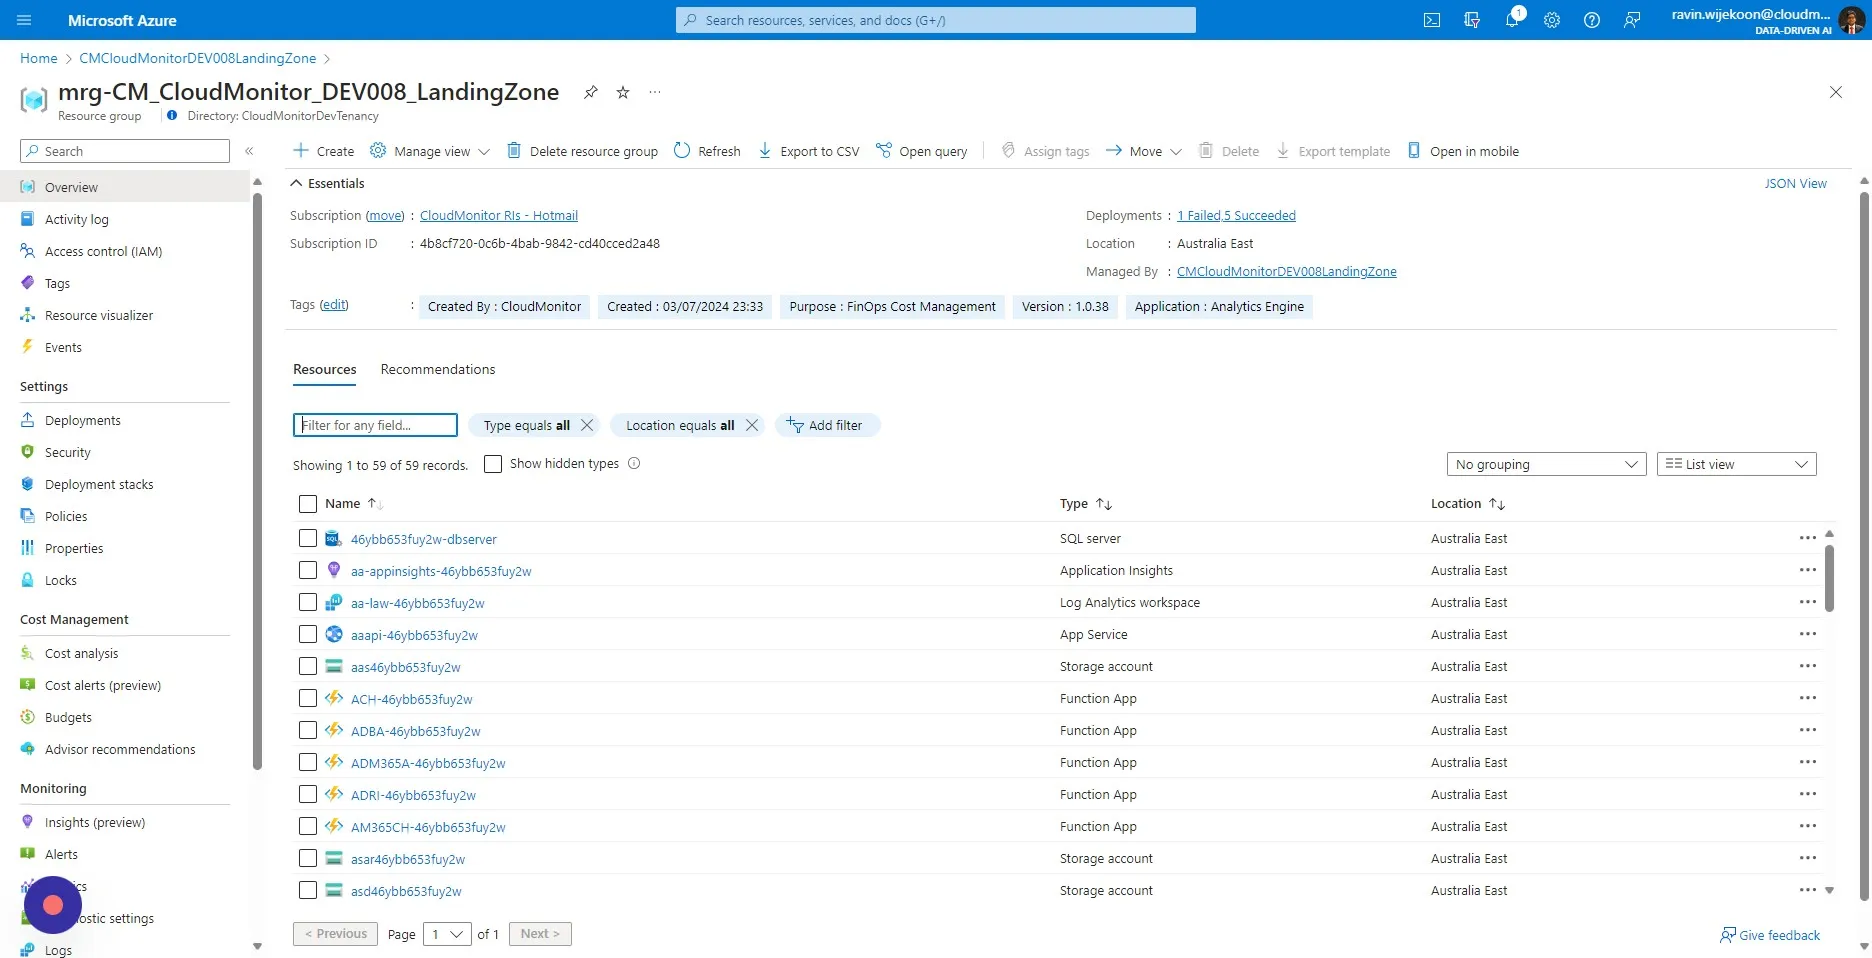
Step 10
Section titled “Step 10”Now go back to your CloudMonitor Managed Resource Group
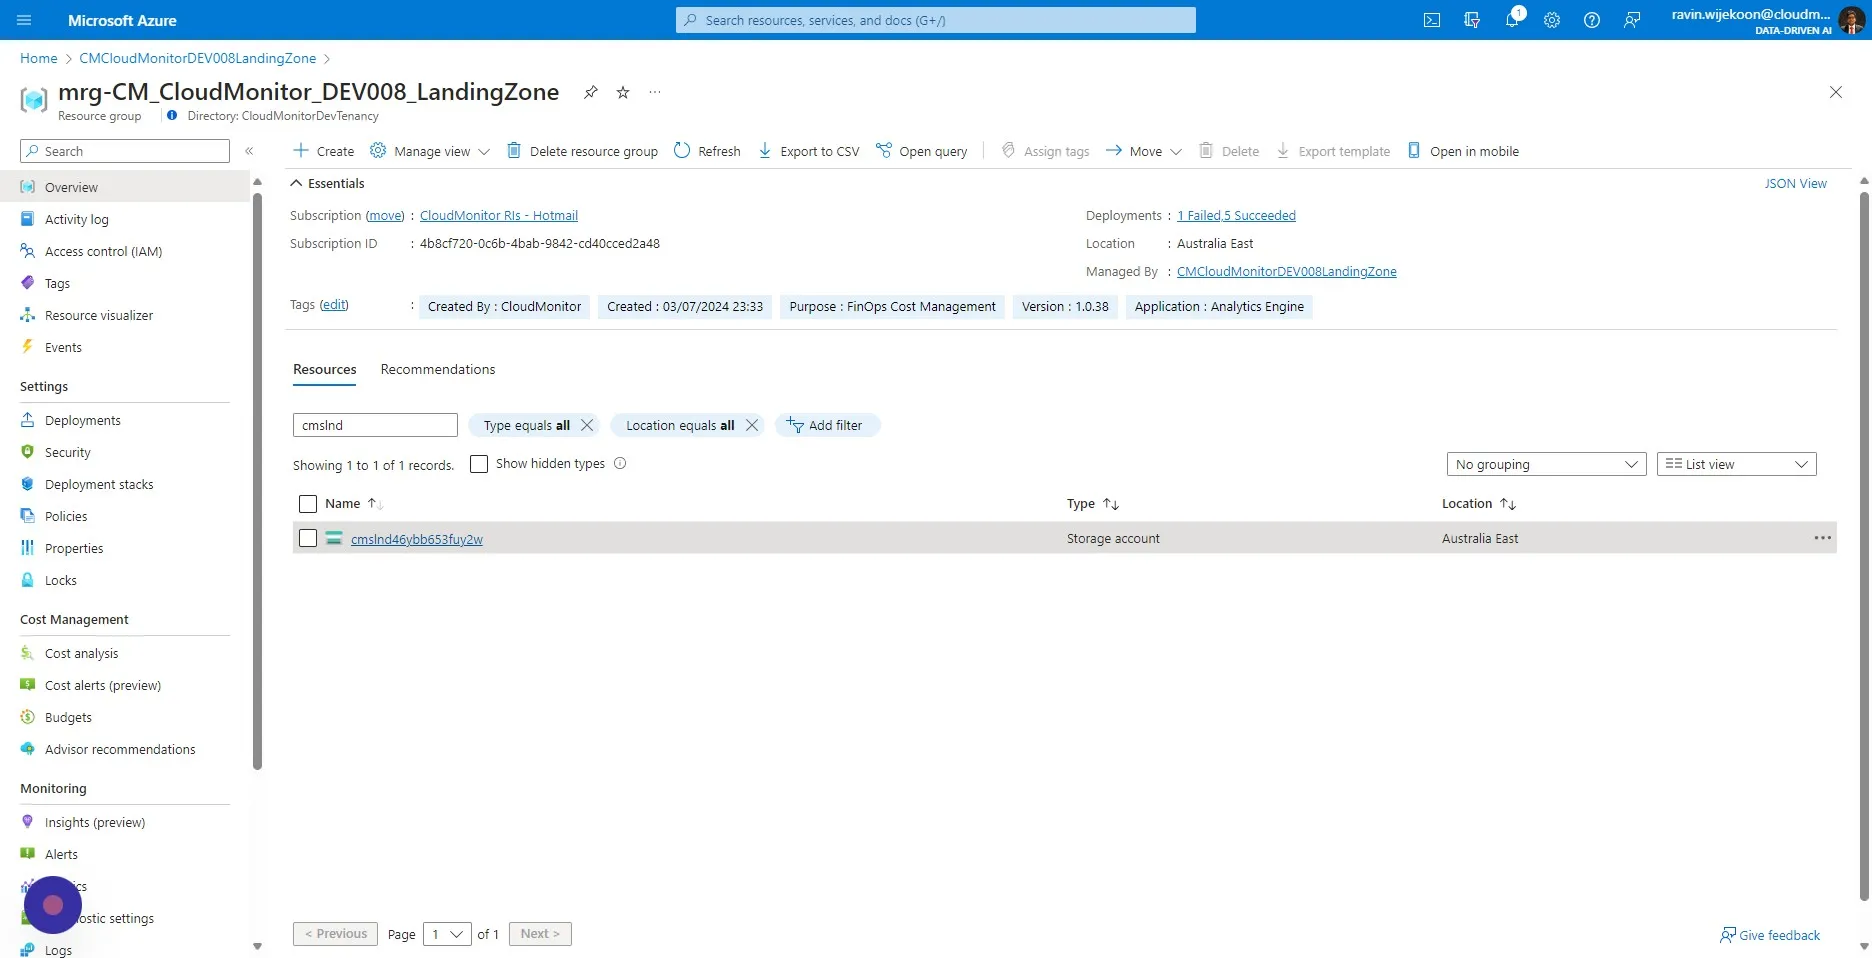
Step 11
Section titled “Step 11”Search for “cmslnd” in the search box and select the storage account which appears.
Step 12
Section titled “Step 12”Click “Access Control (IAM)”
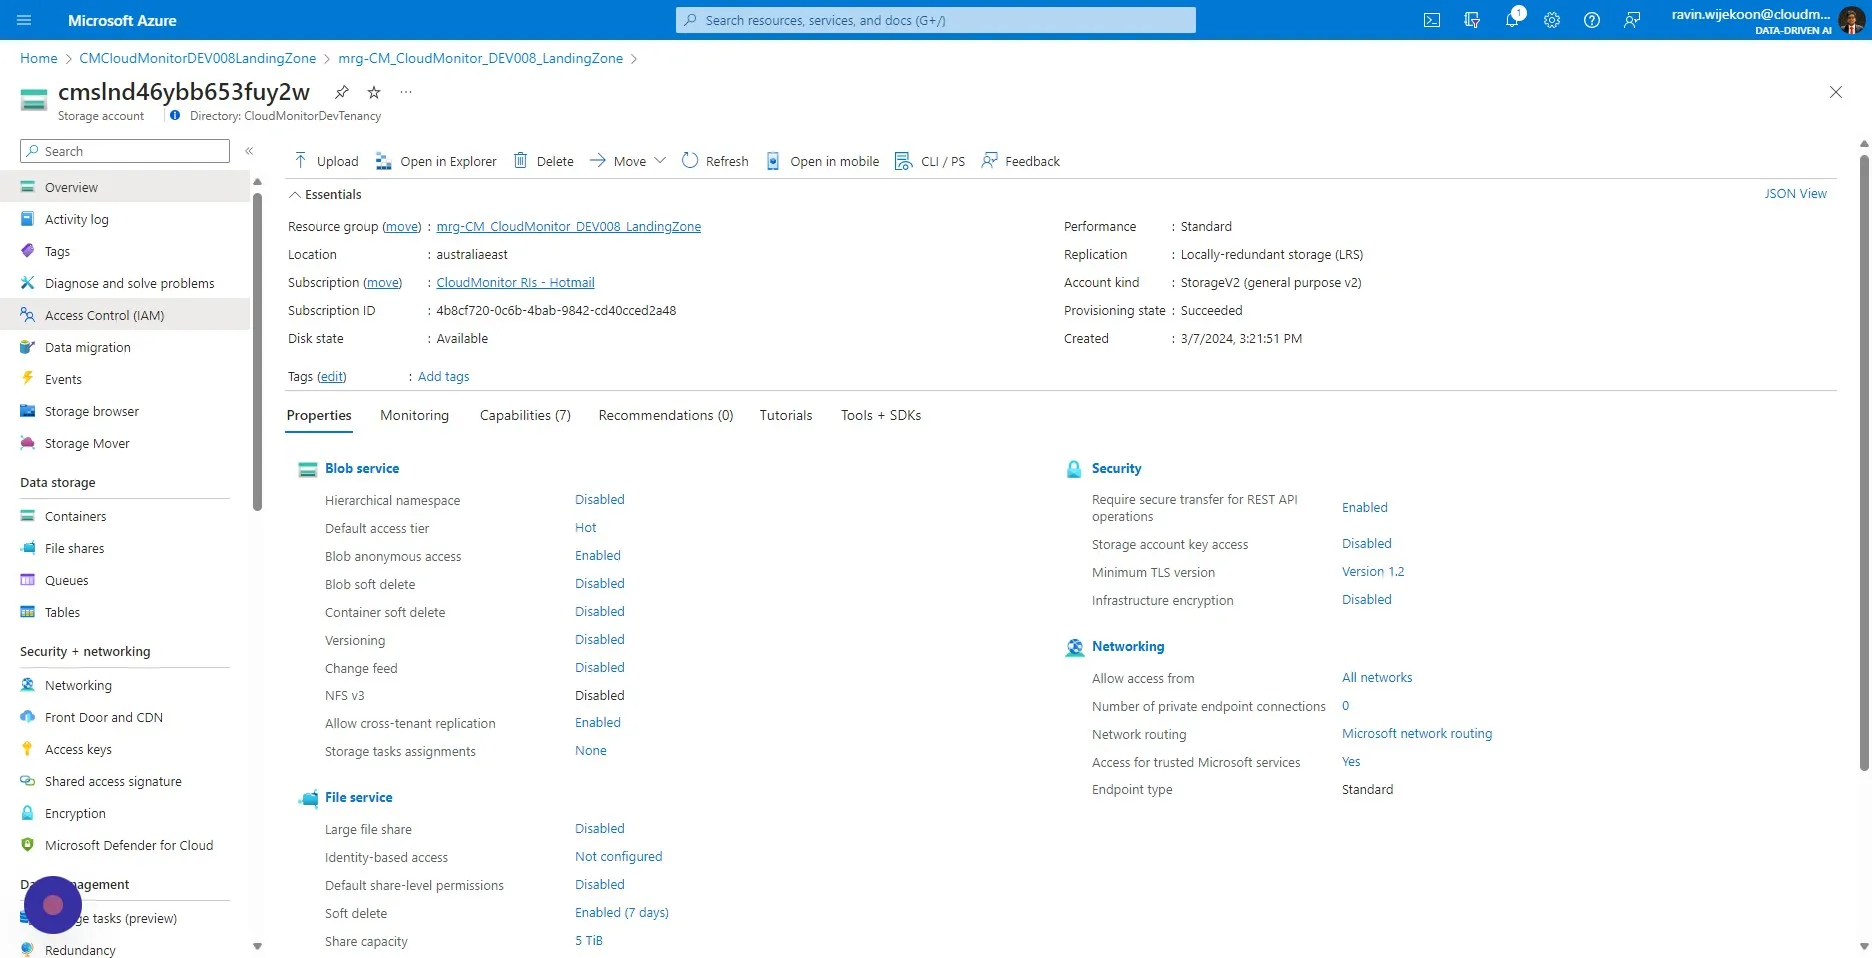
Step 13
Section titled “Step 13”Click on “+Add” and then select “Add role assignment”.
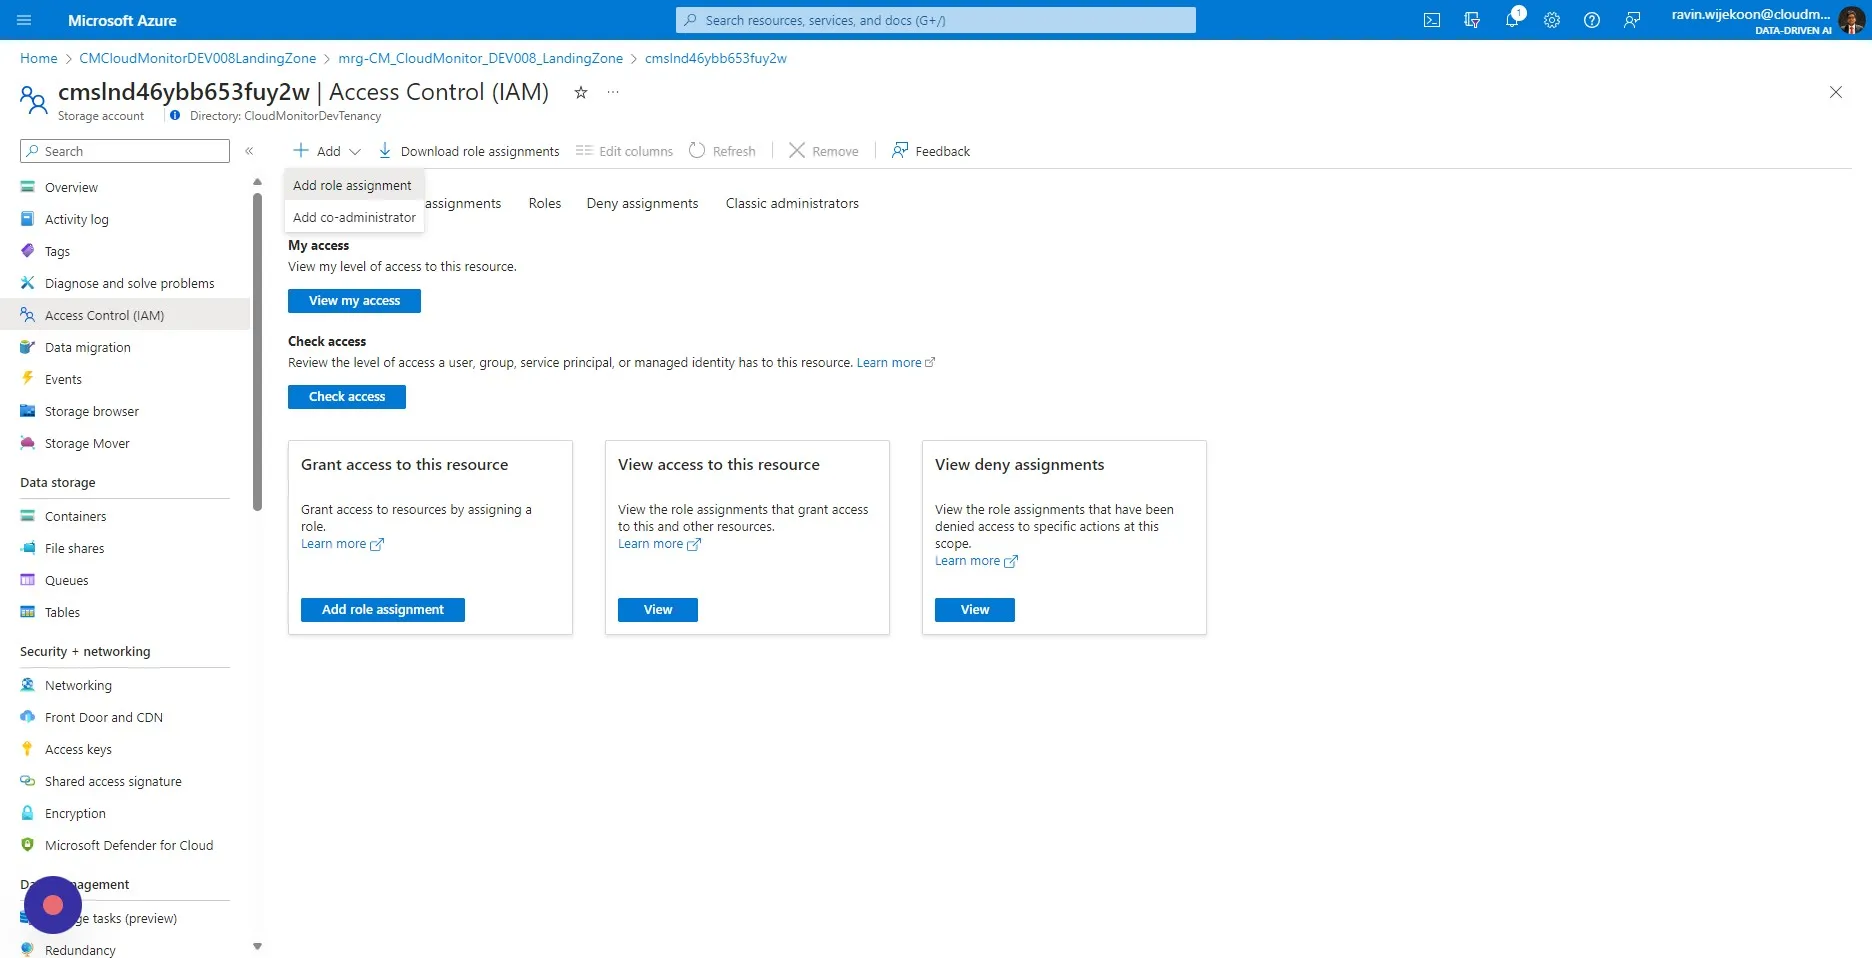
Step 14
Section titled “Step 14”Search and Select “Storage Blob Data Contributor”
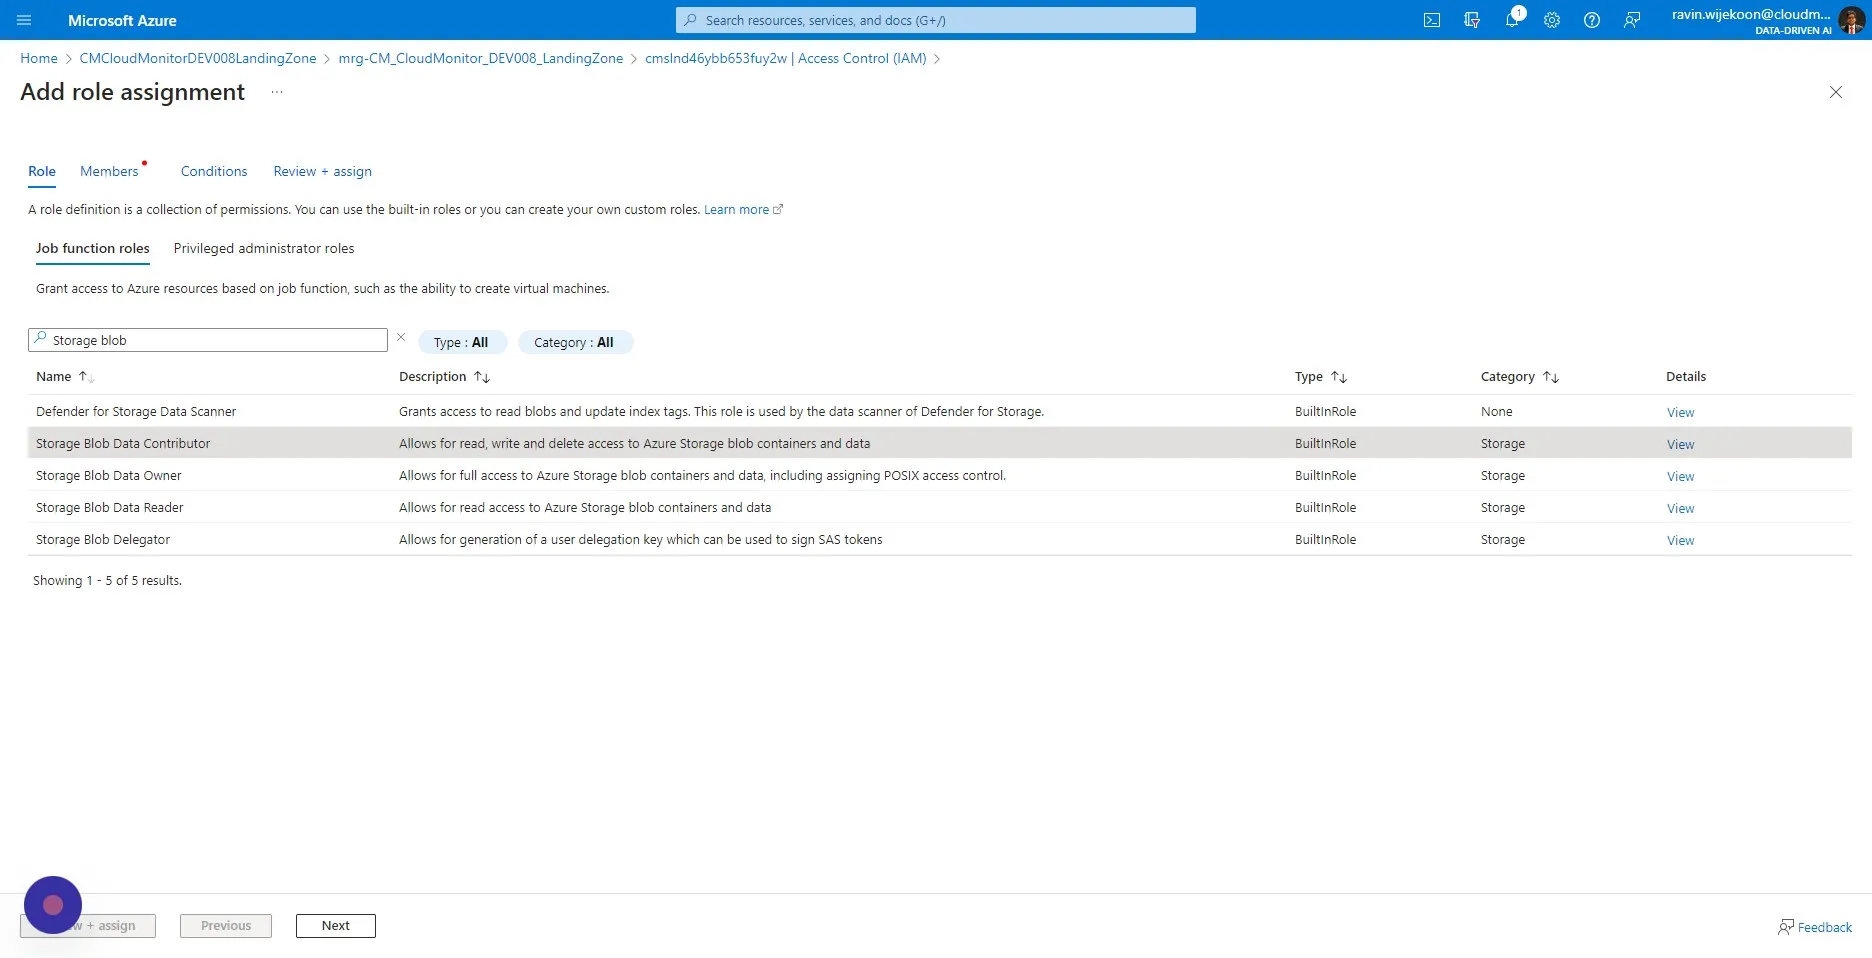
Step 15
Section titled “Step 15”Click “Next”
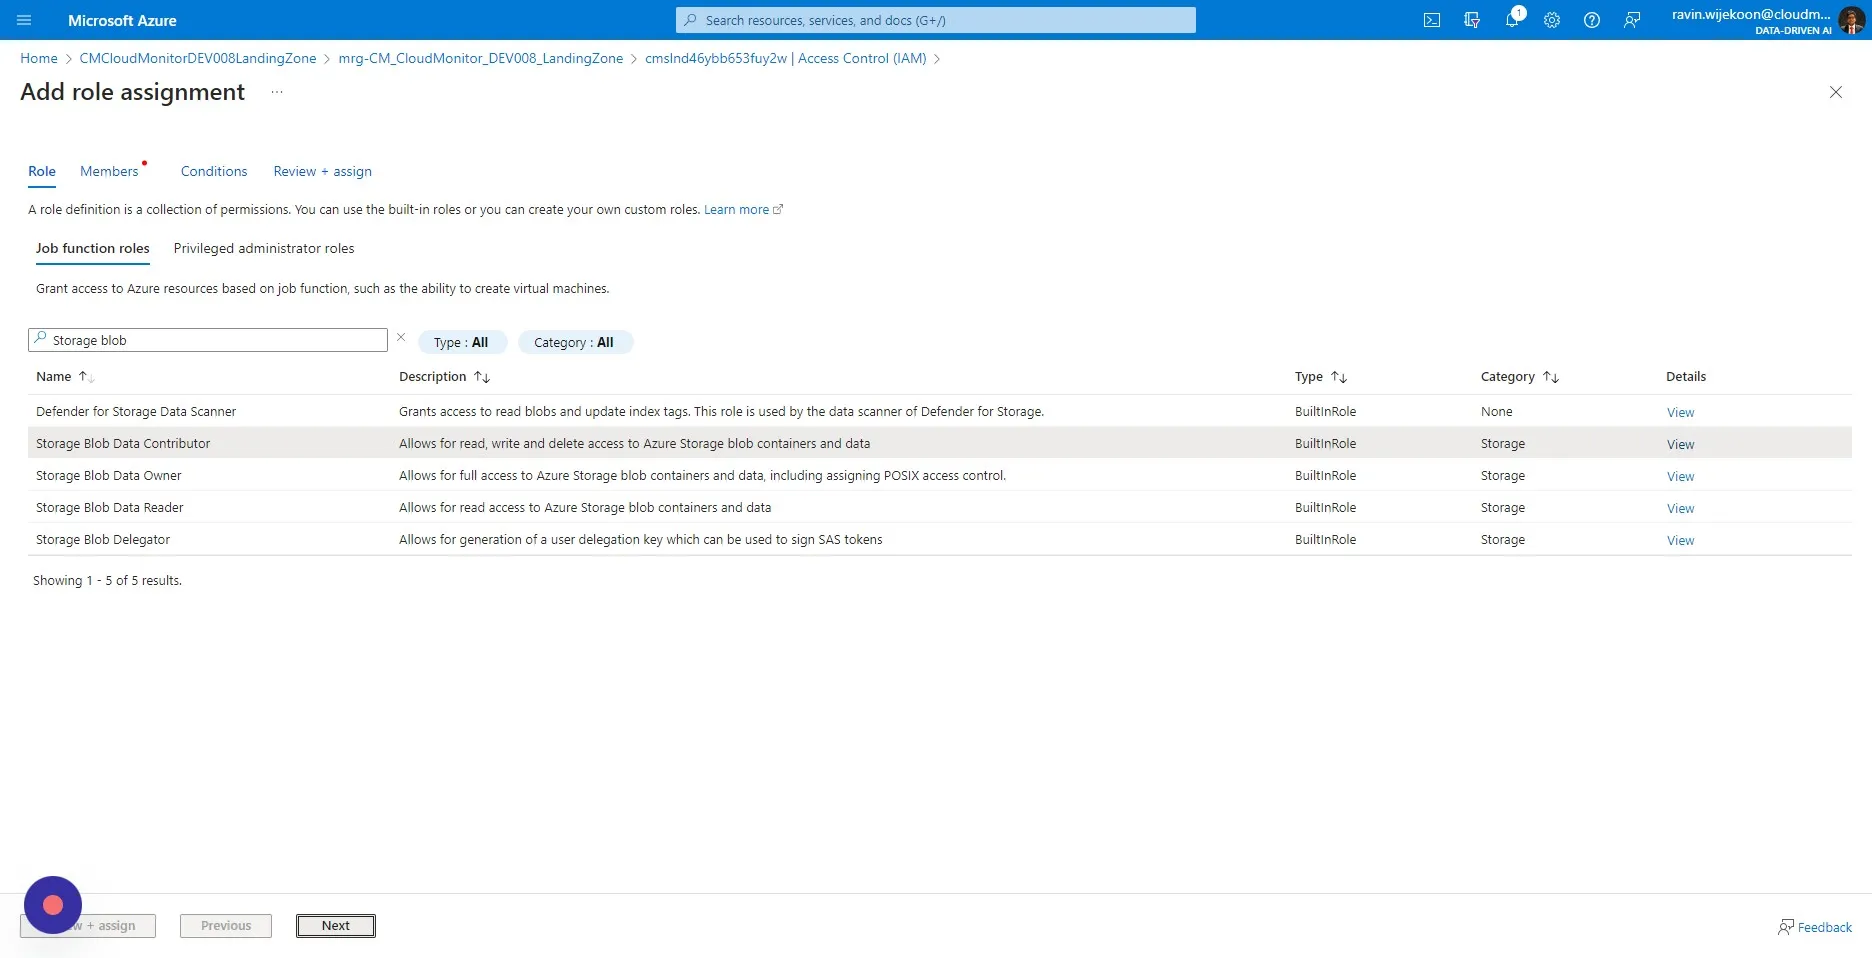
Step 16
Section titled “Step 16”Select “Managed Identity”.
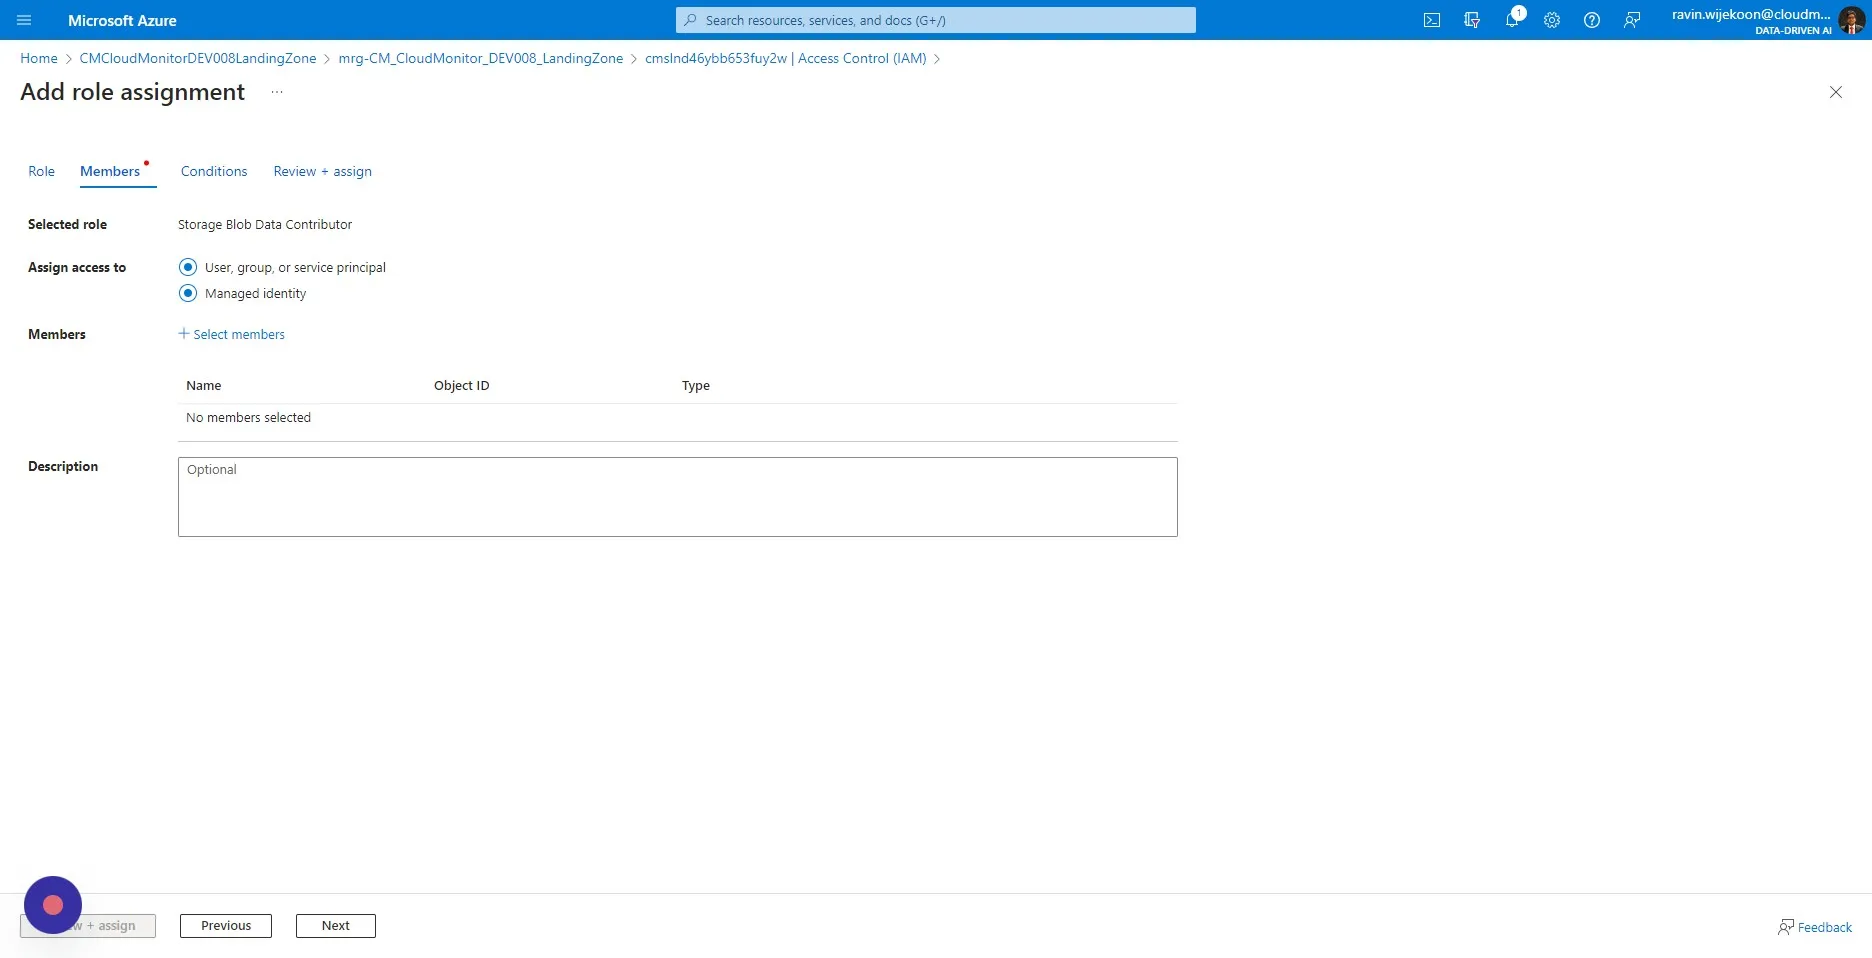
Step 17
Section titled “Step 17”Click “Select members”
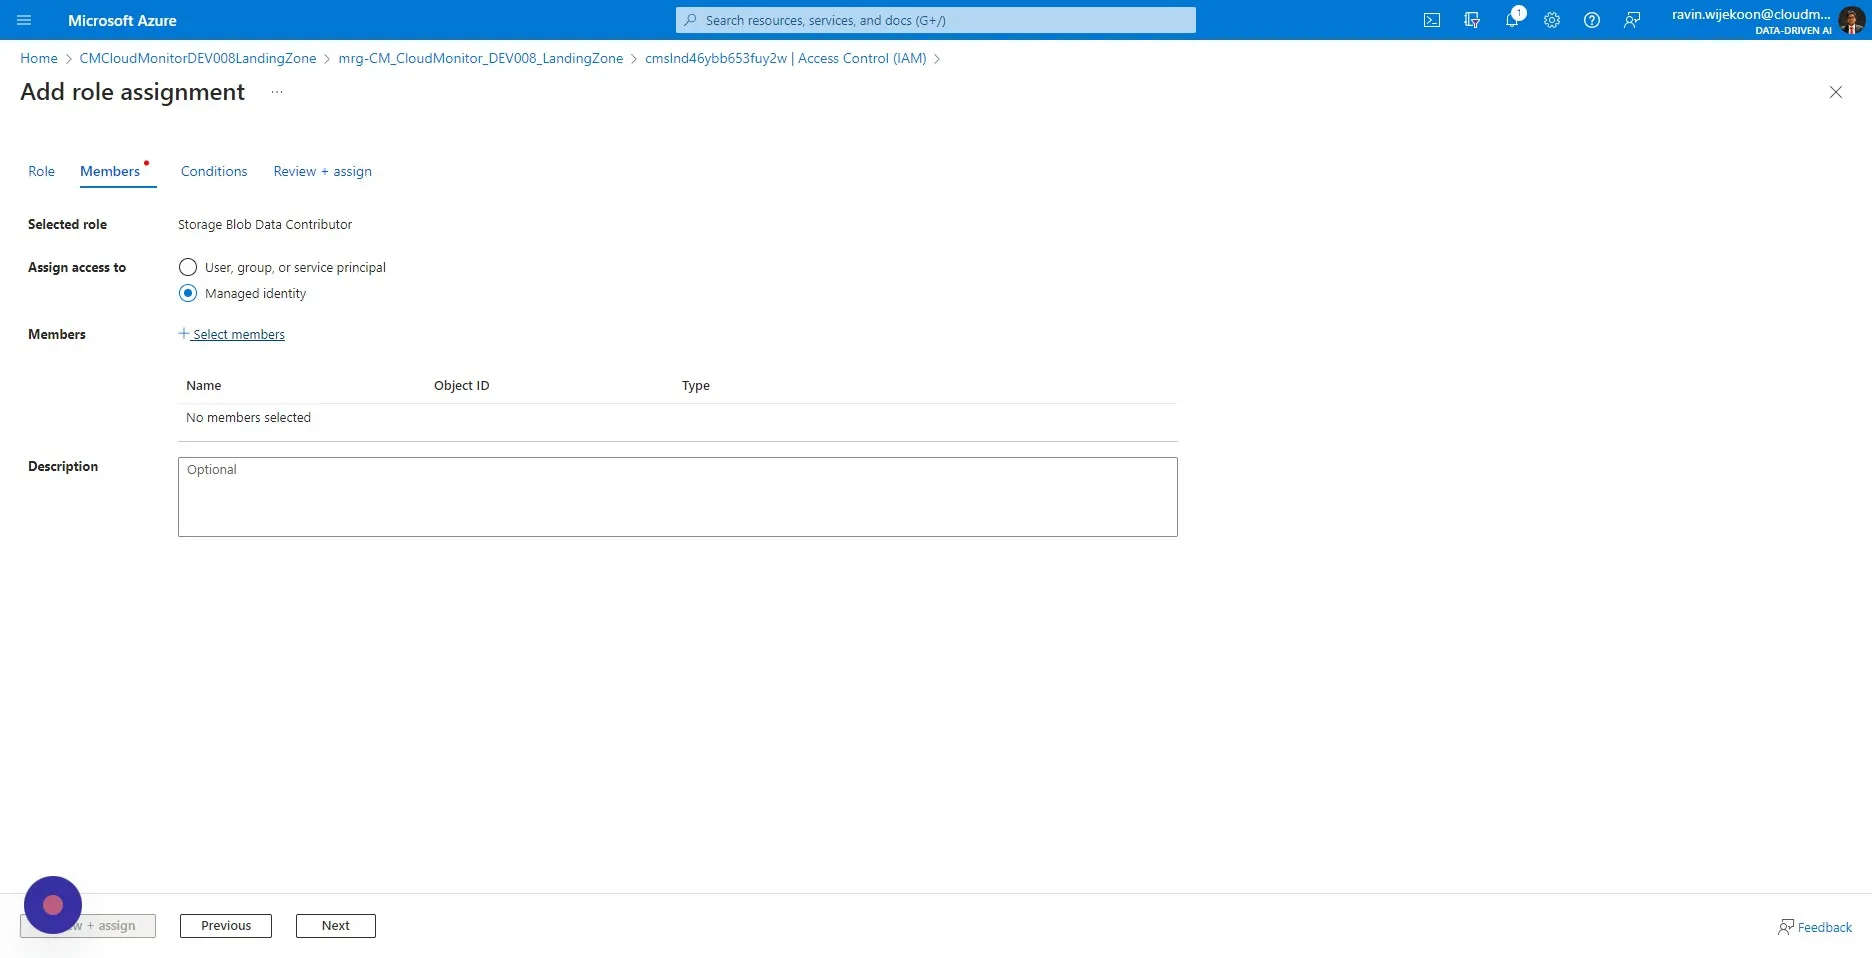
Step 18
Section titled “Step 18”Click the “Managed Identity” drop down and select “Synapse workspace”.
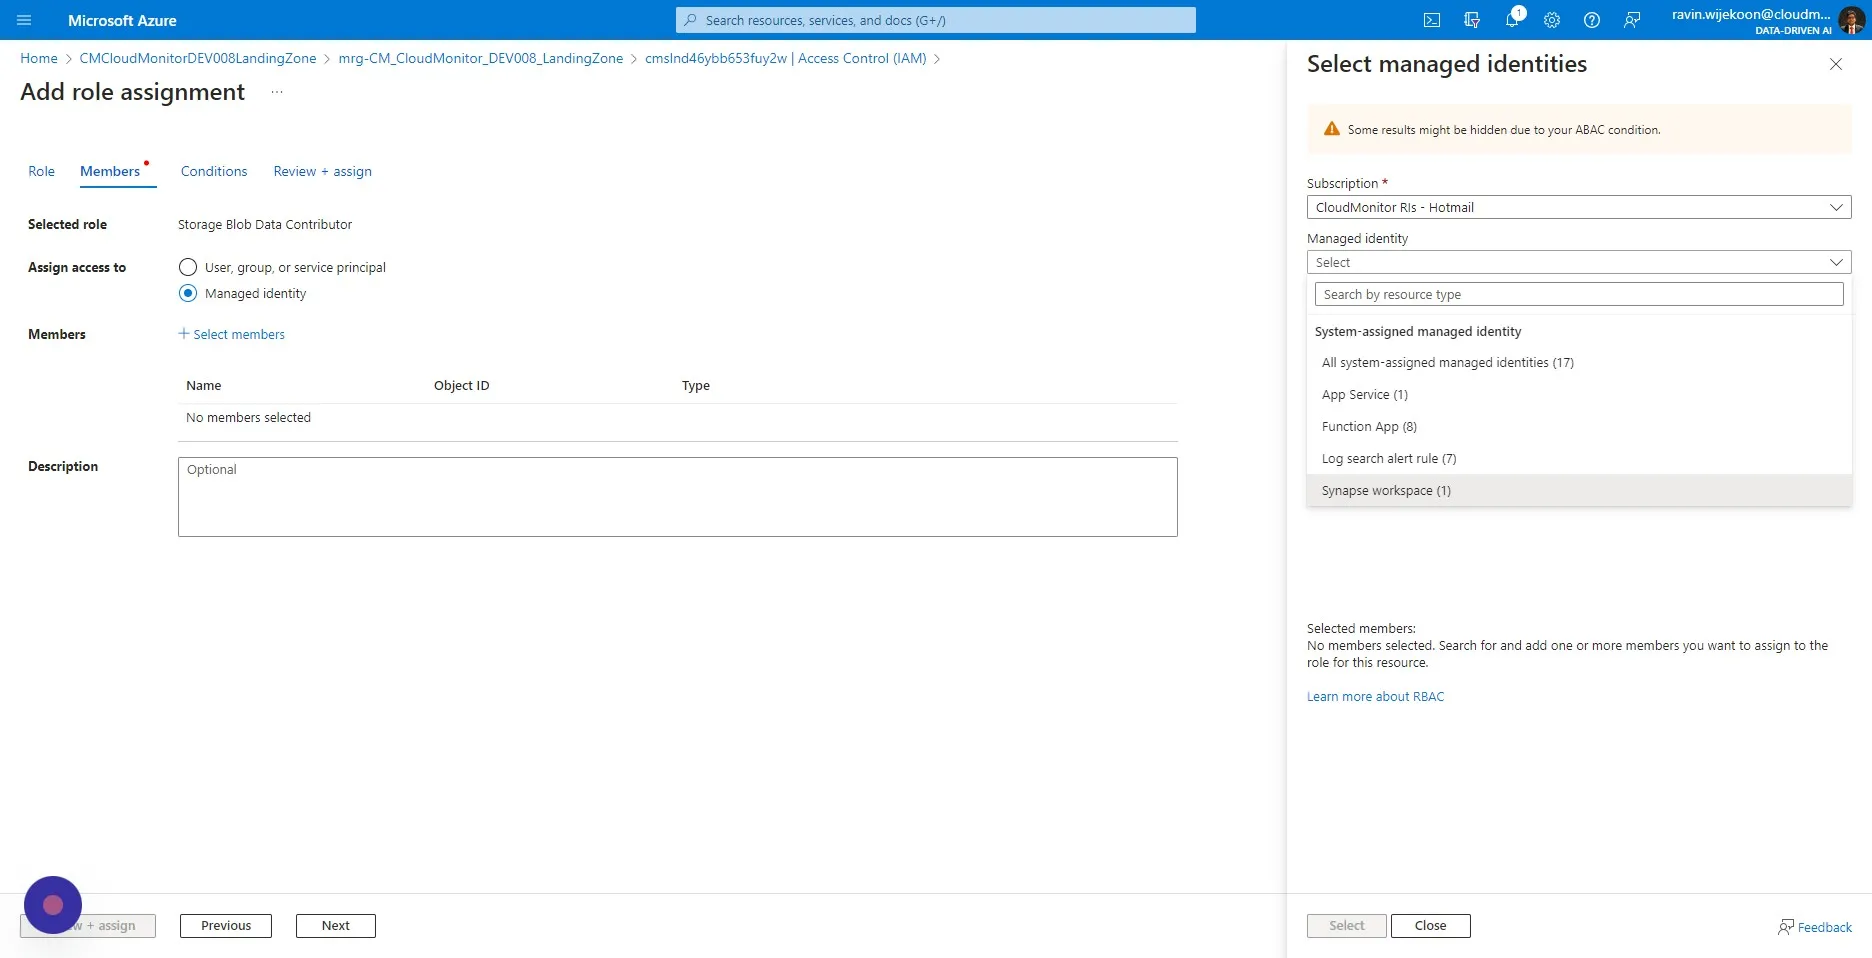
Step 19
Section titled “Step 19”Click on the “Select” dropdown and select the synapse workspace appearing.
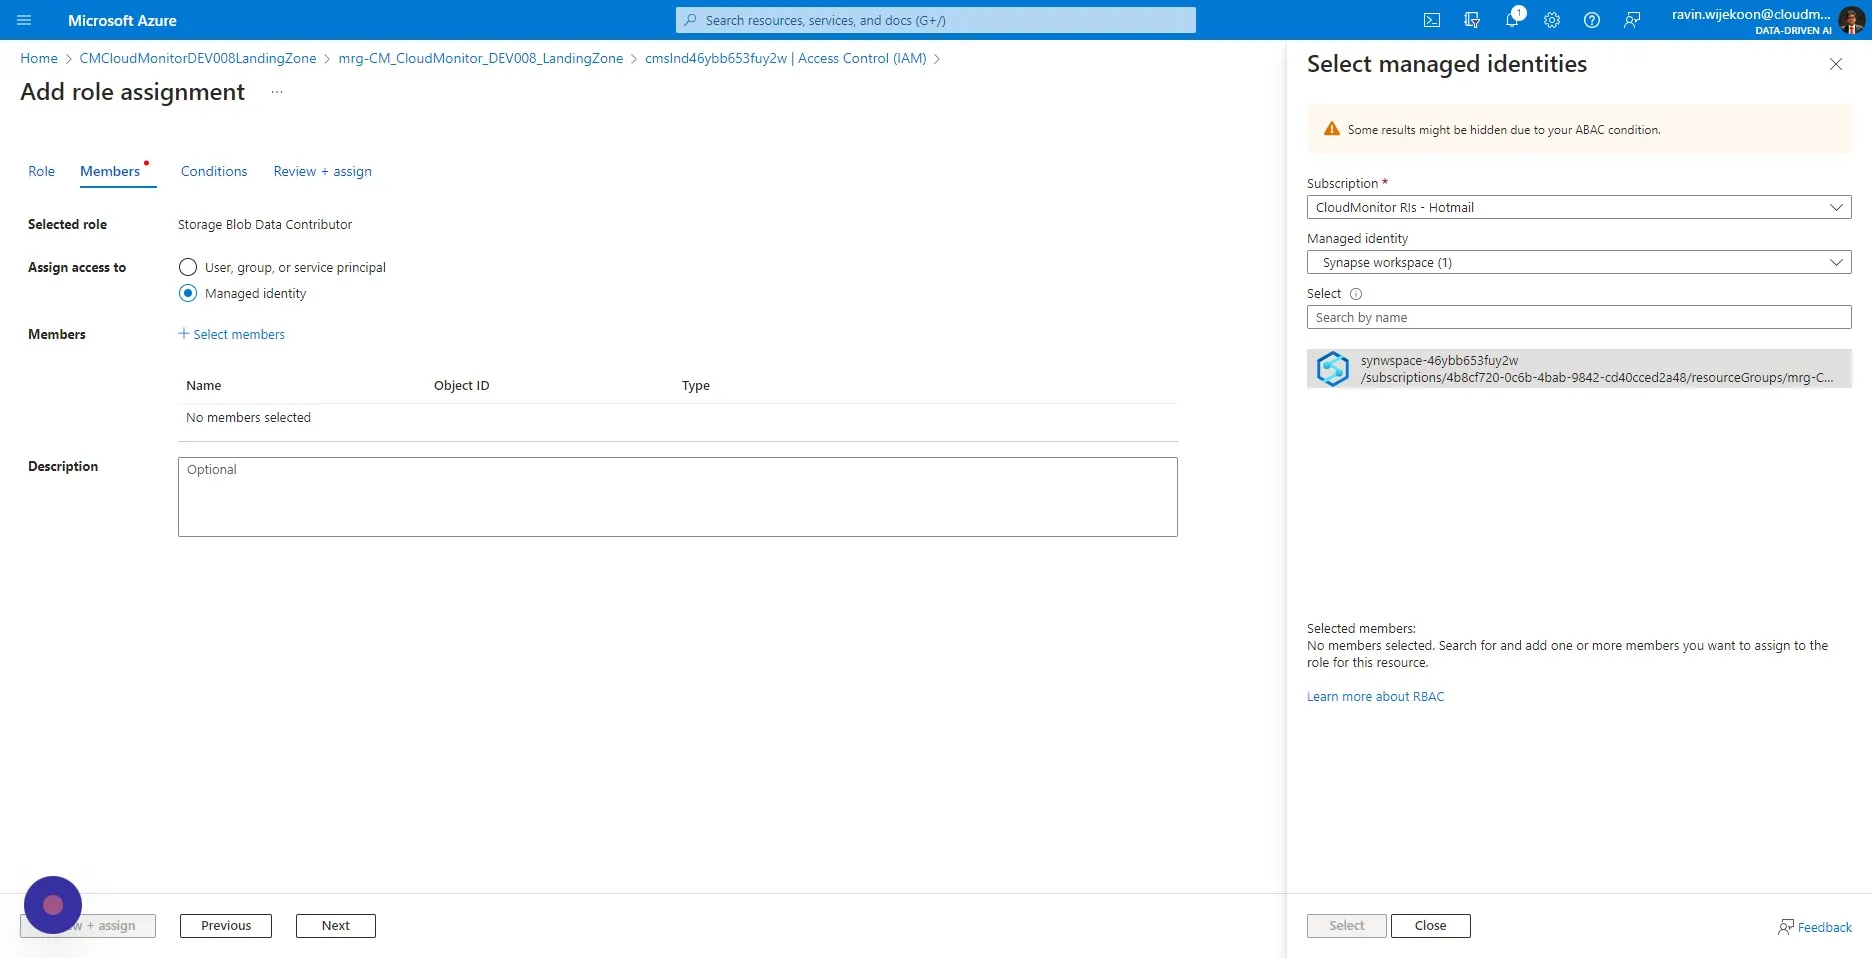
Step 20
Section titled “Step 20”Click “Select”
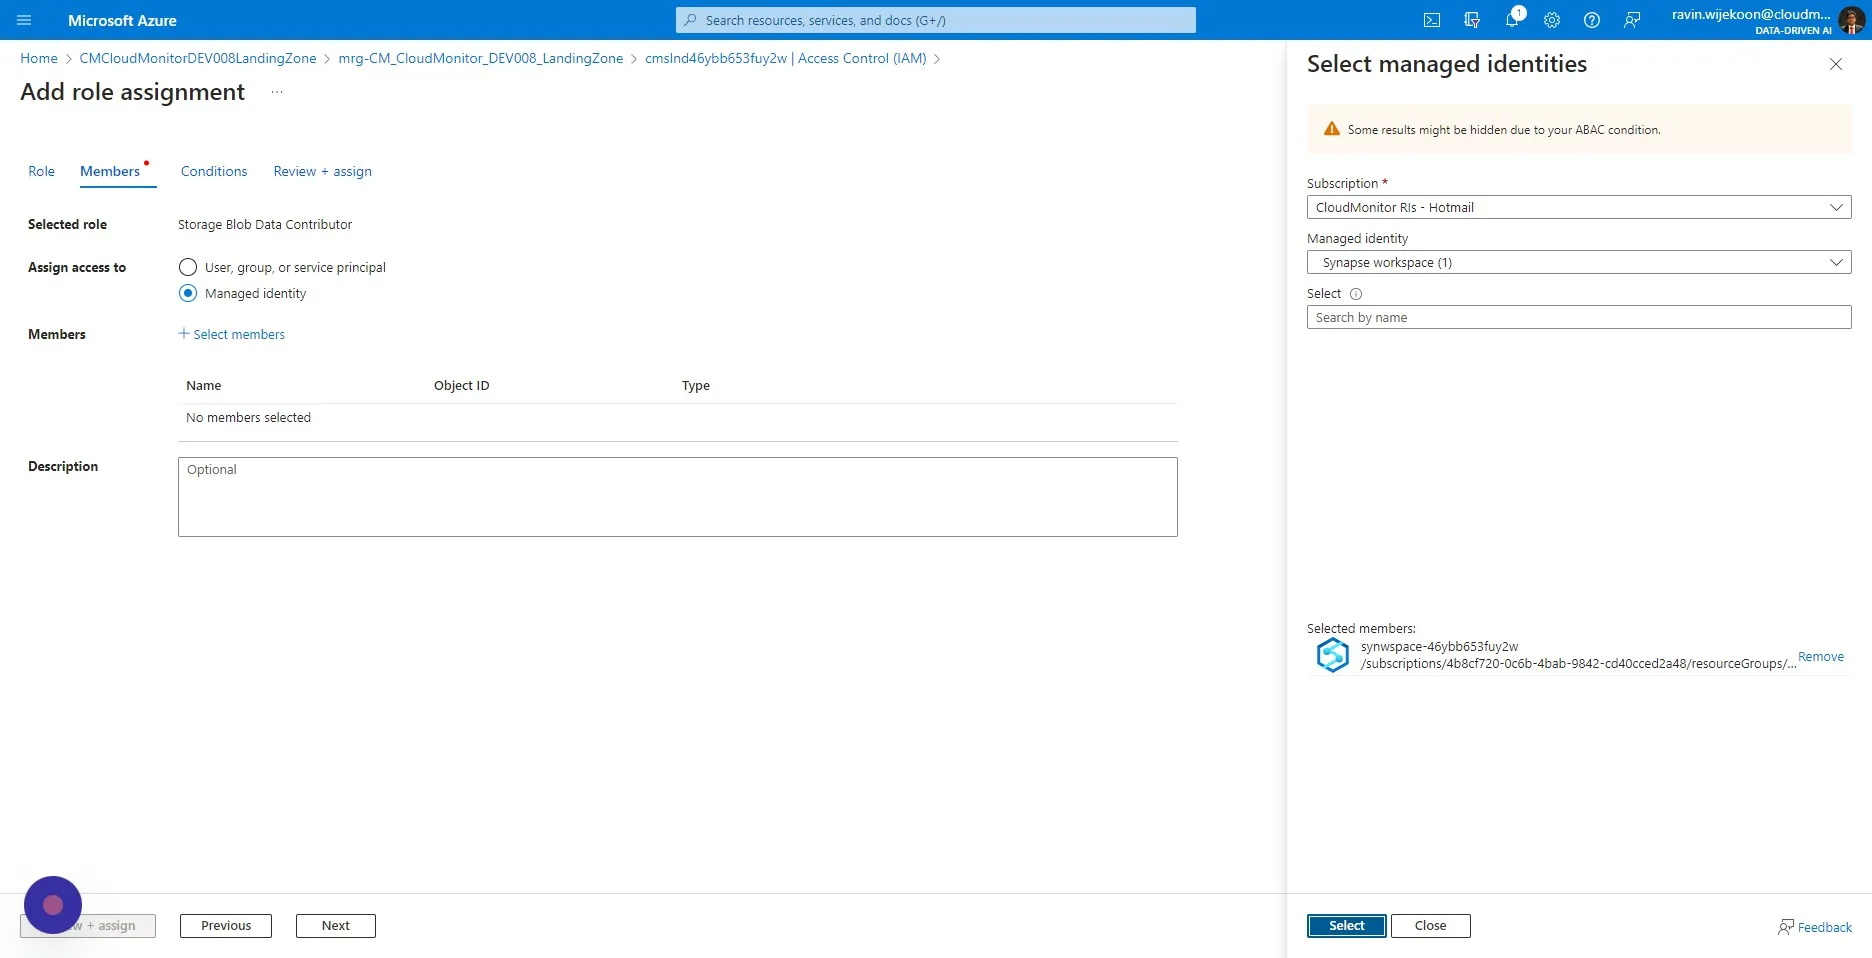
Step 21
Section titled “Step 21”Click “Review + assign”
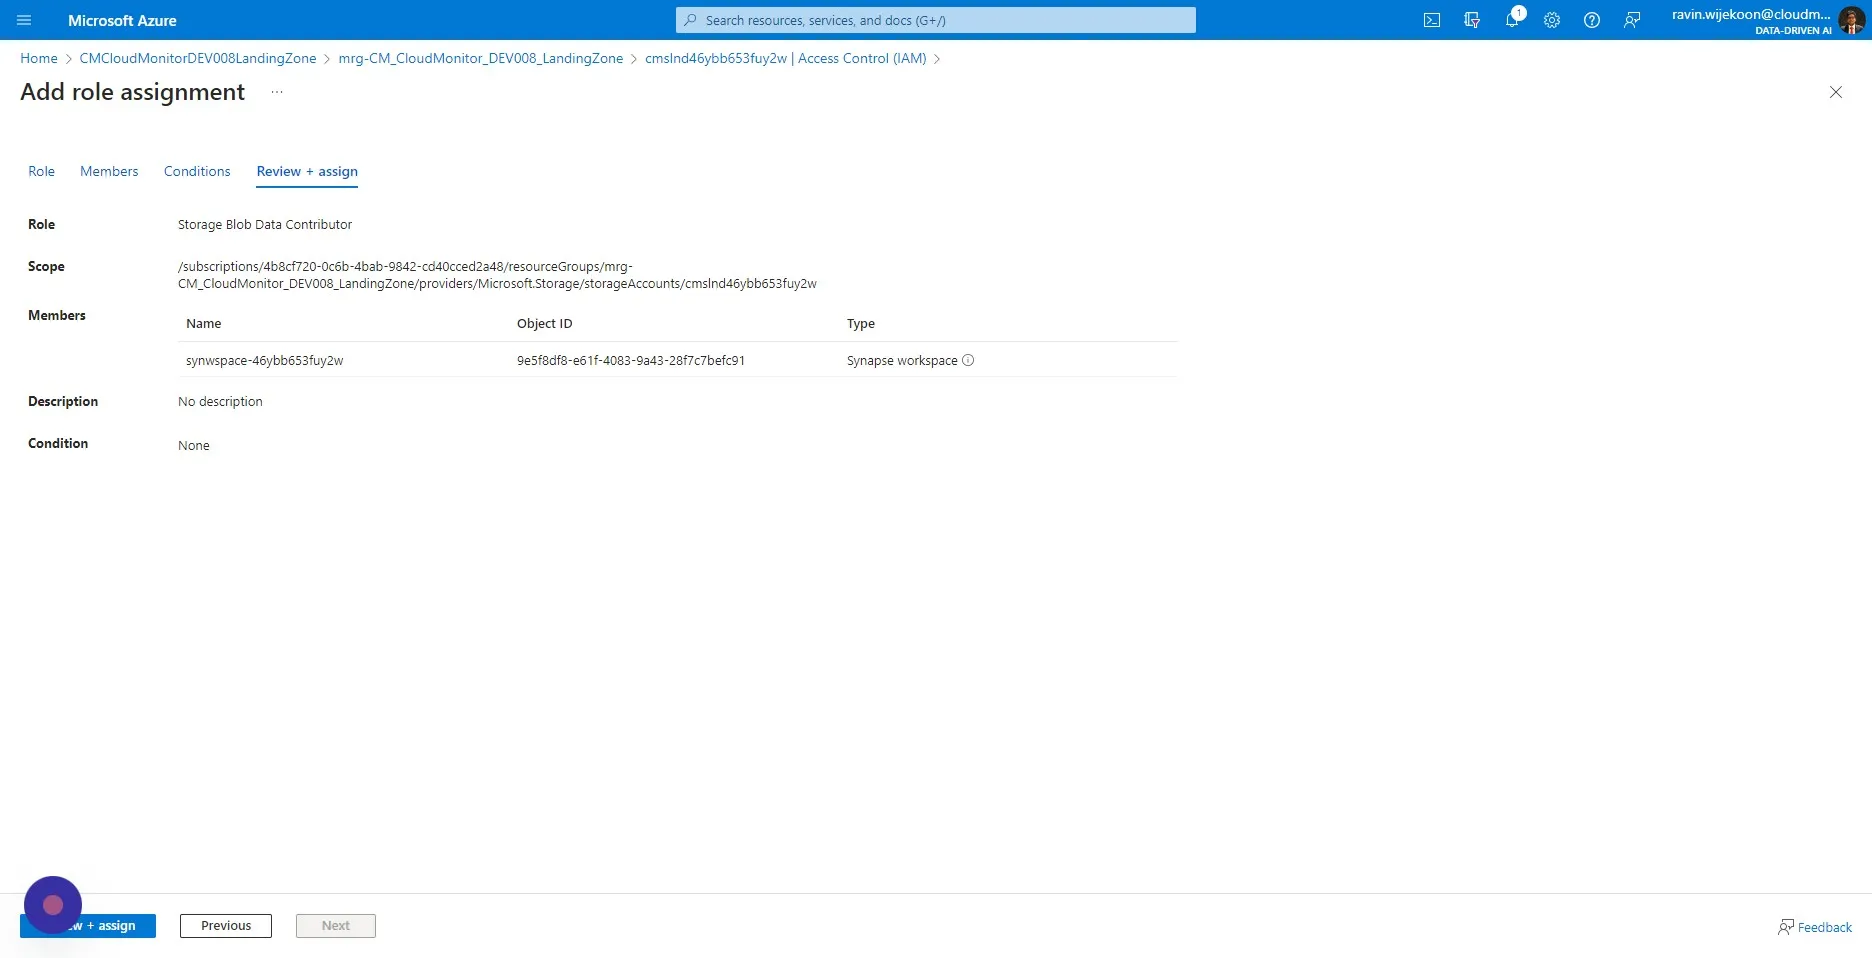
Step 22
Section titled “Step 22”Navigate to the CloudMonitor Managed Application and select the Subscription ID.
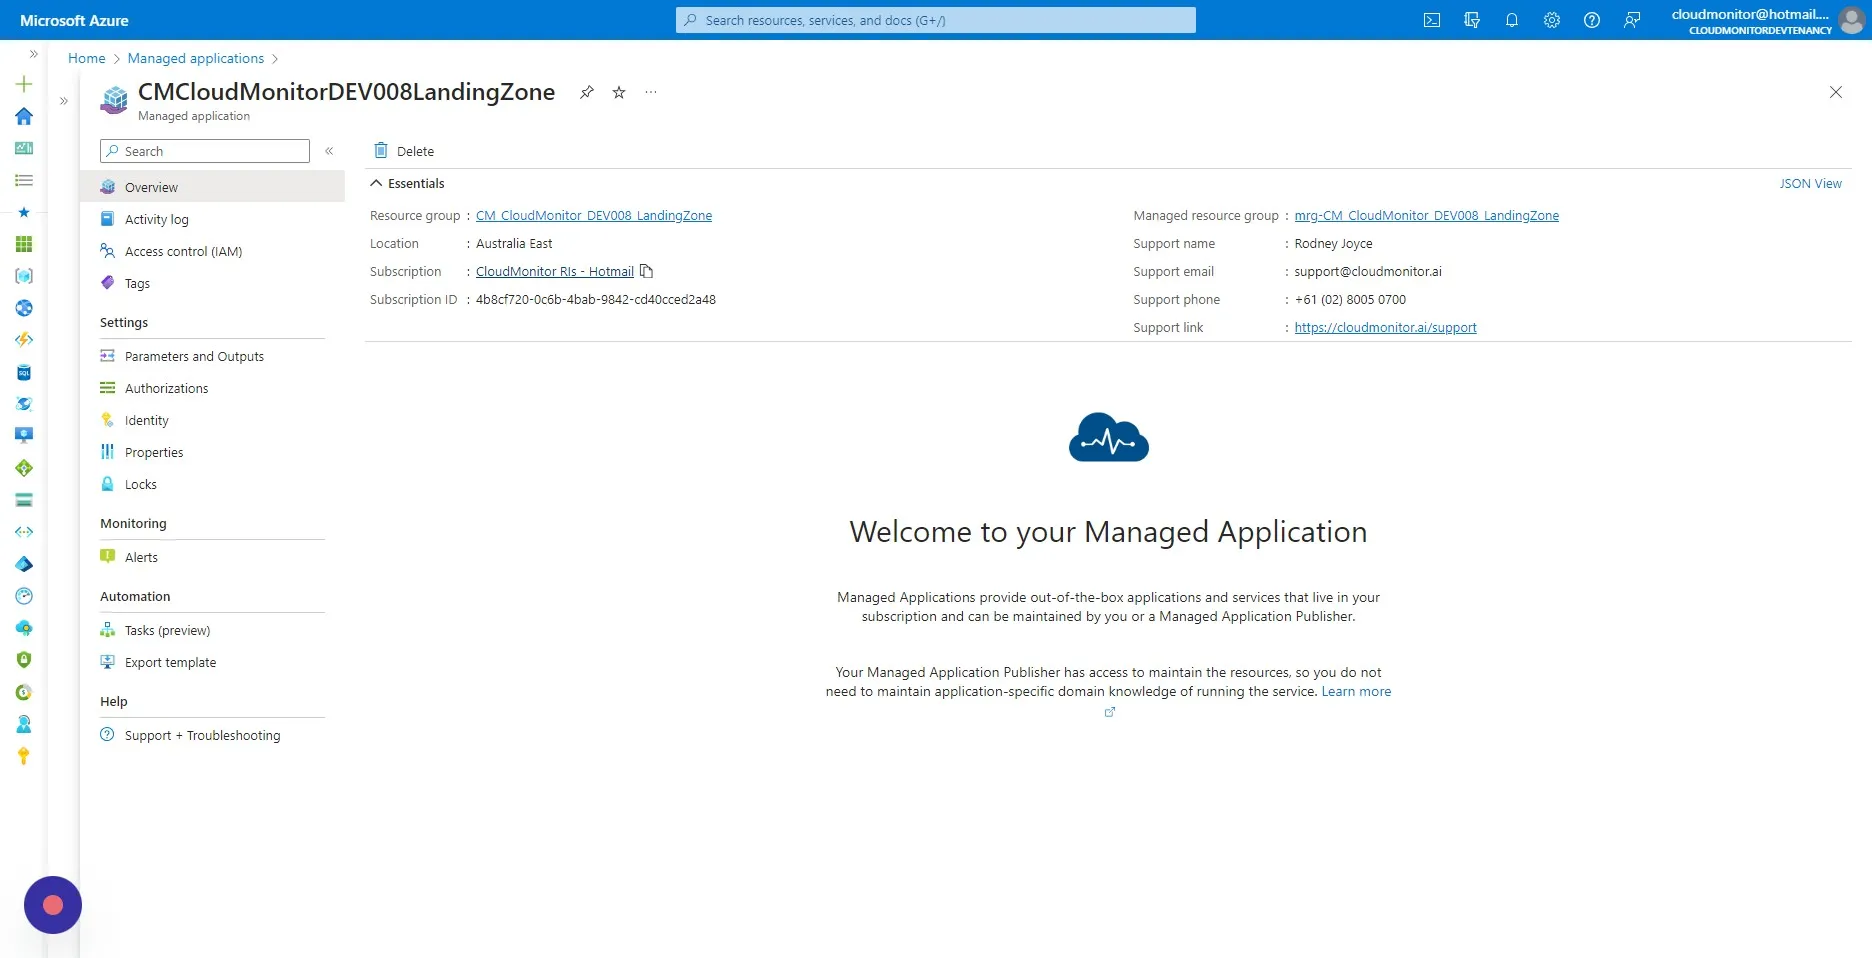
Step 23
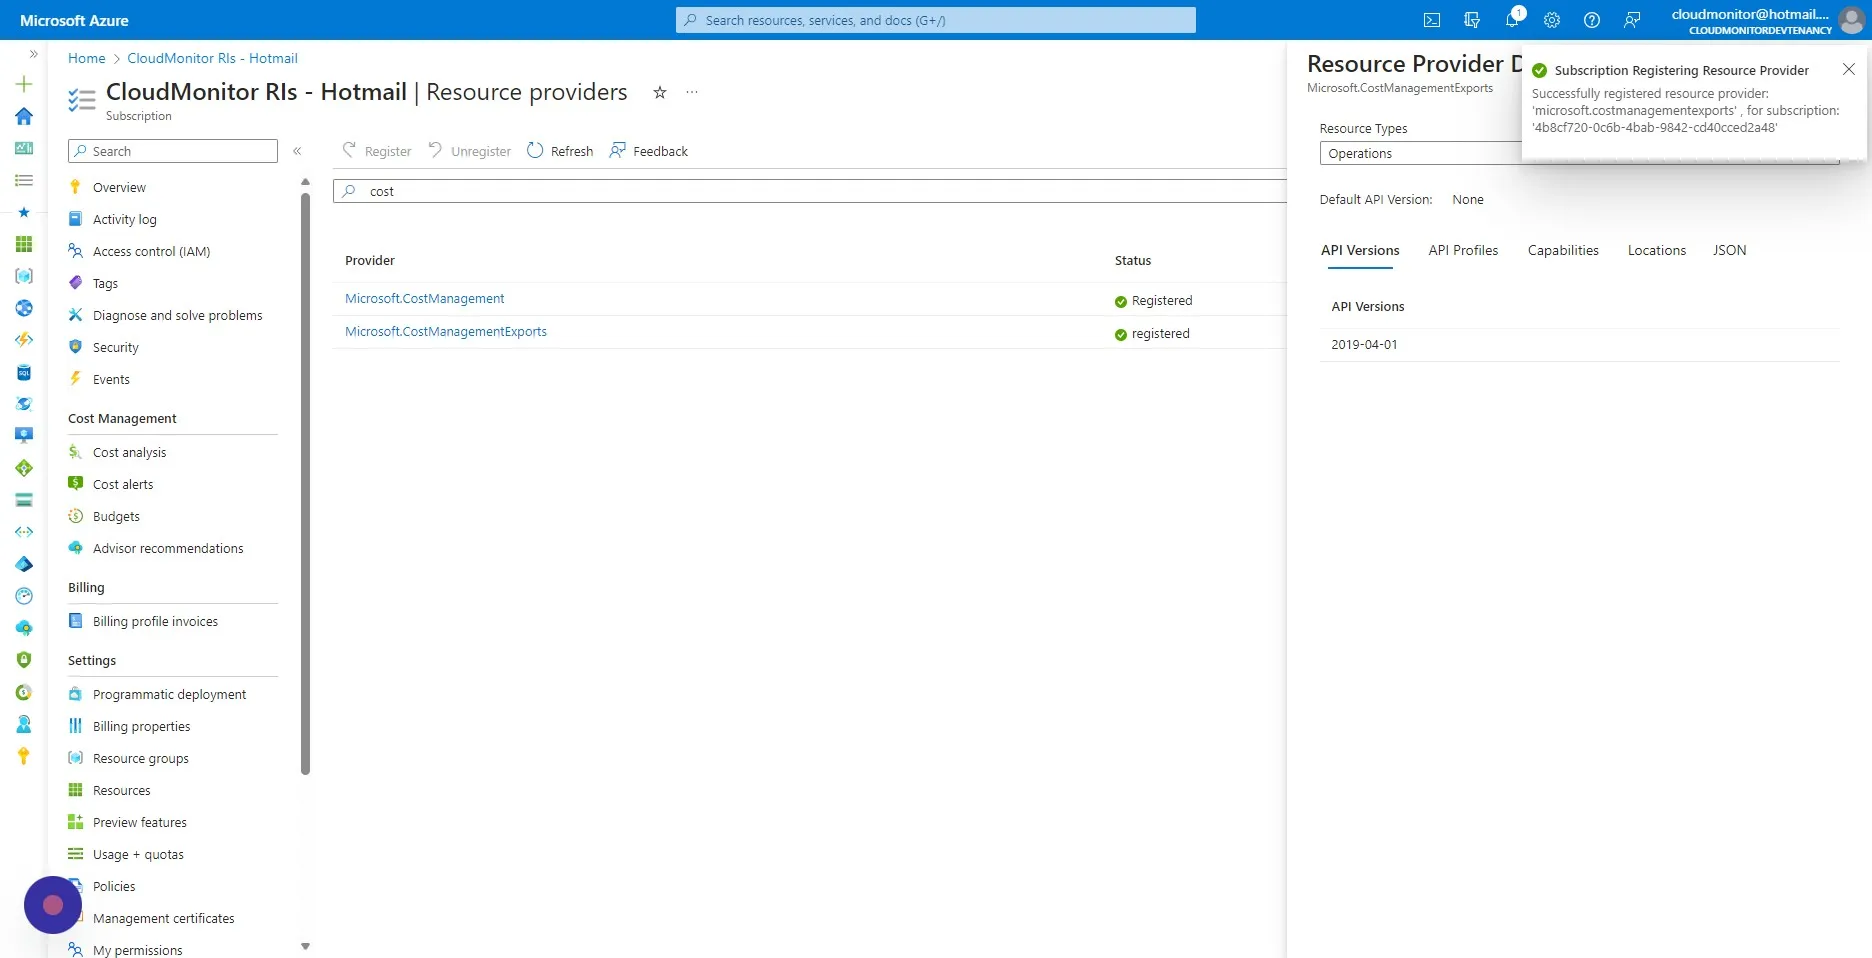
Section titled “Step 23”Select “Resource providers”
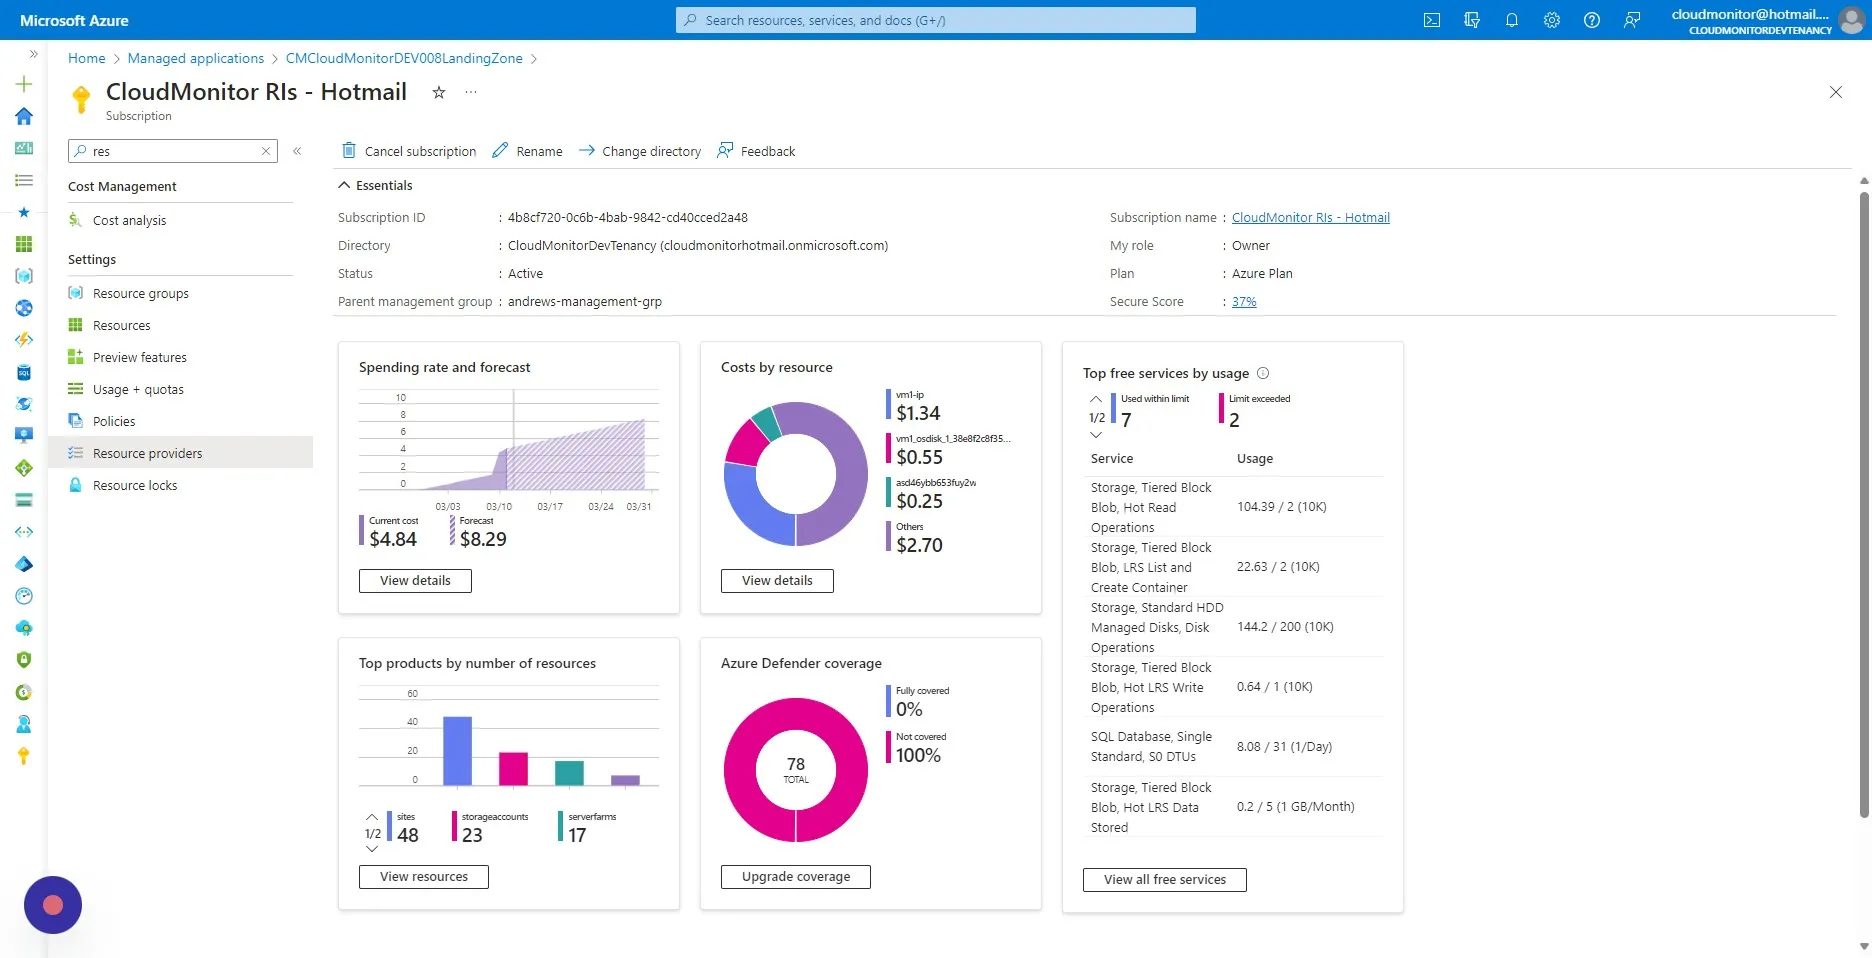
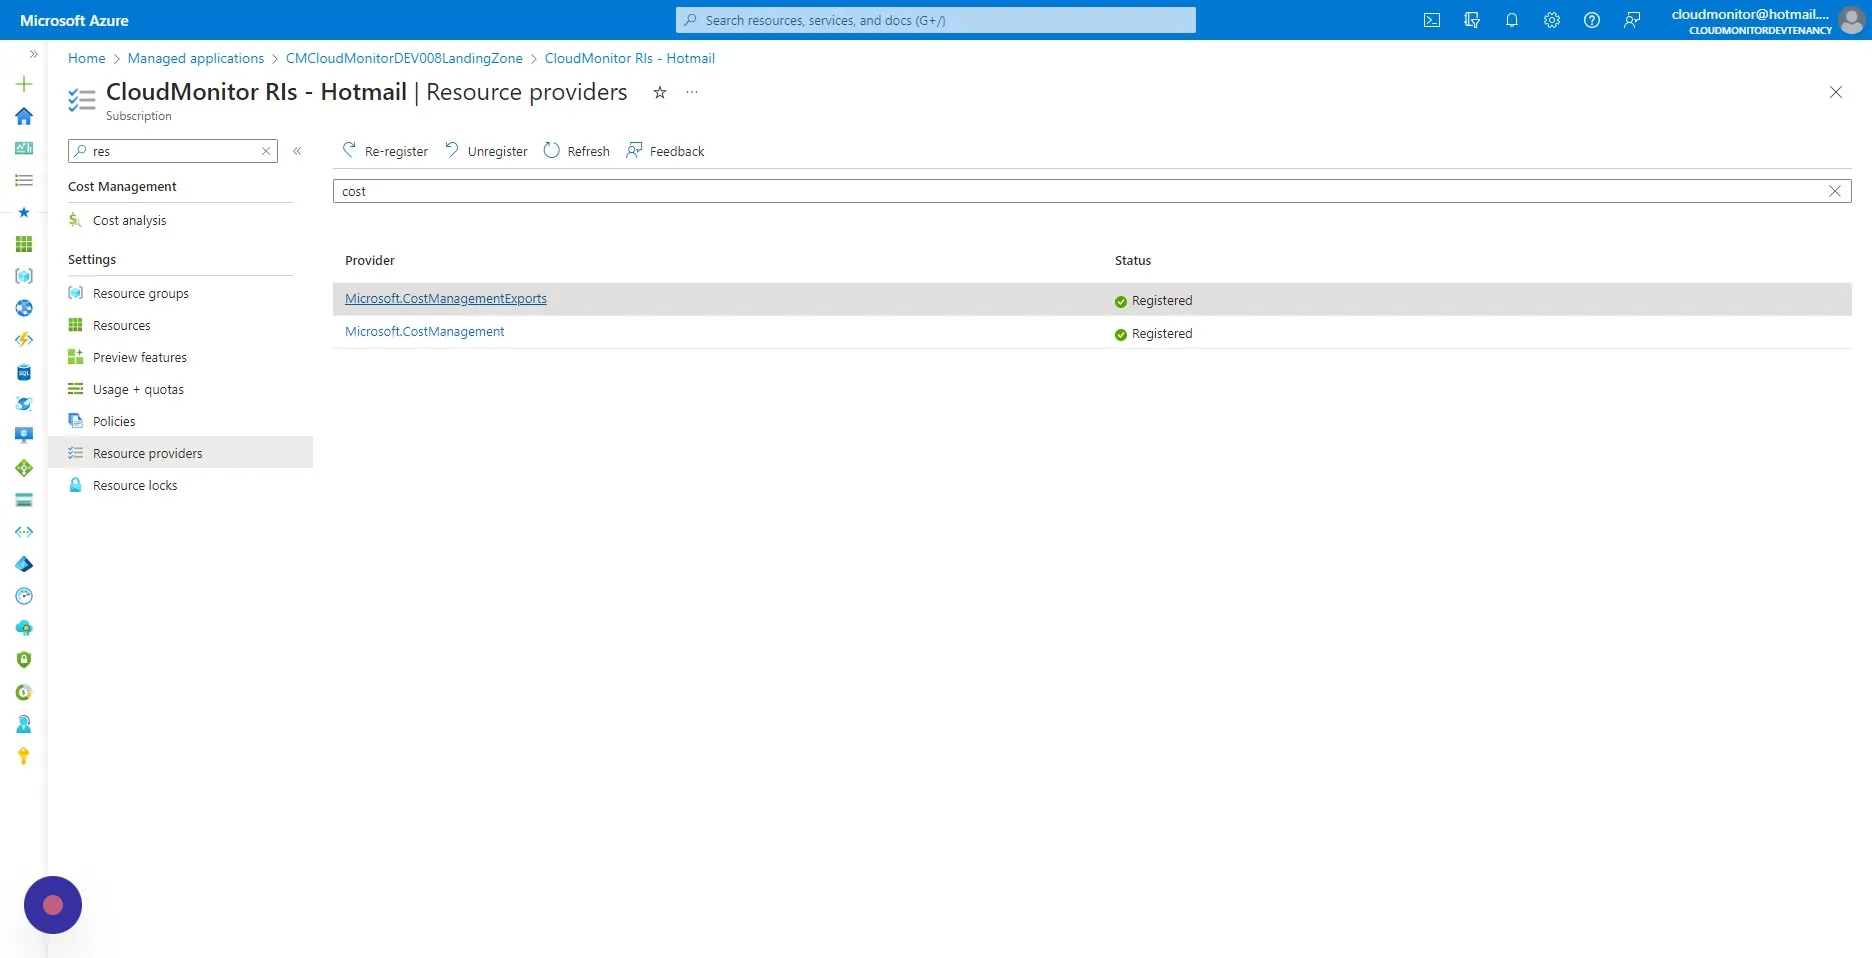
Step 24
Section titled “Step 24”Search for “Microsoft.CostManagementExports” and select it.
Step 25
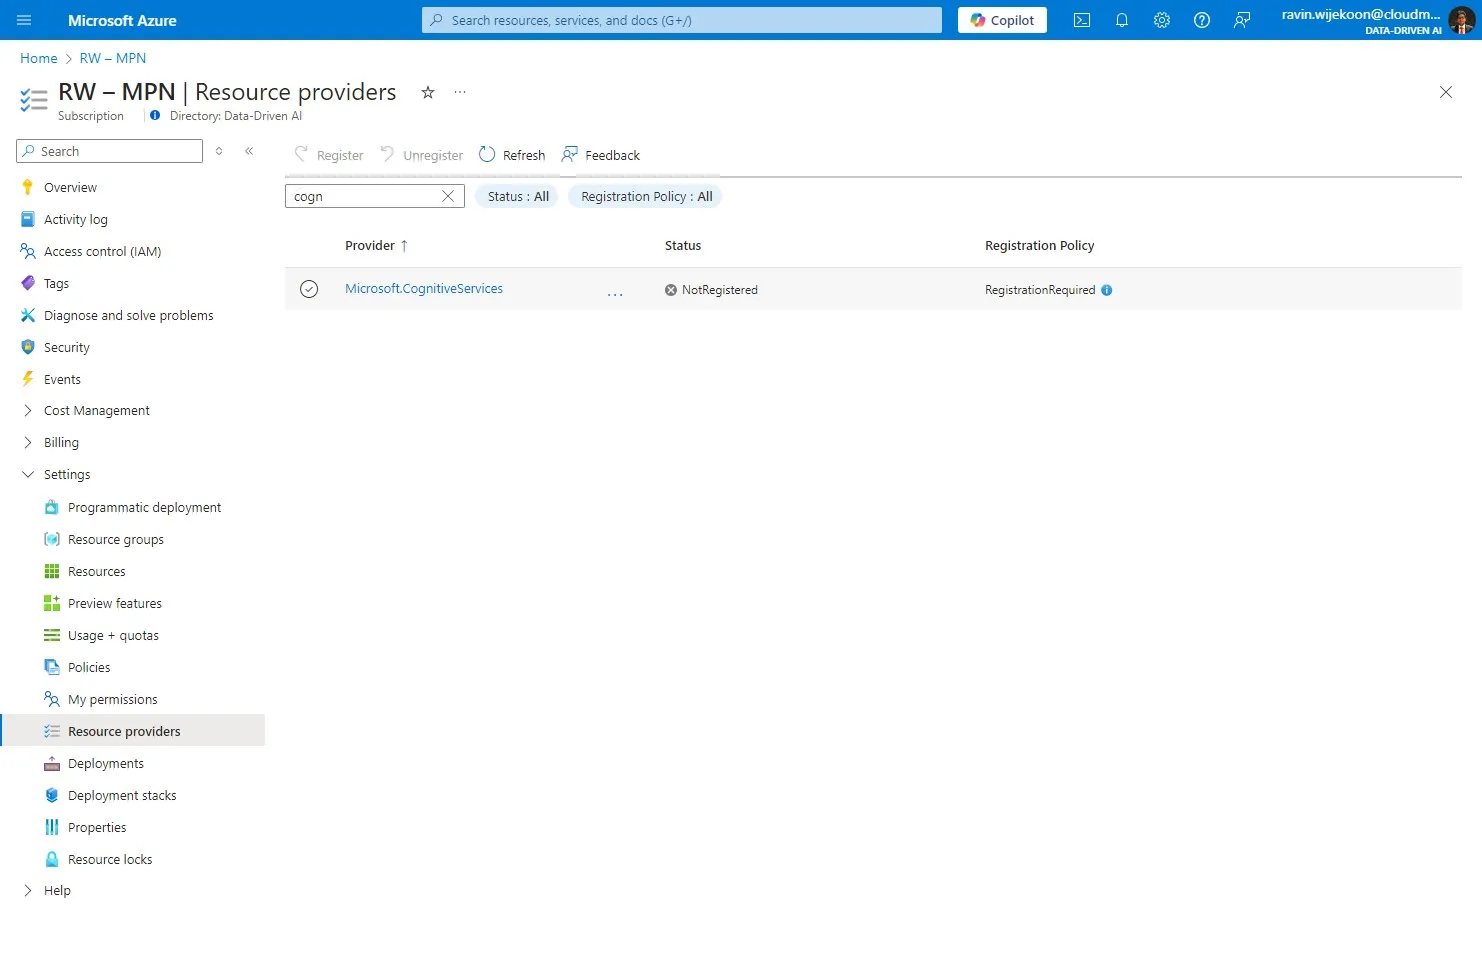
Section titled “Step 25”Then, Search for “Microsoft.CognitiveServices” and select it.
Step 26
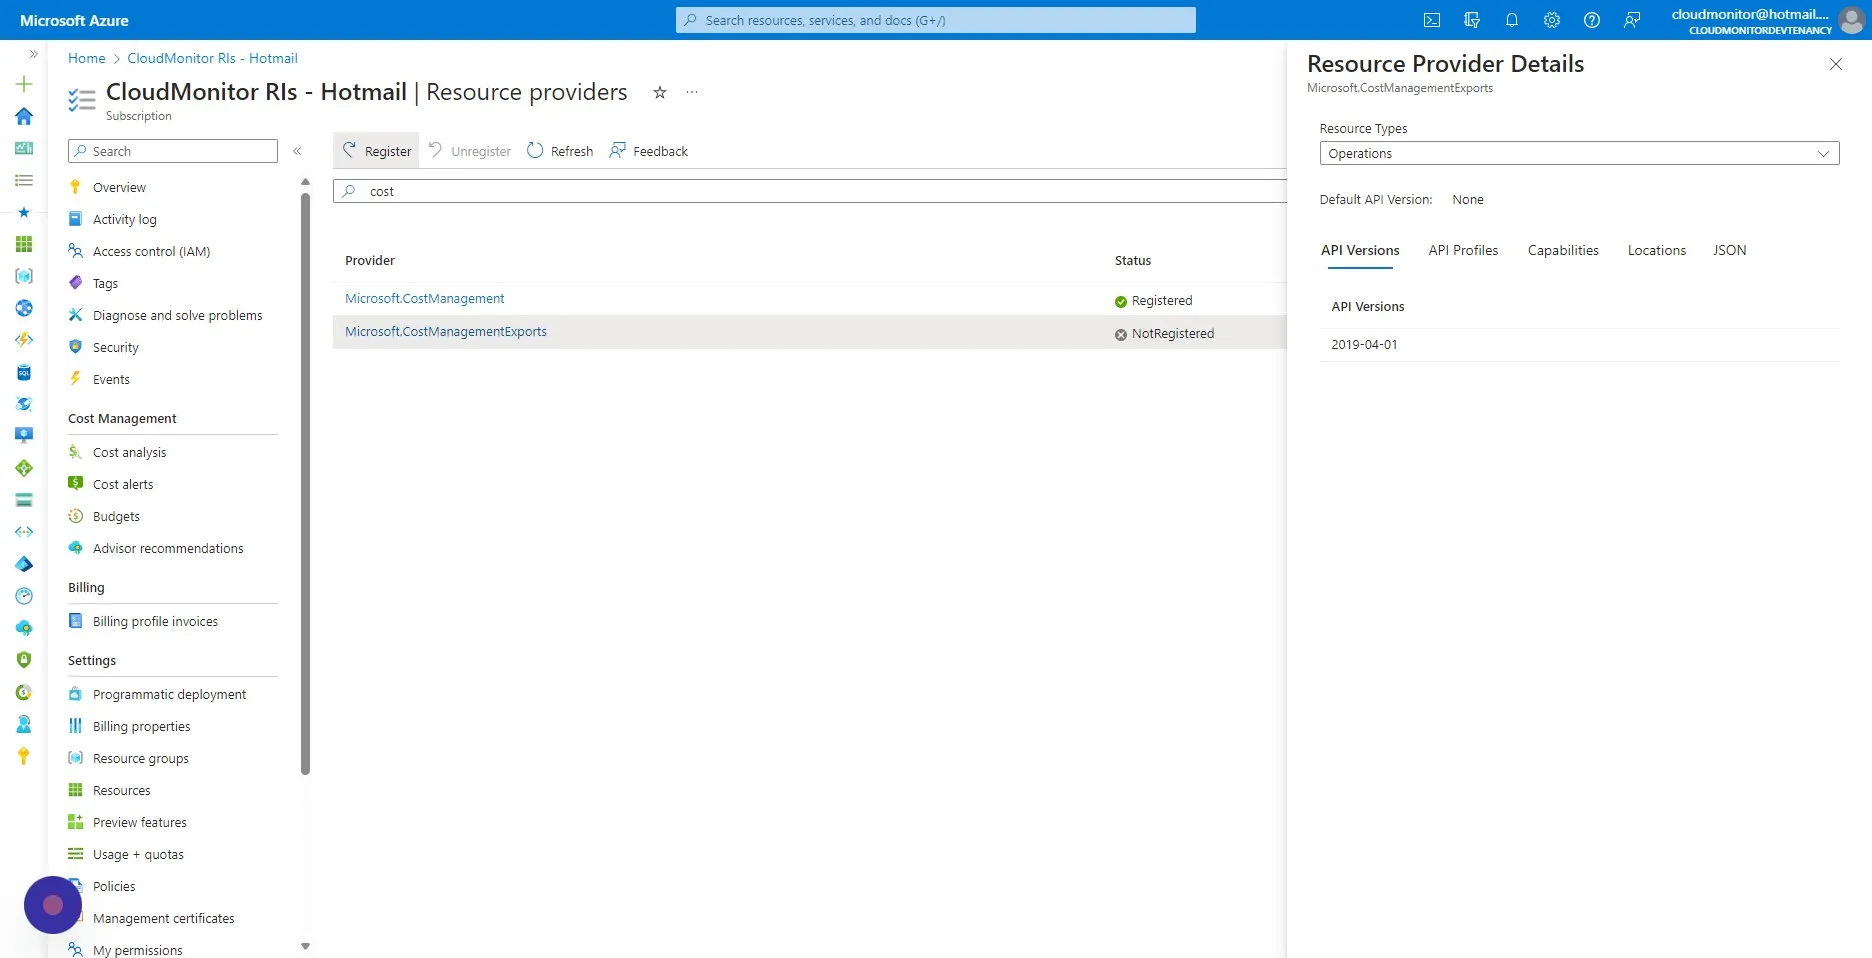
Section titled “Step 26”Click “Register”
Step 27
Section titled “Step 27”You will receive a notification for successfully registering the Resource Provider.