Configure CloudMonitor Synapse
Step 1
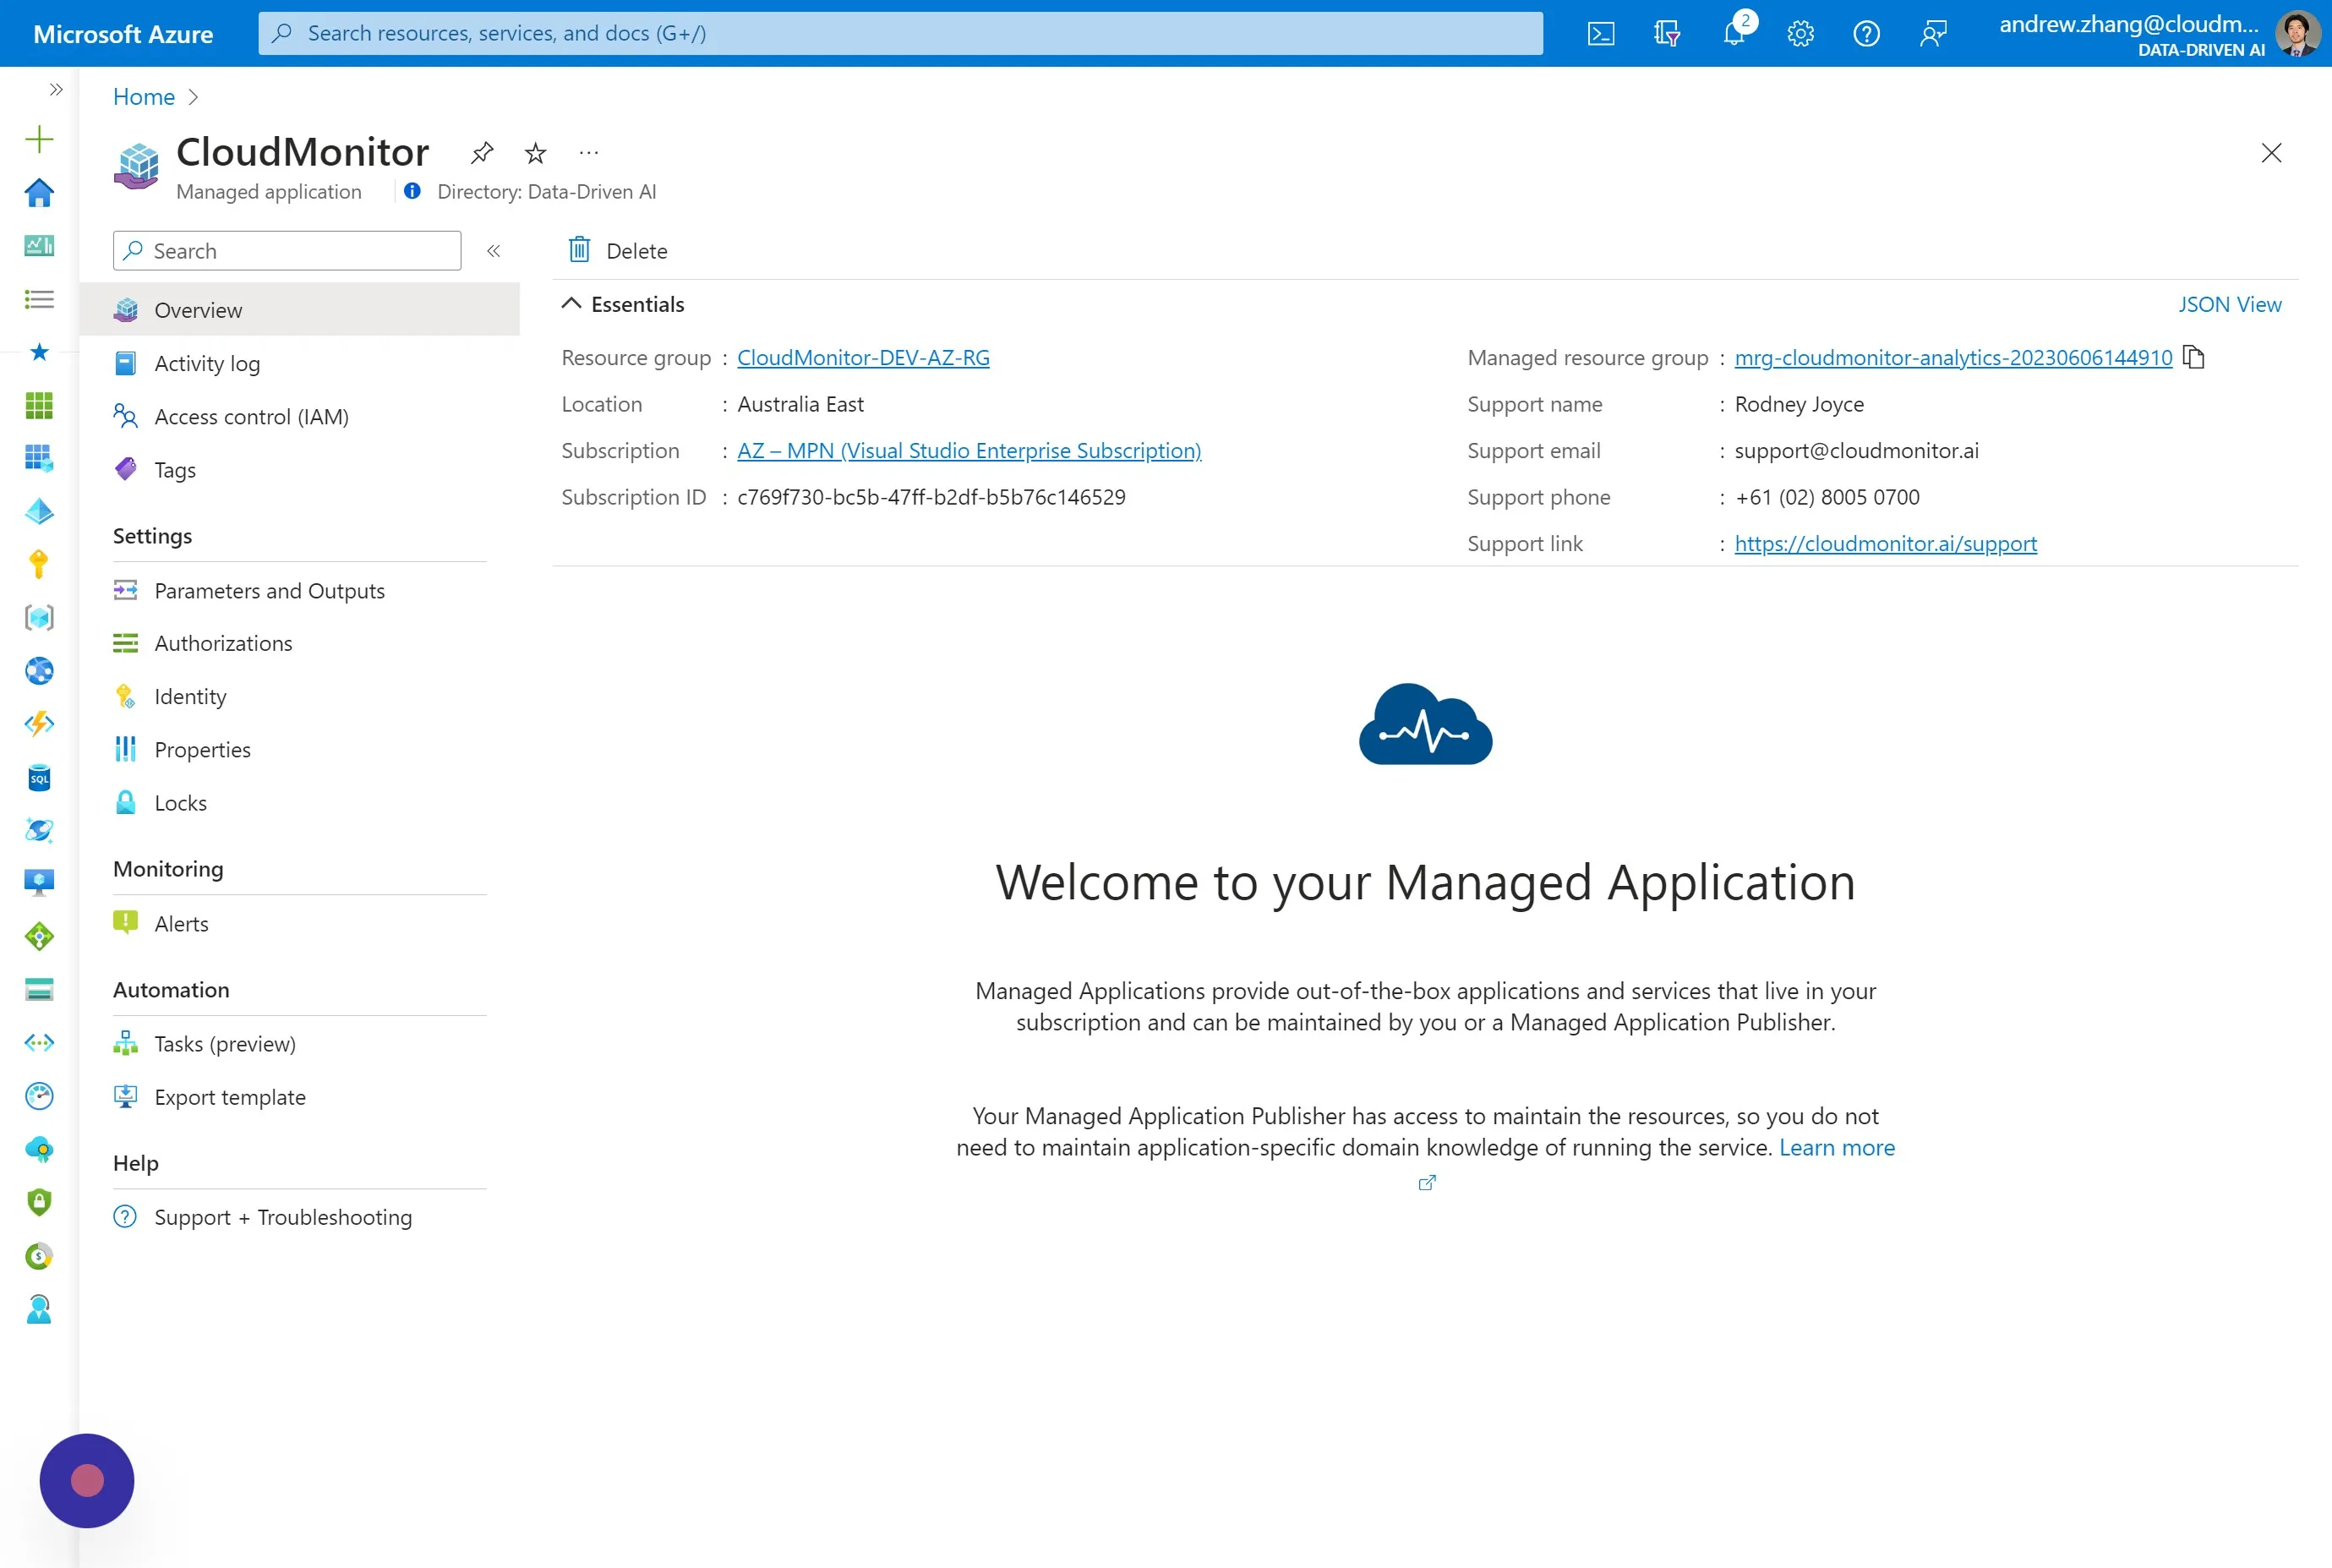
Section titled “Step 1”Navigate to Azure Portal - Managed Applicationsand locate your CloudMonitor Managed Application. Then select it.
Azure Managed Applications allow us to deliver our engine as a service, and handle the underlying Azure Resources.

Step 2
Section titled “Step 2”Click “Managed resource group”.
Step 3
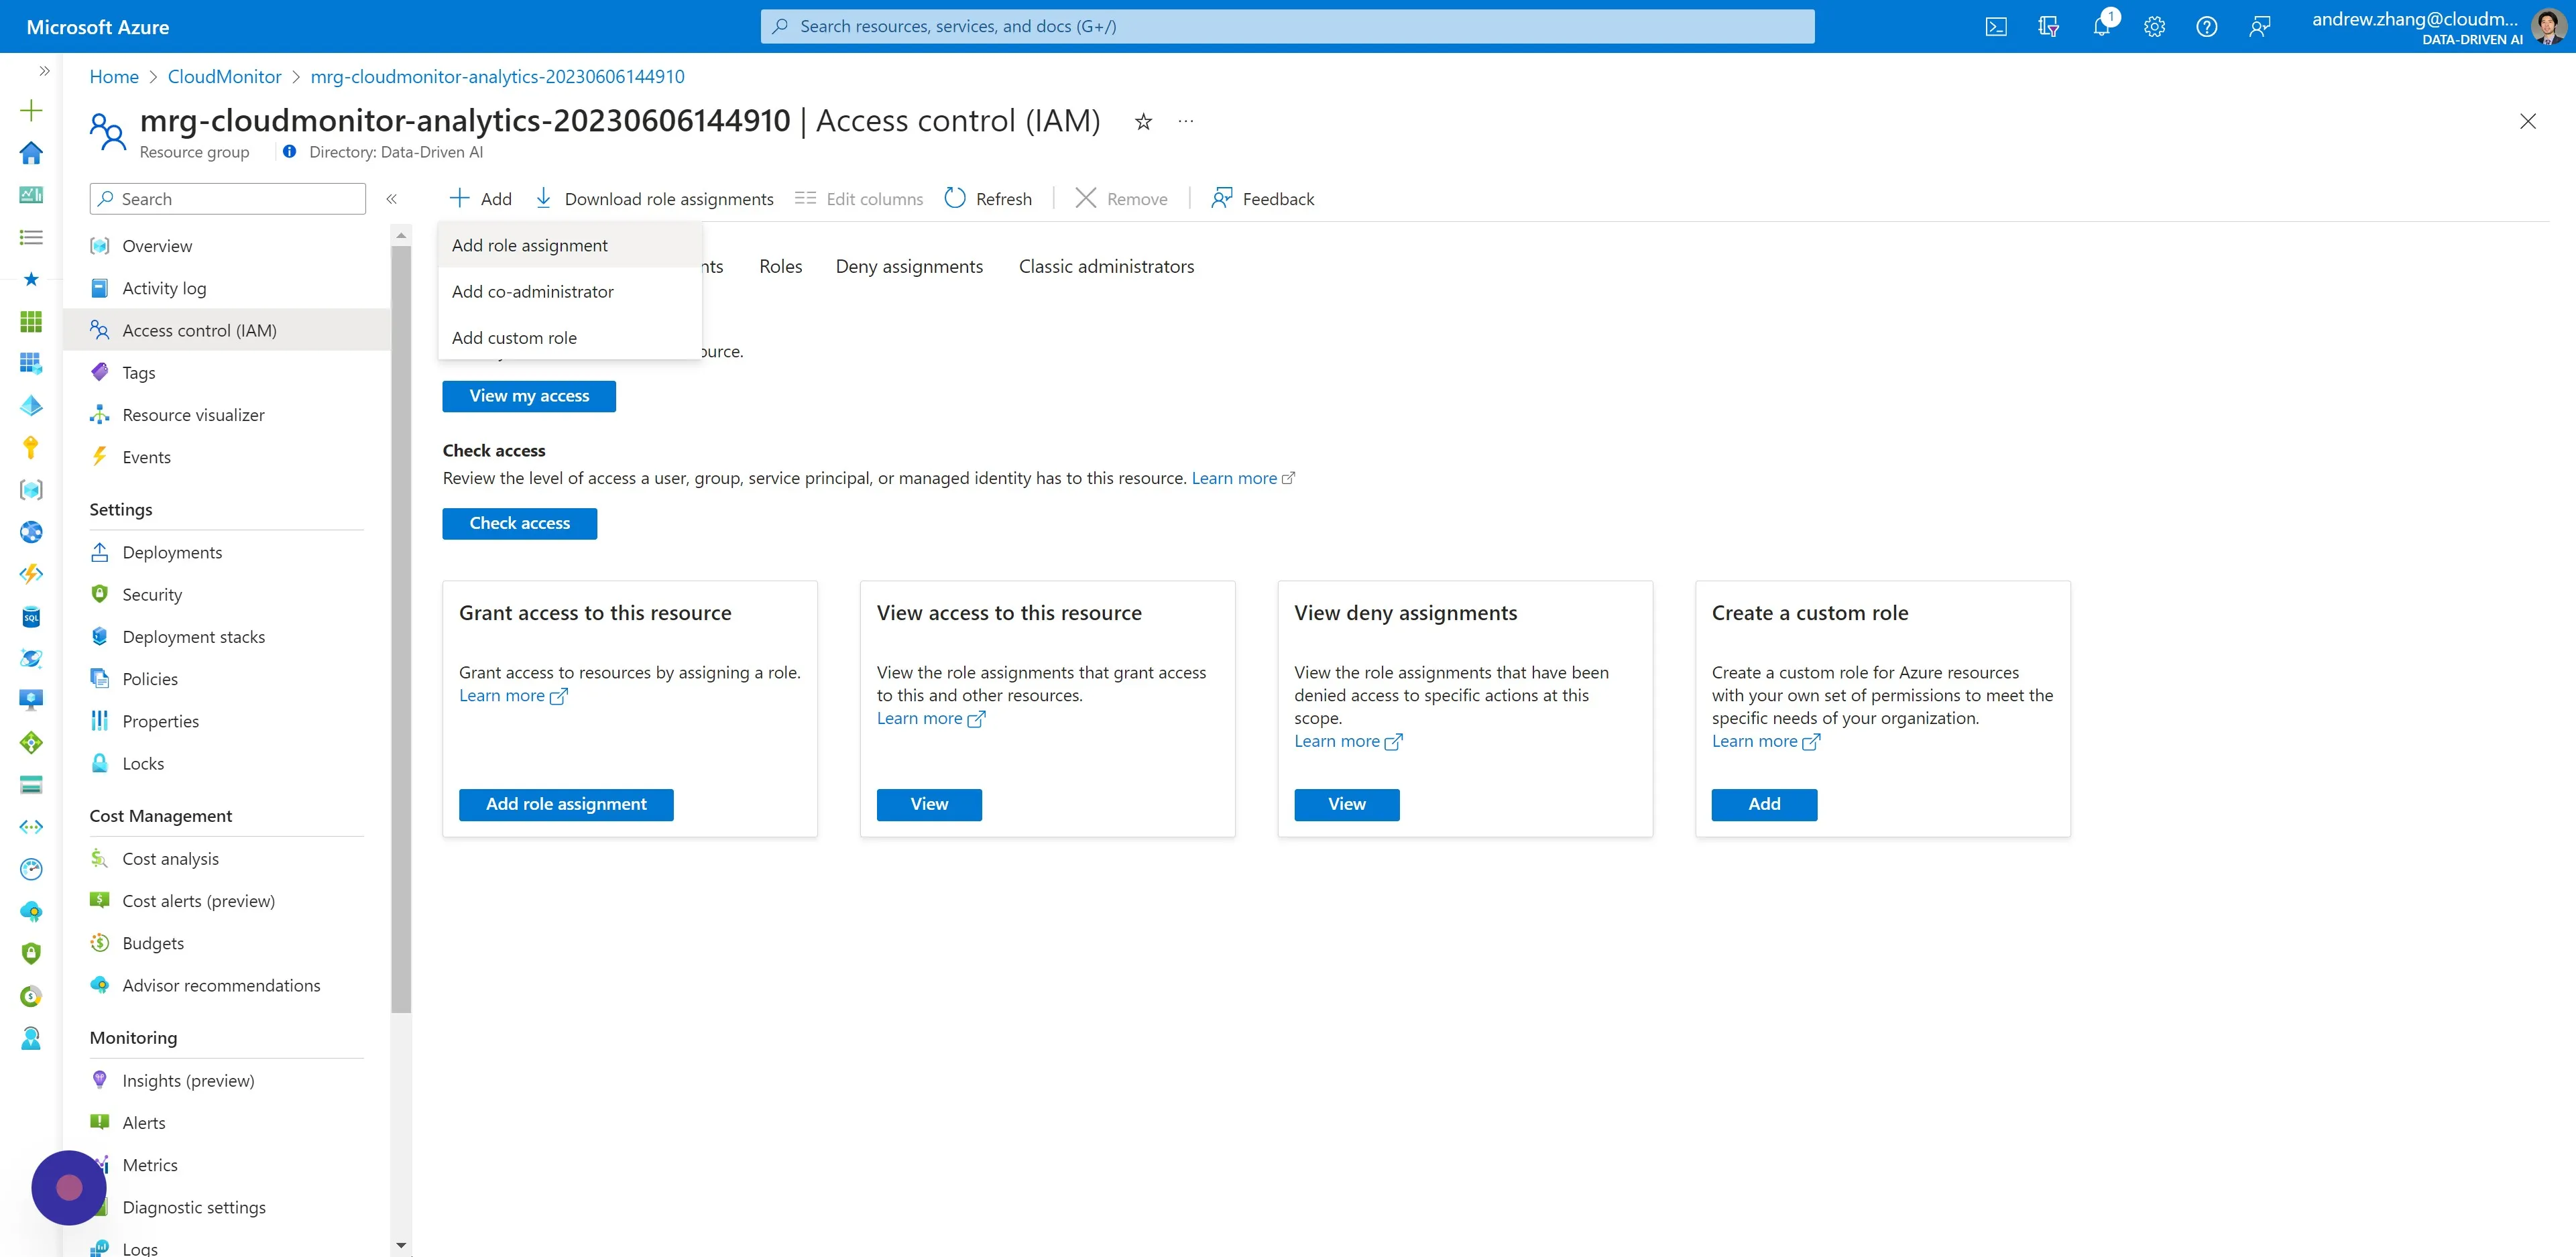
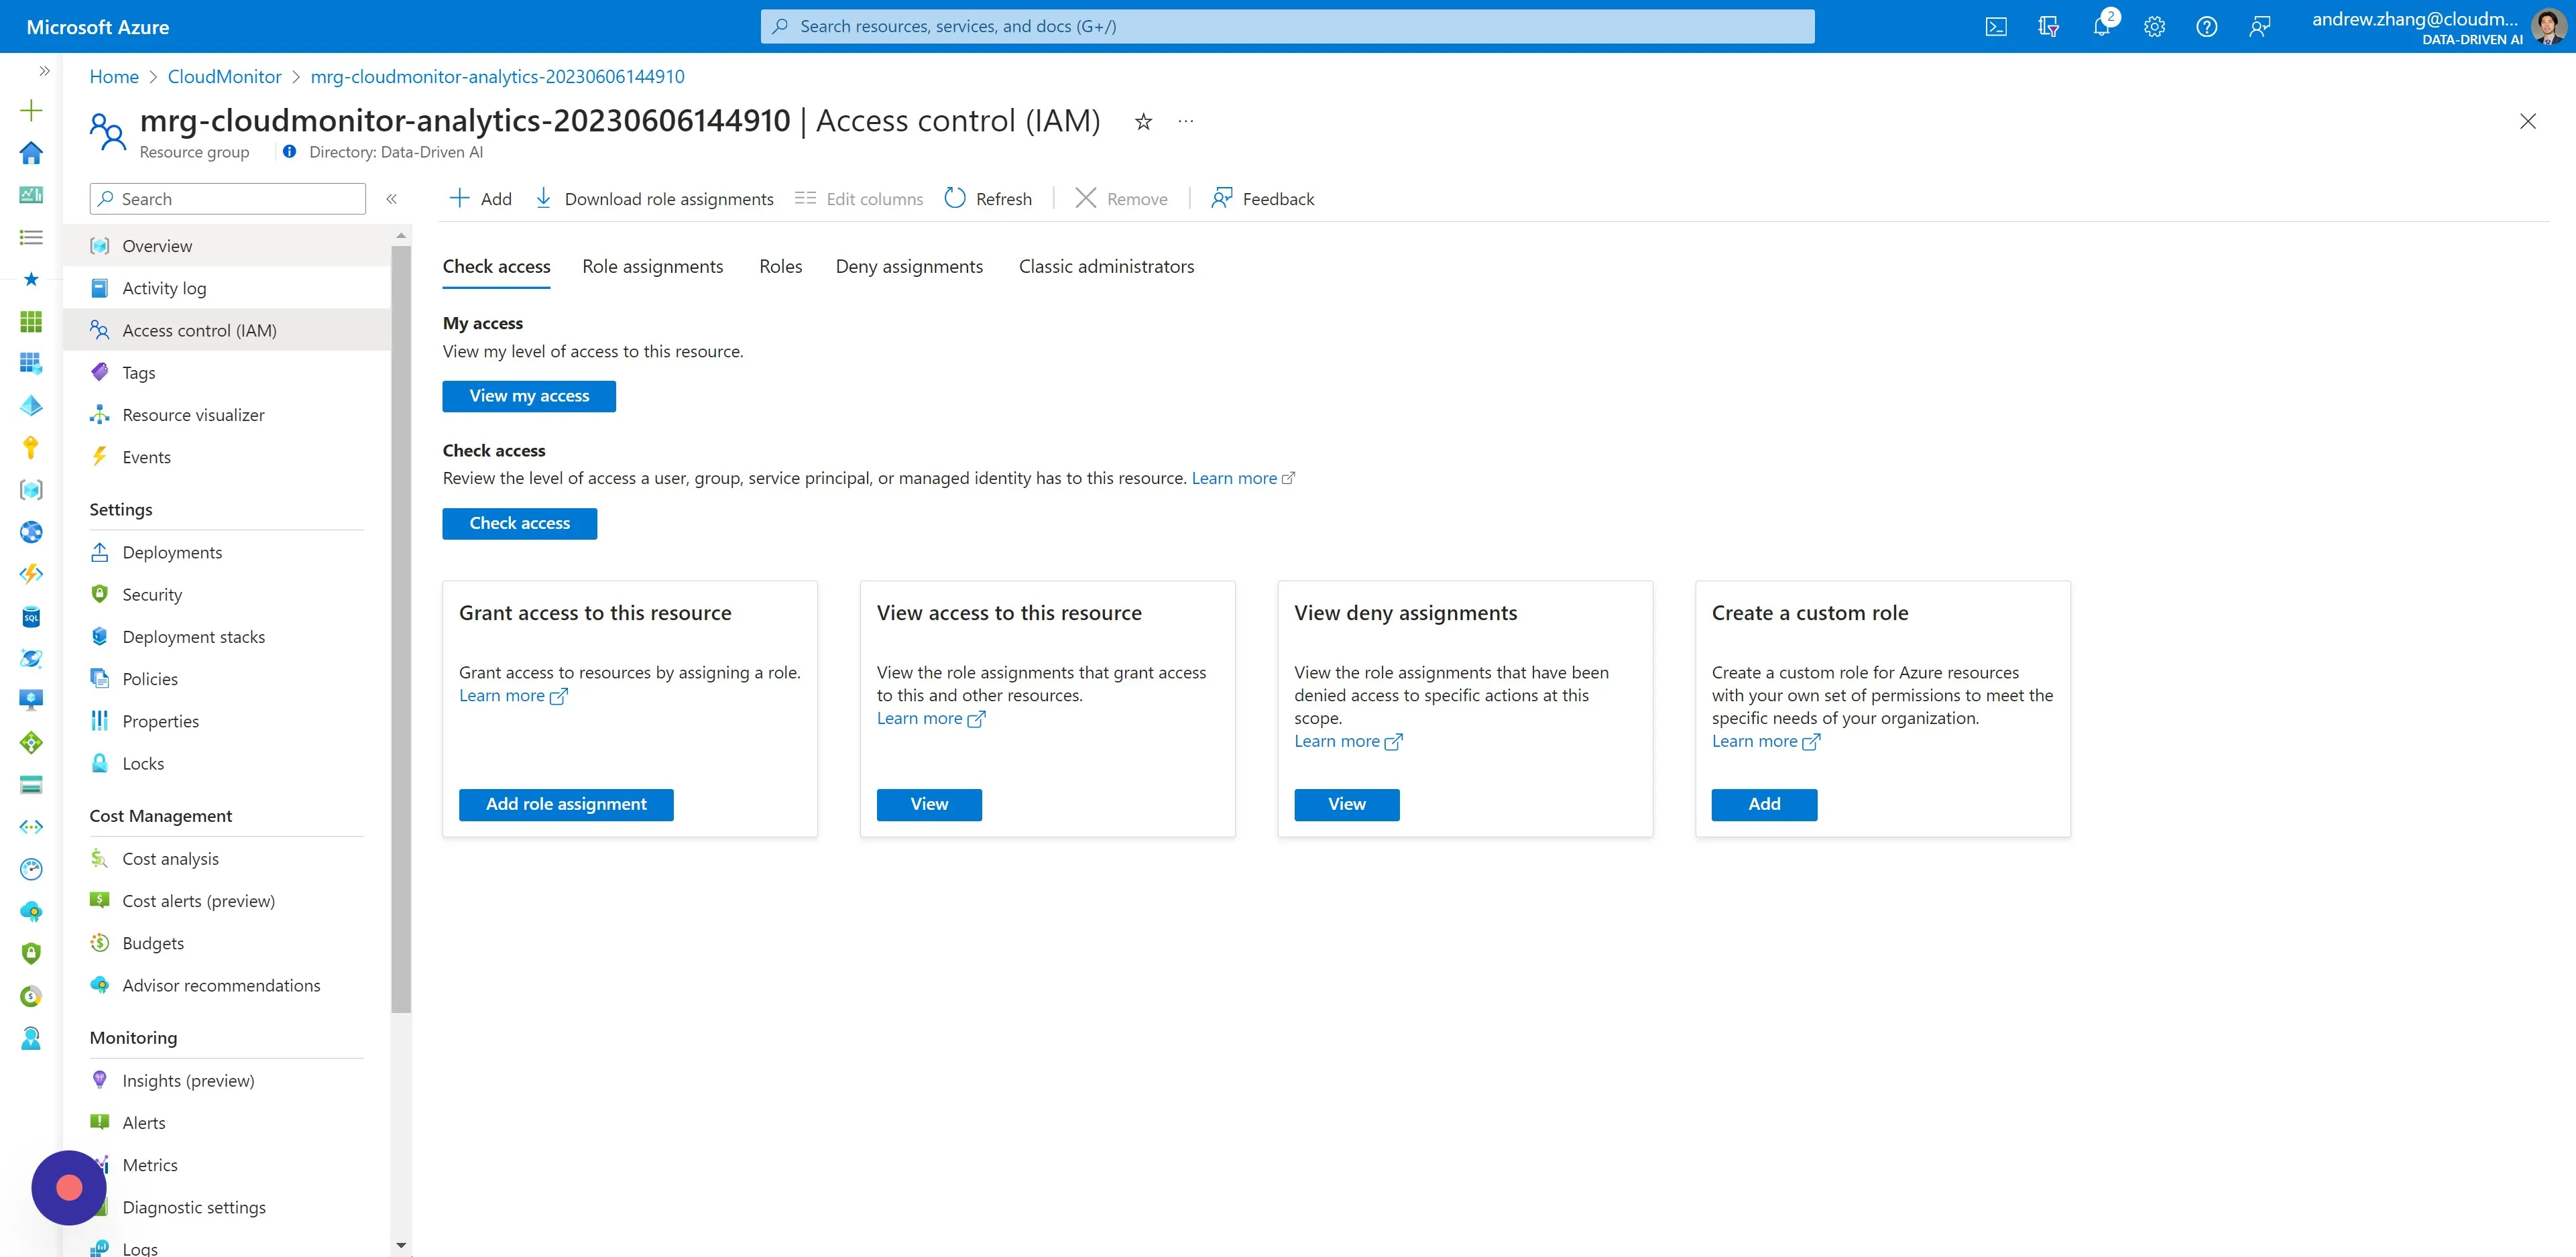
Section titled “Step 3”Navigate to Access Control (IAM) and click “Add”.

Step 4
Section titled “Step 4”Then click “Add role assignment”.
Step 5
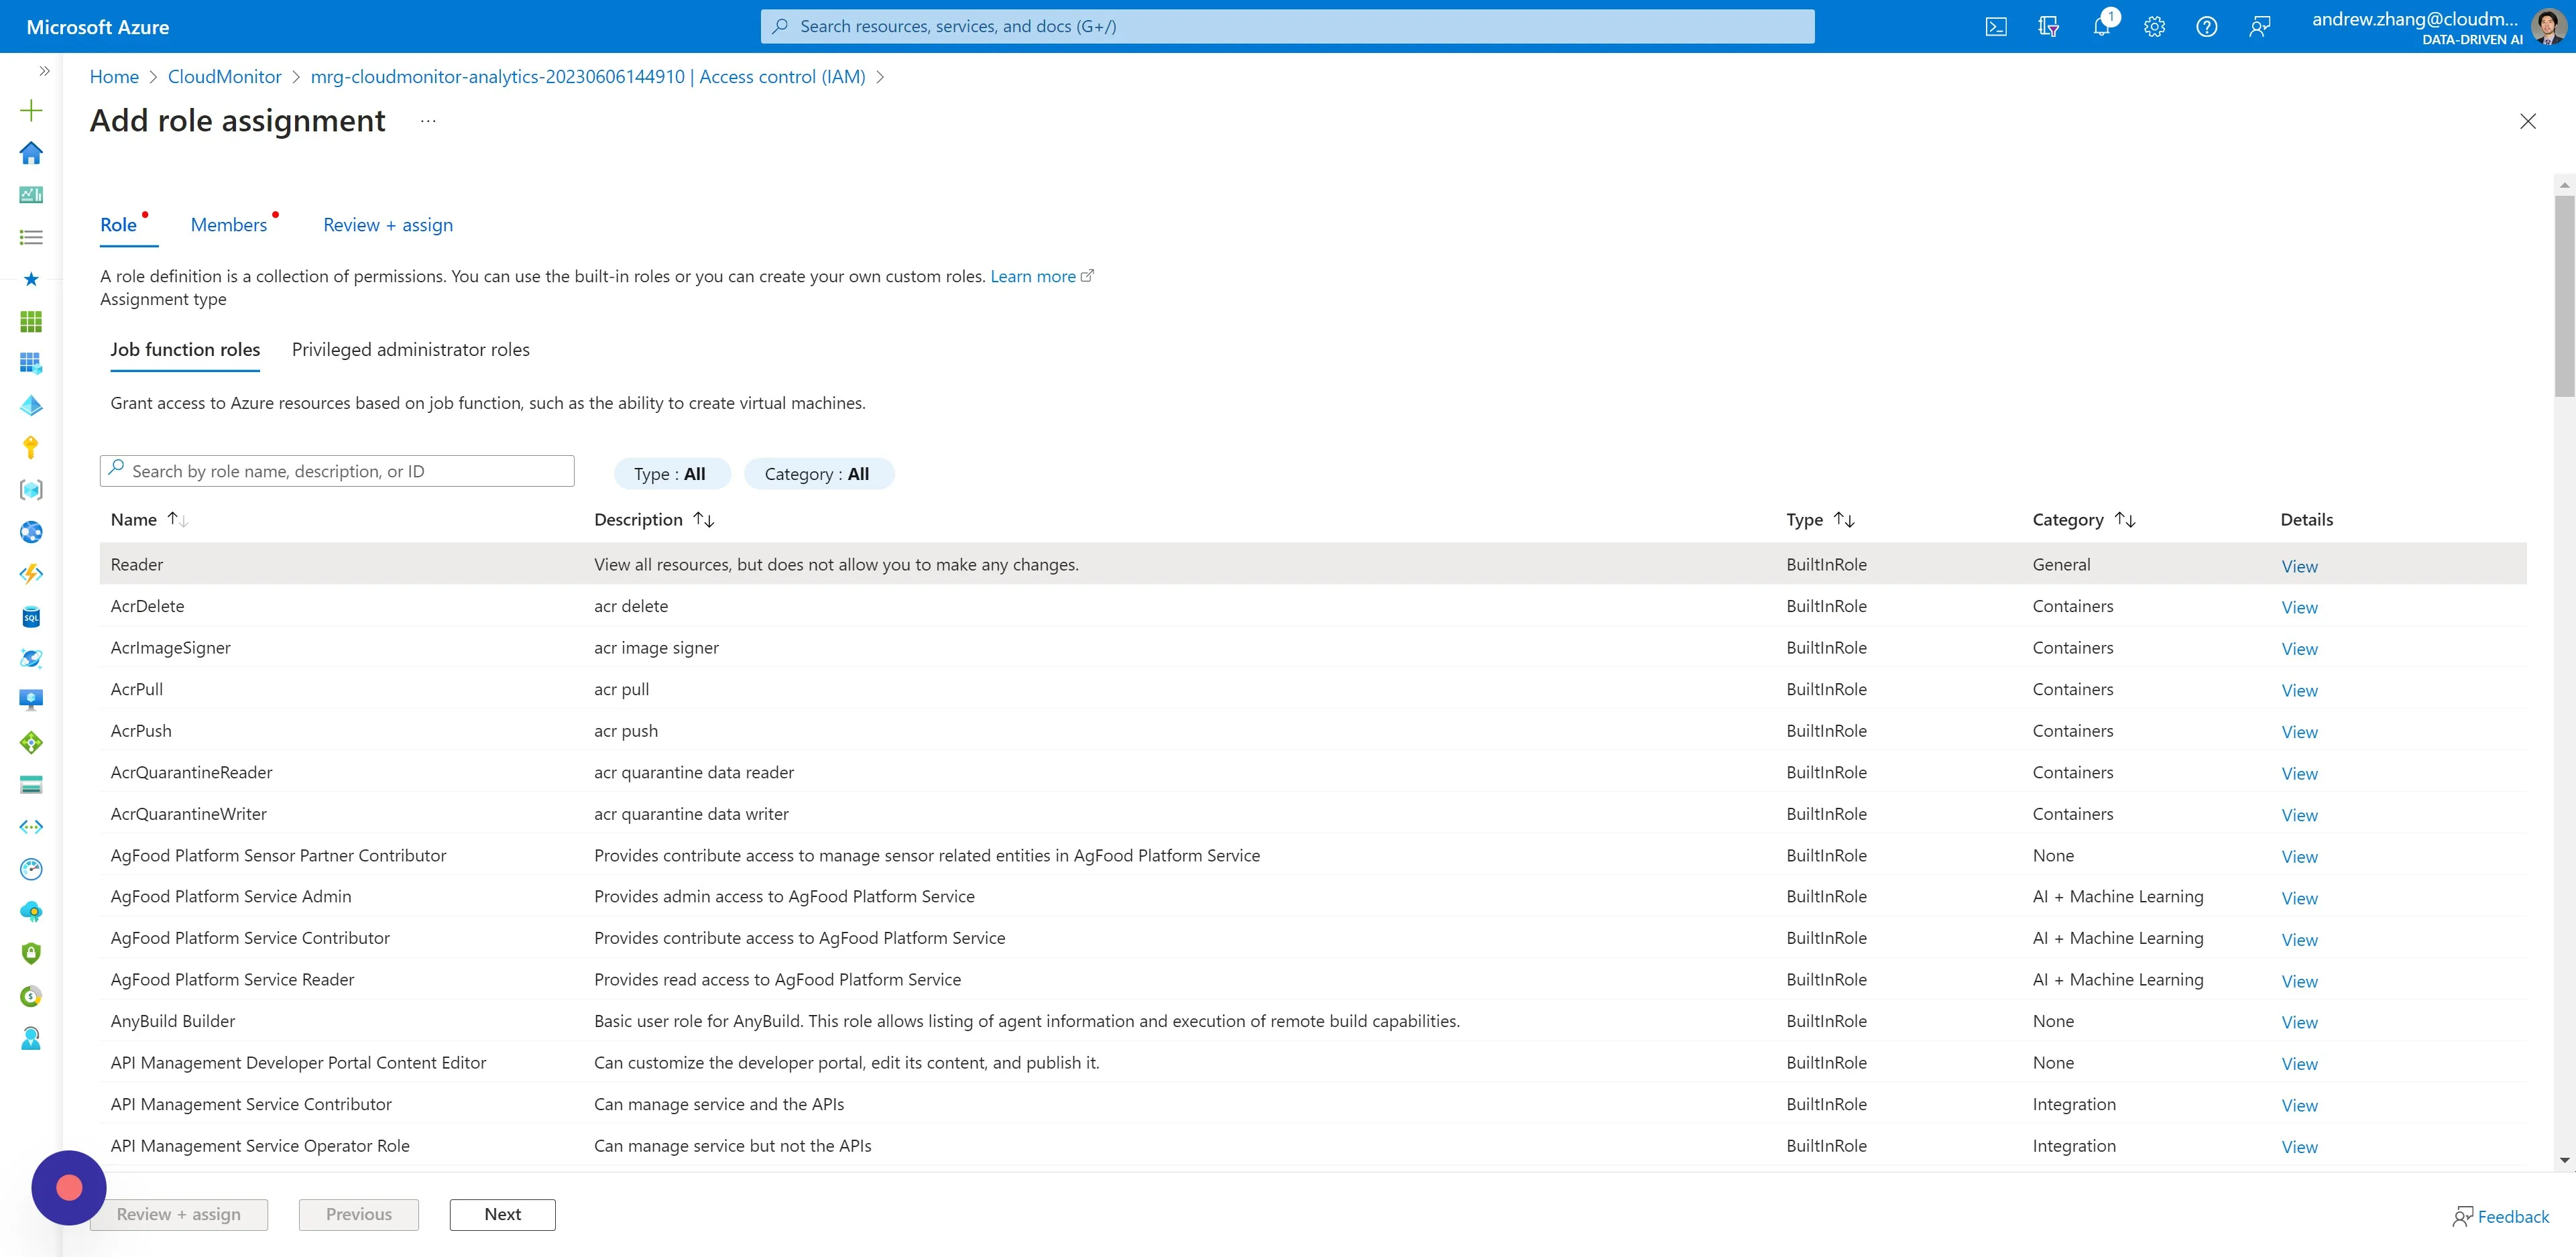
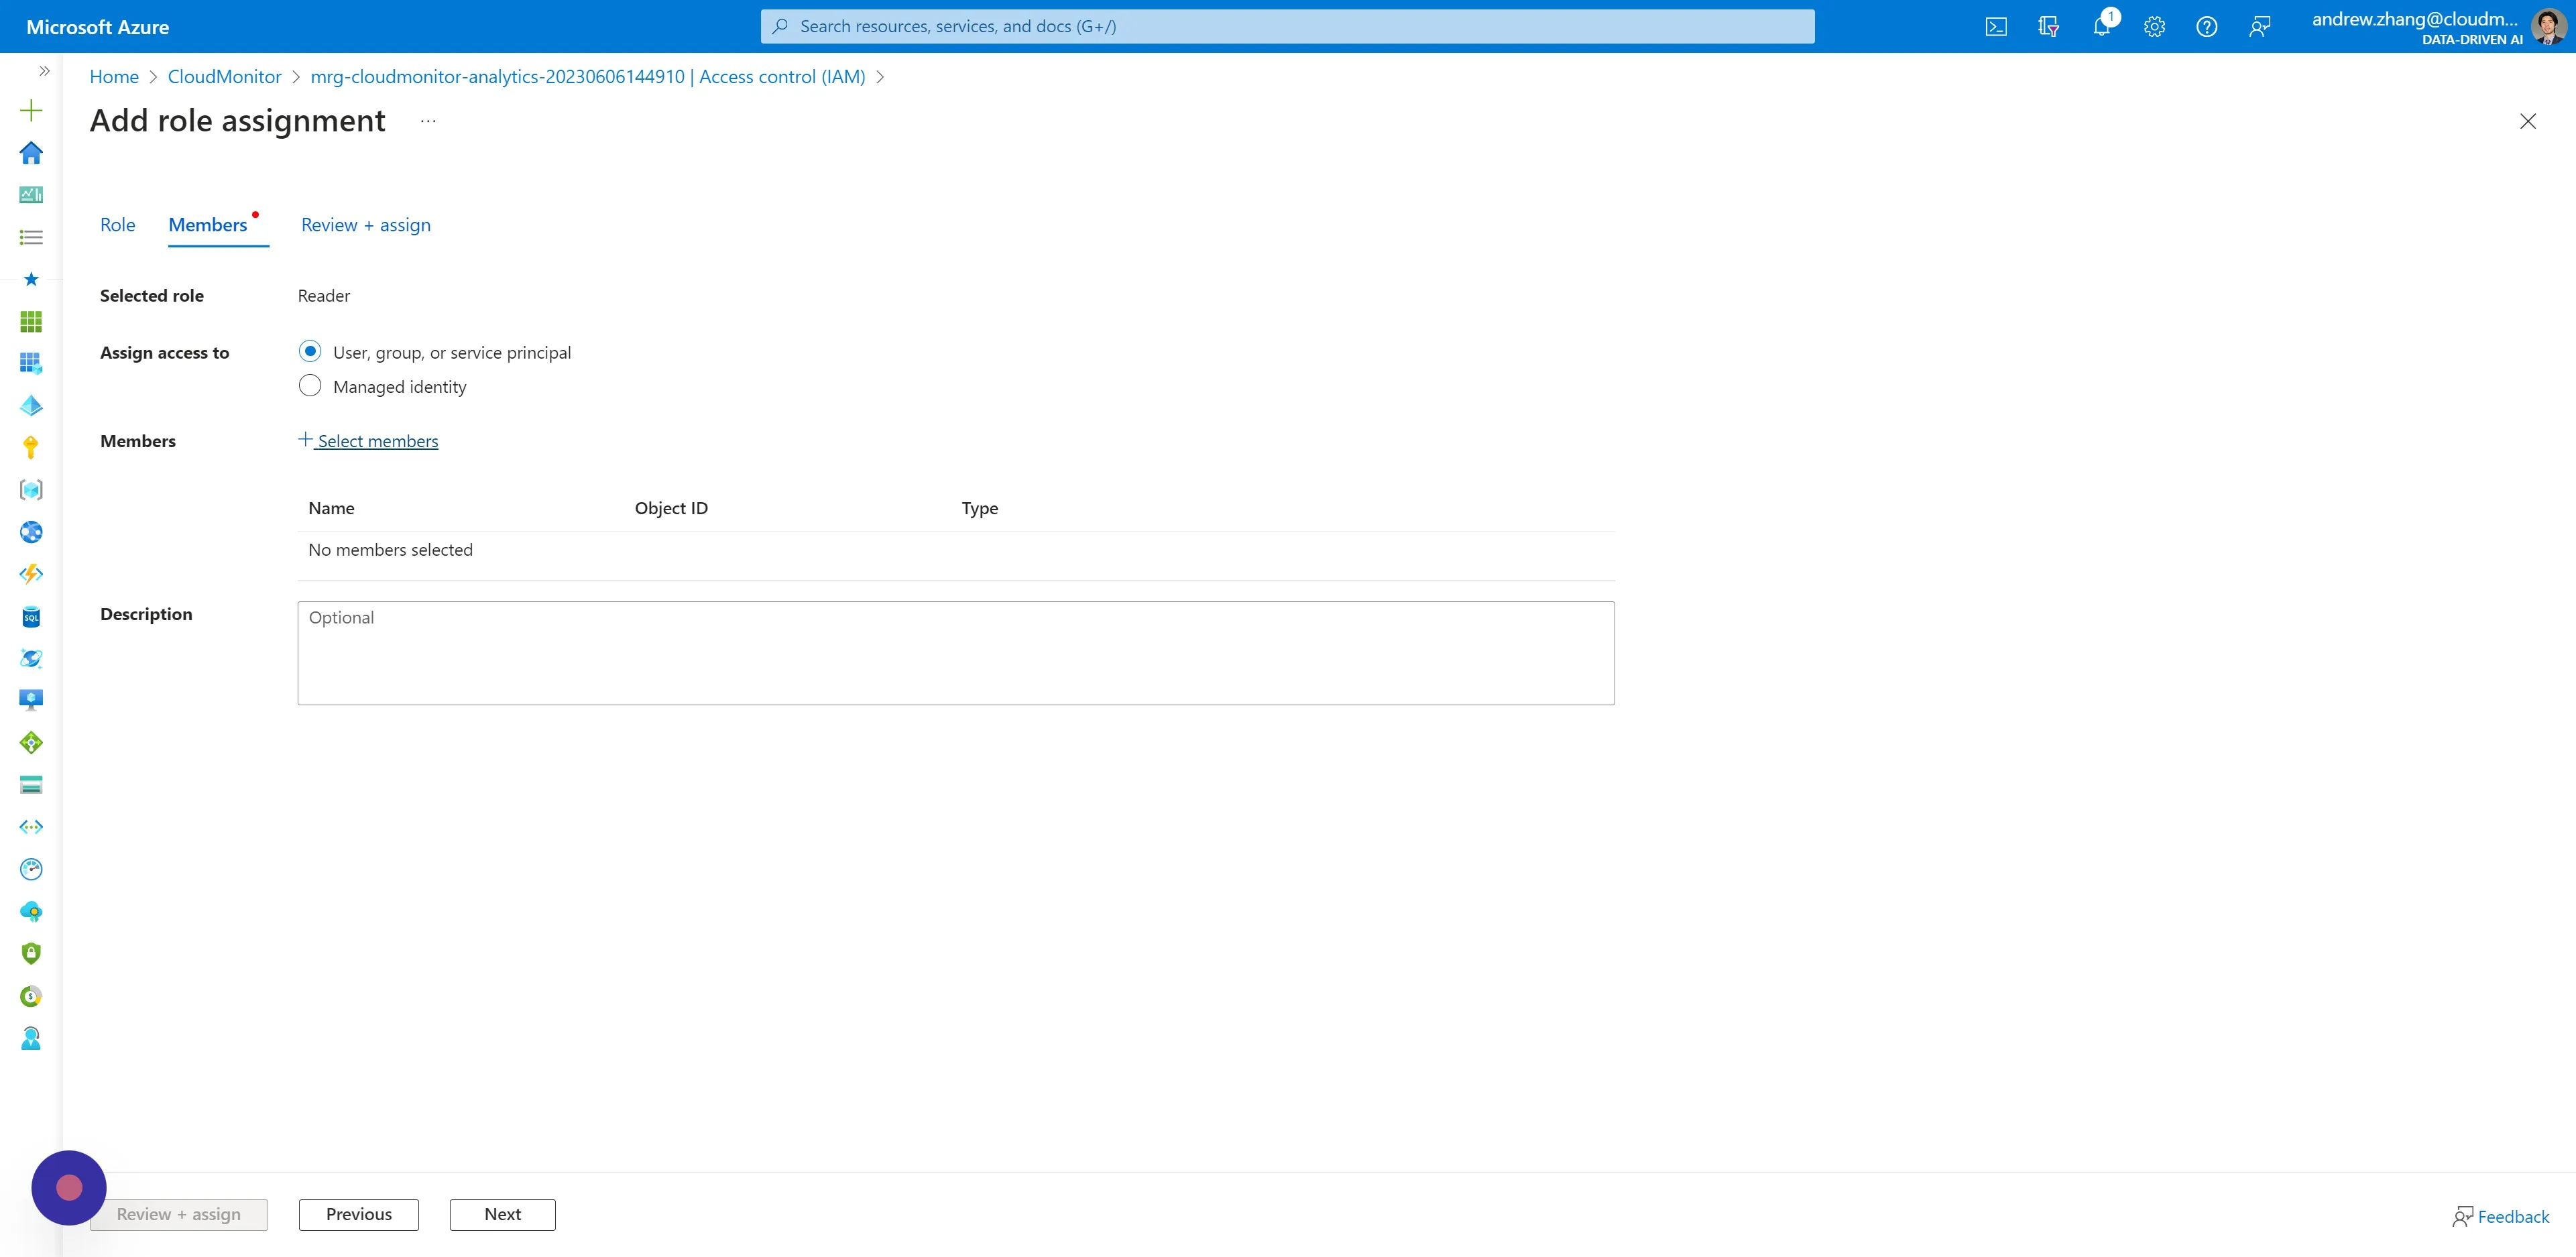
Section titled “Step 5”Select “Reader” as the role.
Step 6
Section titled “Step 6”Switch to the Members tab, and click “Select members”.
Step 7
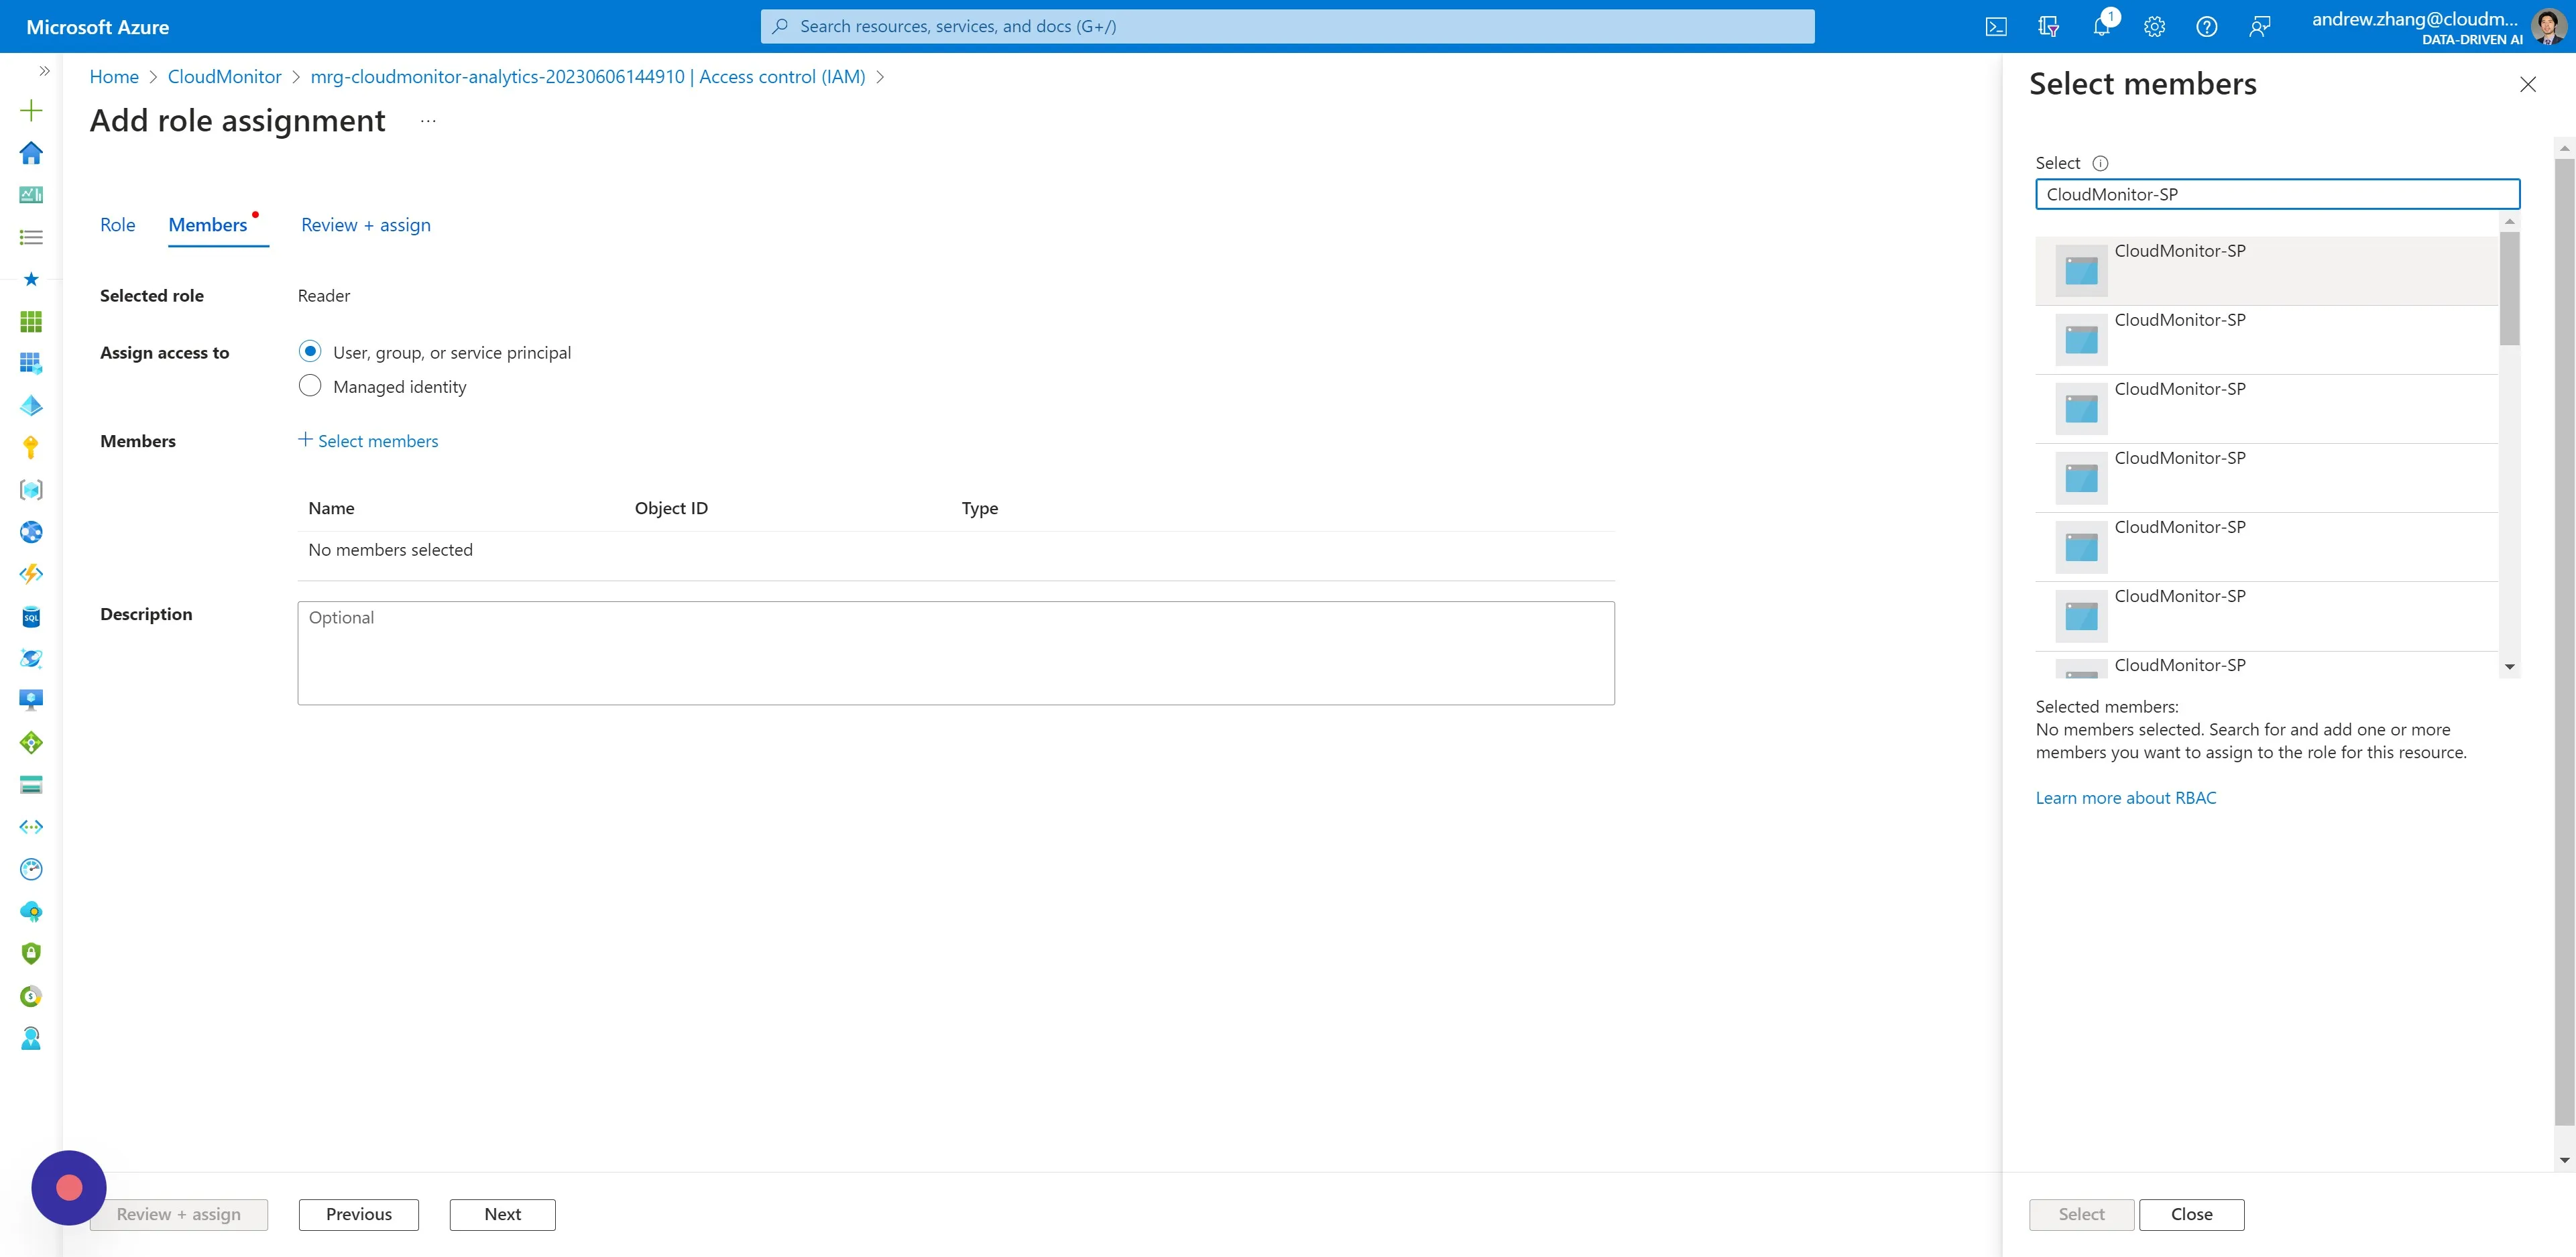
Section titled “Step 7”Search for and select your CloudMonitor Service Principal name.
Please visit our other article How to access your AD Service Principal details for help locating your Service Principal name.
Step 8
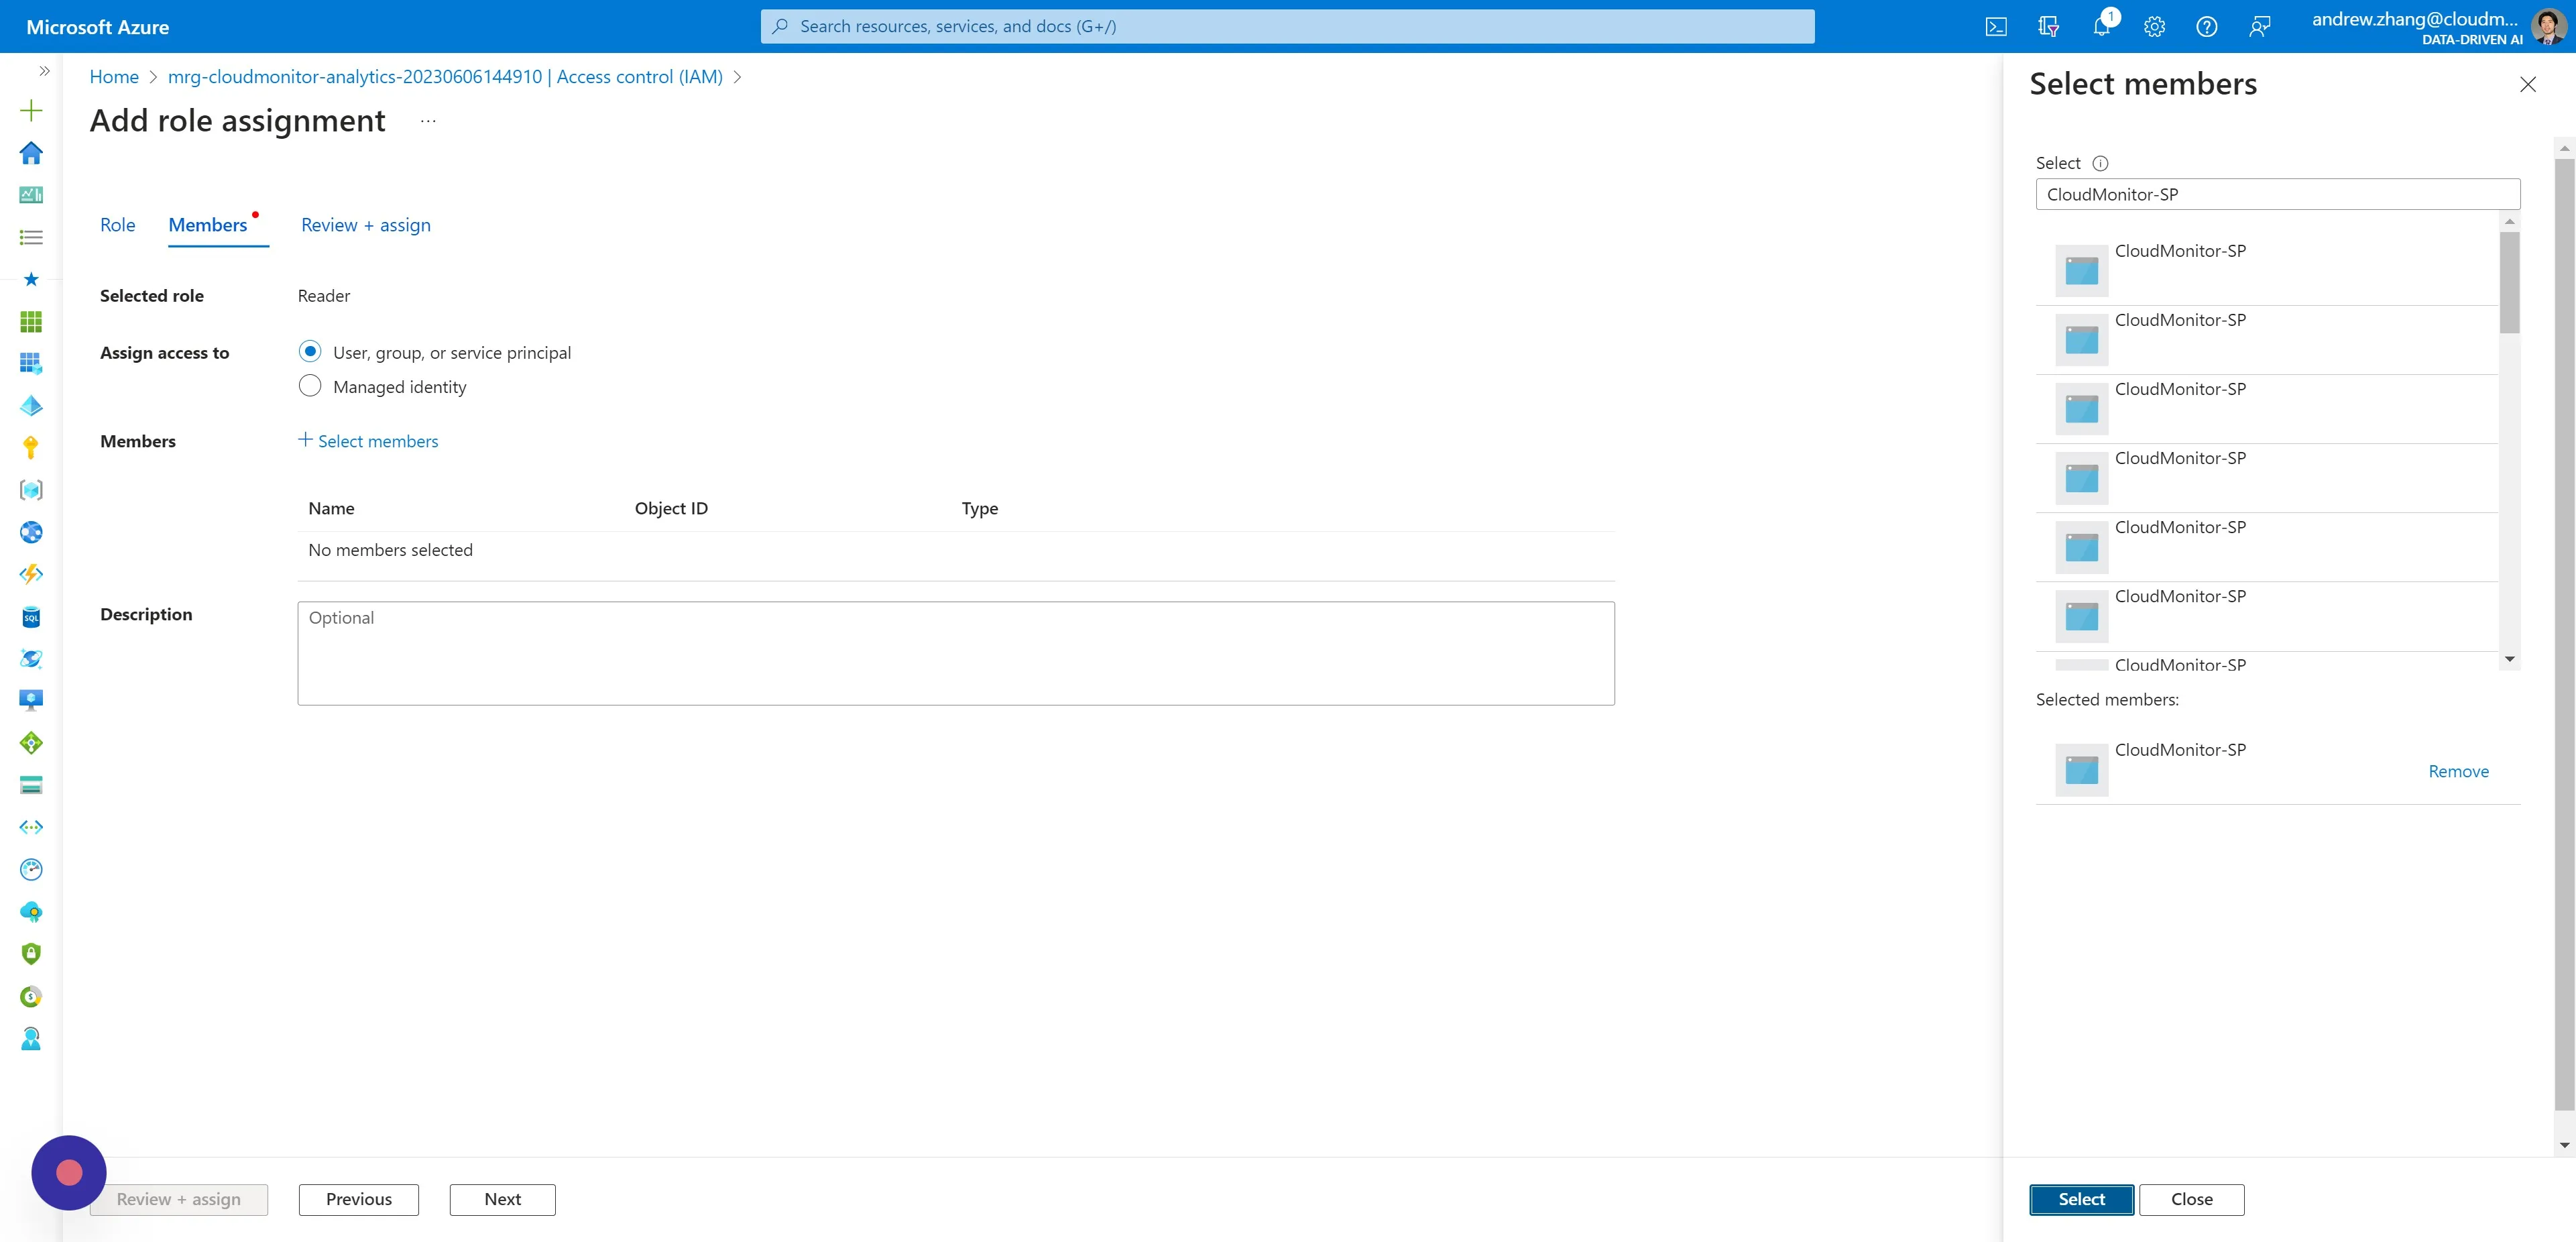
Section titled “Step 8”Then click “Select” and then click “Review + assign”.
Step 9
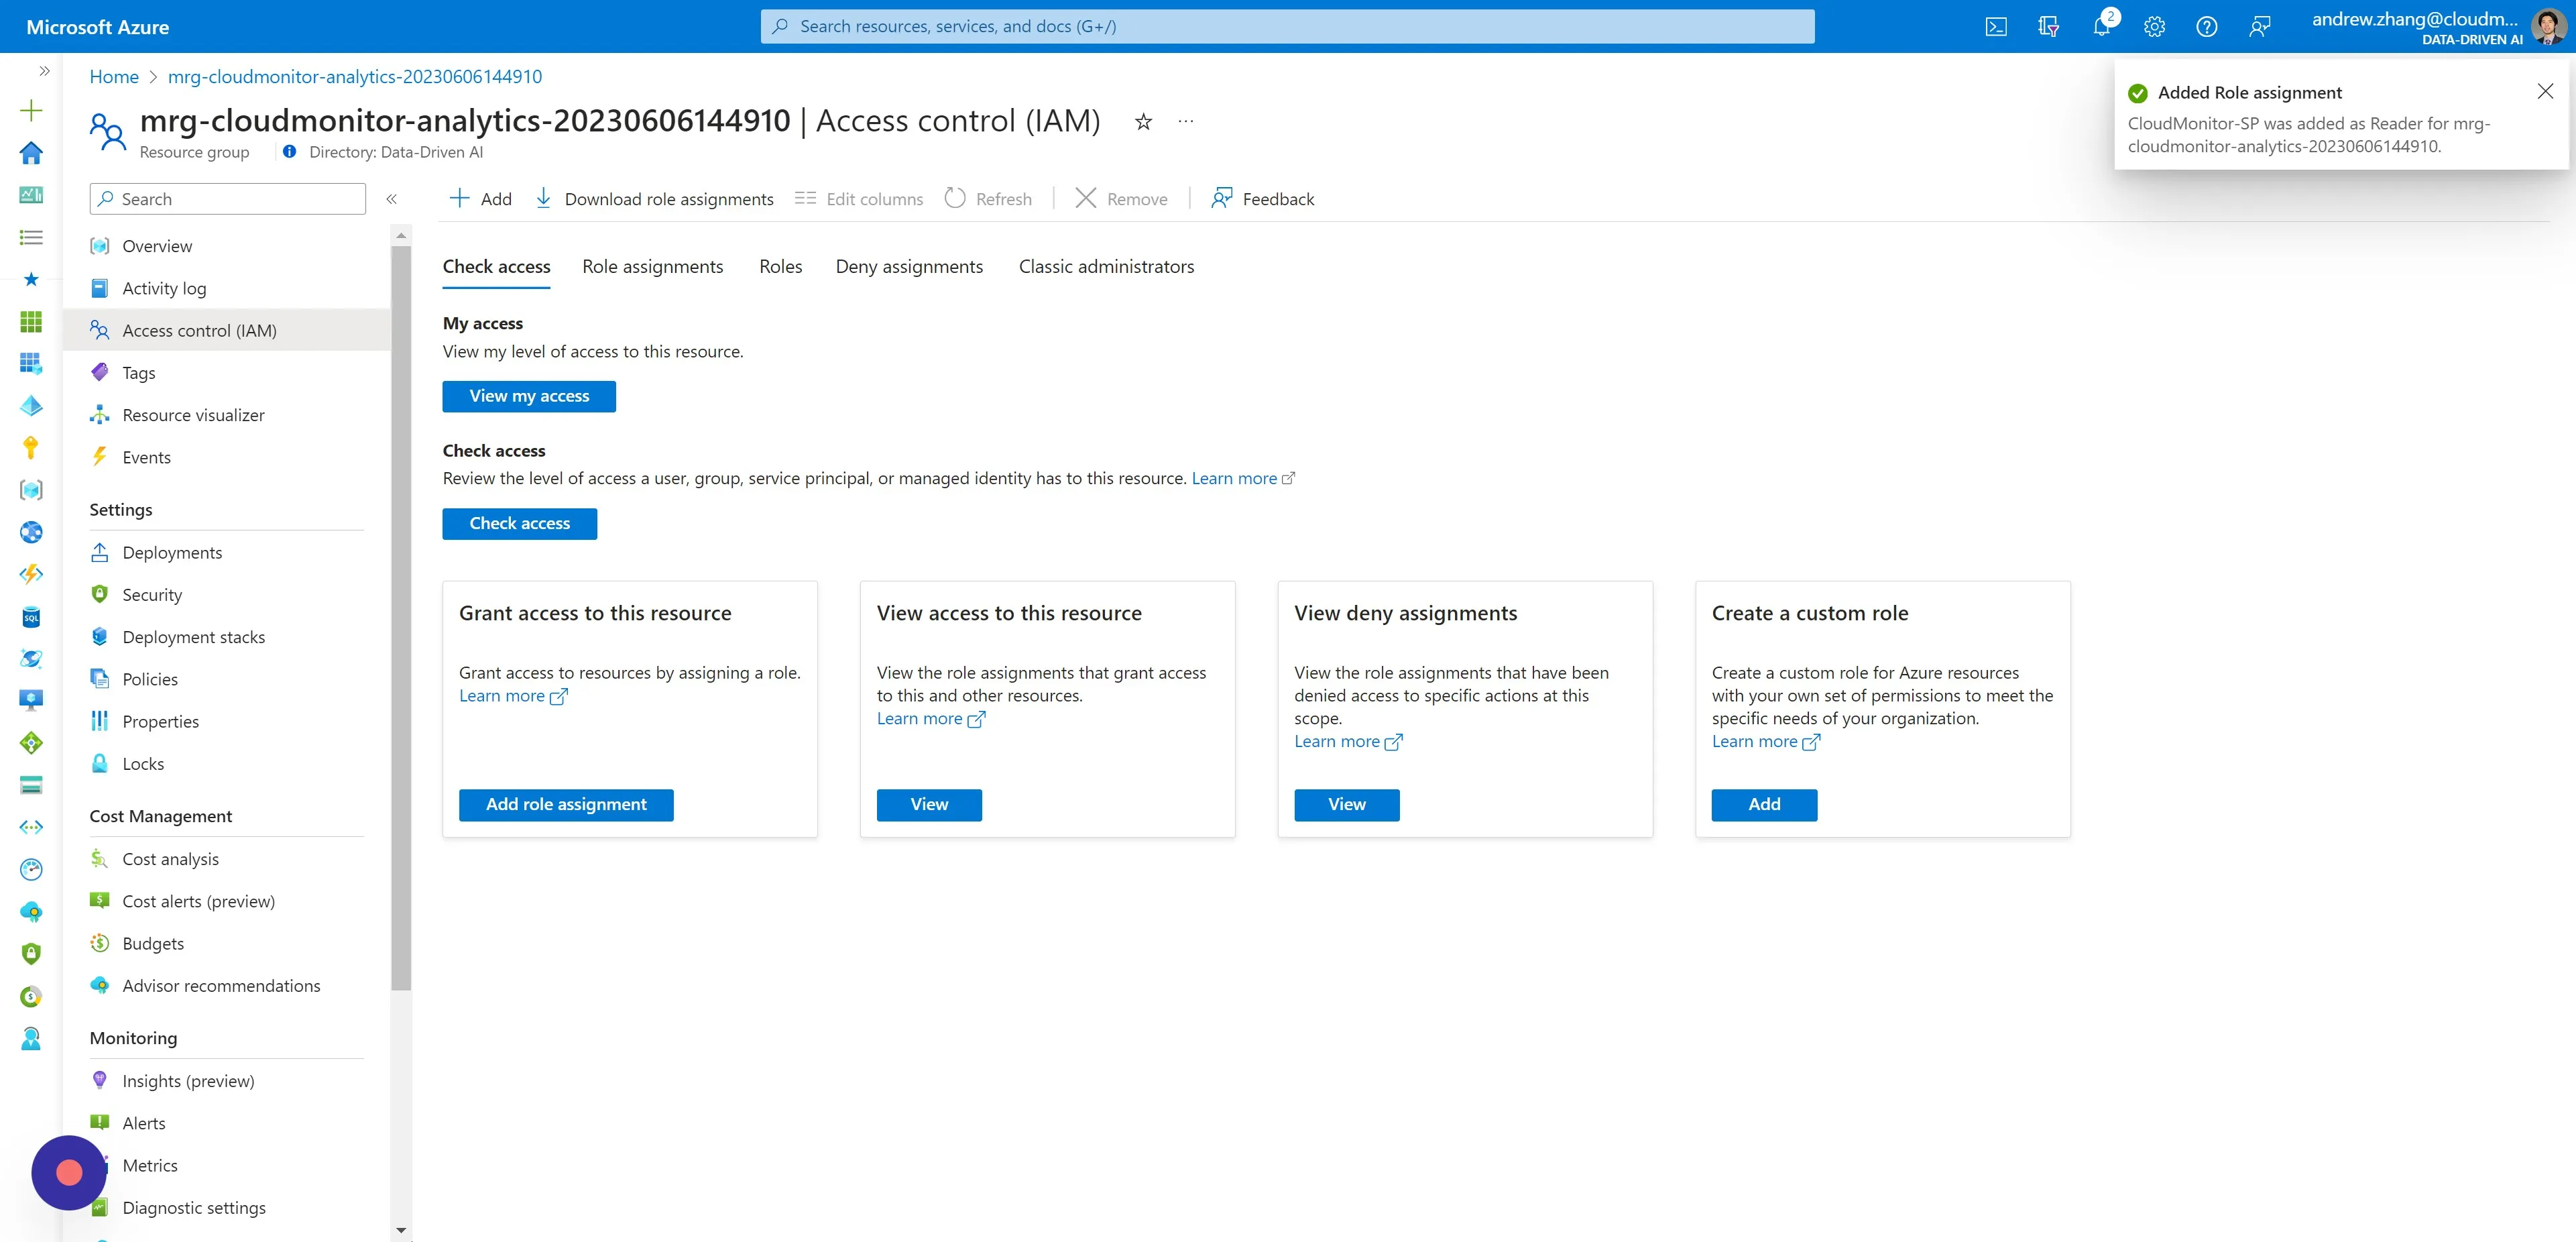
Section titled “Step 9”You will receive a notification for successfully assigning the Reader Role.
Remain on this page in preparation for the next section.
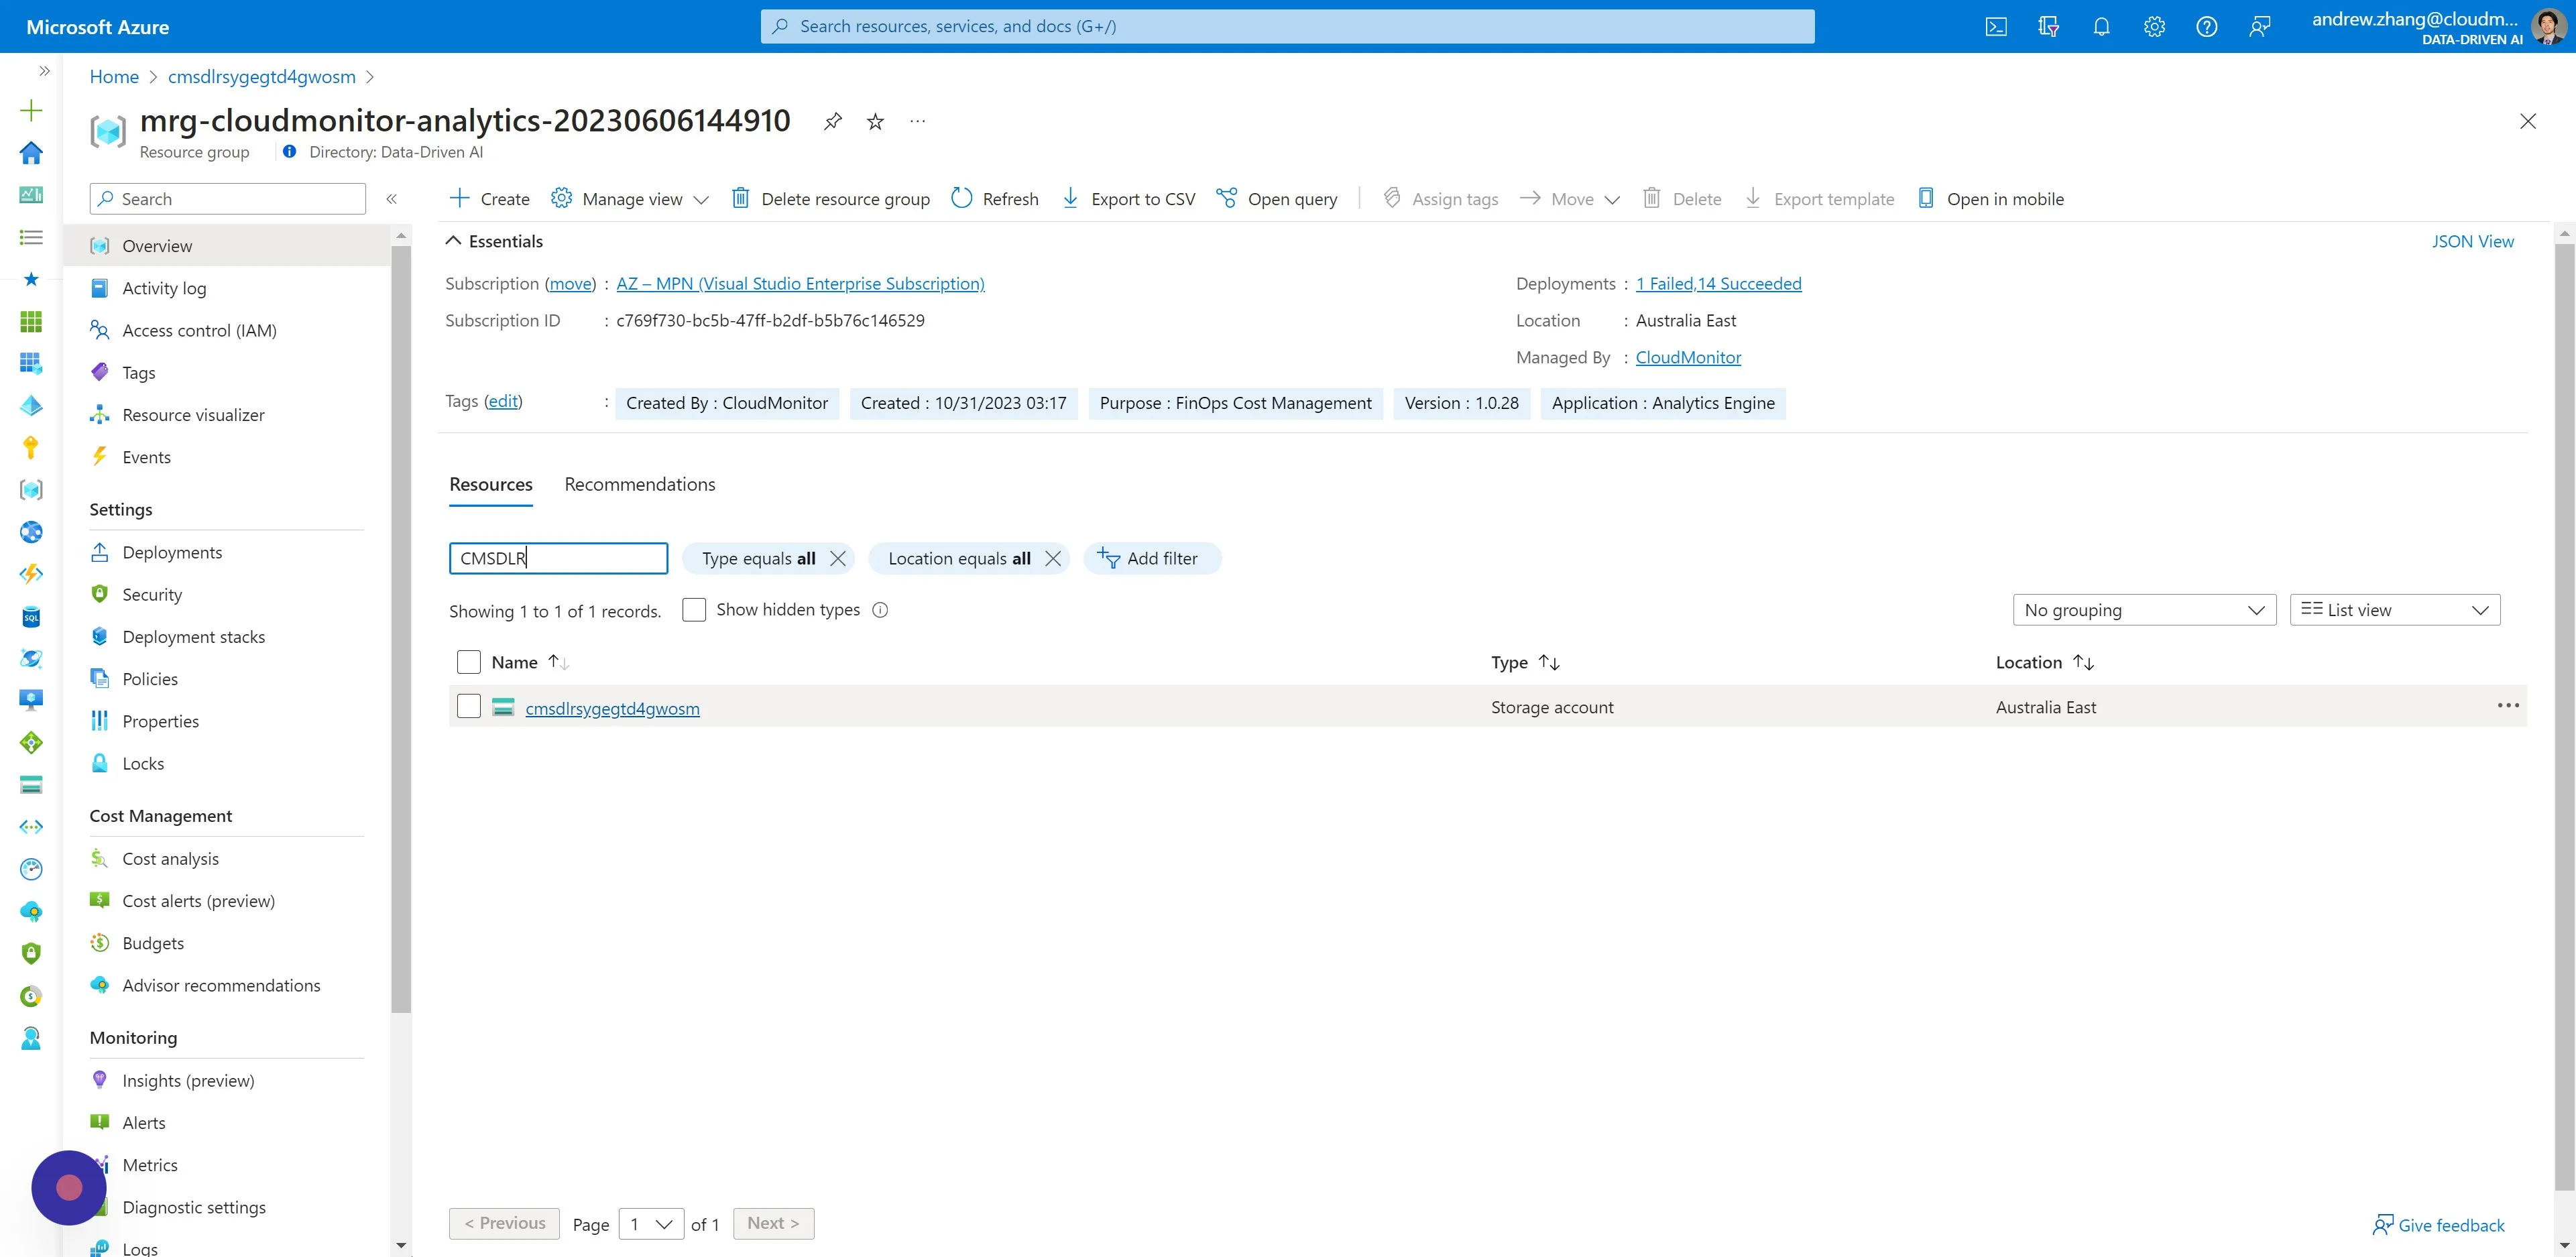
Step 10
Section titled “Step 10”Under Resources:
- Search for “CMSDLR” in the filter field.
- Then click the Storage Account Resource returned.
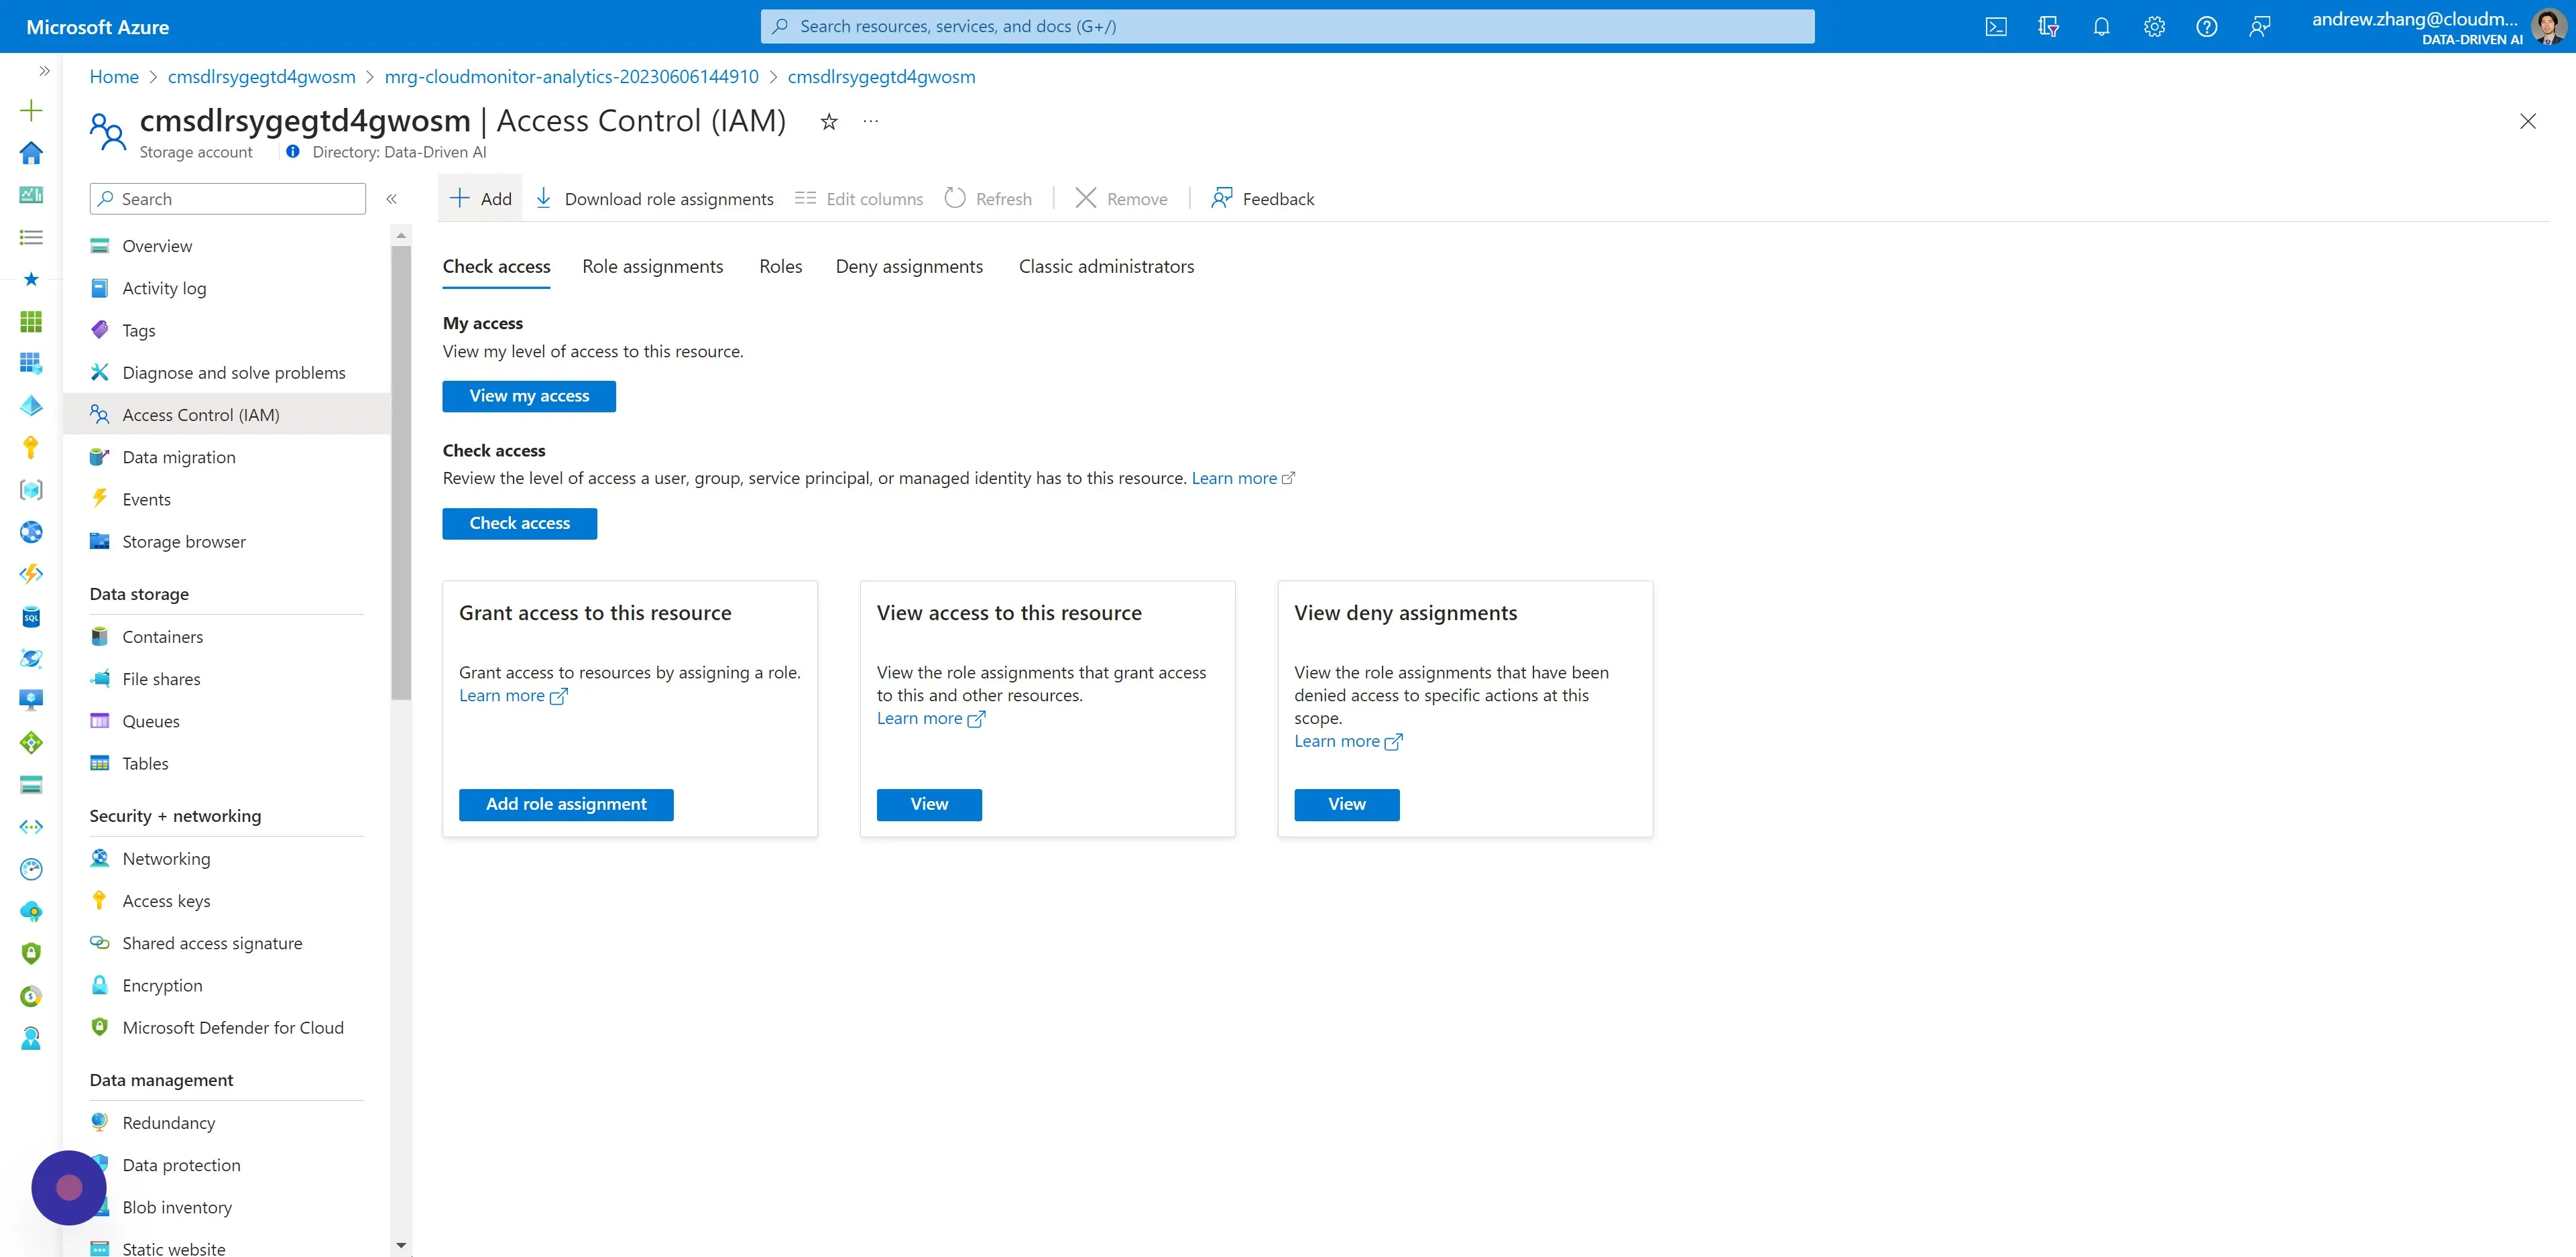
Step 11
Section titled “Step 11”Navigate to Access Control (IAM) and click “Add”.
Step 12
Section titled “Step 12”Click “Add role assignment”

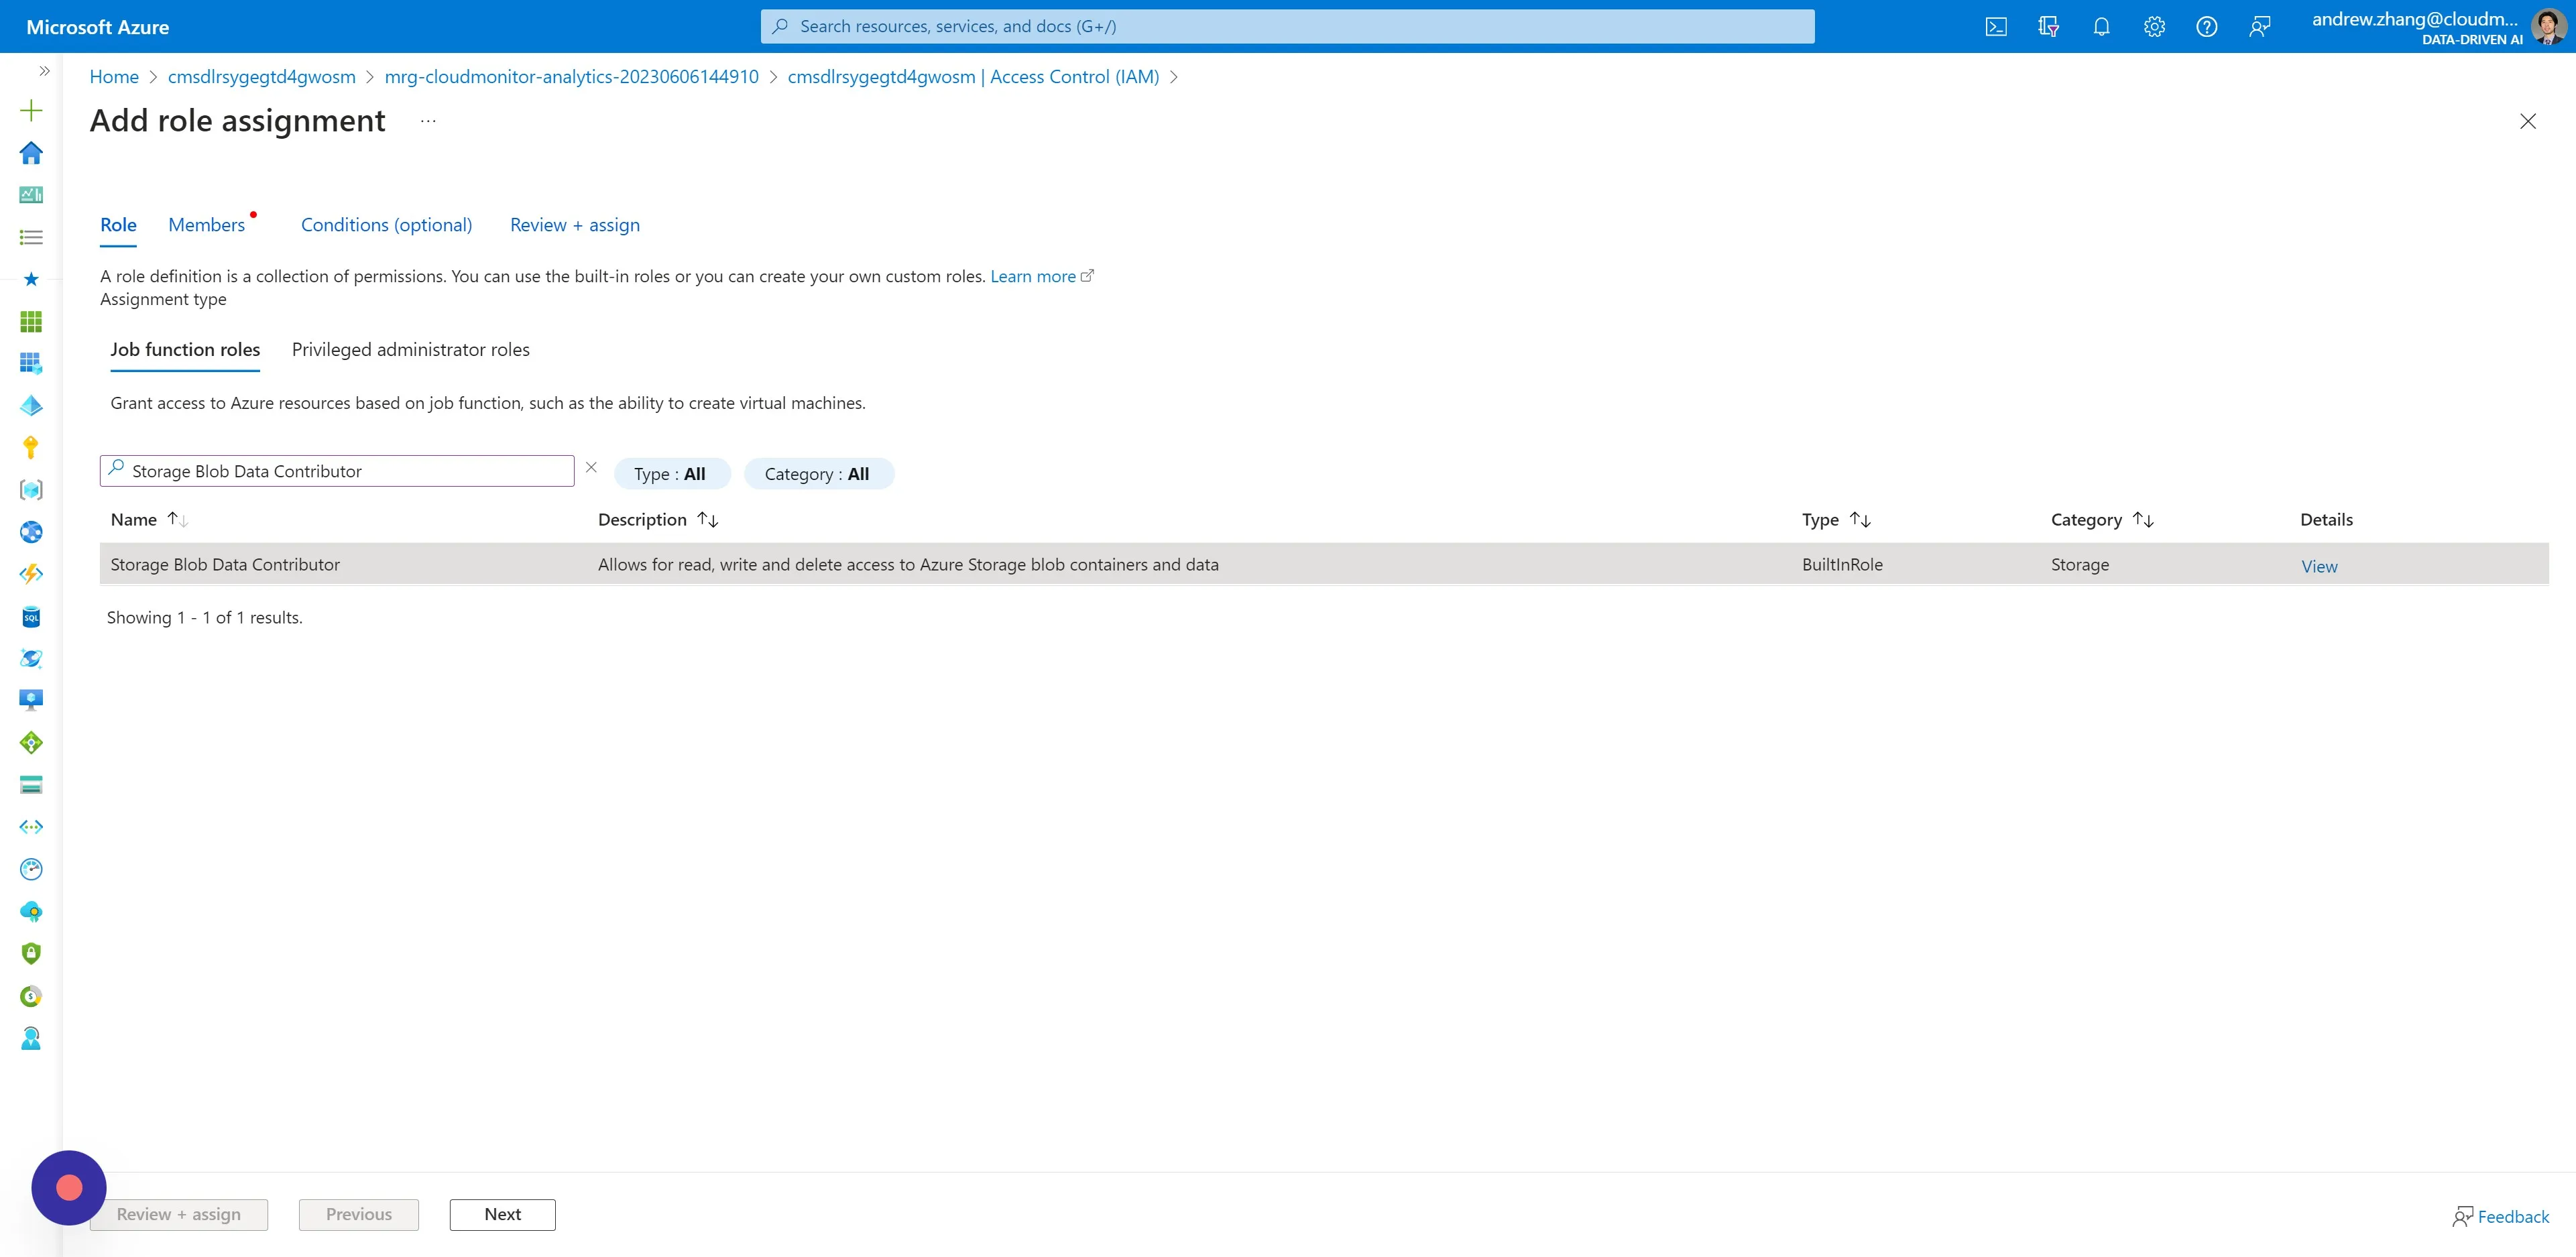
Step 13
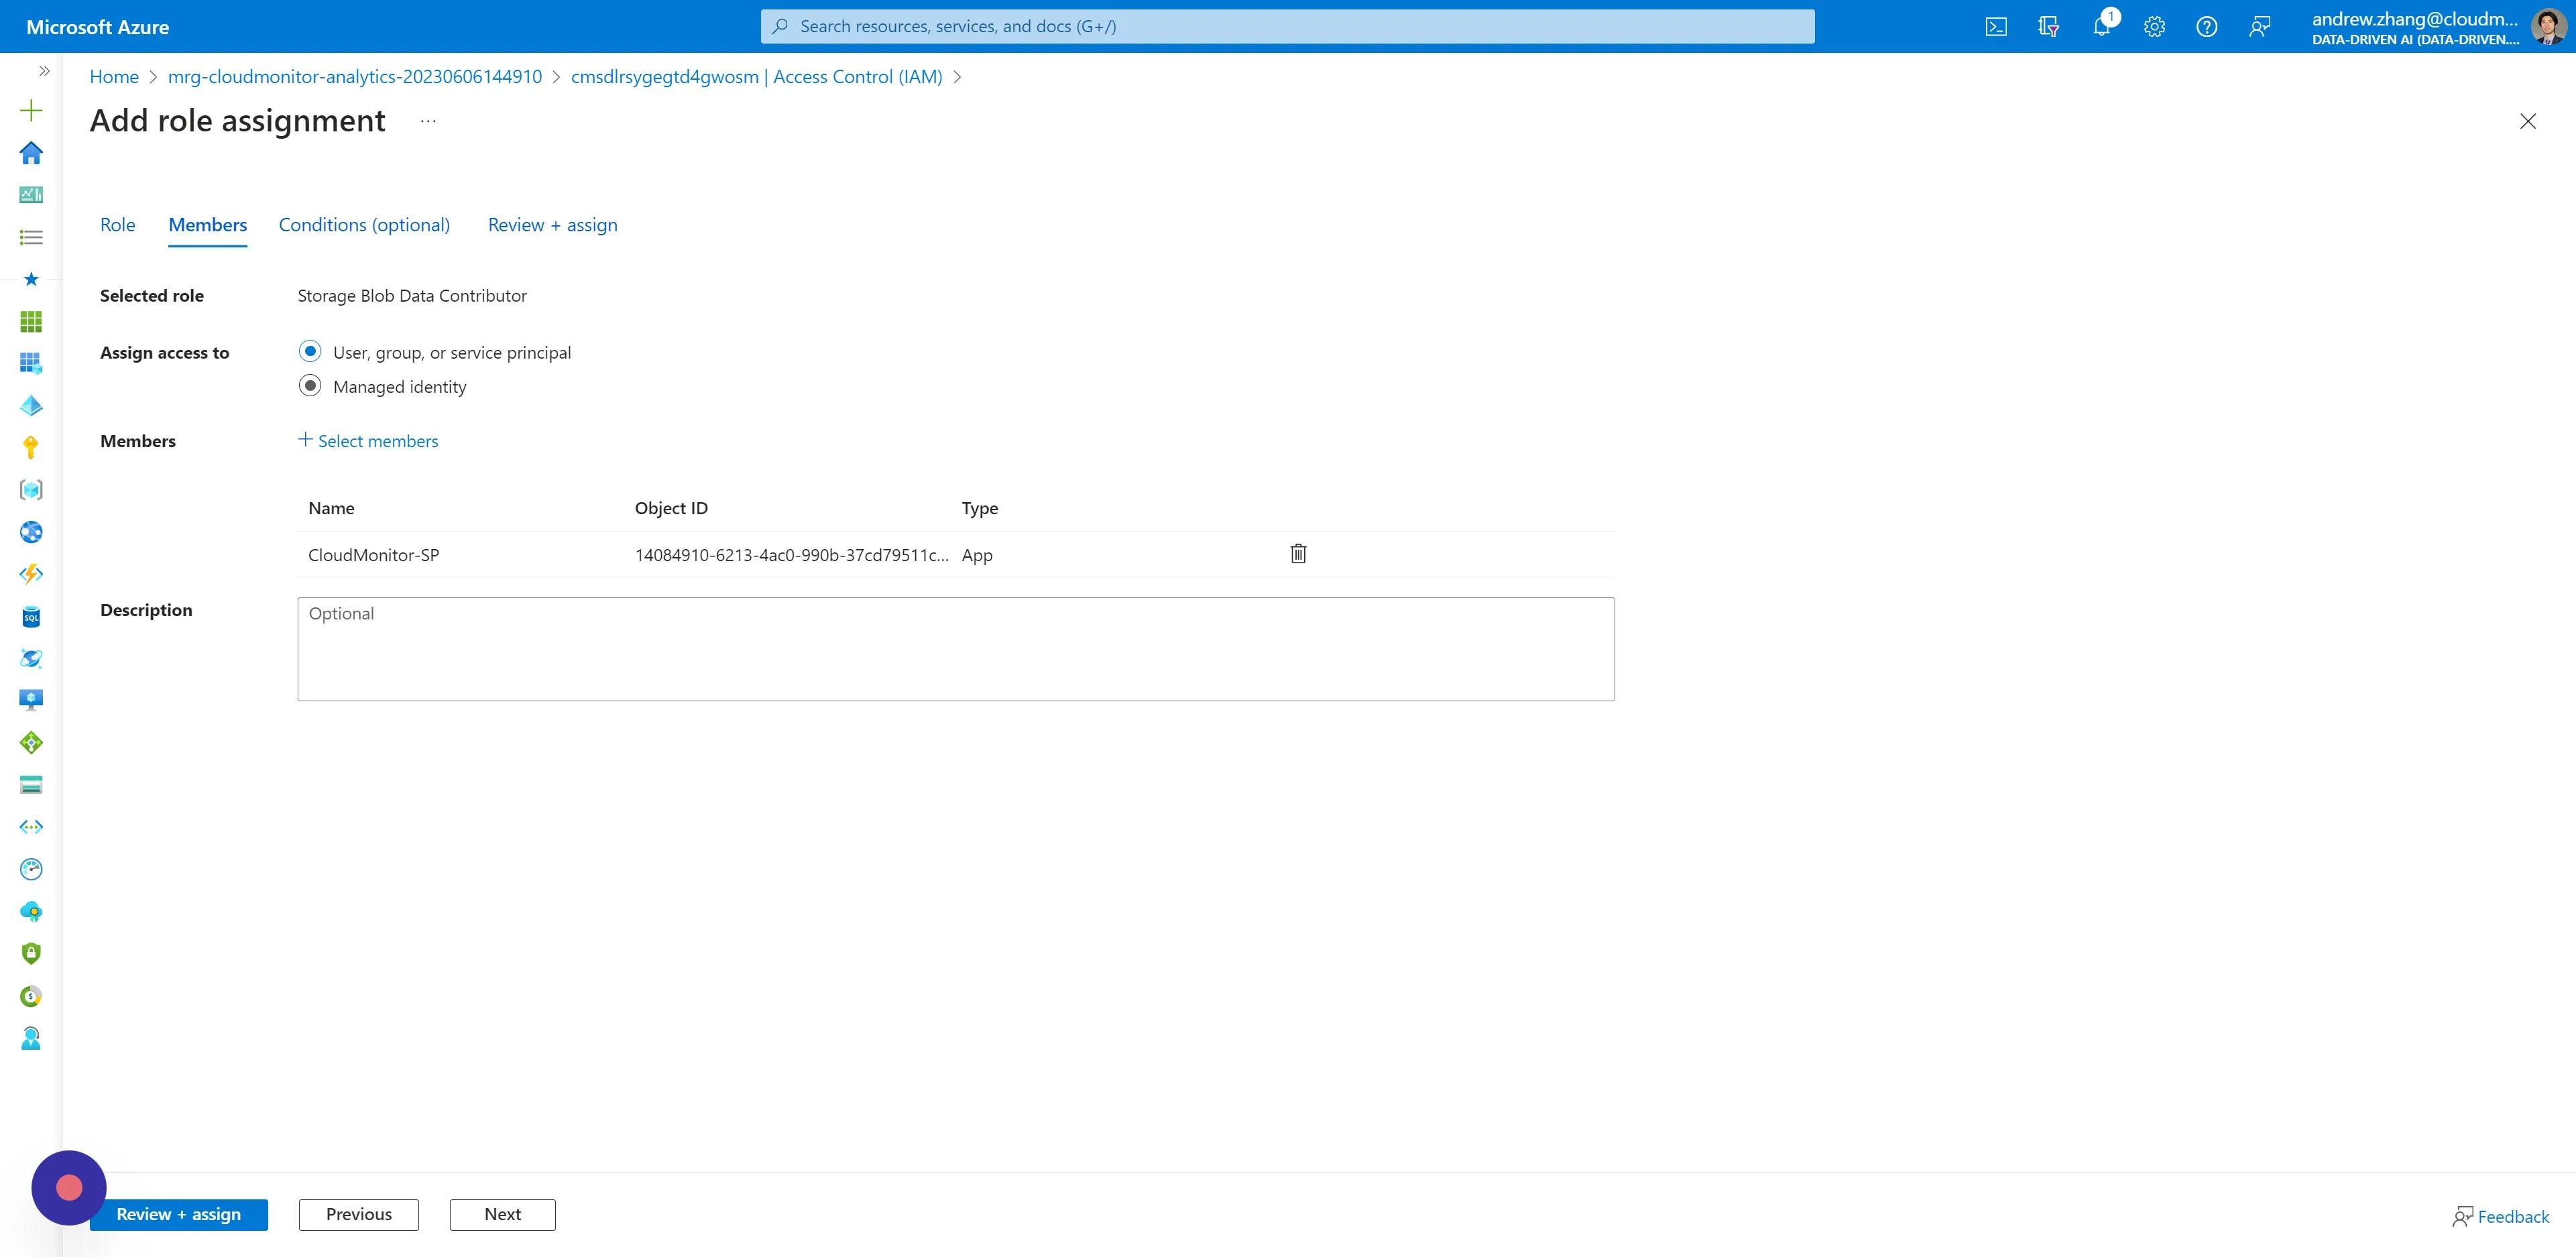
Section titled “Step 13”Select “Storage Blob Data Contributor” as the role.
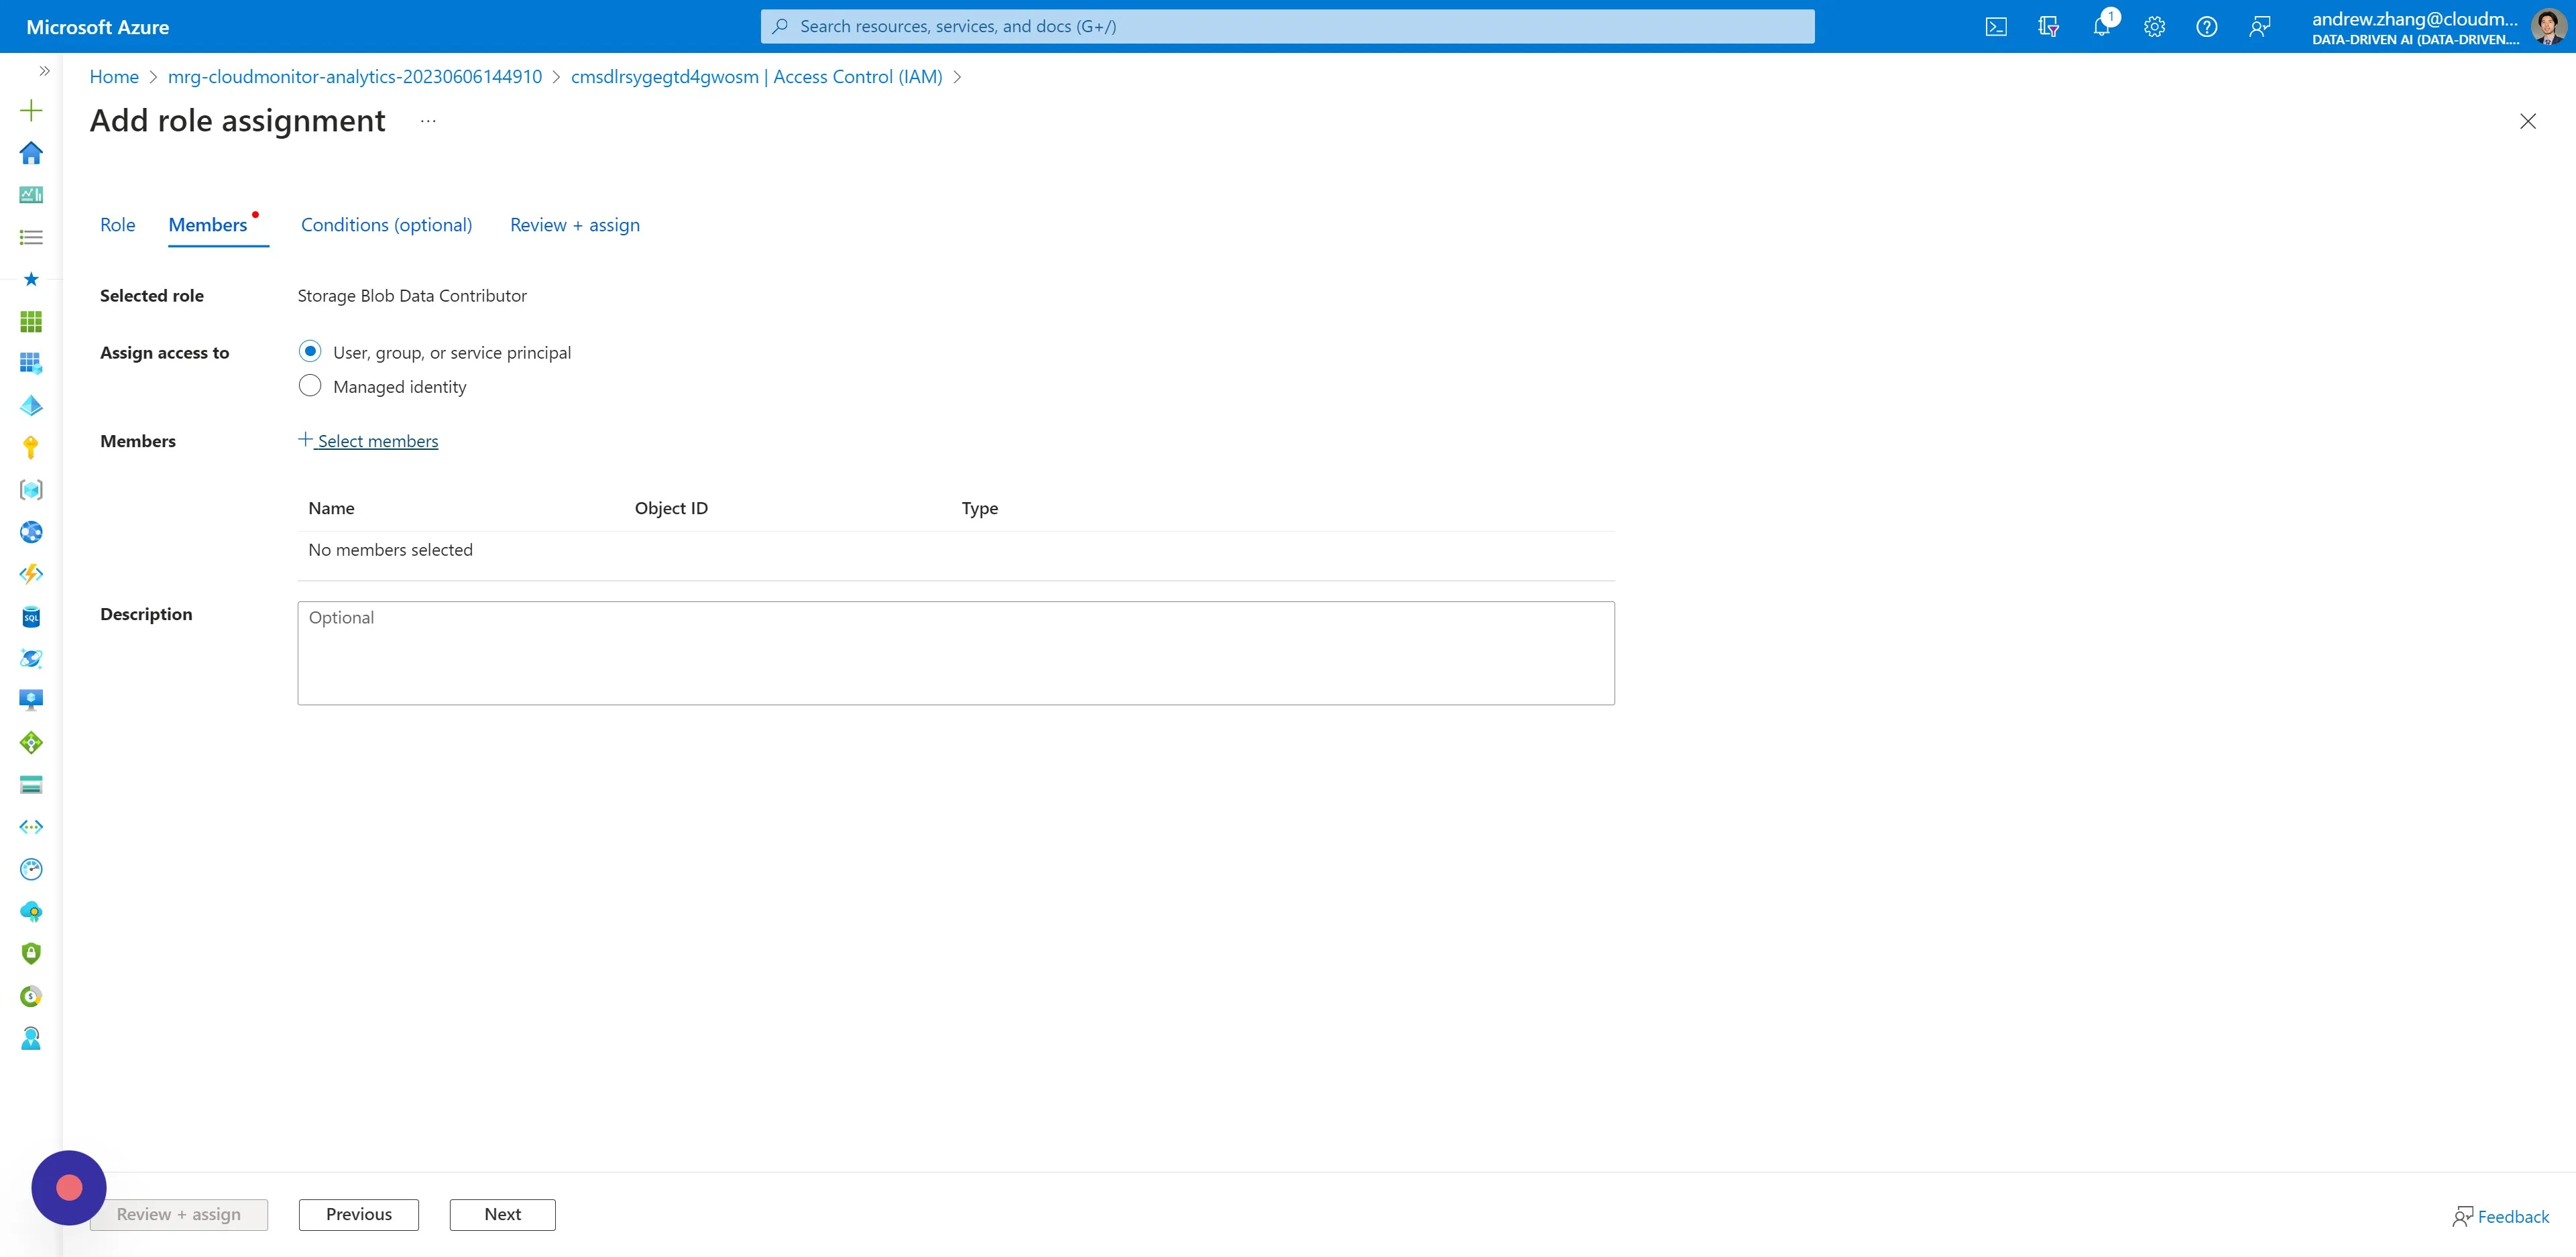
Step 14
Section titled “Step 14”Switch to the Members tab, and click “Select members”.
Step 15
Section titled “Step 15”Search for and select your CloudMonitor Service Principal name.

Step 16
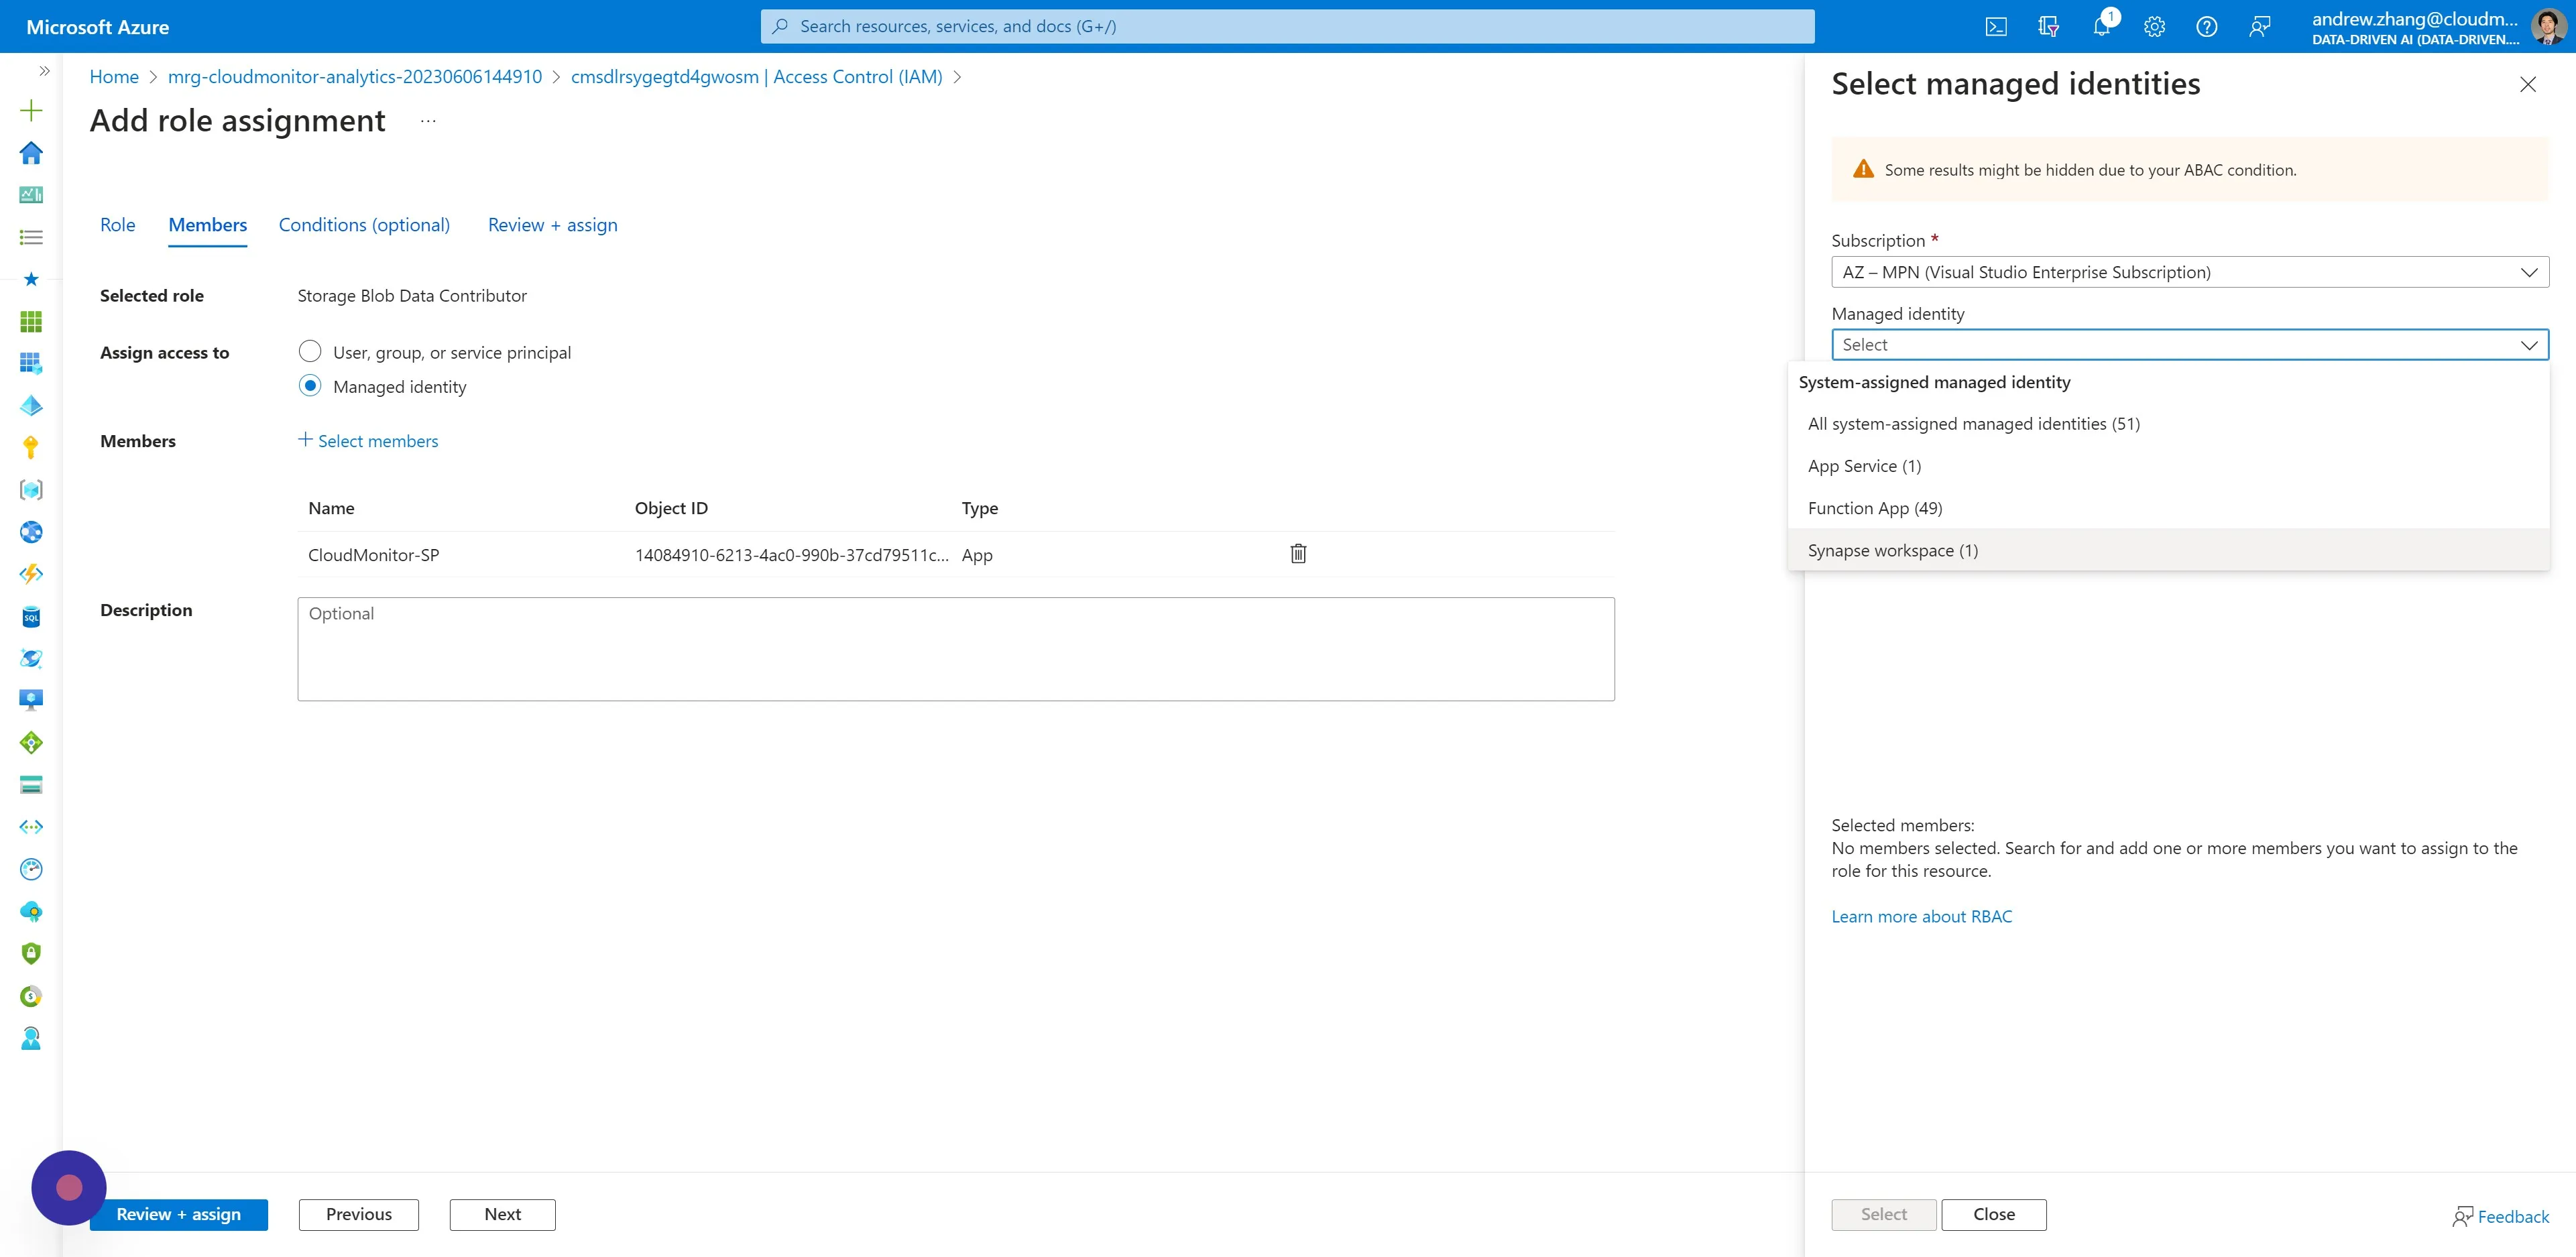
Section titled “Step 16”Then back to the Members tab, tick the option “Managed identity”.
Step 17
Section titled “Step 17”Click “Select members”

Step 18
Section titled “Step 18”Select “Synapse workspace” for the Managed identity option.
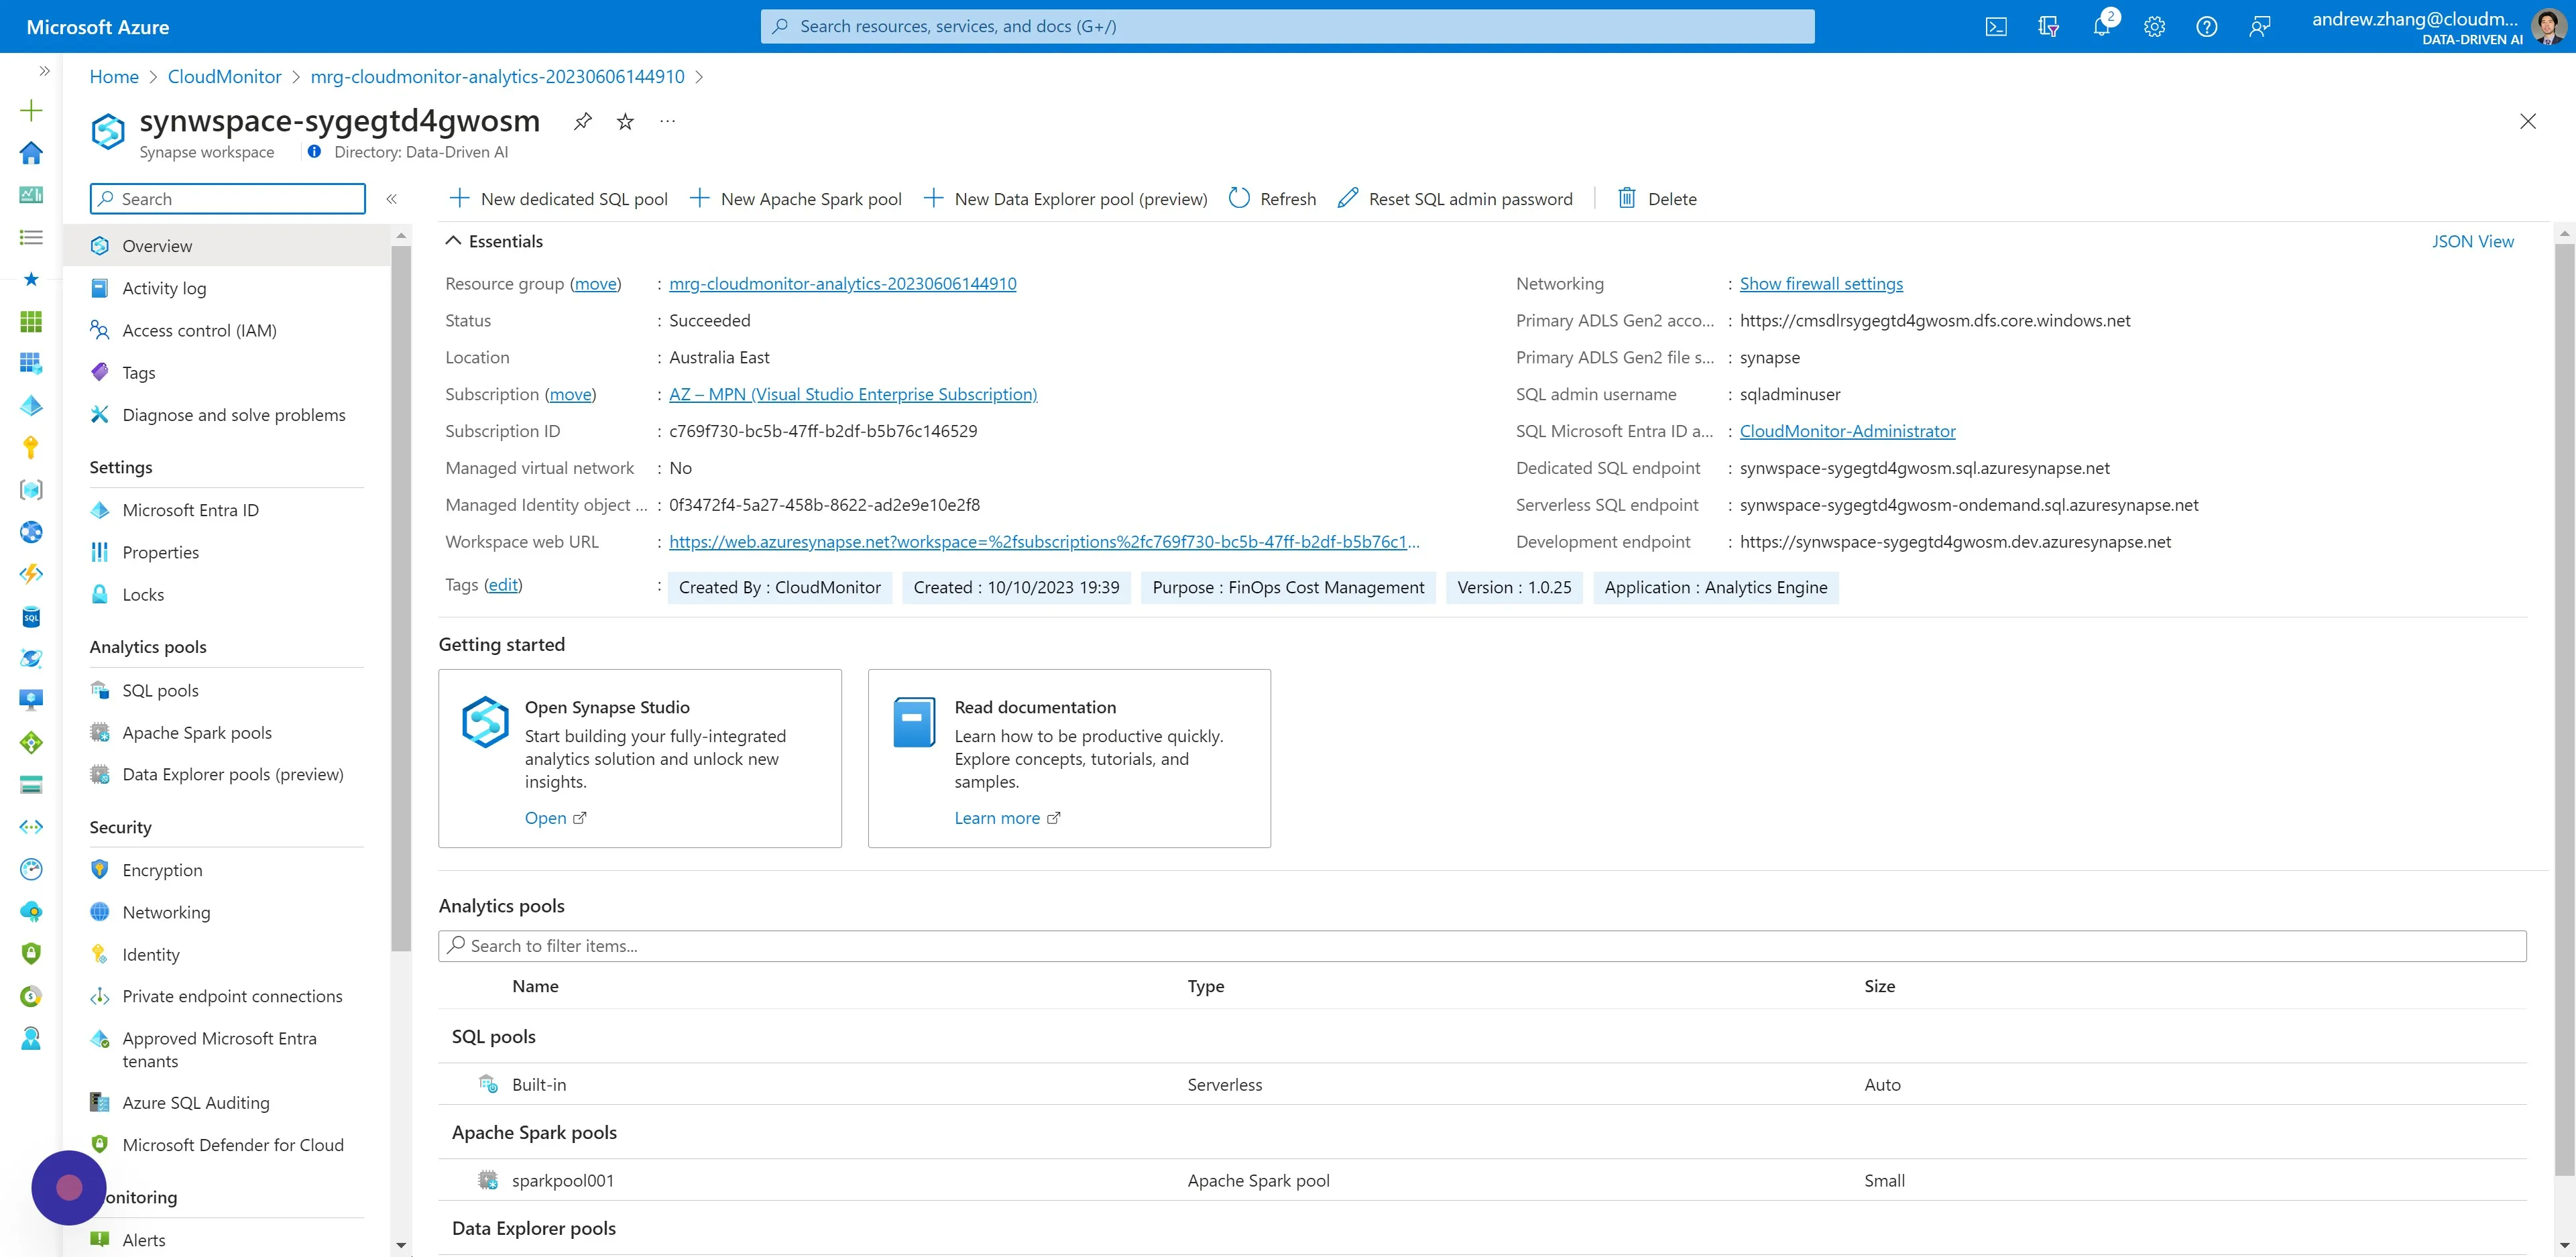
Step 19
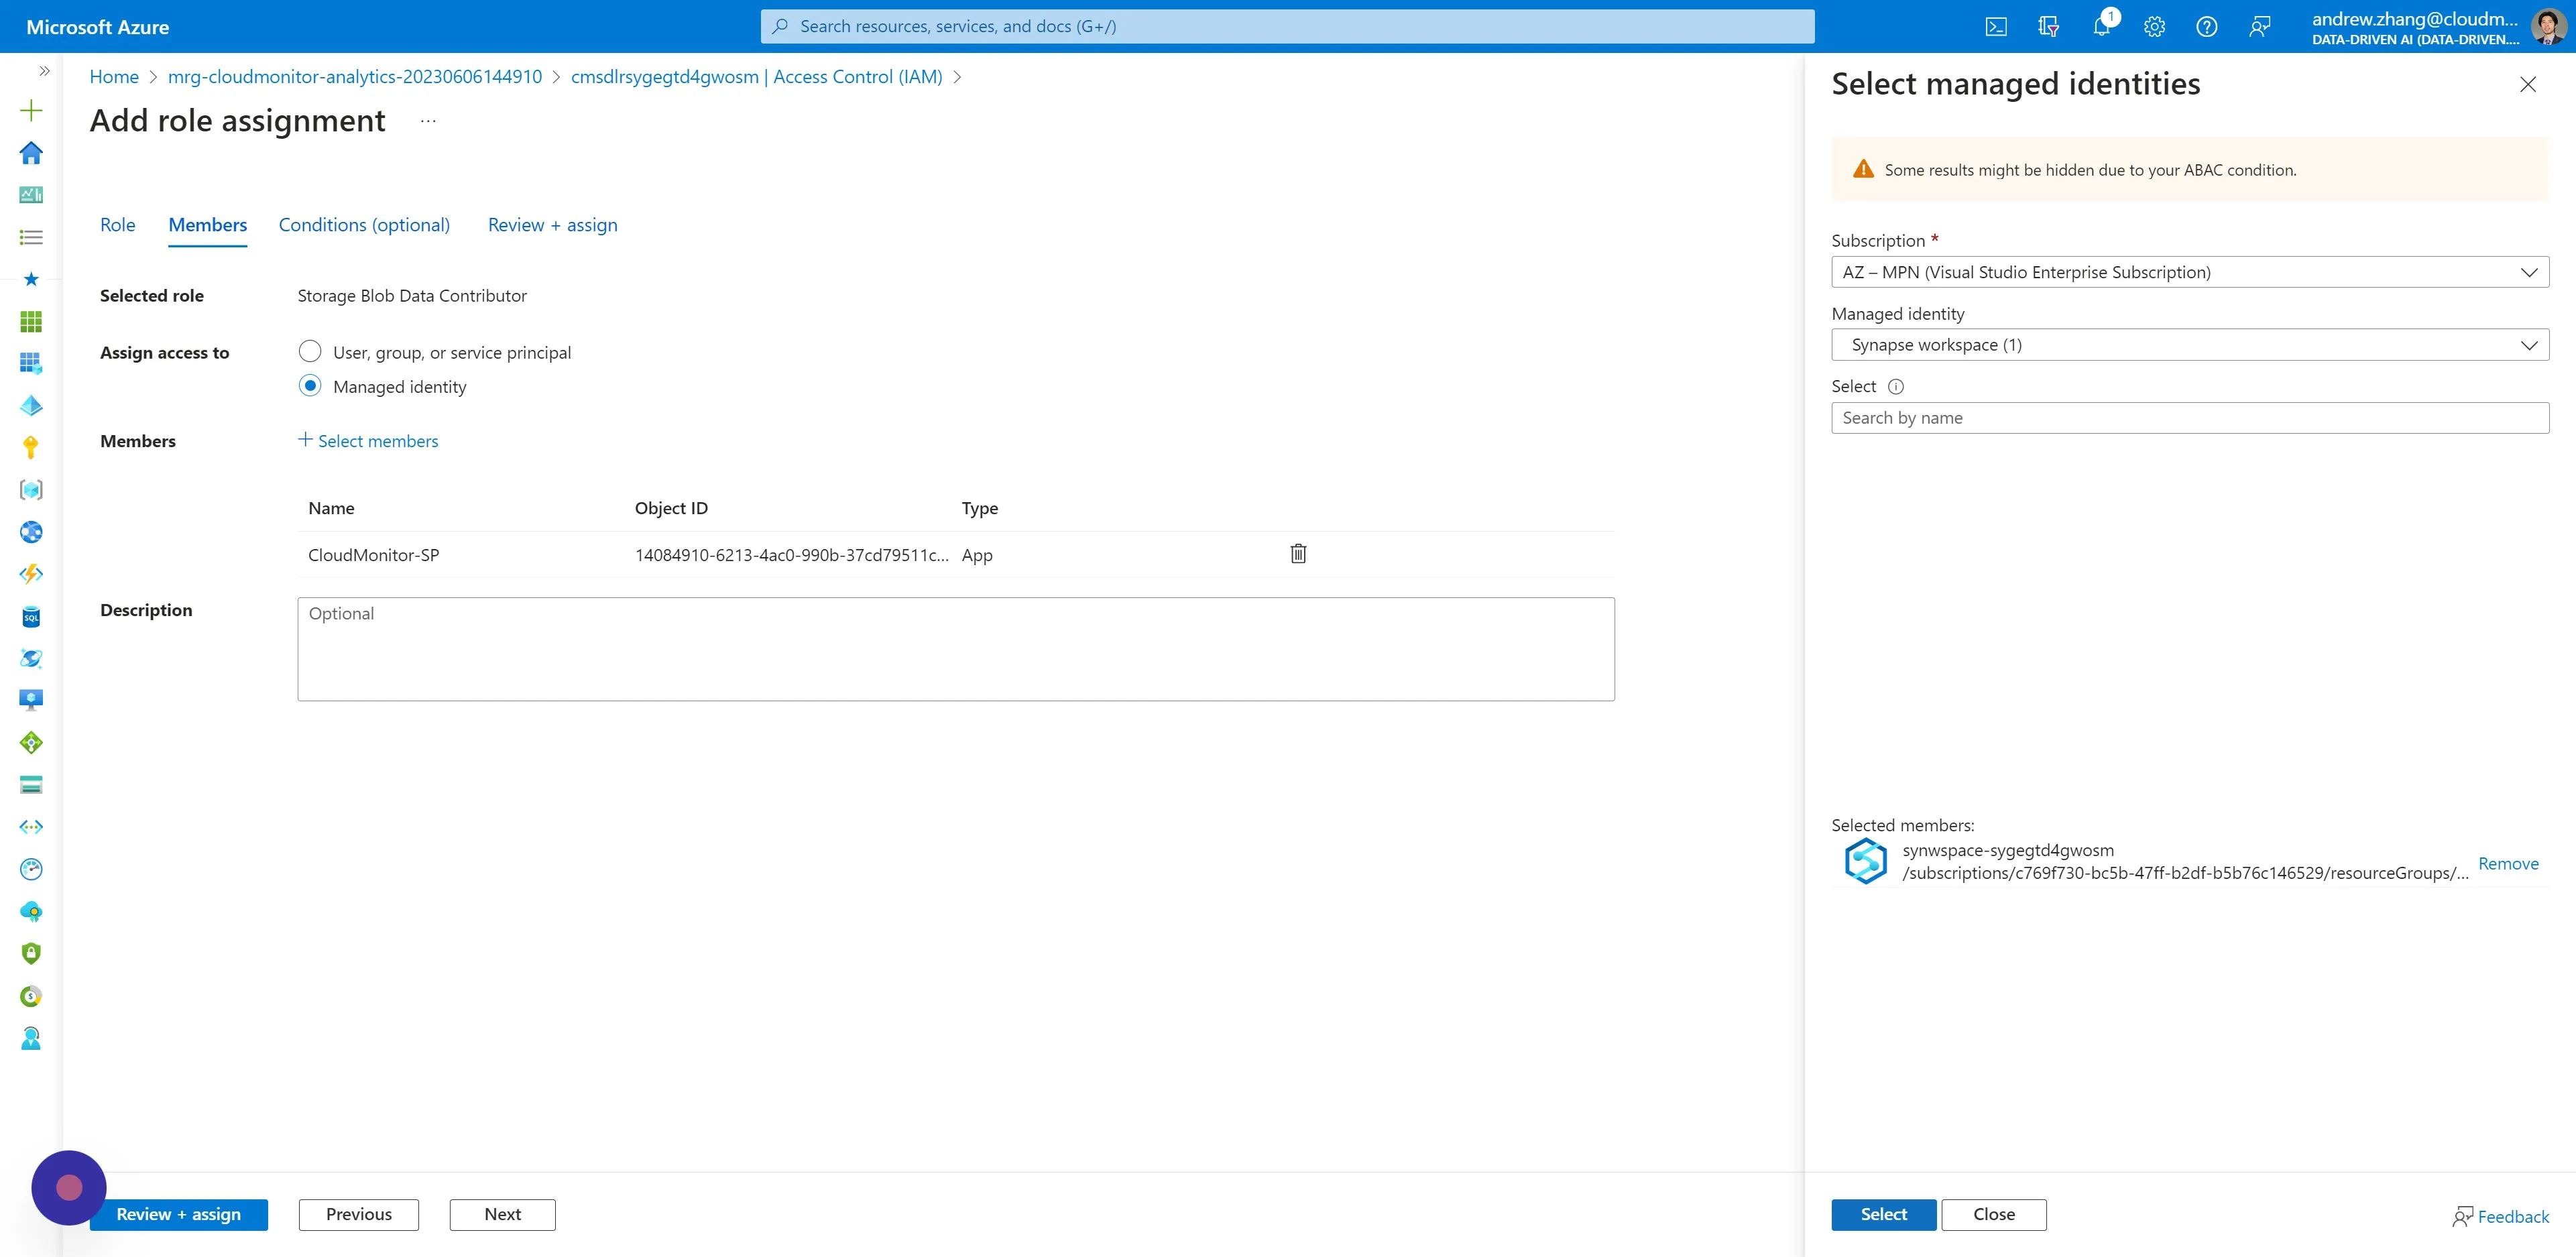
Section titled “Step 19”Then select the Synapse Workspace Resource that becomes available.
It should begin with characters “synwspace”.

Step 20
Section titled “Step 20”Then click “Select” and then click “Review + assign”.
Step 21
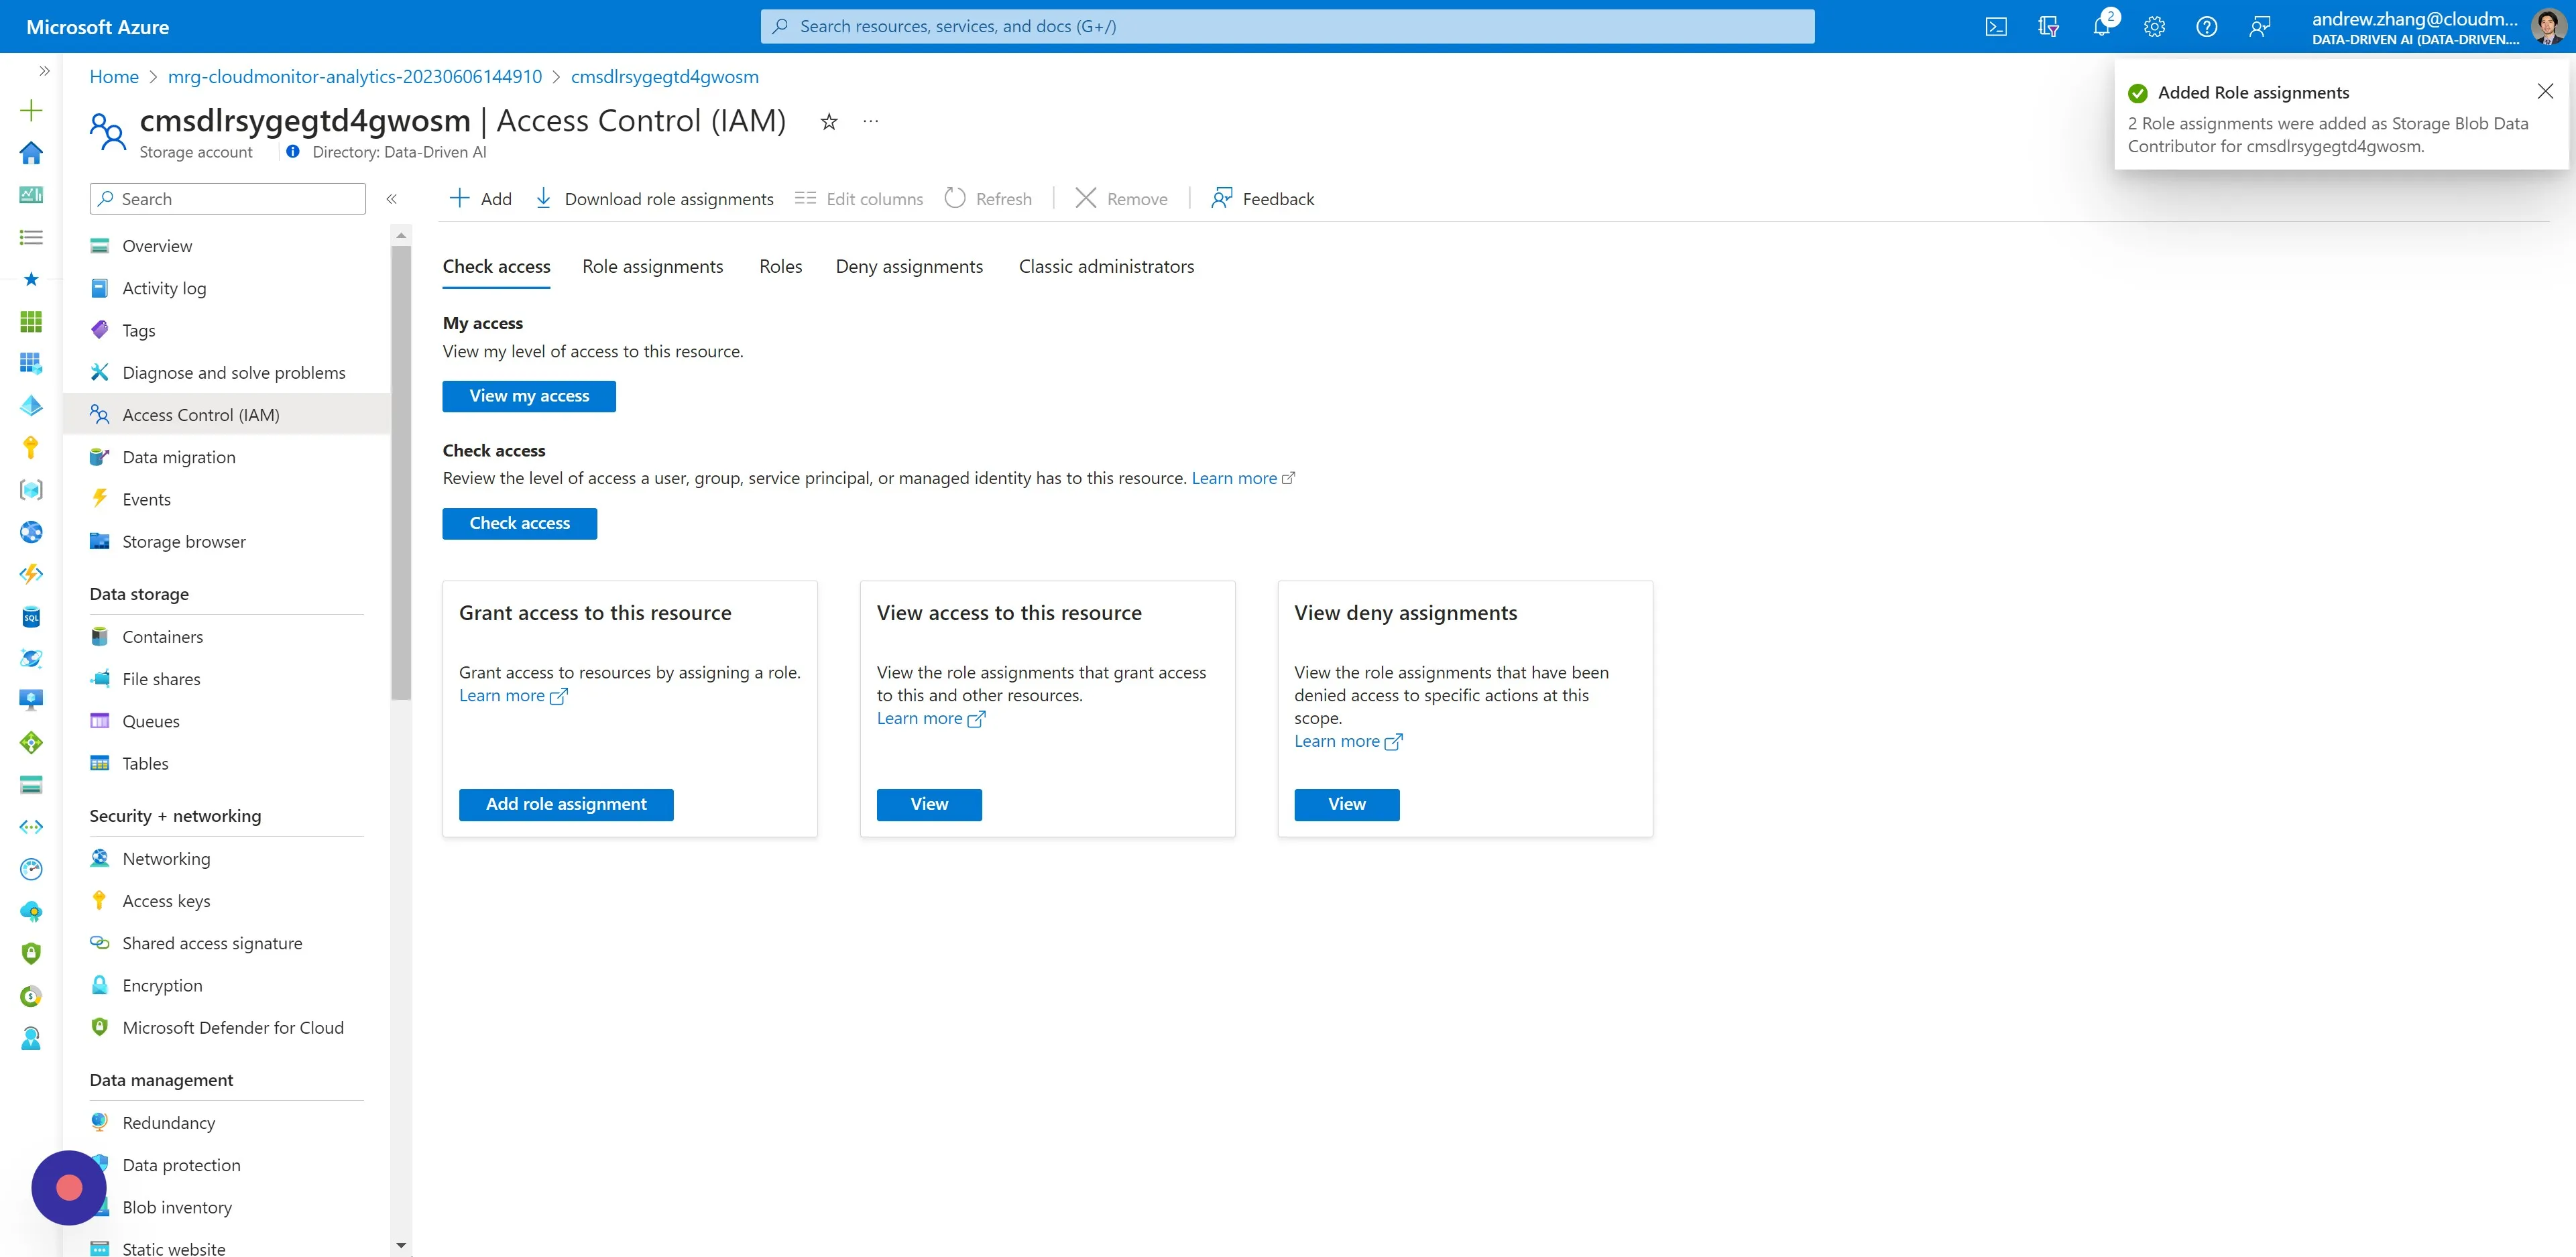
Section titled “Step 21”You will receive a notification for successfully assigning the Storage Blob Data Contributor Roles.
Step 22
Section titled “Step 22”Again from the Managed Resource Group, navigate to the “Overview” page.
Step 23
Section titled “Step 23”Under Resources:
- Search for “Synapse Workspace” in the filter field.
- Then click the Synapse Workspace Resource returned.

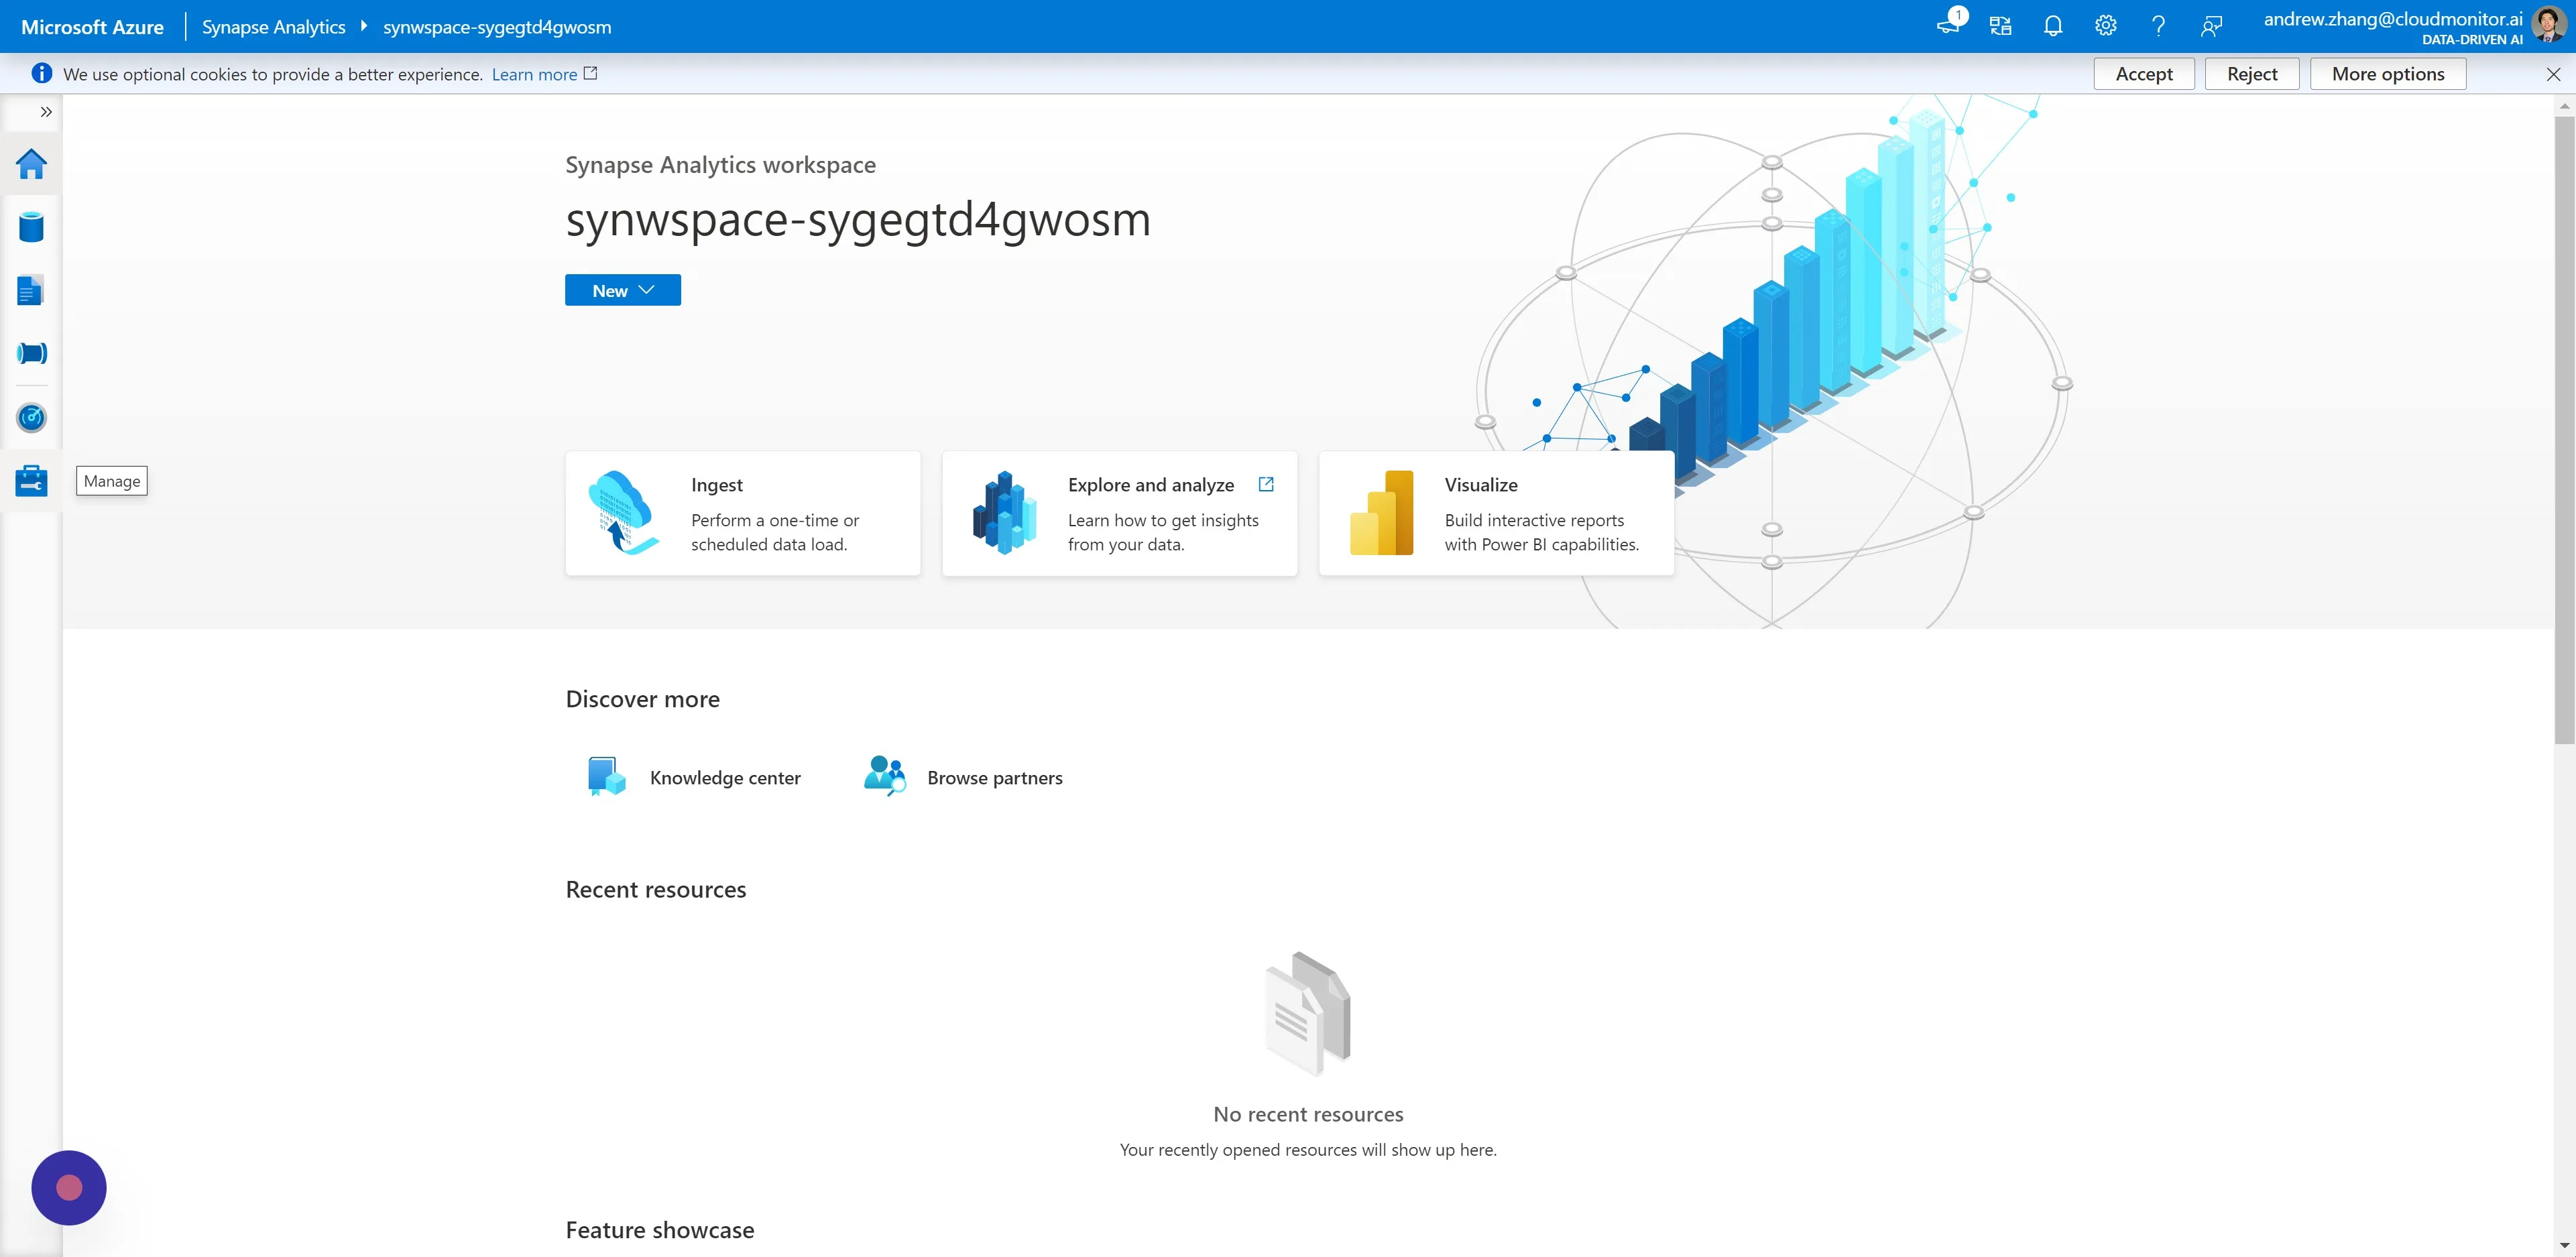
Step 24
Section titled “Step 24”Click “Open” to open the Synapse Studio.
Step 25
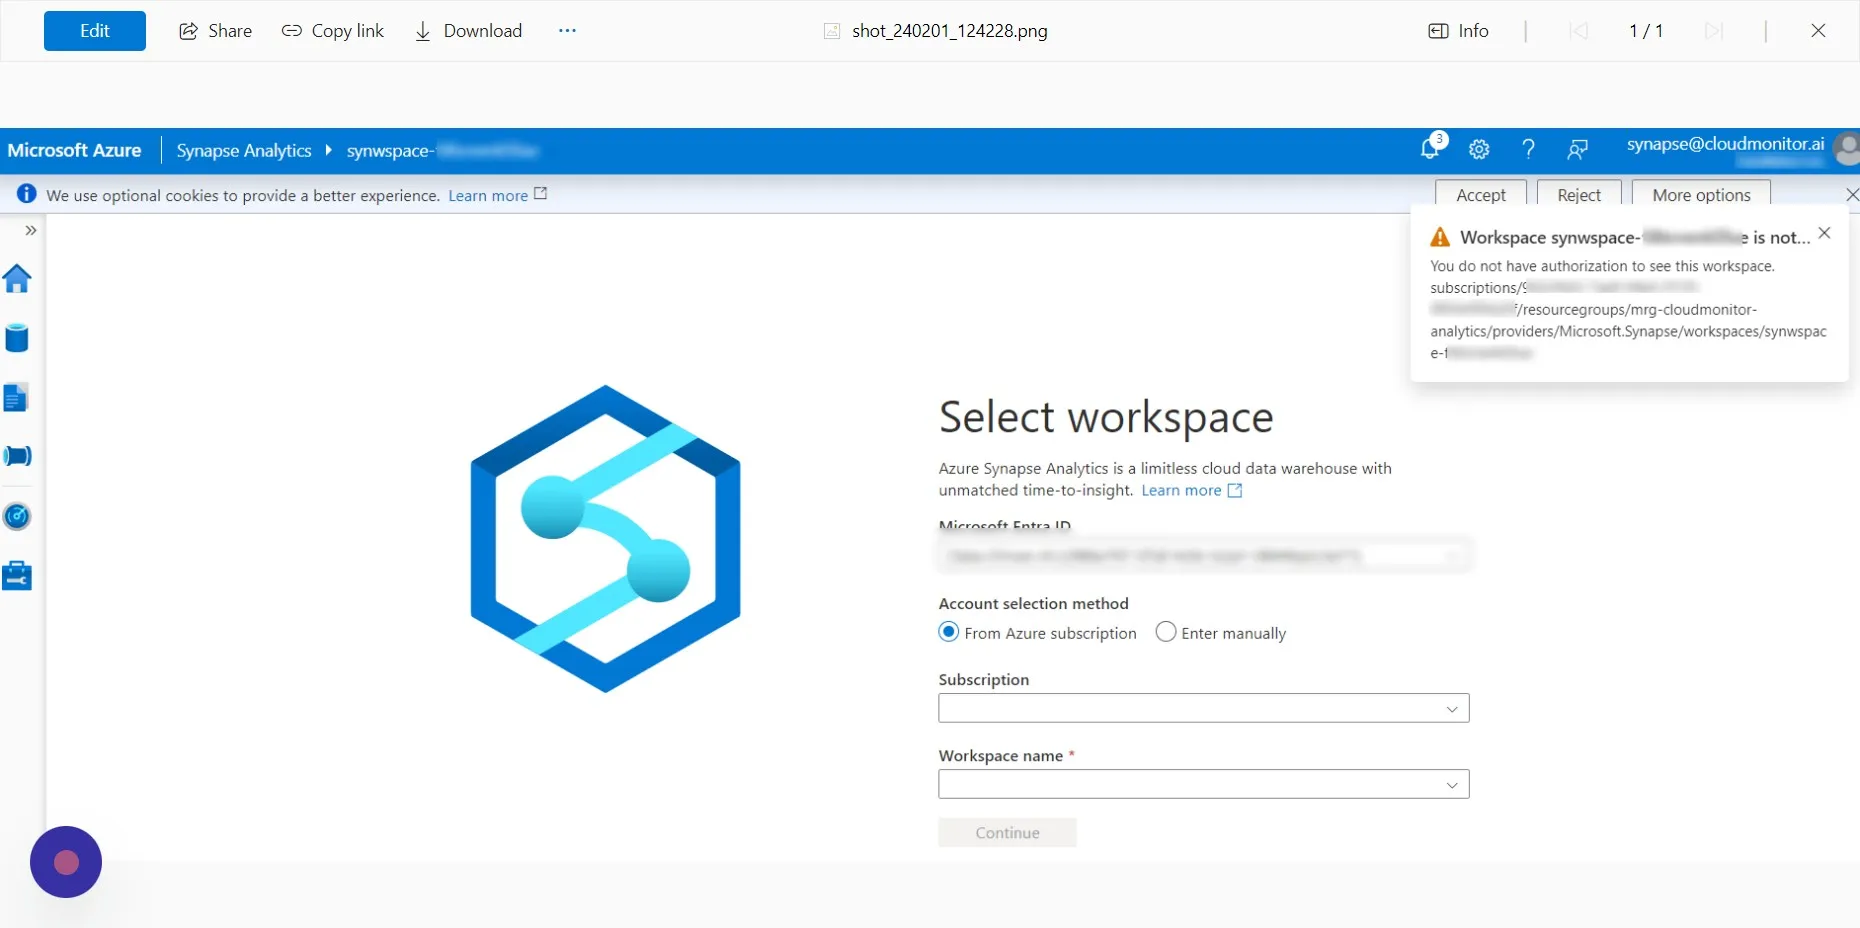
Section titled “Step 25”This step is only required in the event that you encounter the below specified error message after authenticating. If you are not experiencing this issue, kindly disregard this step and proceed to the next one.
If you are receiving this error message, please visit the website whatismyipaddress.com and obtain your IP address.
Once you have it, send this information to our team via live chat and wait for our response before proceeding with the next steps.
Step 26
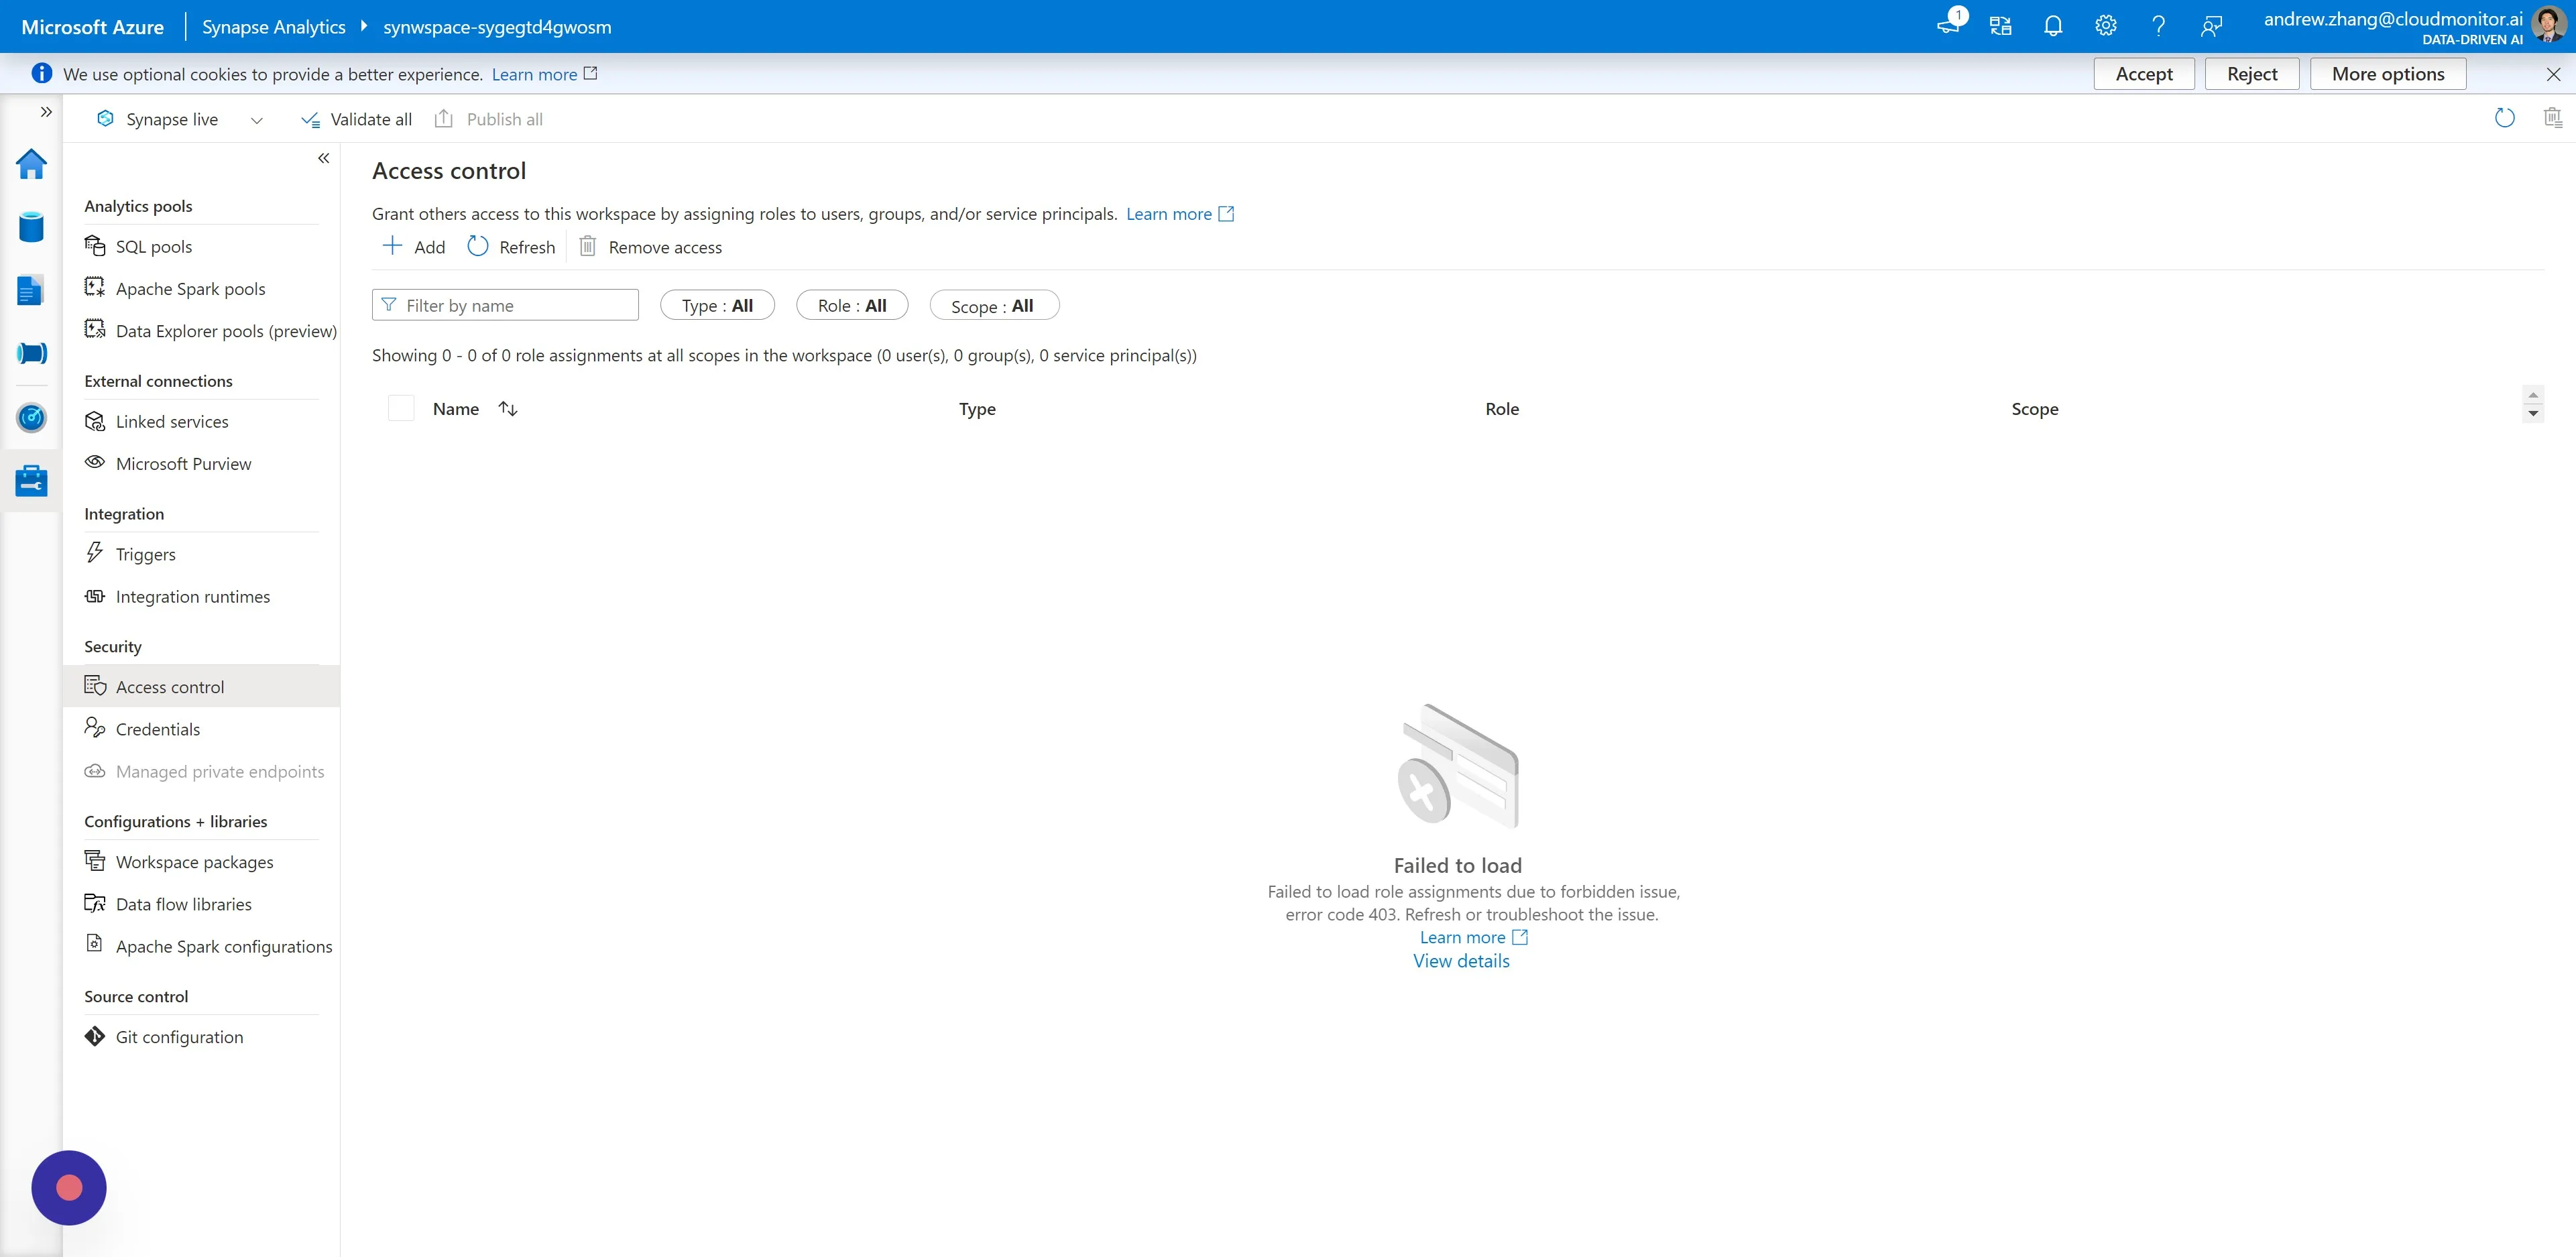
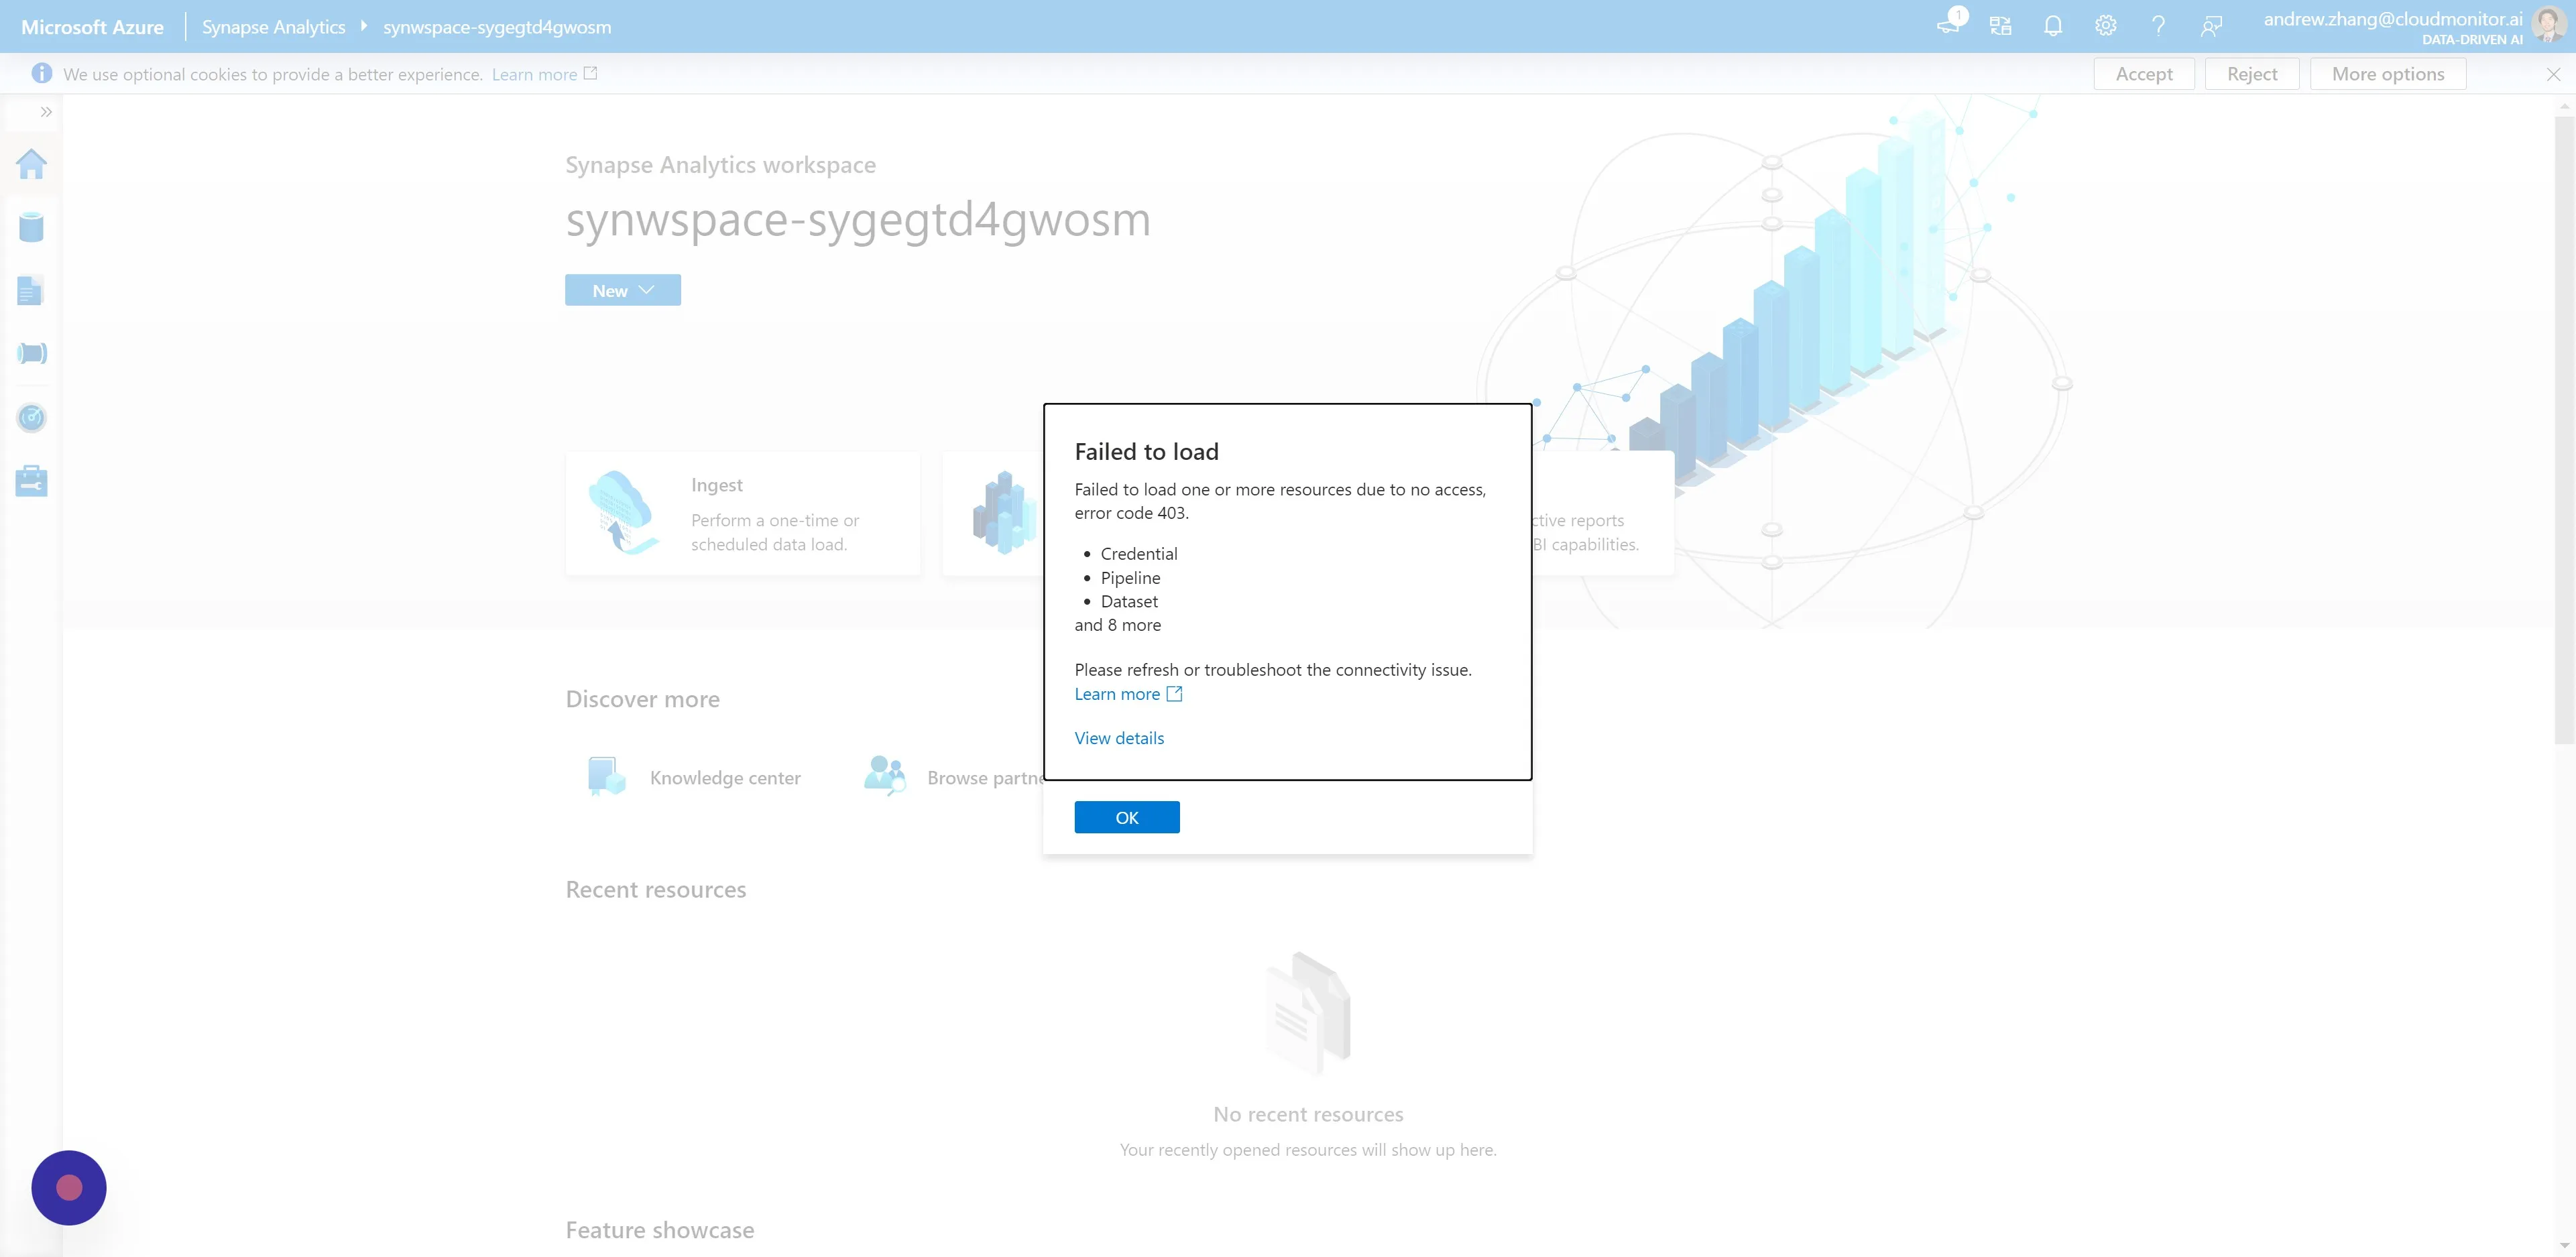
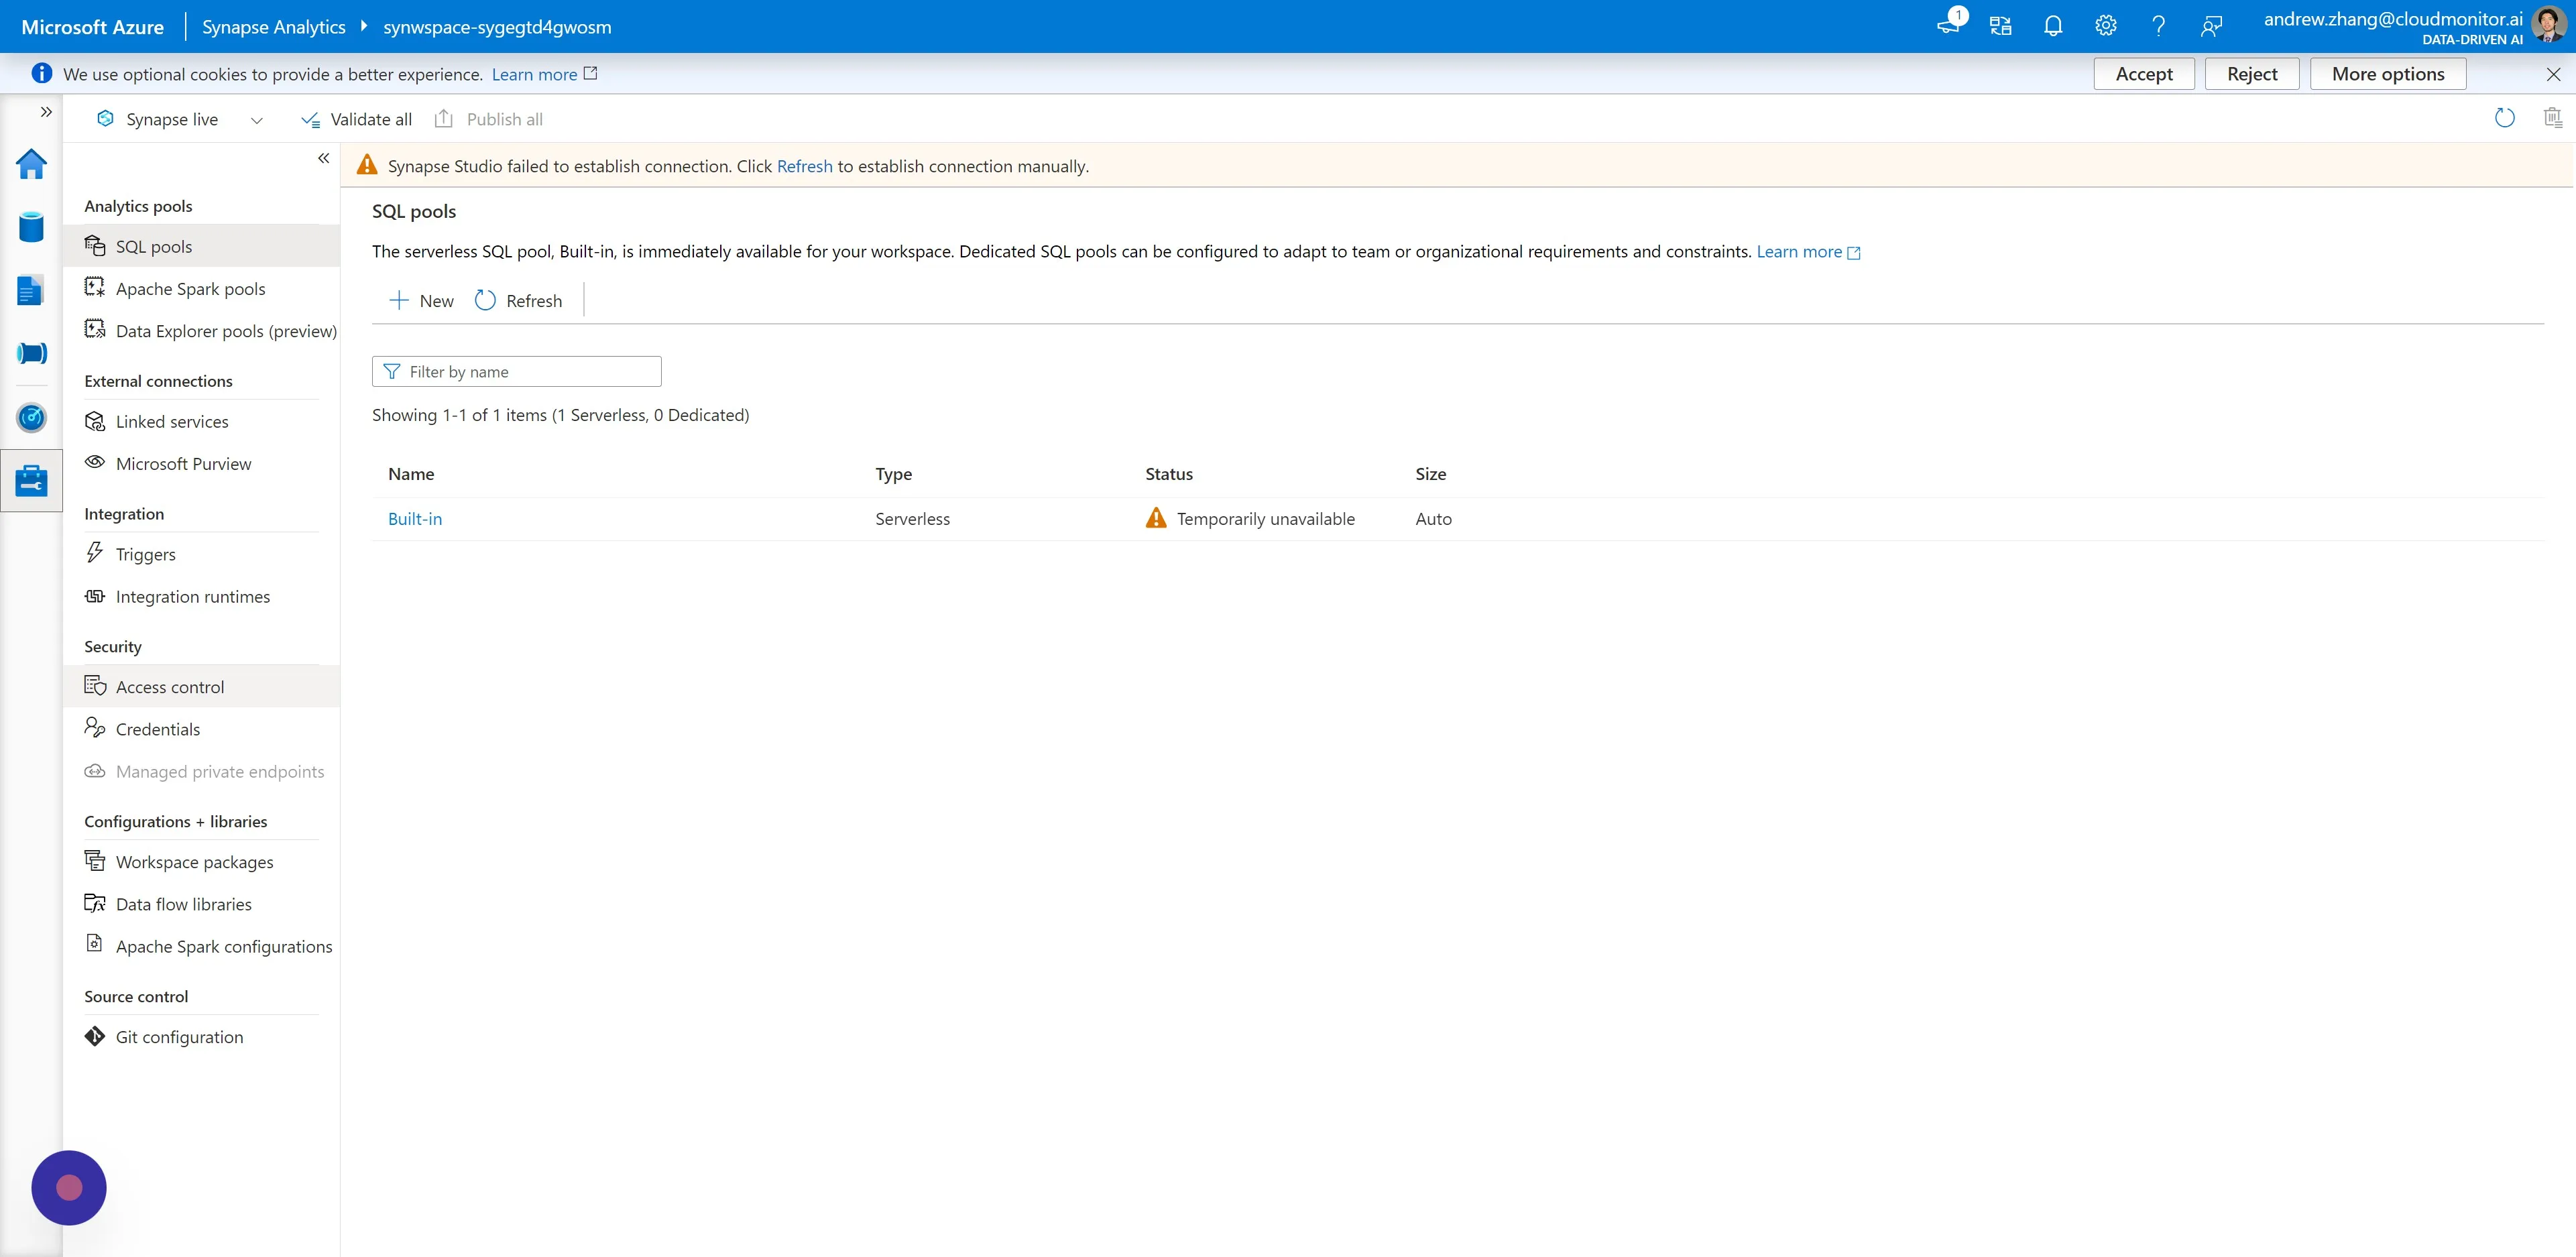
Section titled “Step 26”After authenticating successfully, you will be redirected to a new window and be confronted with a 403 error code. This is expected behavior. You can safely click “OK” and proceed to the next step.
Step 27
Section titled “Step 27”Click on the “Manage icon” on the left sidebar.
Step 28
Section titled “Step 28”Under Security, click “Access control”.
Step 29
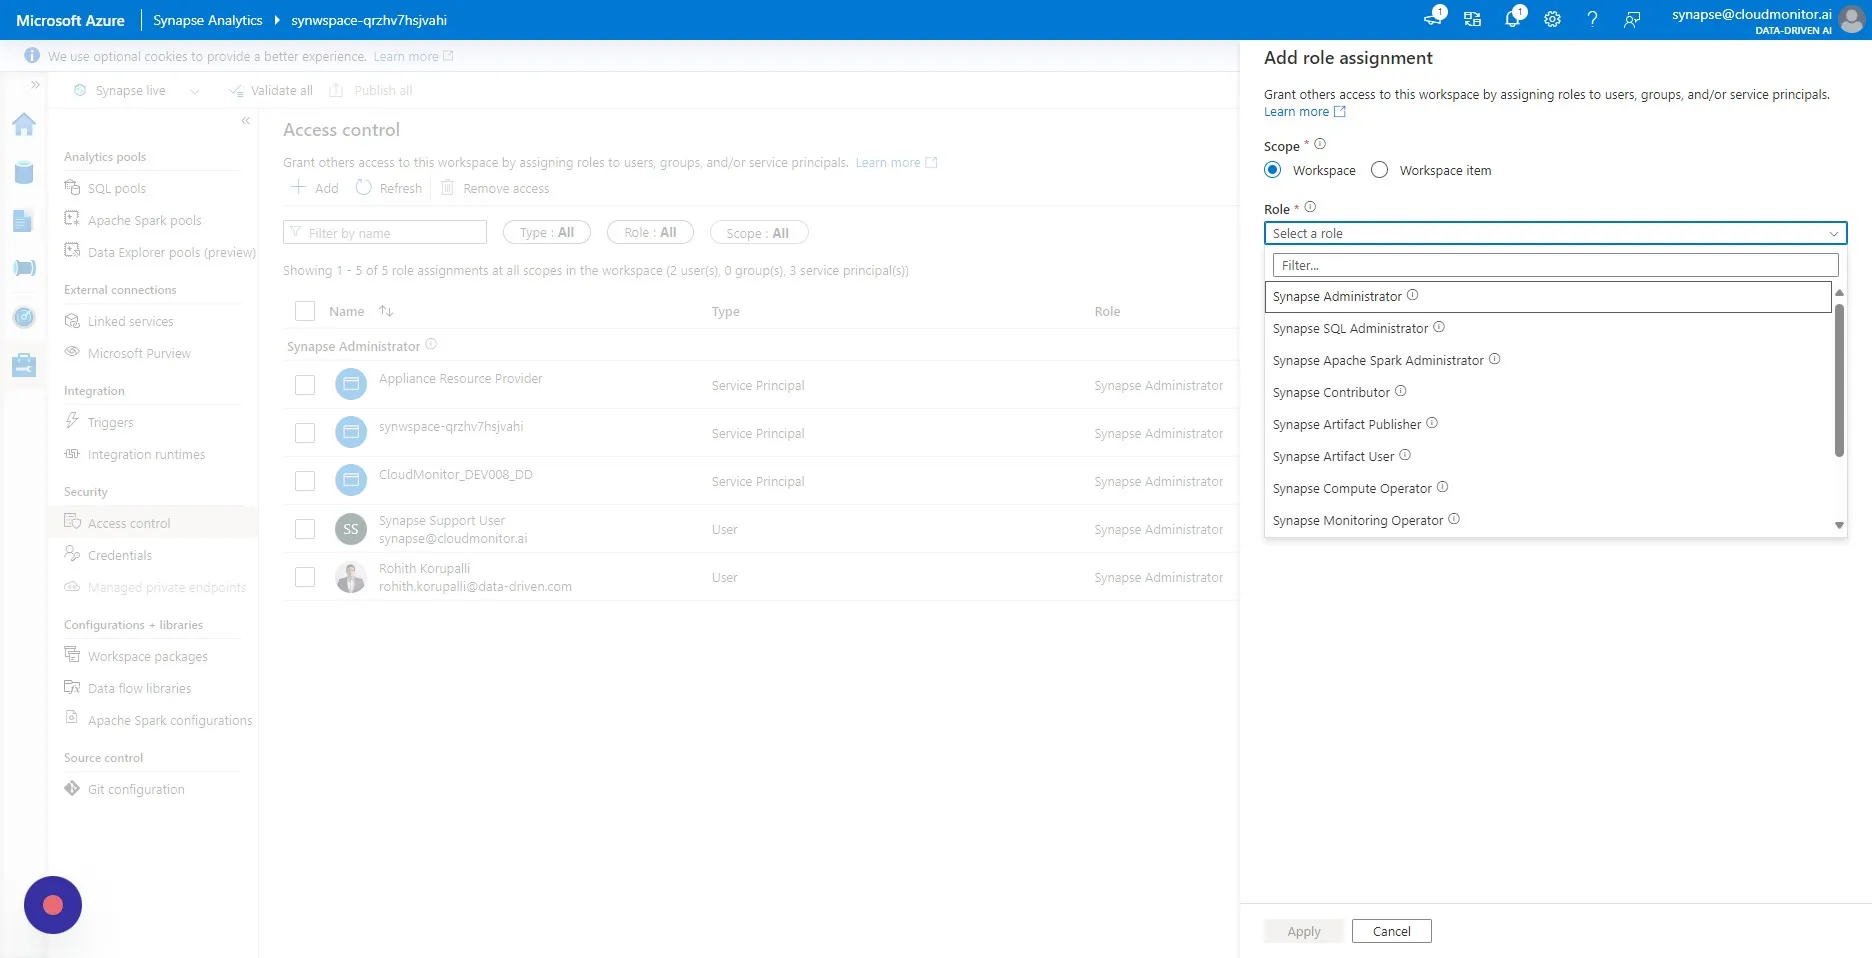
Section titled “Step 29”Then click “Add”.

Step 30
Section titled “Step 30”Click the “Select a role” field, and select “Synapse Administrator” as the role.
Step 31
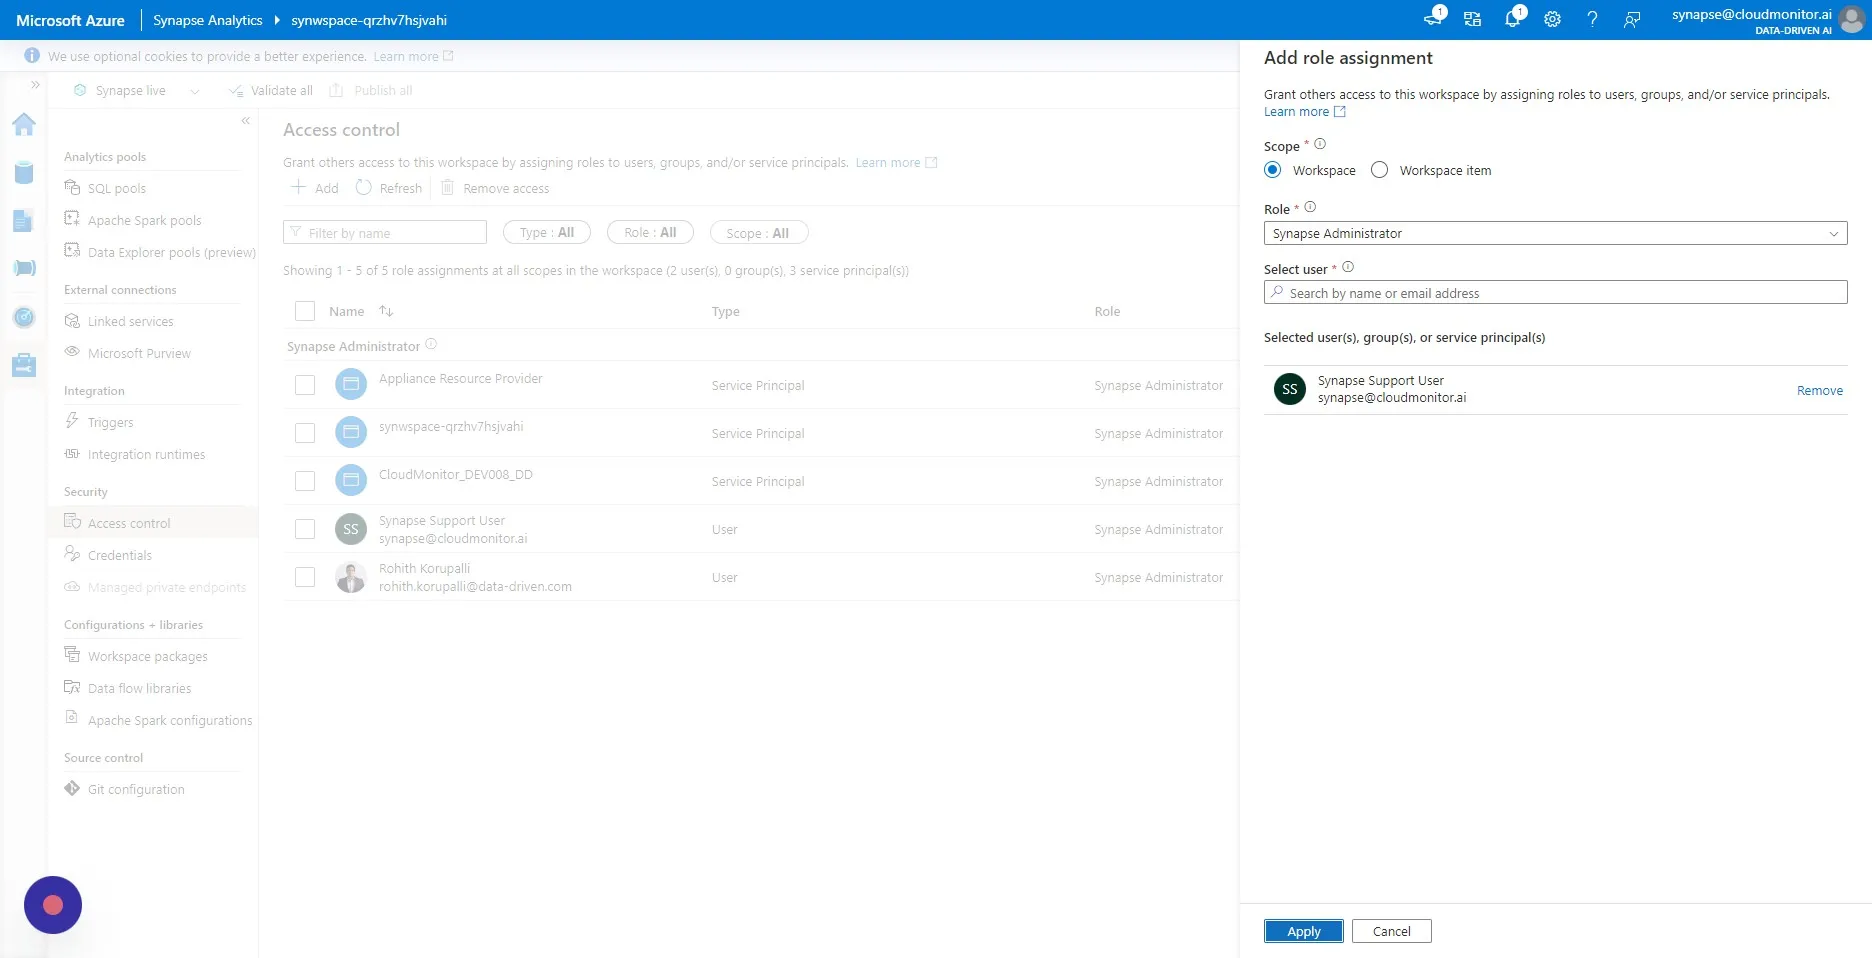
Section titled “Step 31”Search for and select the CloudMonitor Synapse User [[(synapse@cloudmonitor.ai)]].
![Search for and select the CloudMonitor Synapse User [(synapse@cloudmonitor.ai)]]
![(synapse@cloudmonitor.ai)]]](../../../../assets/docs/installing-cloudmonitor/configure-cloudmonitor-synapse-31.jpeg)
Step 32
Section titled “Step 32”Click “Apply”
Step 33
Section titled “Step 33”You will receive a notification for successfully assigning the Synapse Administrator Role.
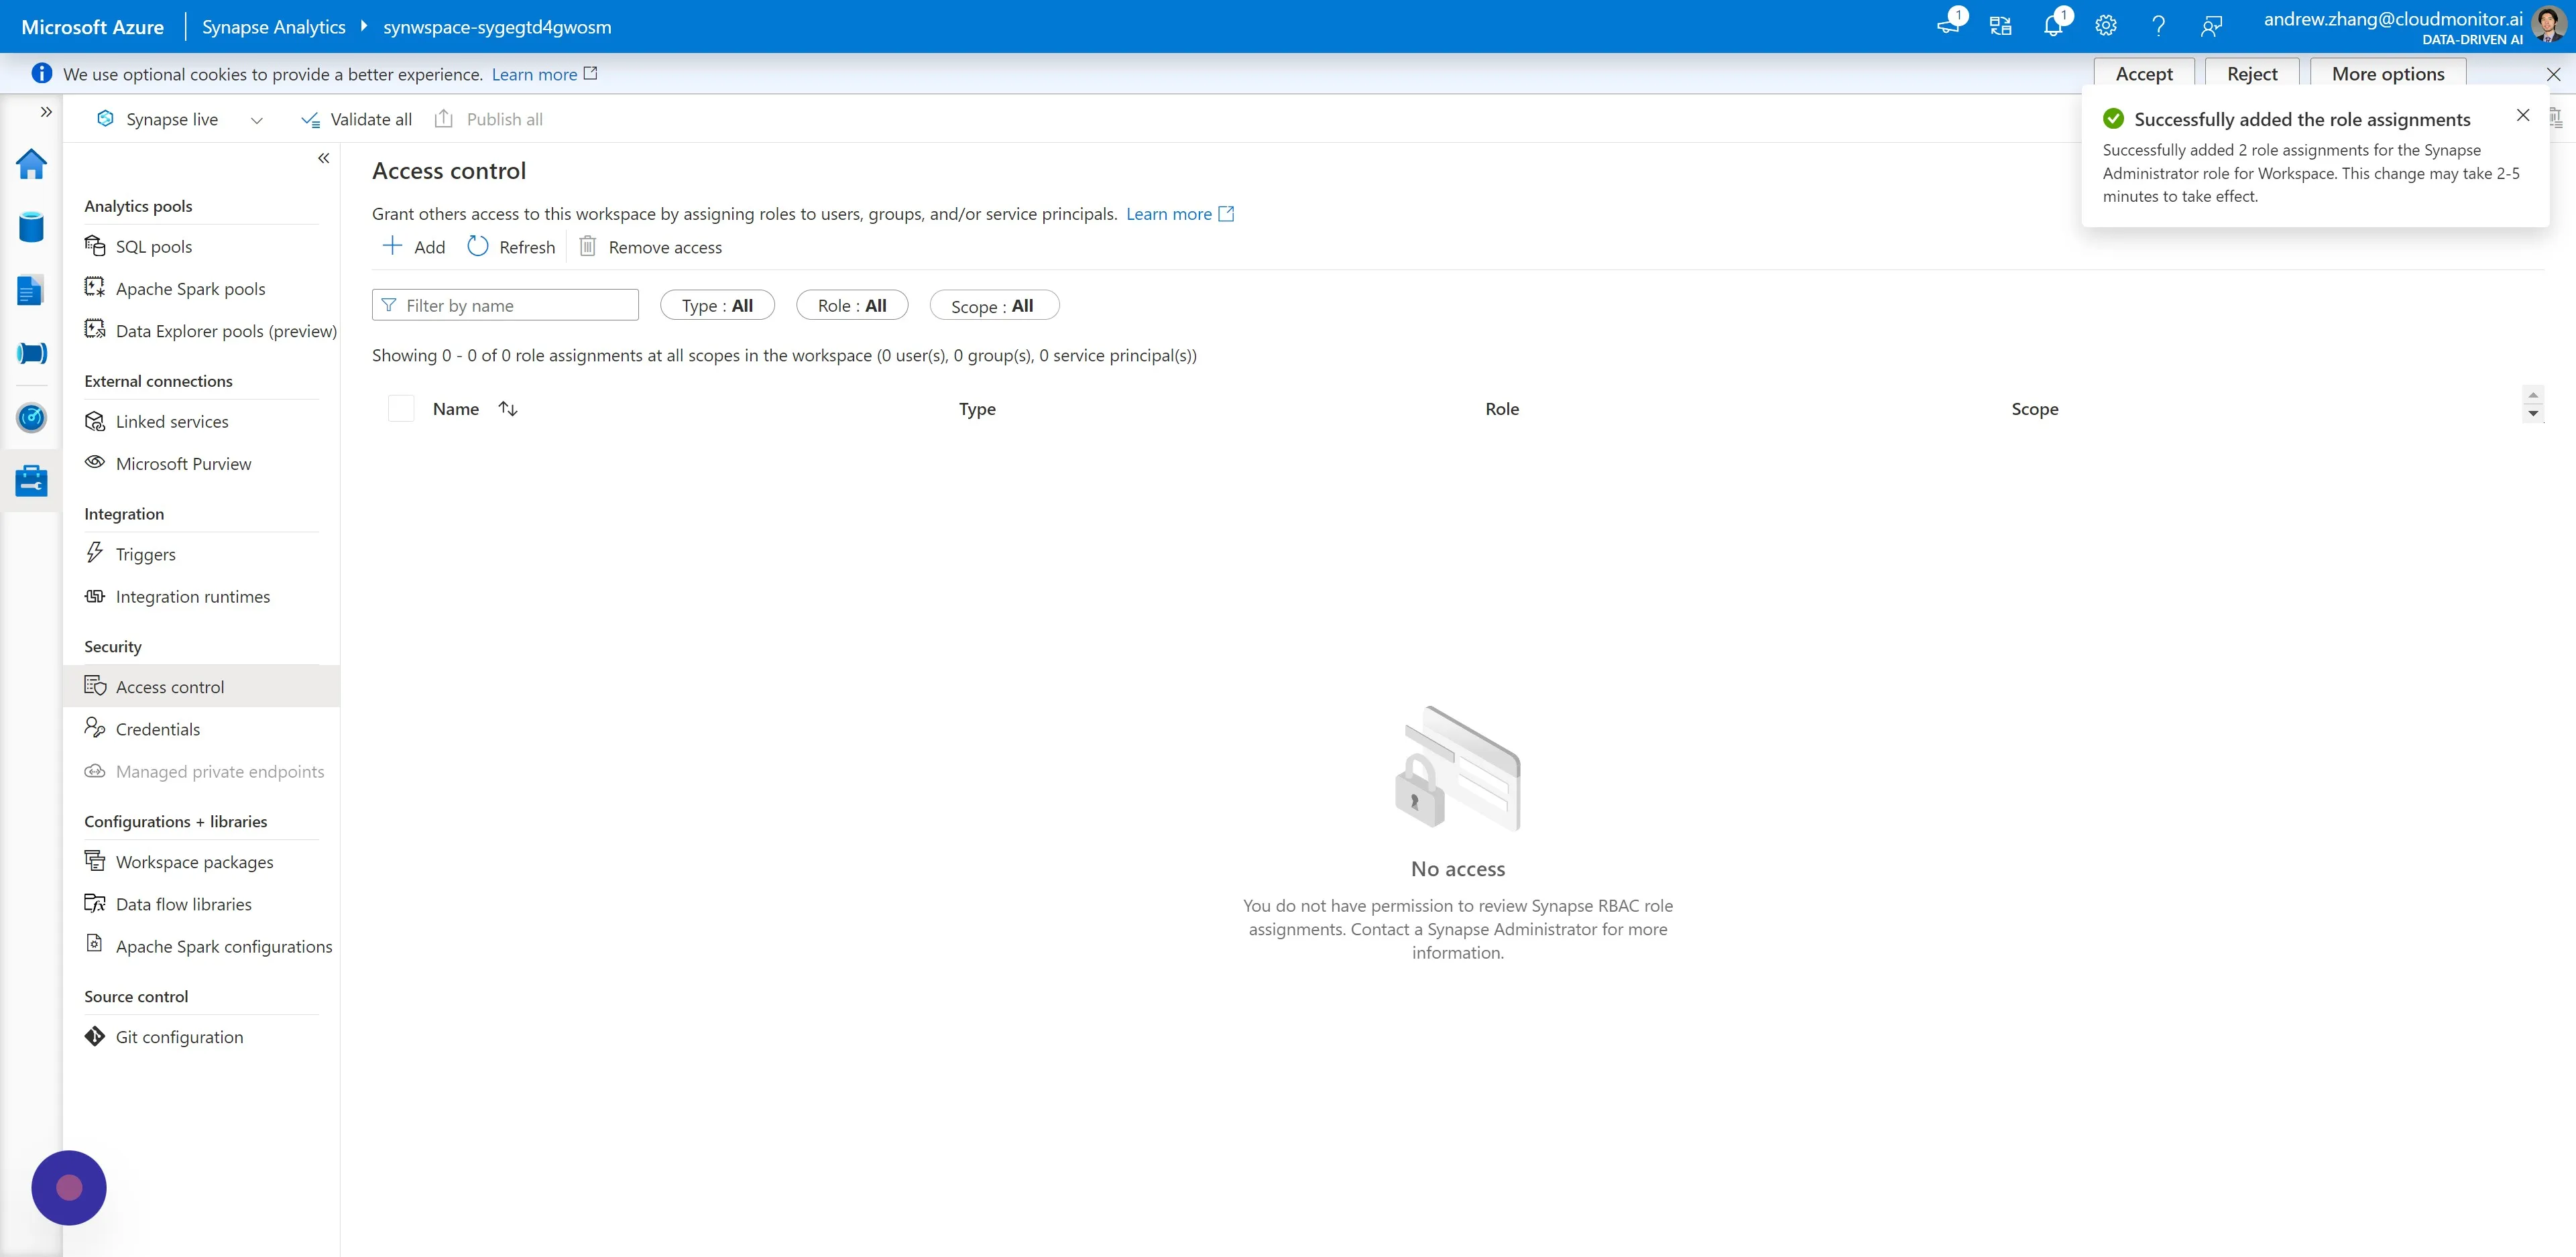
Step 34
Section titled “Step 34”Note: You will not see any records here—this is expected behaviour.