Configure Storage for Exports (SaaS)
Step 1
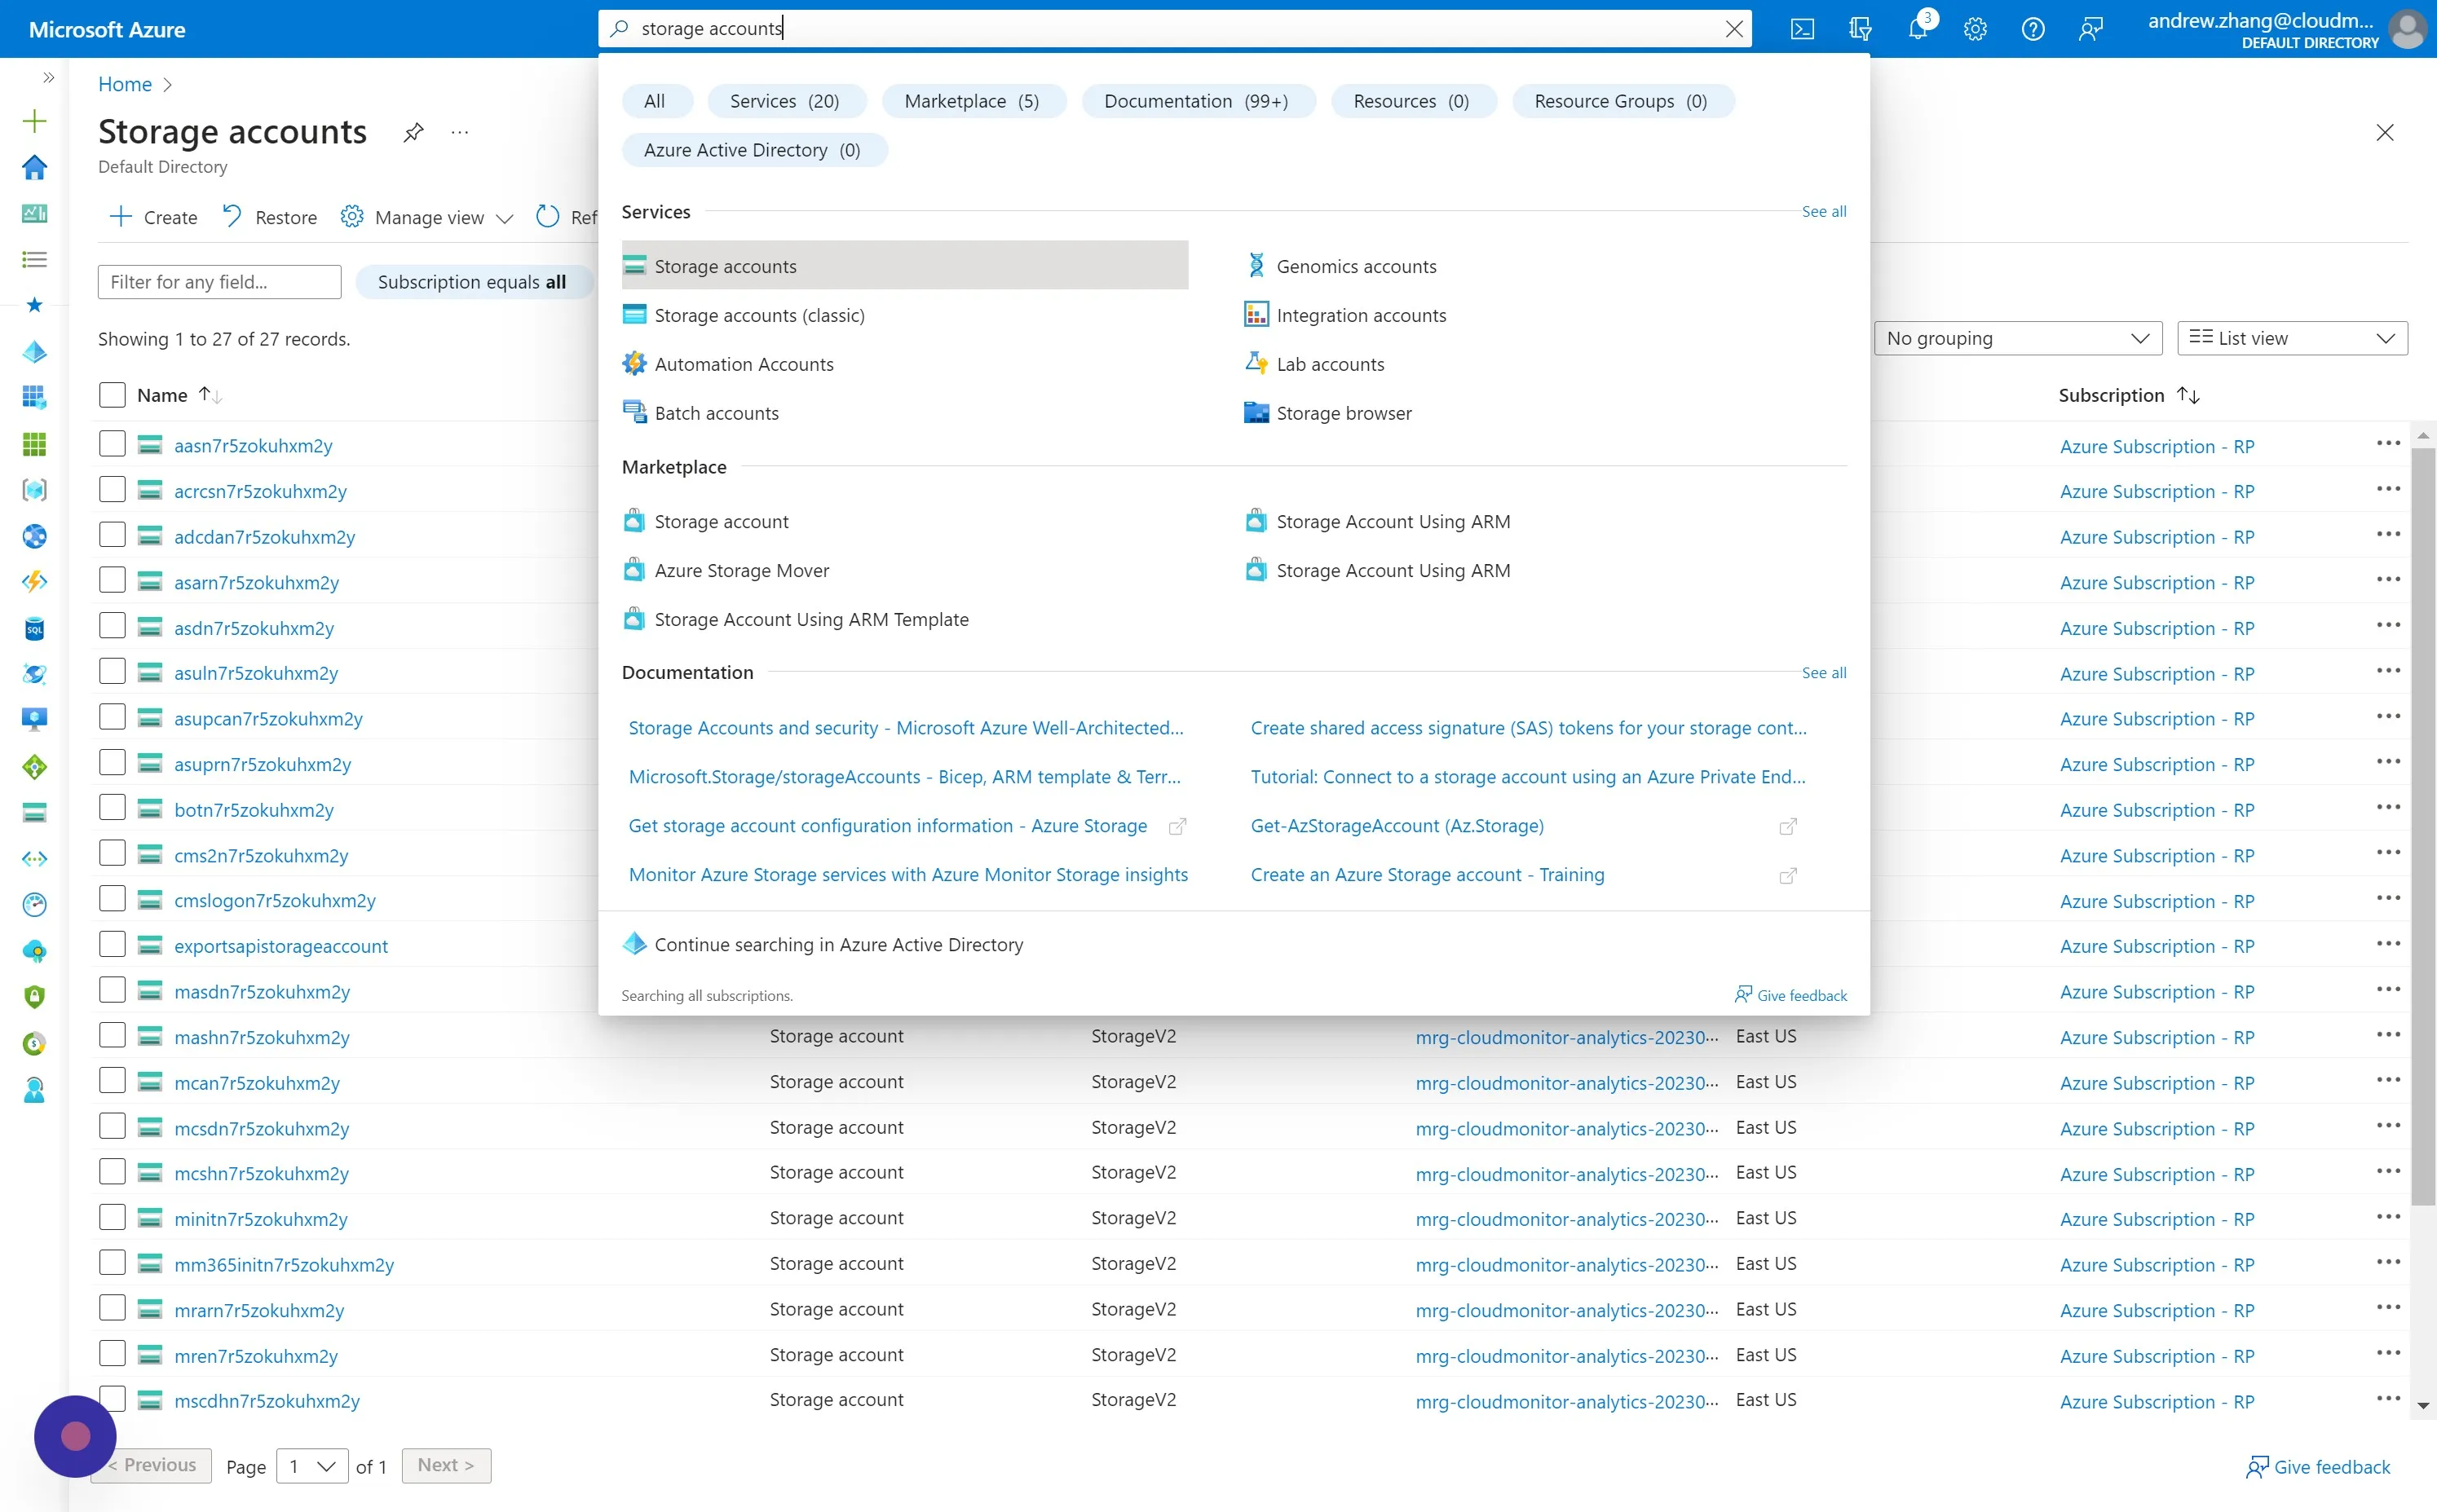
Section titled “Step 1”In Azure Portal, navigate to the Storage accounts - Microsoft Azure and click “Create”.
Step 2
Section titled “Step 2”Choose a Resource Group in which the new Storage Account will be created. We recommend creating a new Resource Group for easier management and isolation.
You may select any subscription, but the Storage Account must be created within the same Azure tenant (directory) as the subscriptions and billing accounts that you intend to monitor.
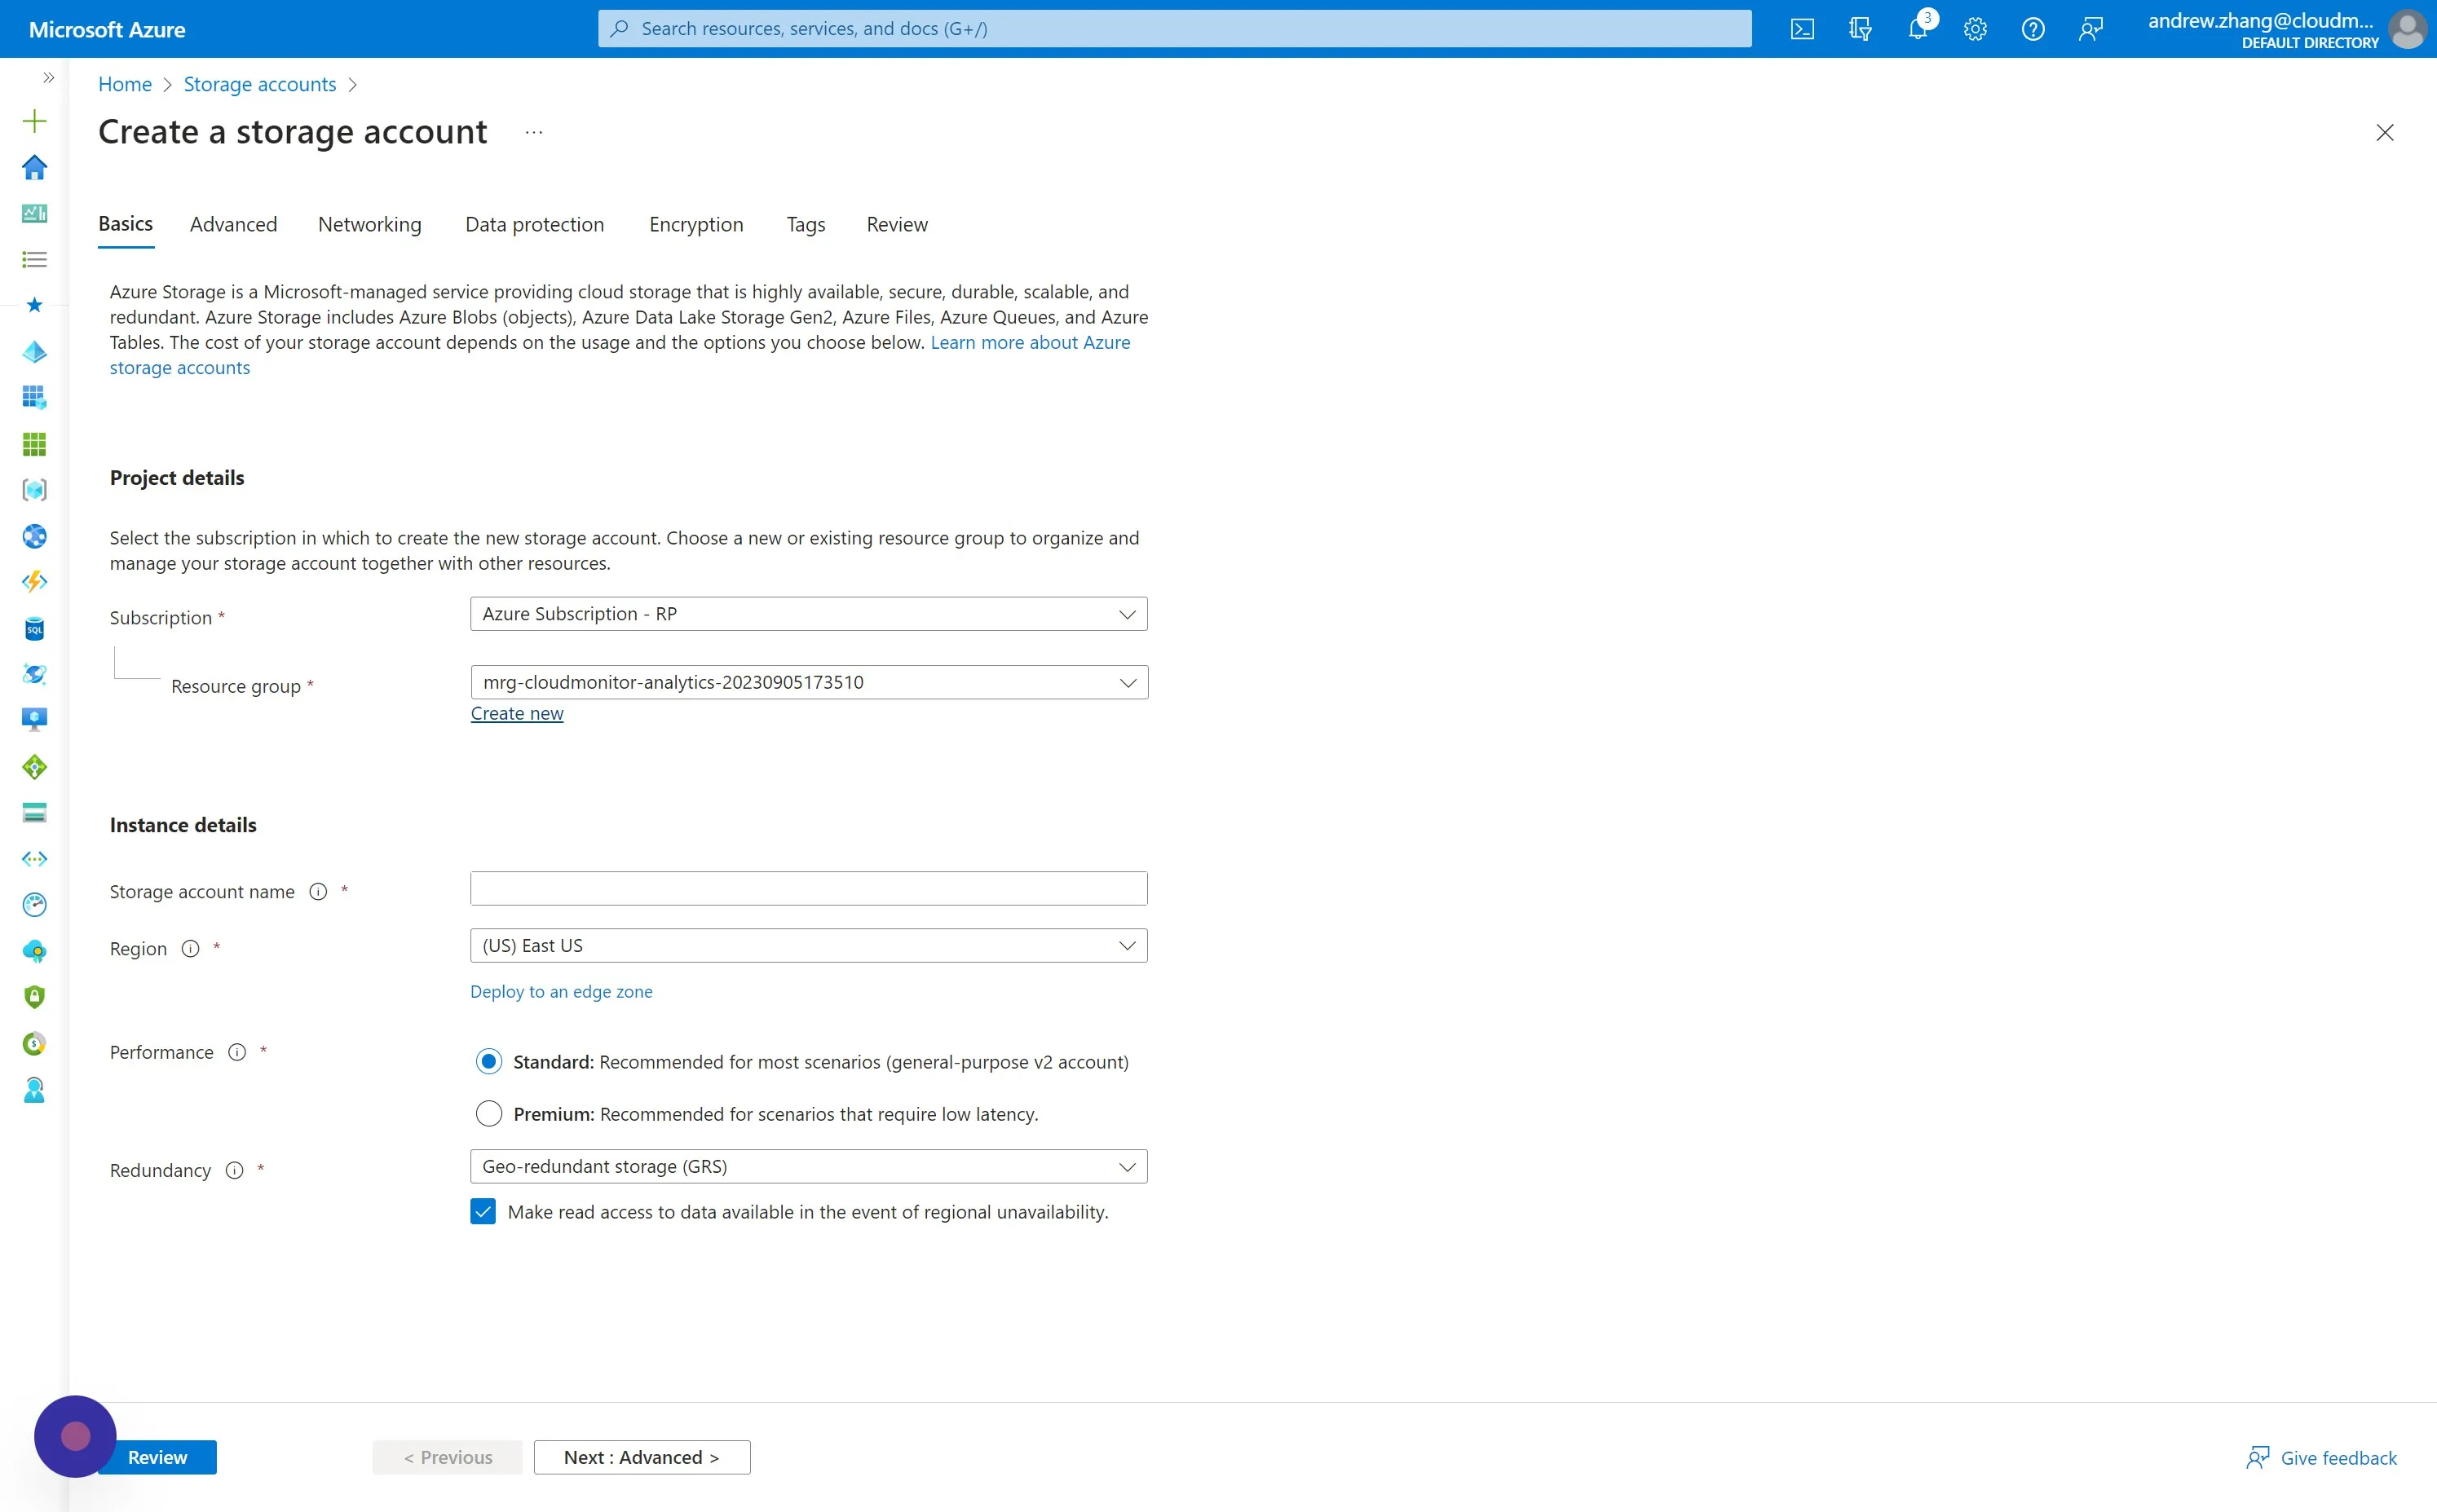
Step 3
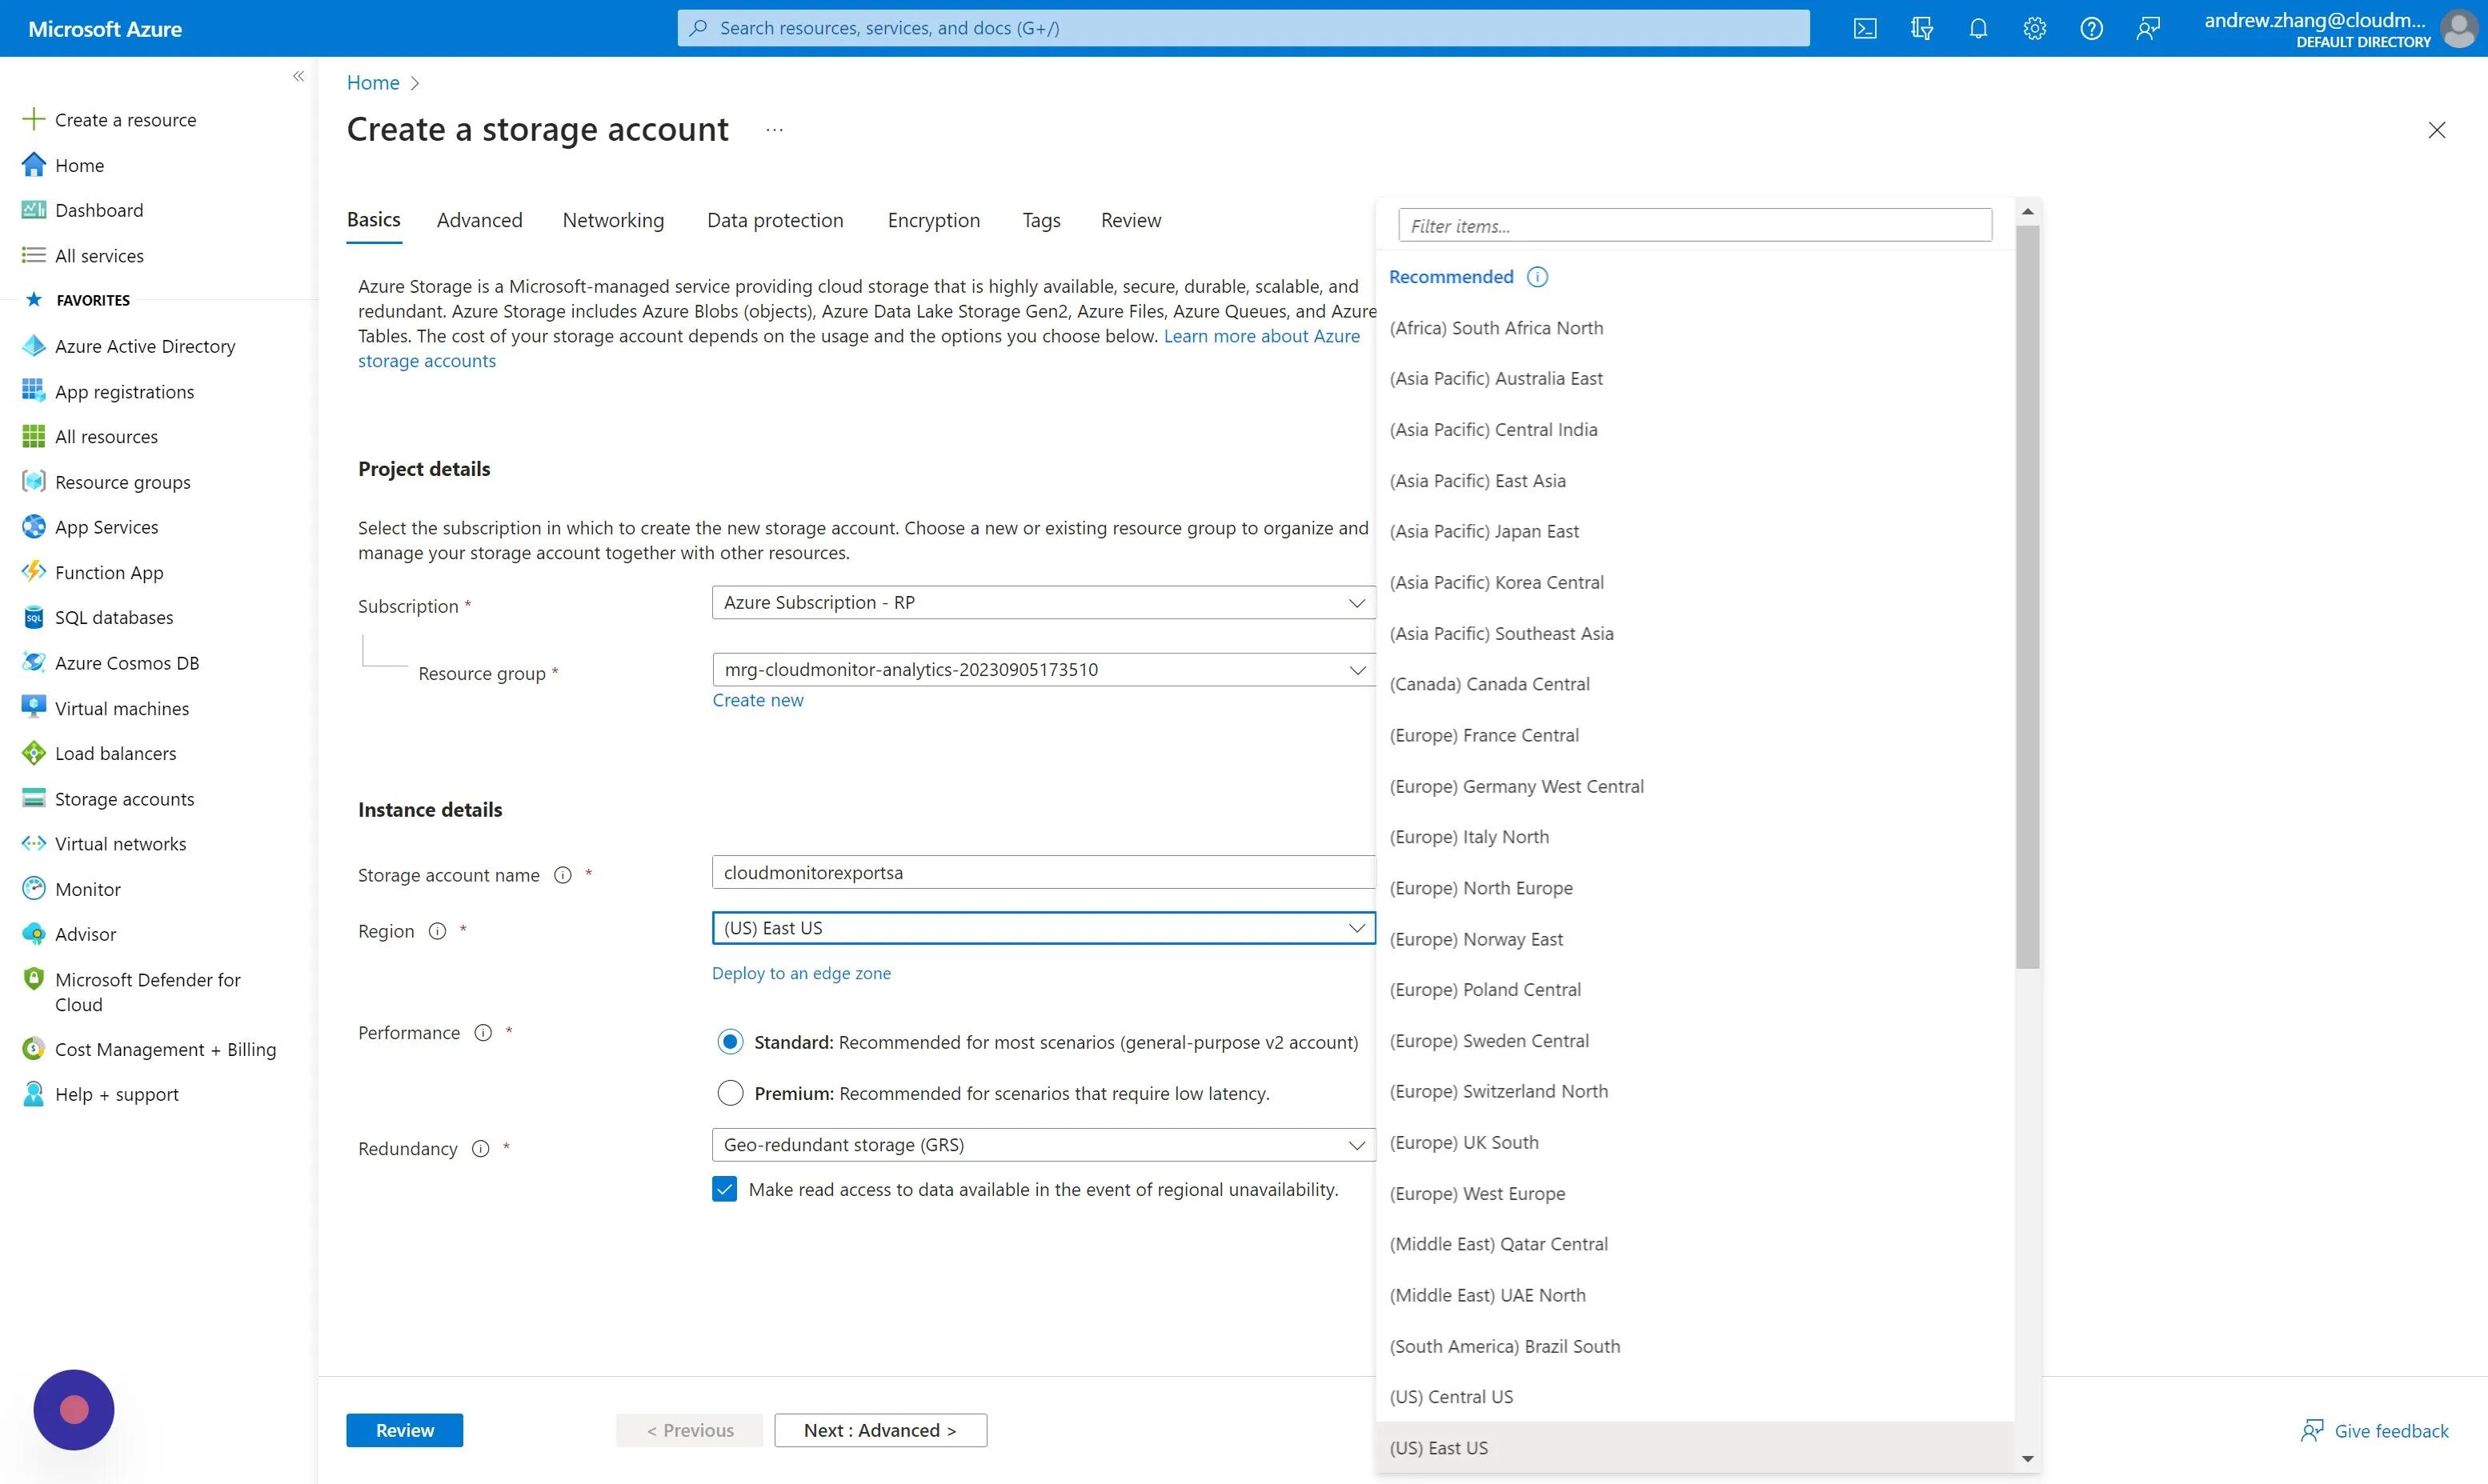
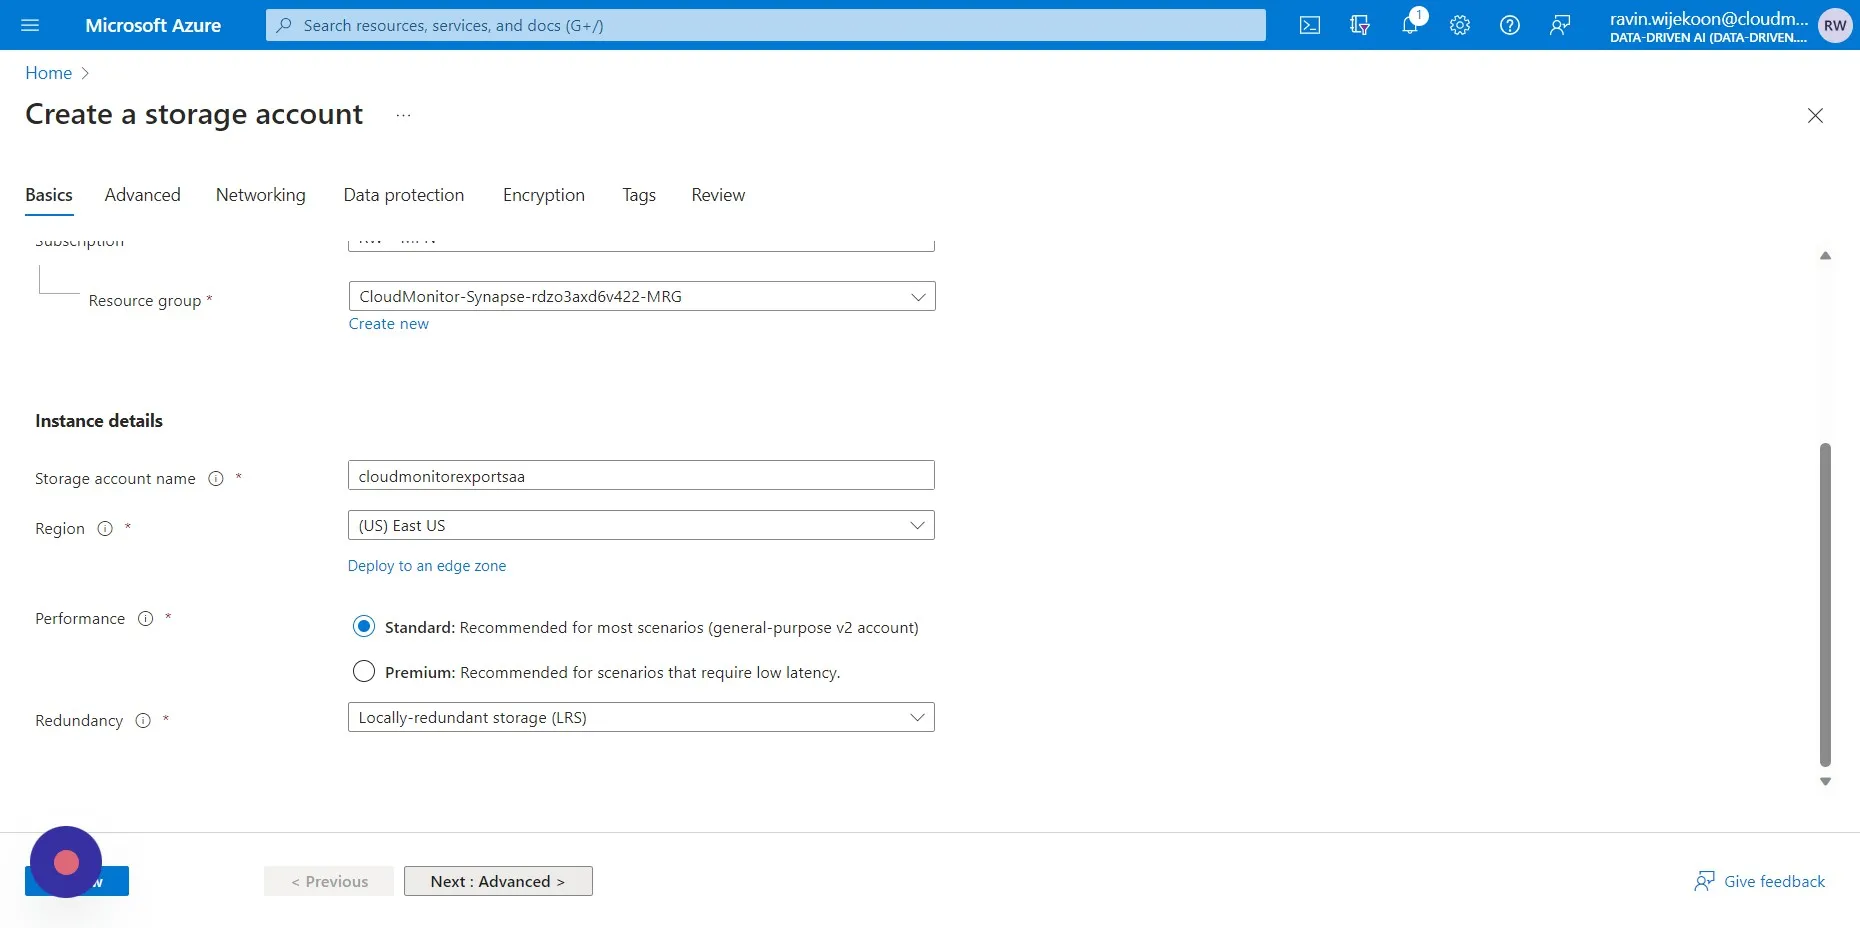
Section titled “Step 3”Name the Storage Account in accordance with your existing organisational tagging standards and naming conventions.
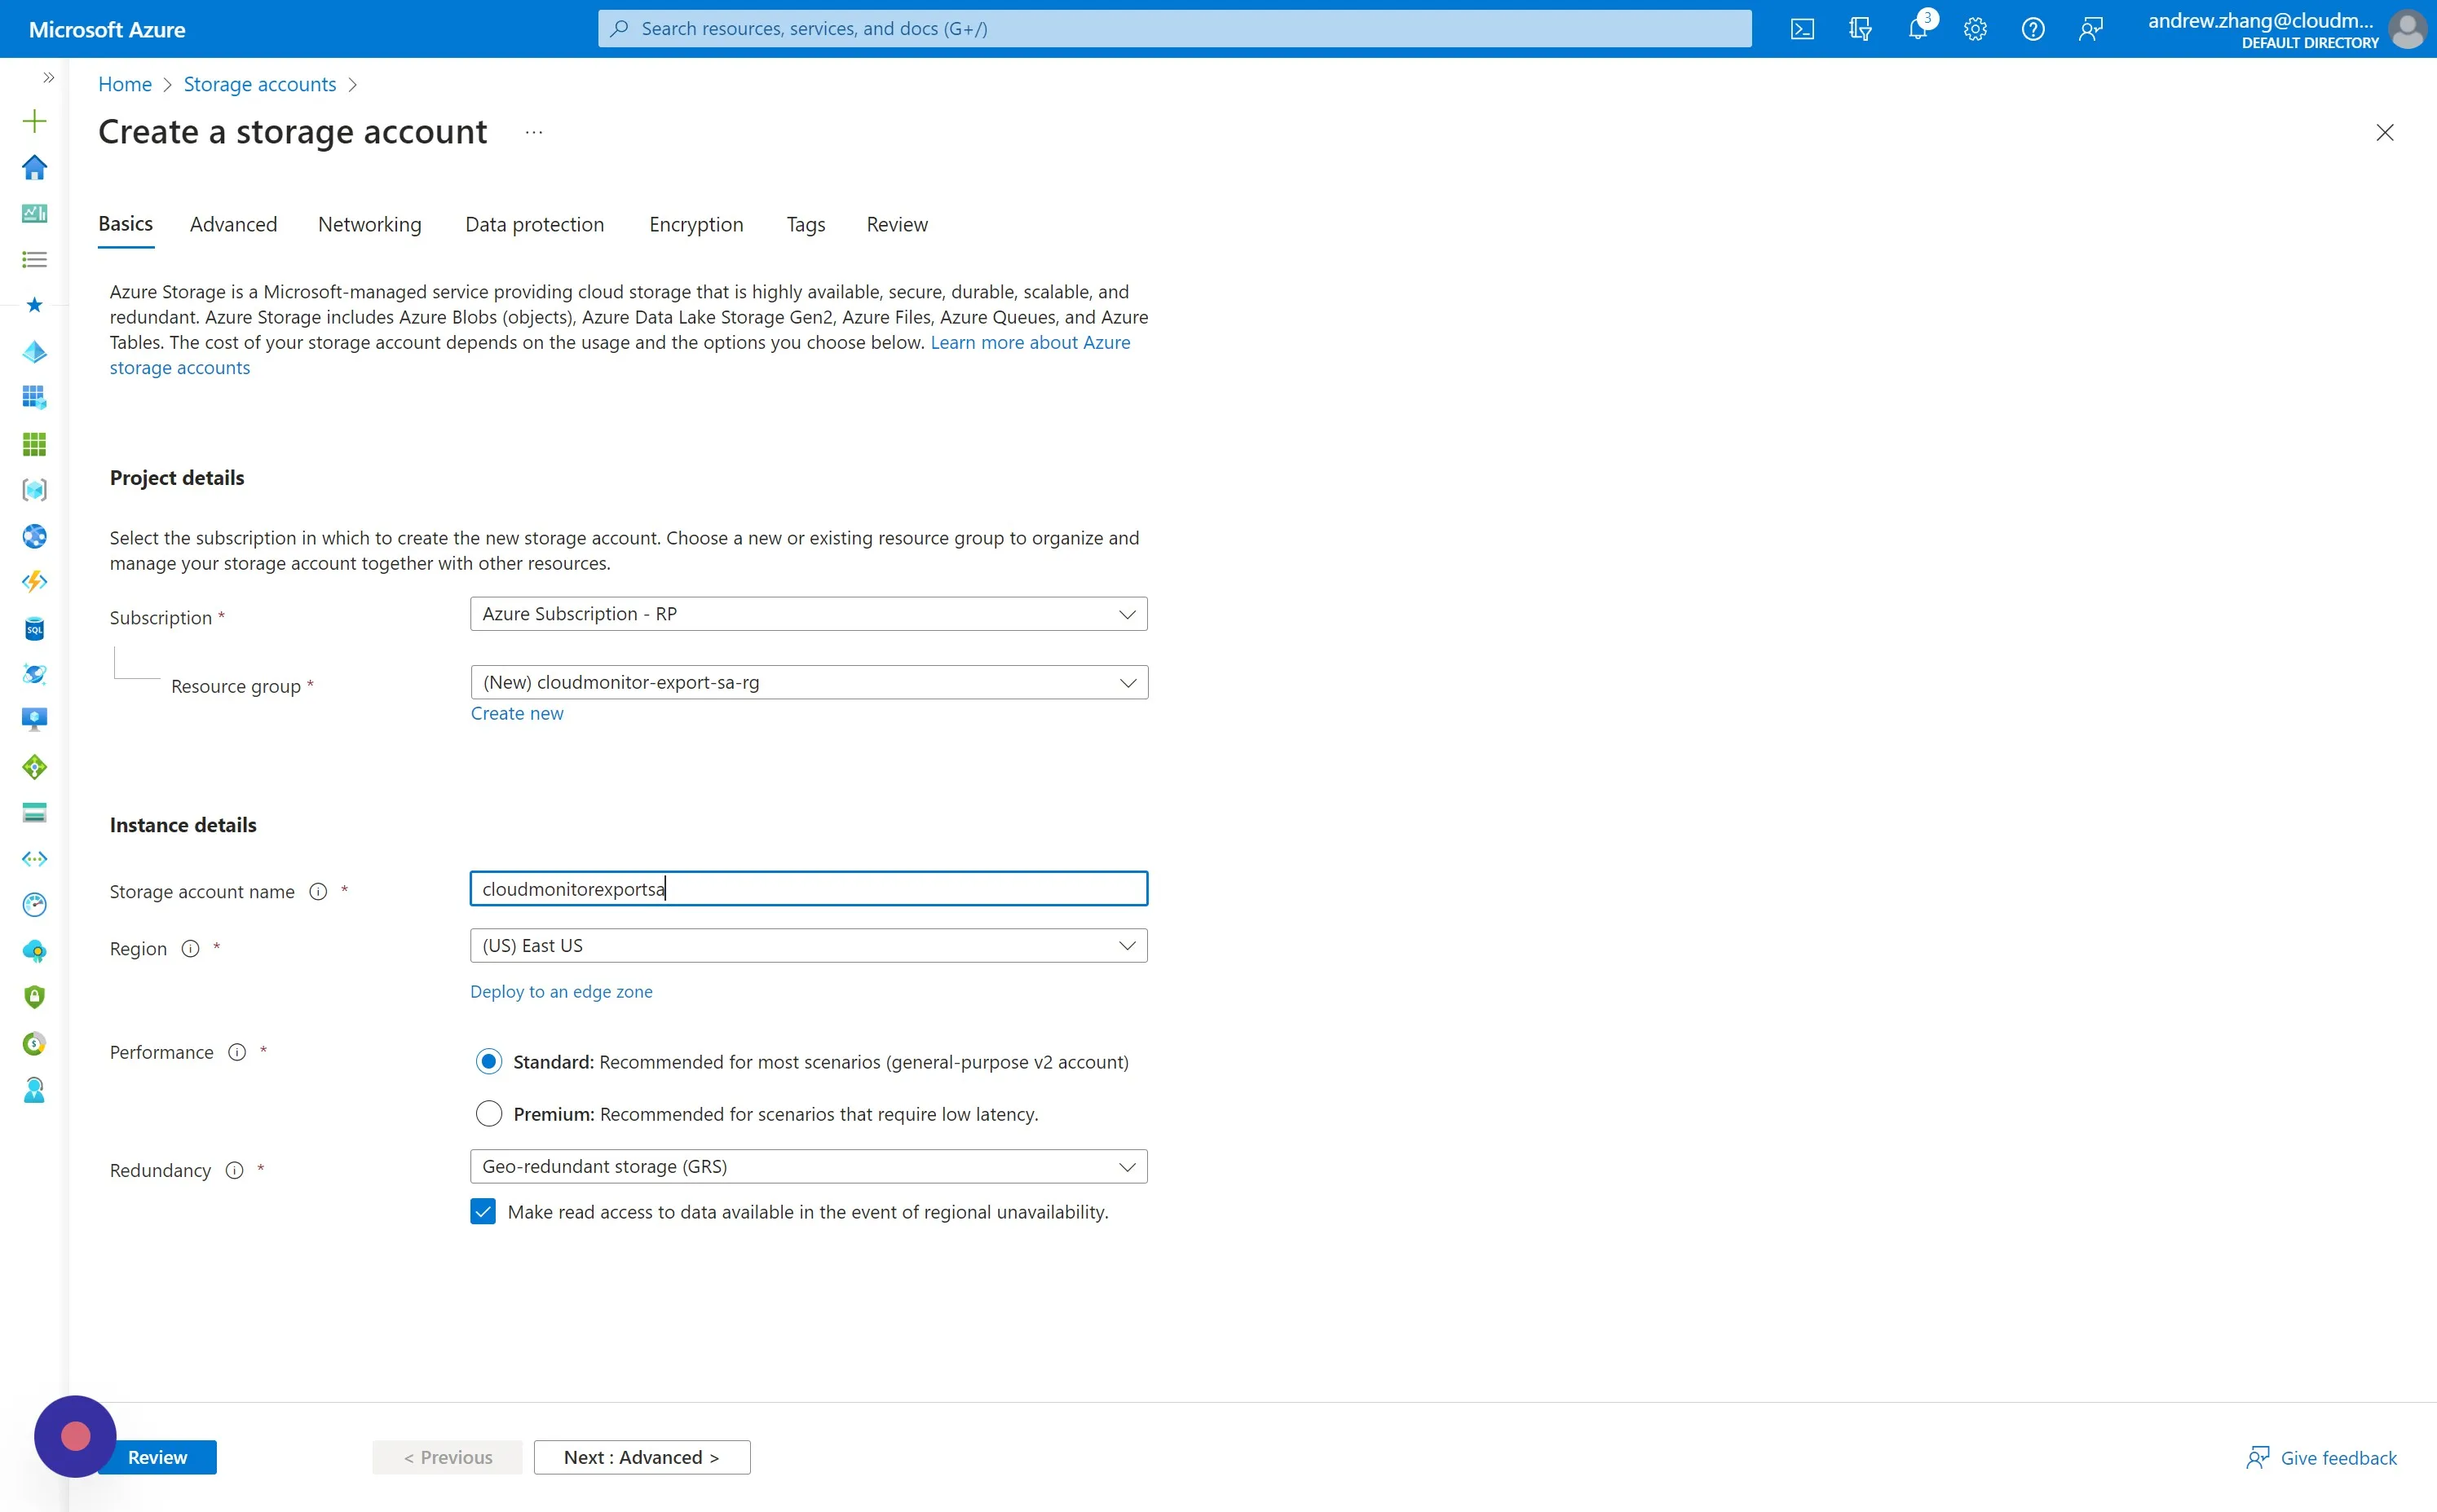
Step 4
Section titled “Step 4”Select the closest Region for you.
Step 5
Section titled “Step 5”Choose LRS for storage redundancy, then click “Advanced”.
Step 6
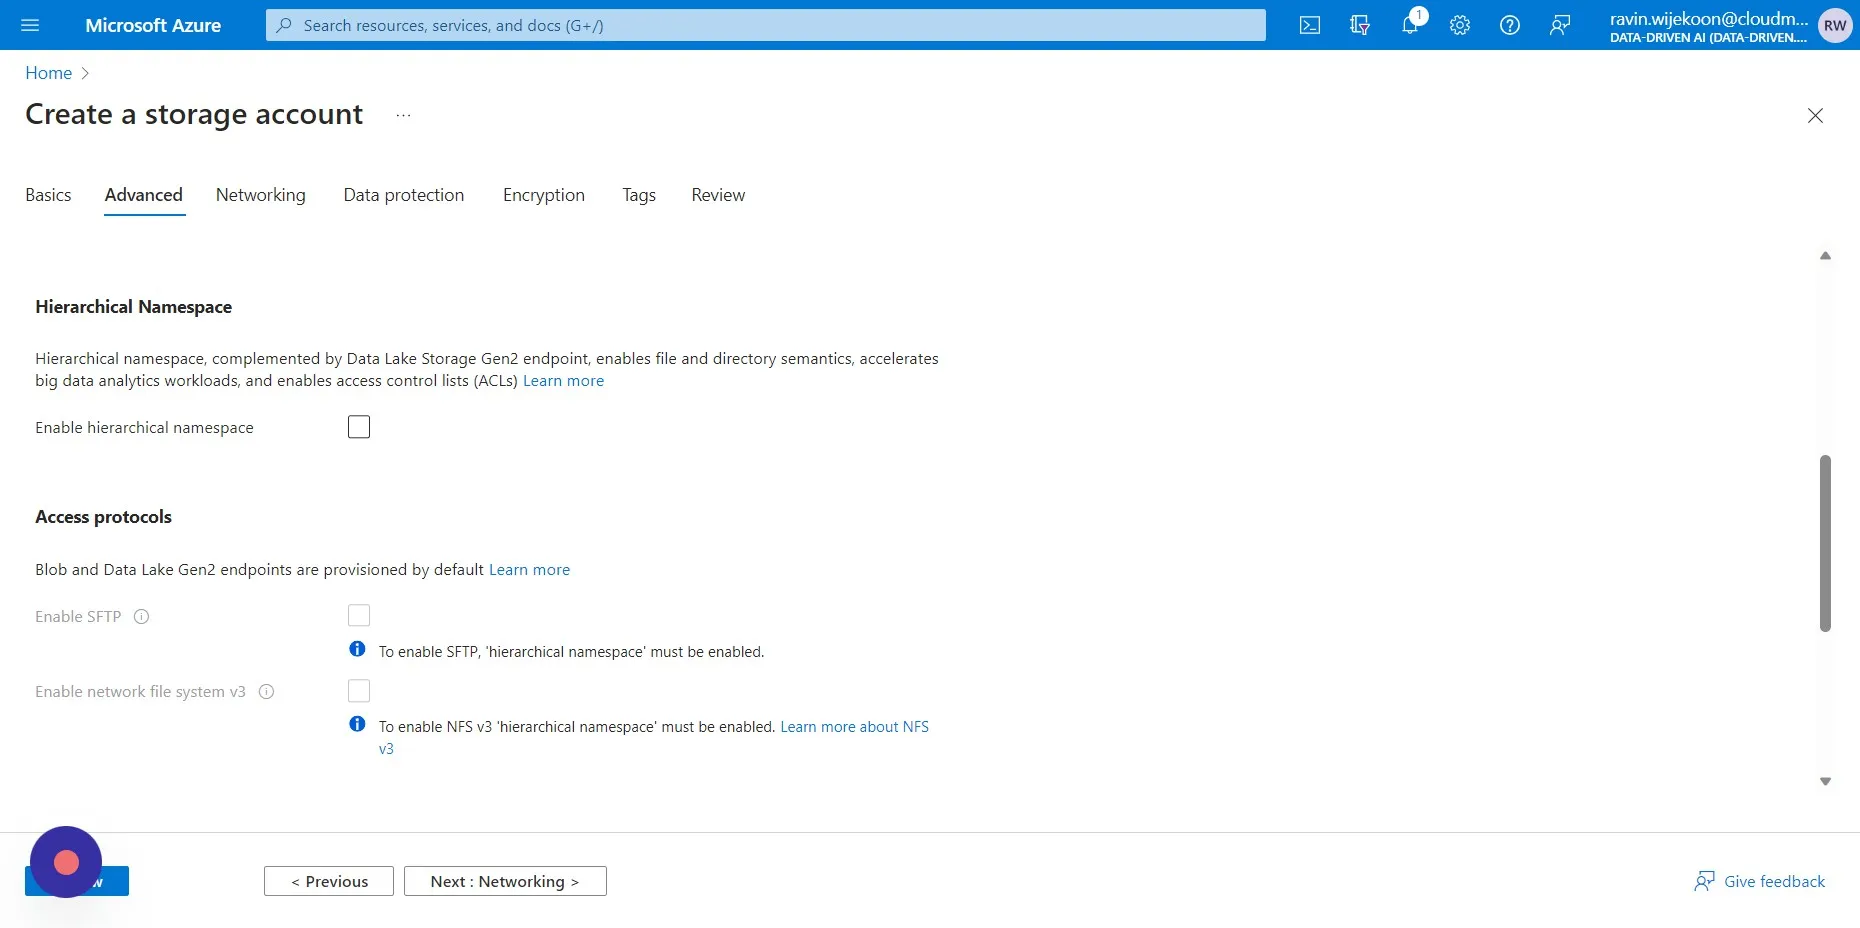
Section titled “Step 6”Make sure Hierarchical Namespace is unticked. then click “Review” and “Create”.
Step 7
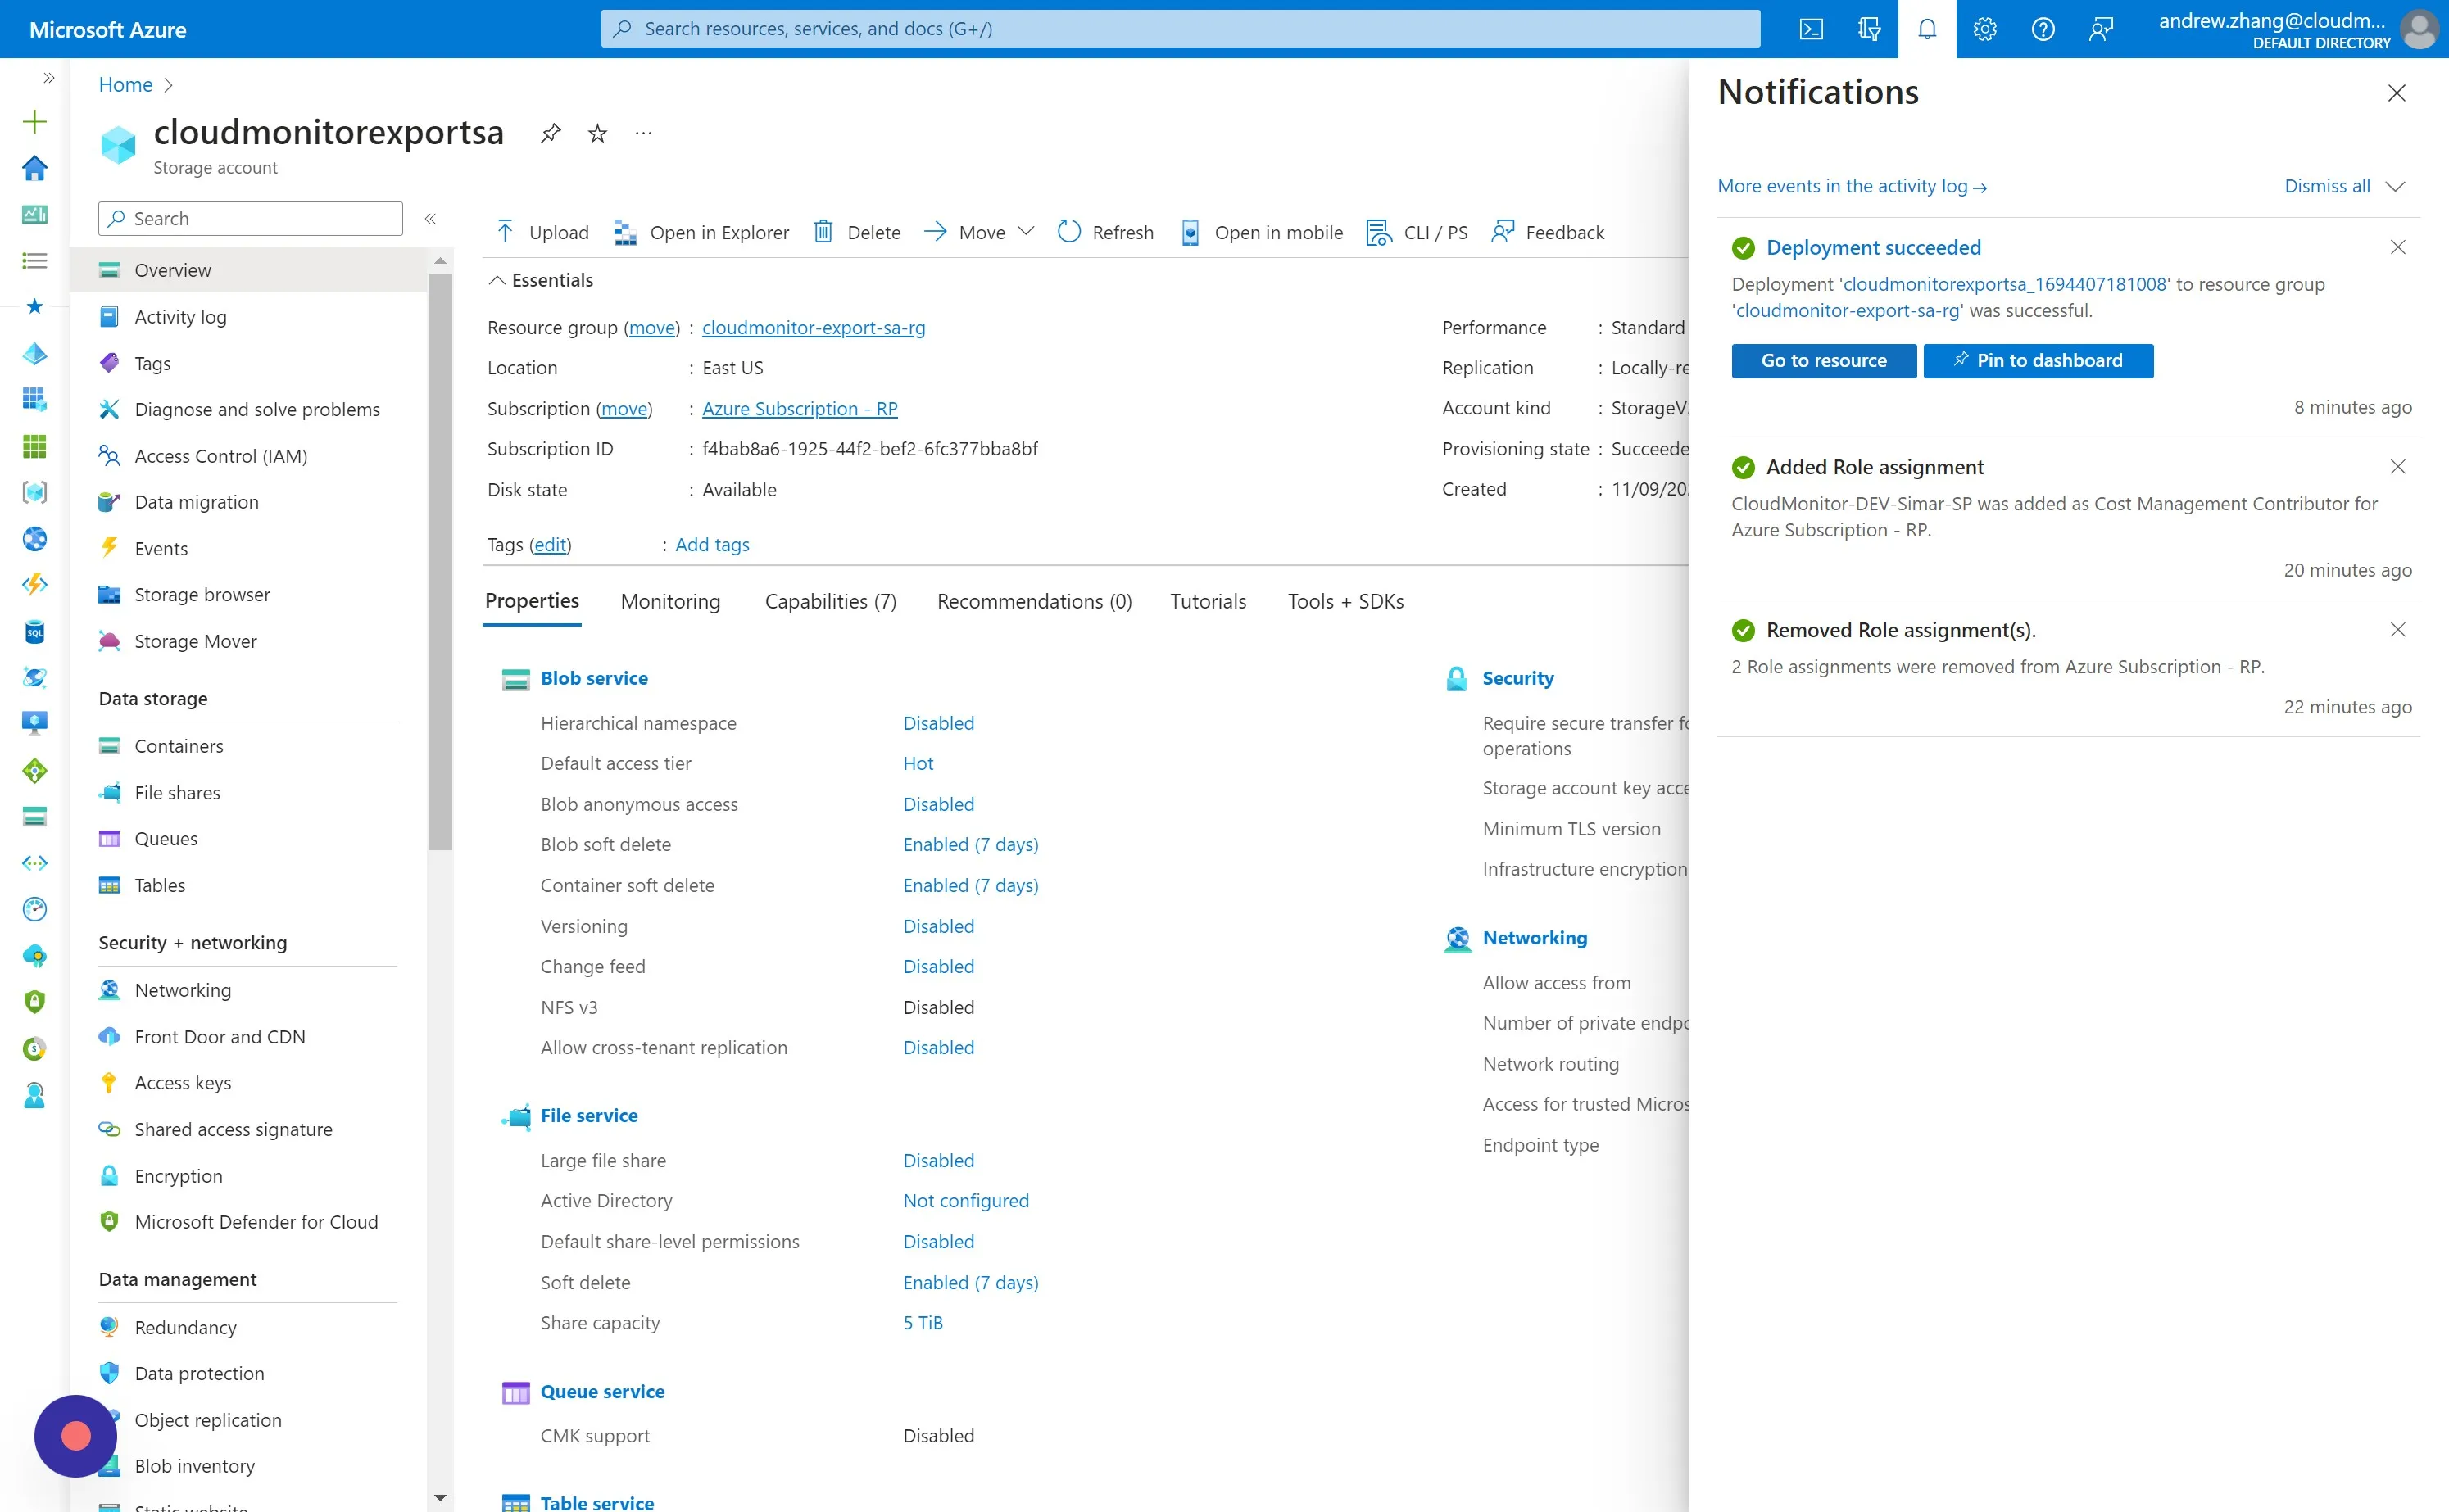
Section titled “Step 7”You will receive a notification for when the Storage Account has been successfully deployed. Click “Go to resource” in preparation for the next section.
Step 8
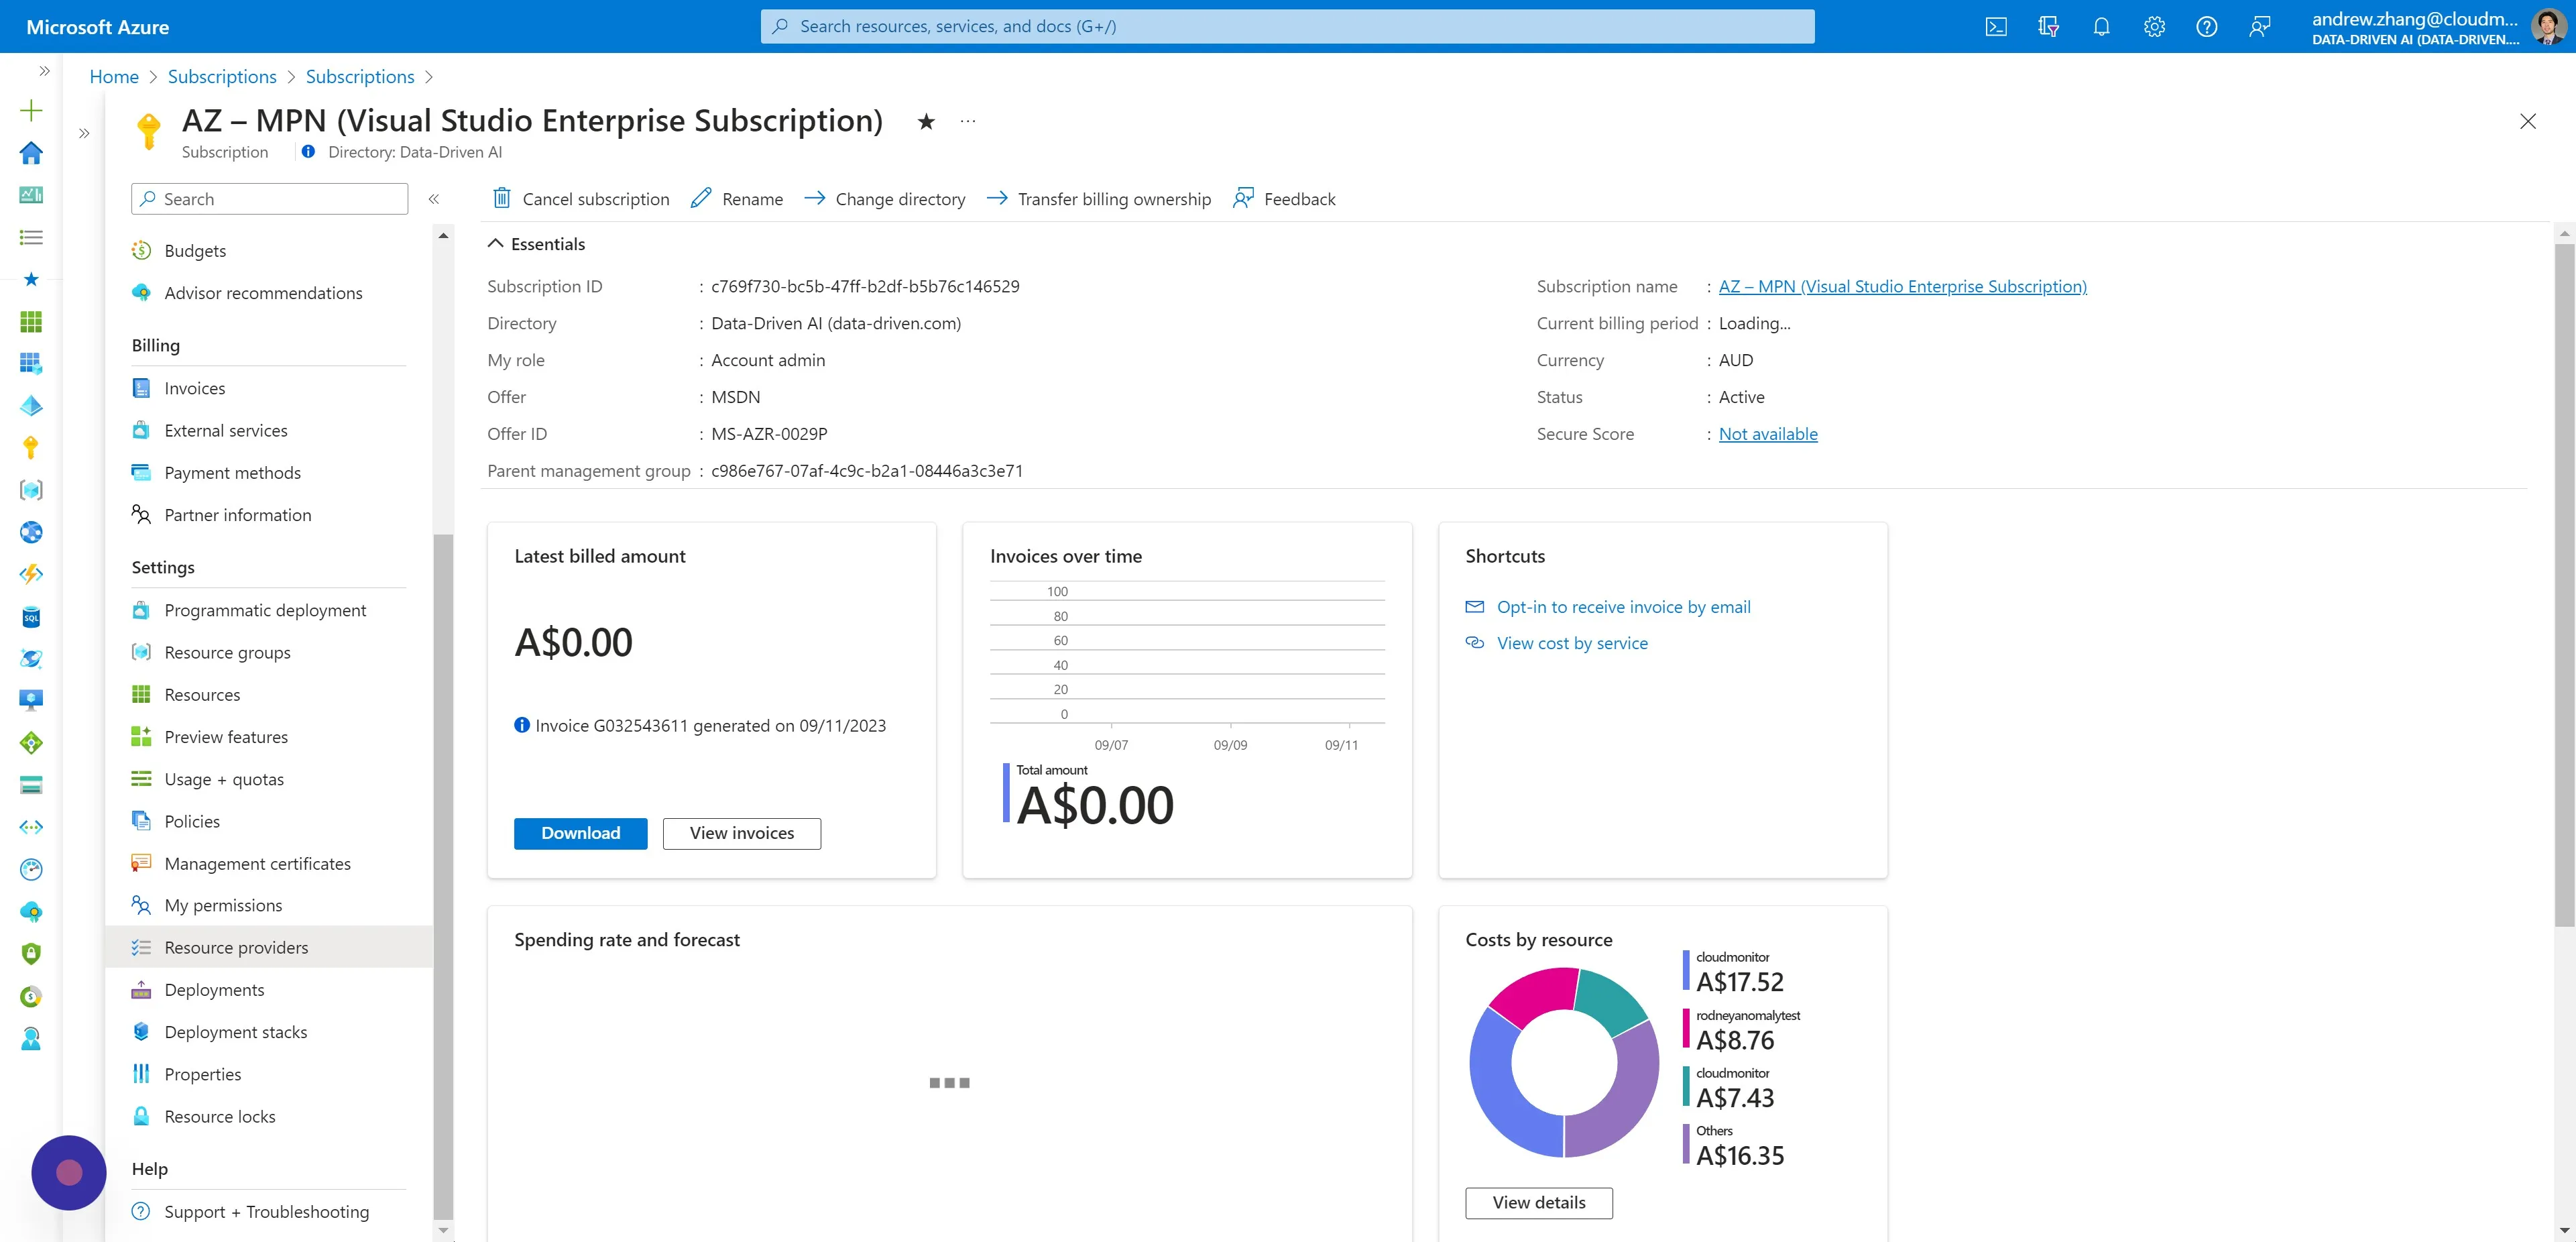
Section titled “Step 8”Navigate to Subscriptions - Microsoft Azure and select the same Subscription the Storage Account will be located in.
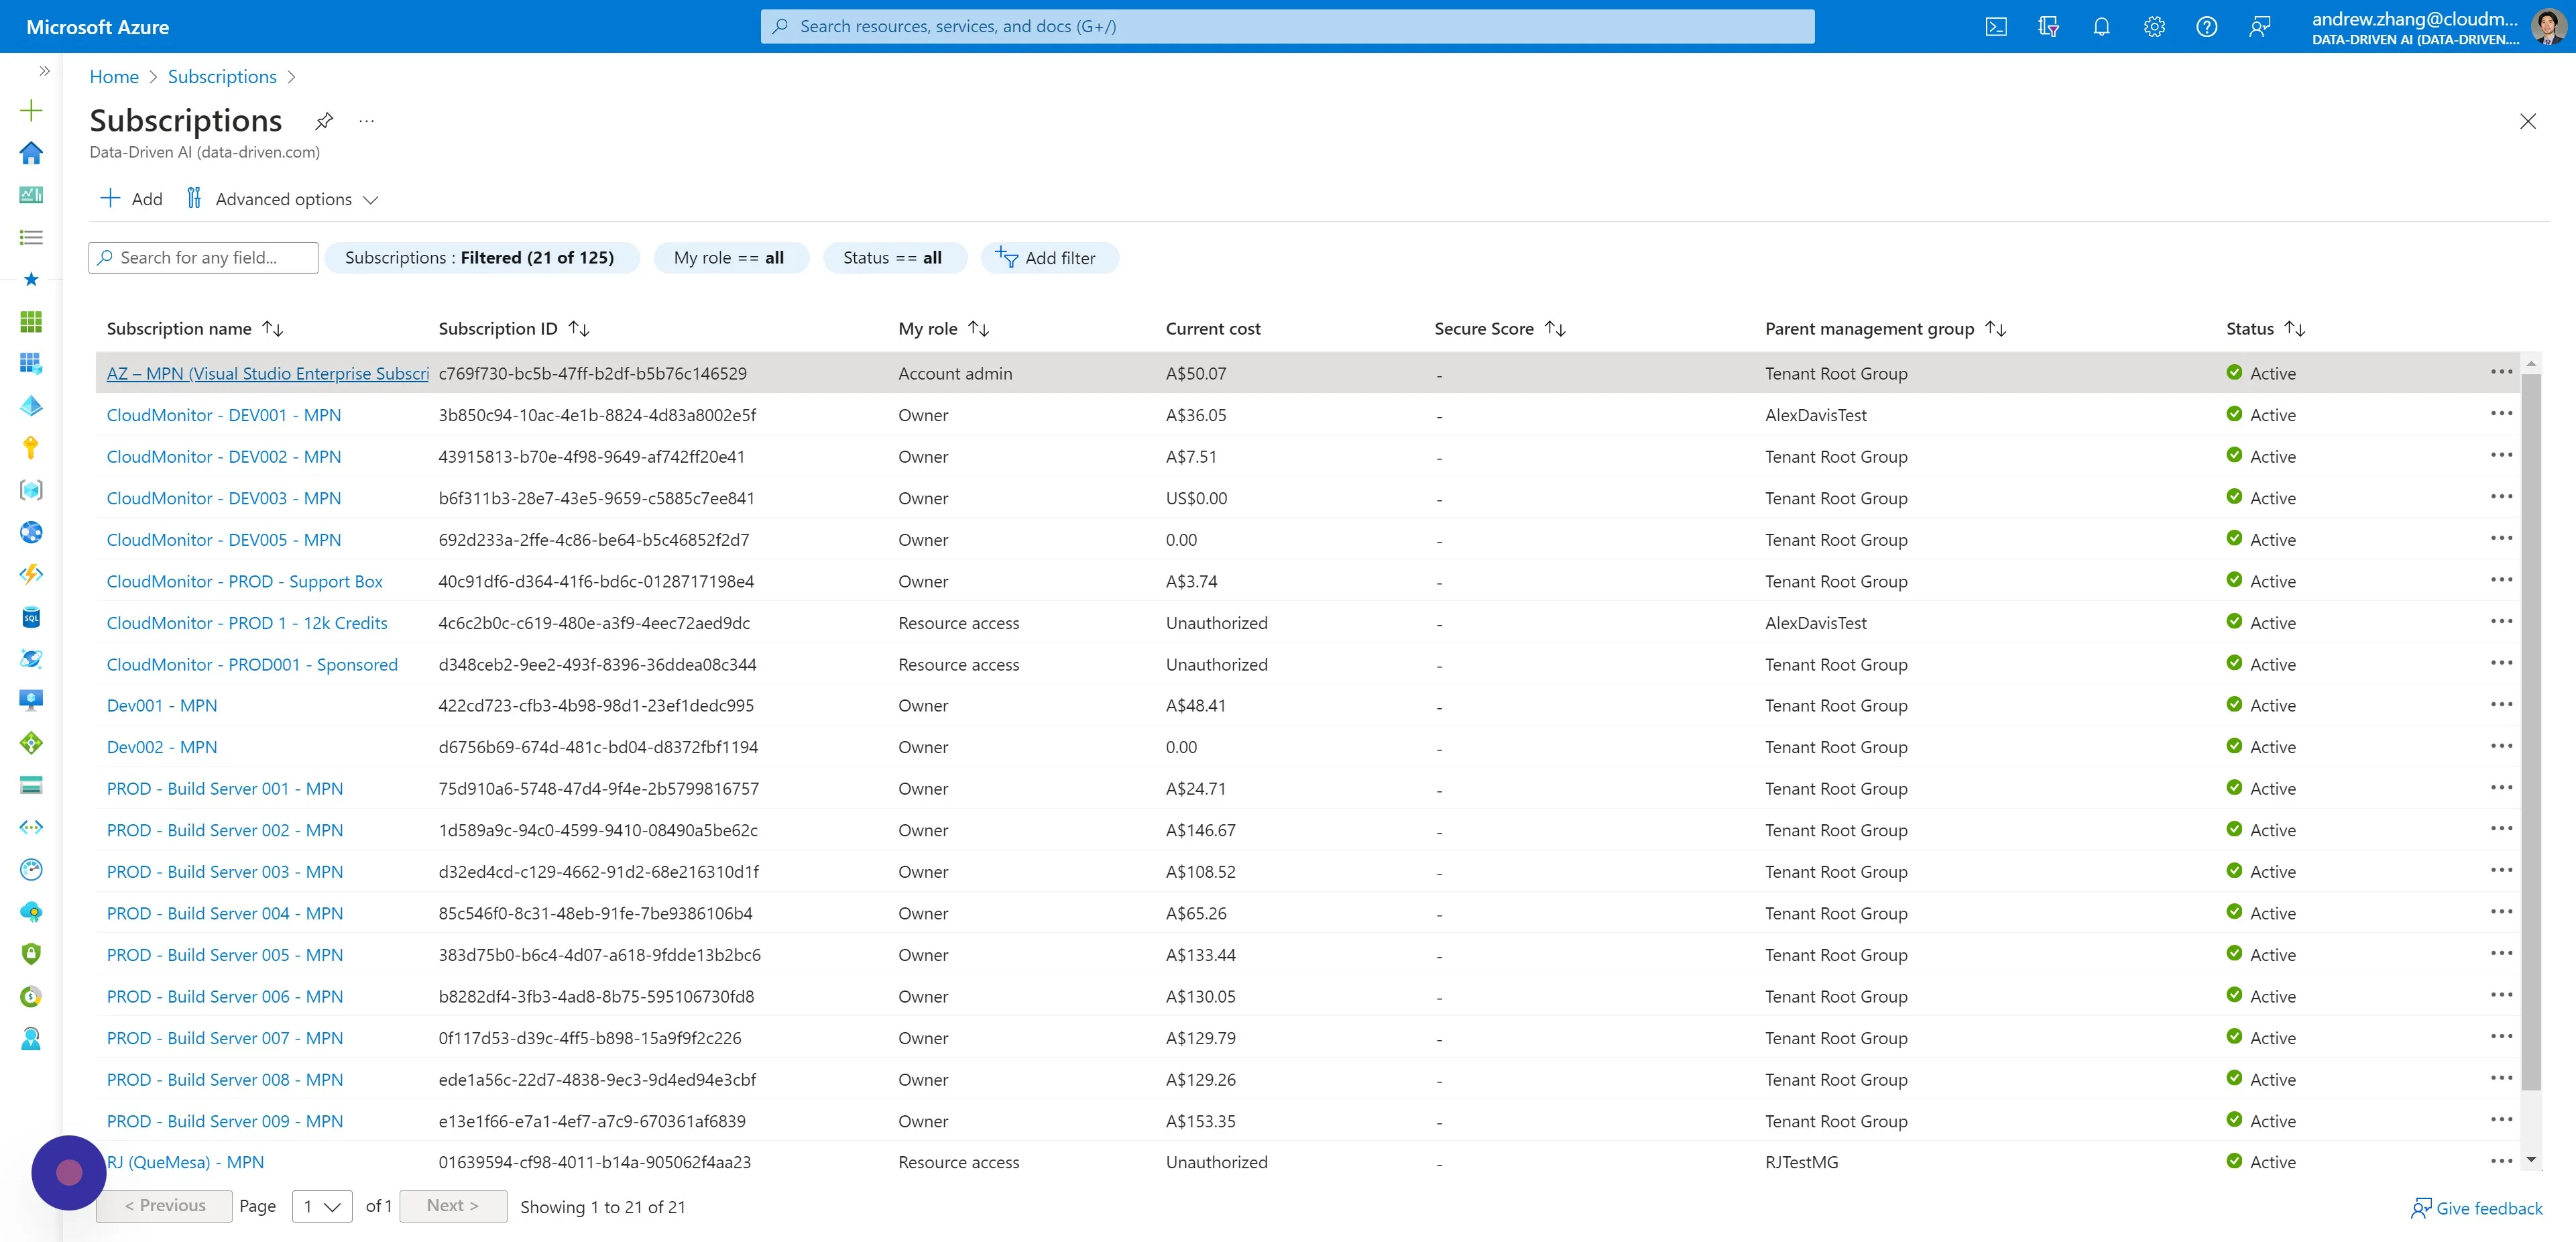
Step 9
Section titled “Step 9”Click “Resource providers”.
Step 10
Section titled “Step 10”Filter by and select “Microsoft.CostManagementExports” and then click “Register”.
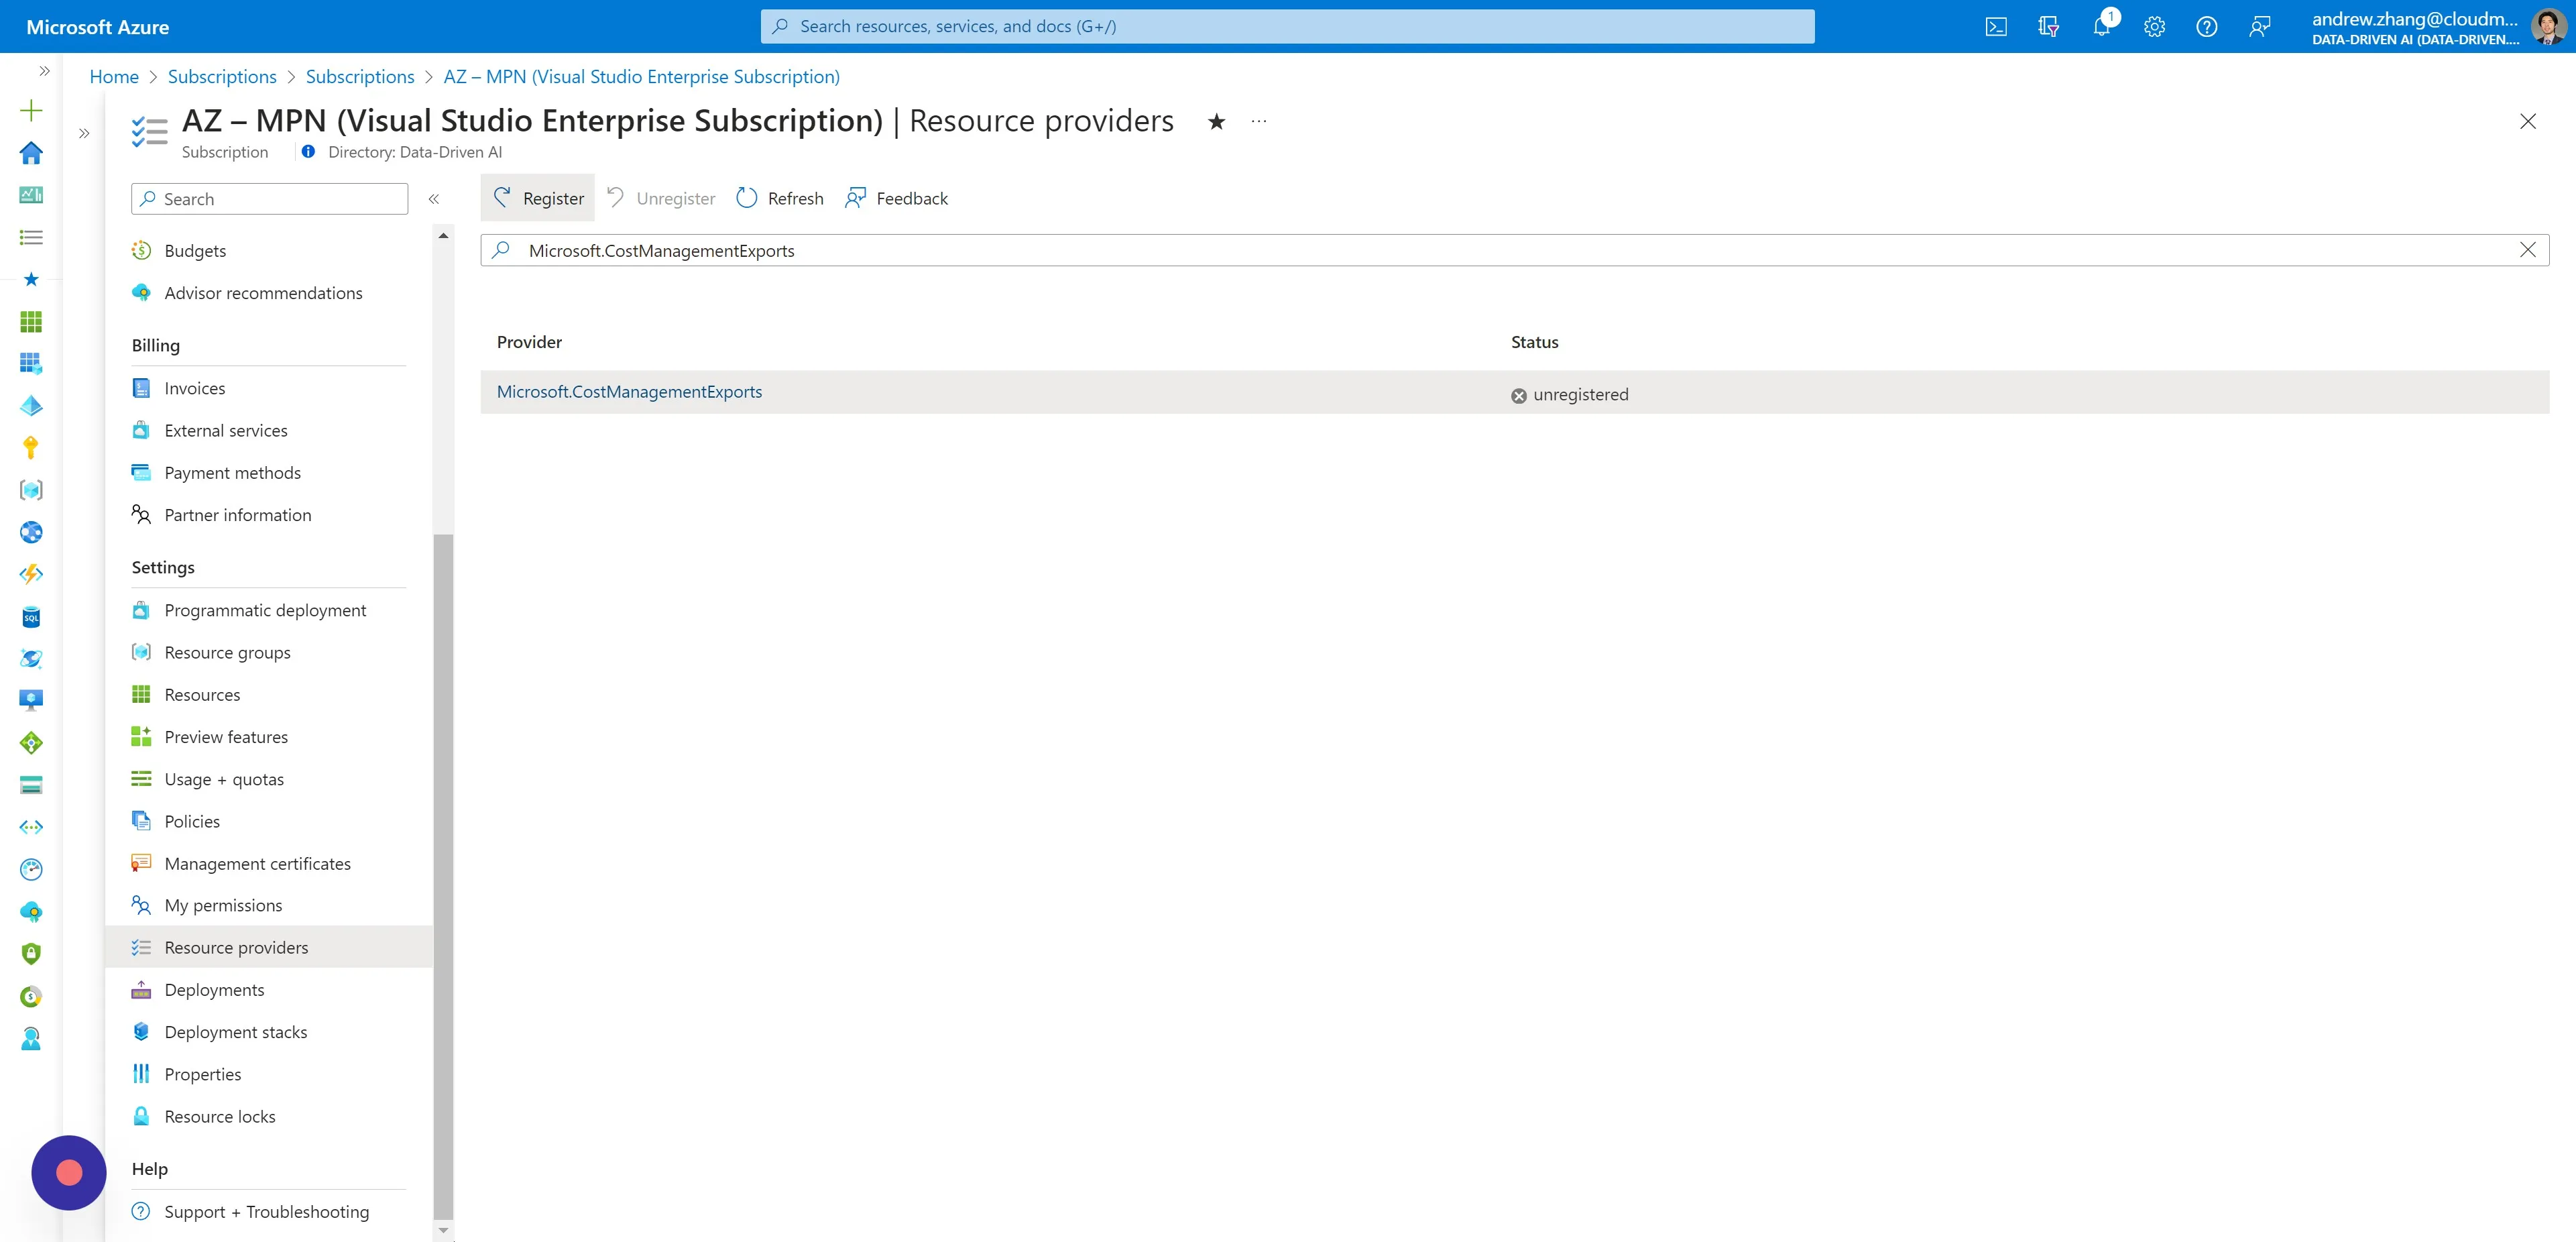
Step 11
Section titled “Step 11”You will receive a notification for successfully registering the Resource Provider.

Step 12
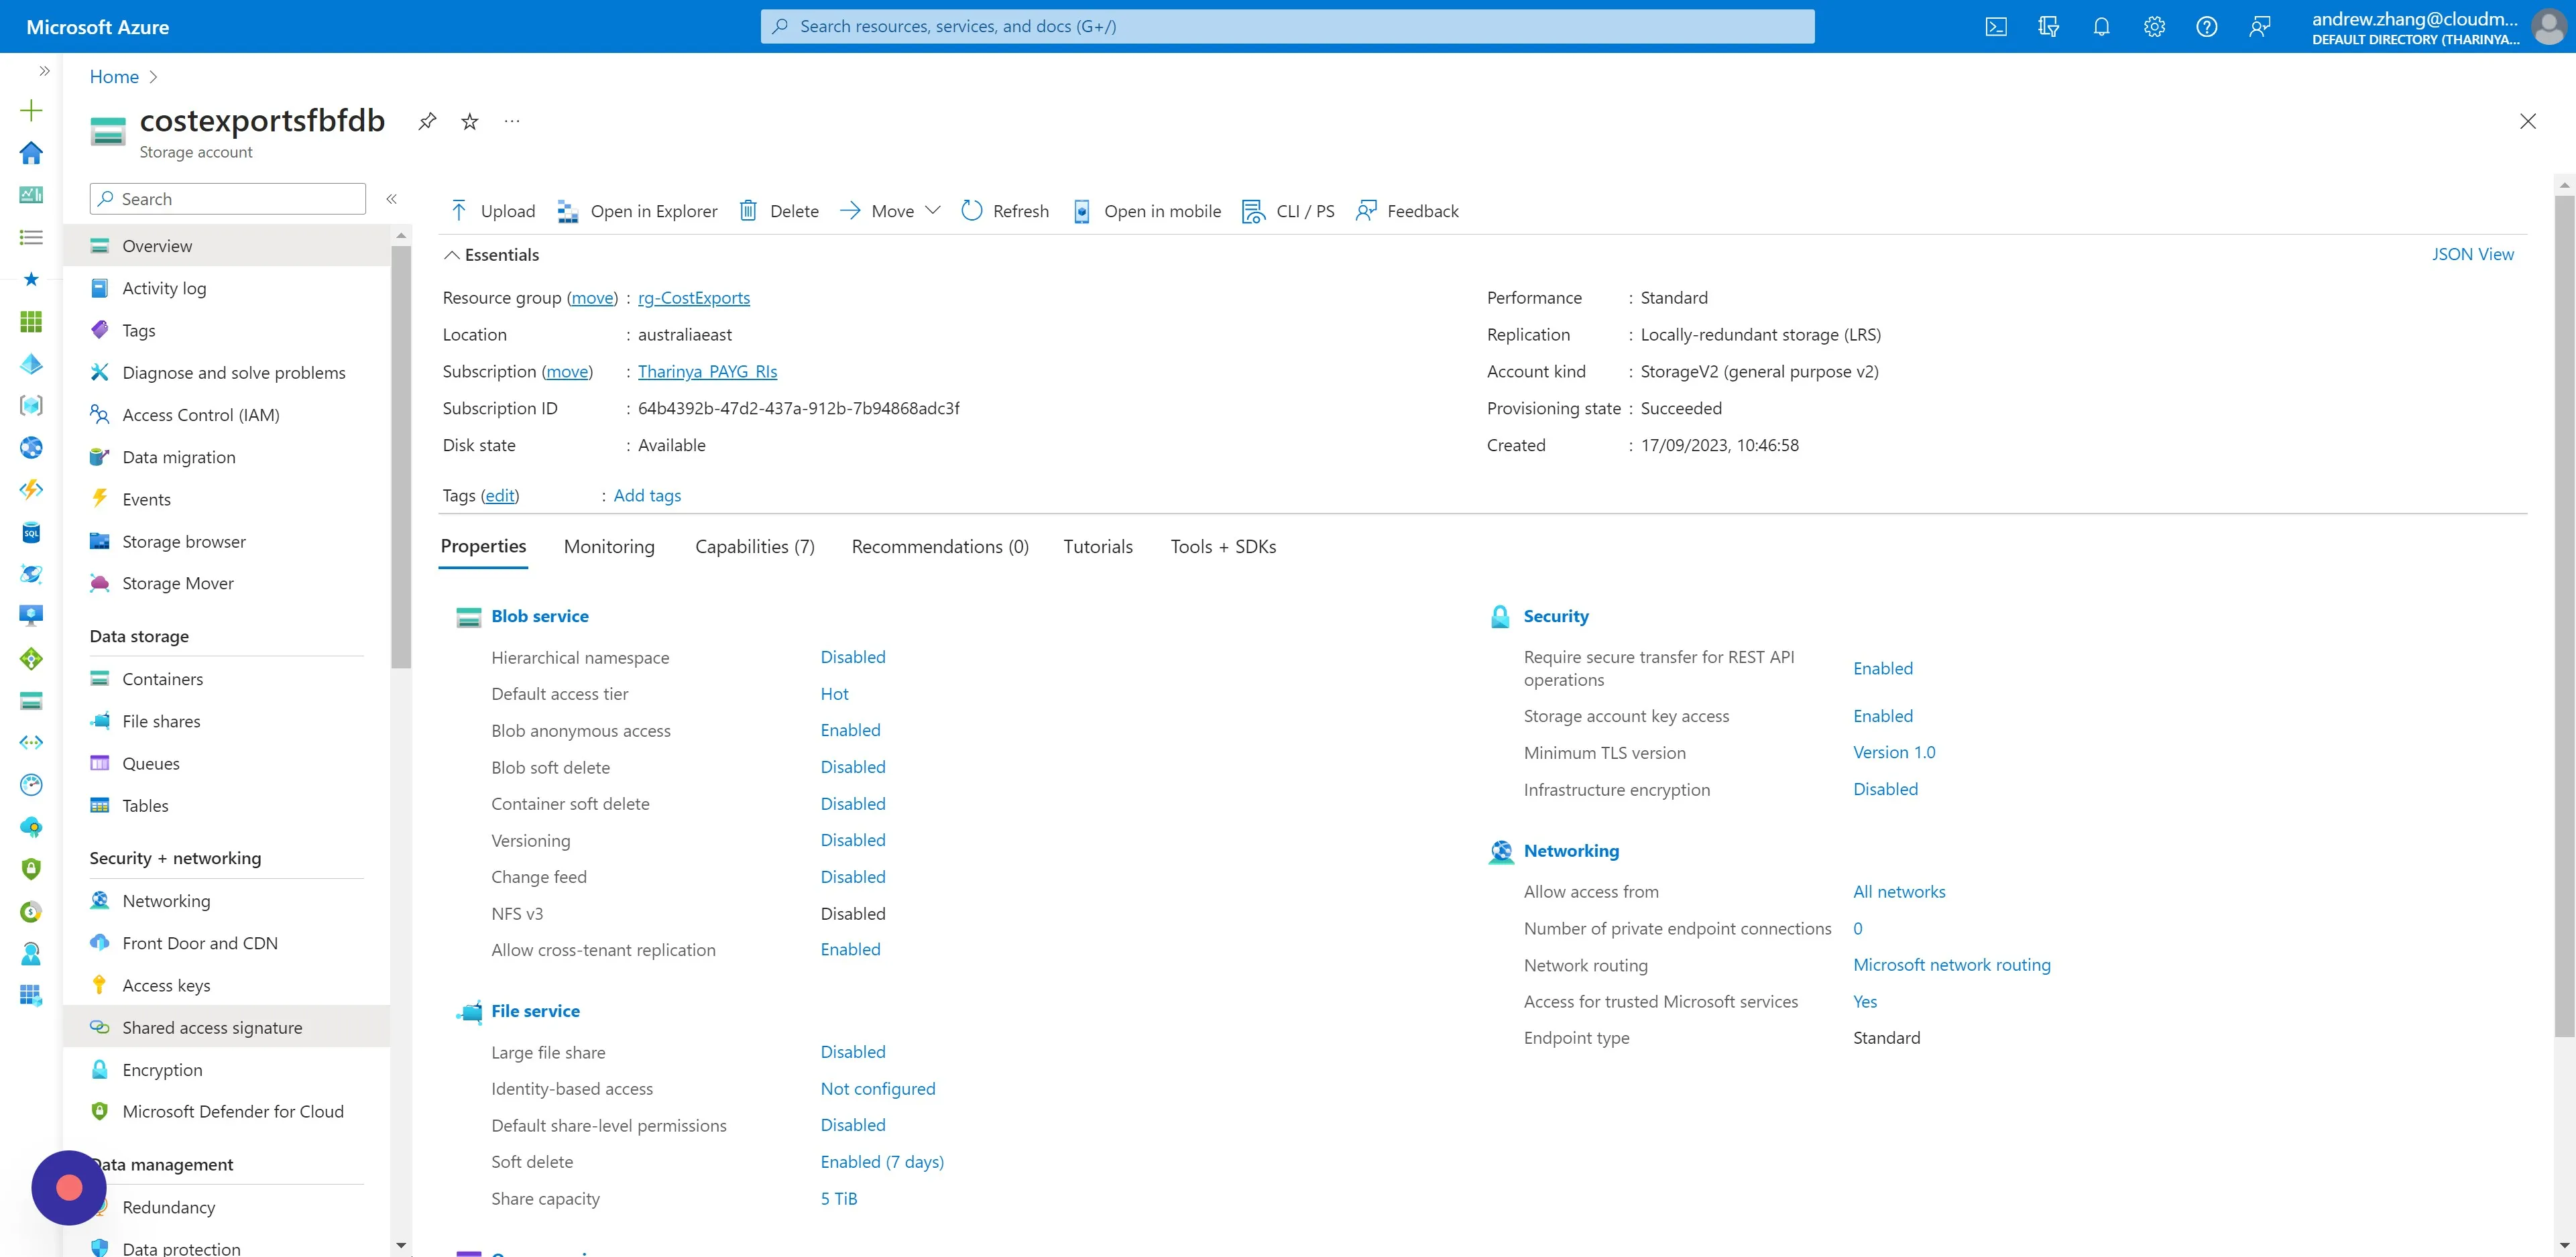
Section titled “Step 12”Navigate to the Storage Account Resource we just created.
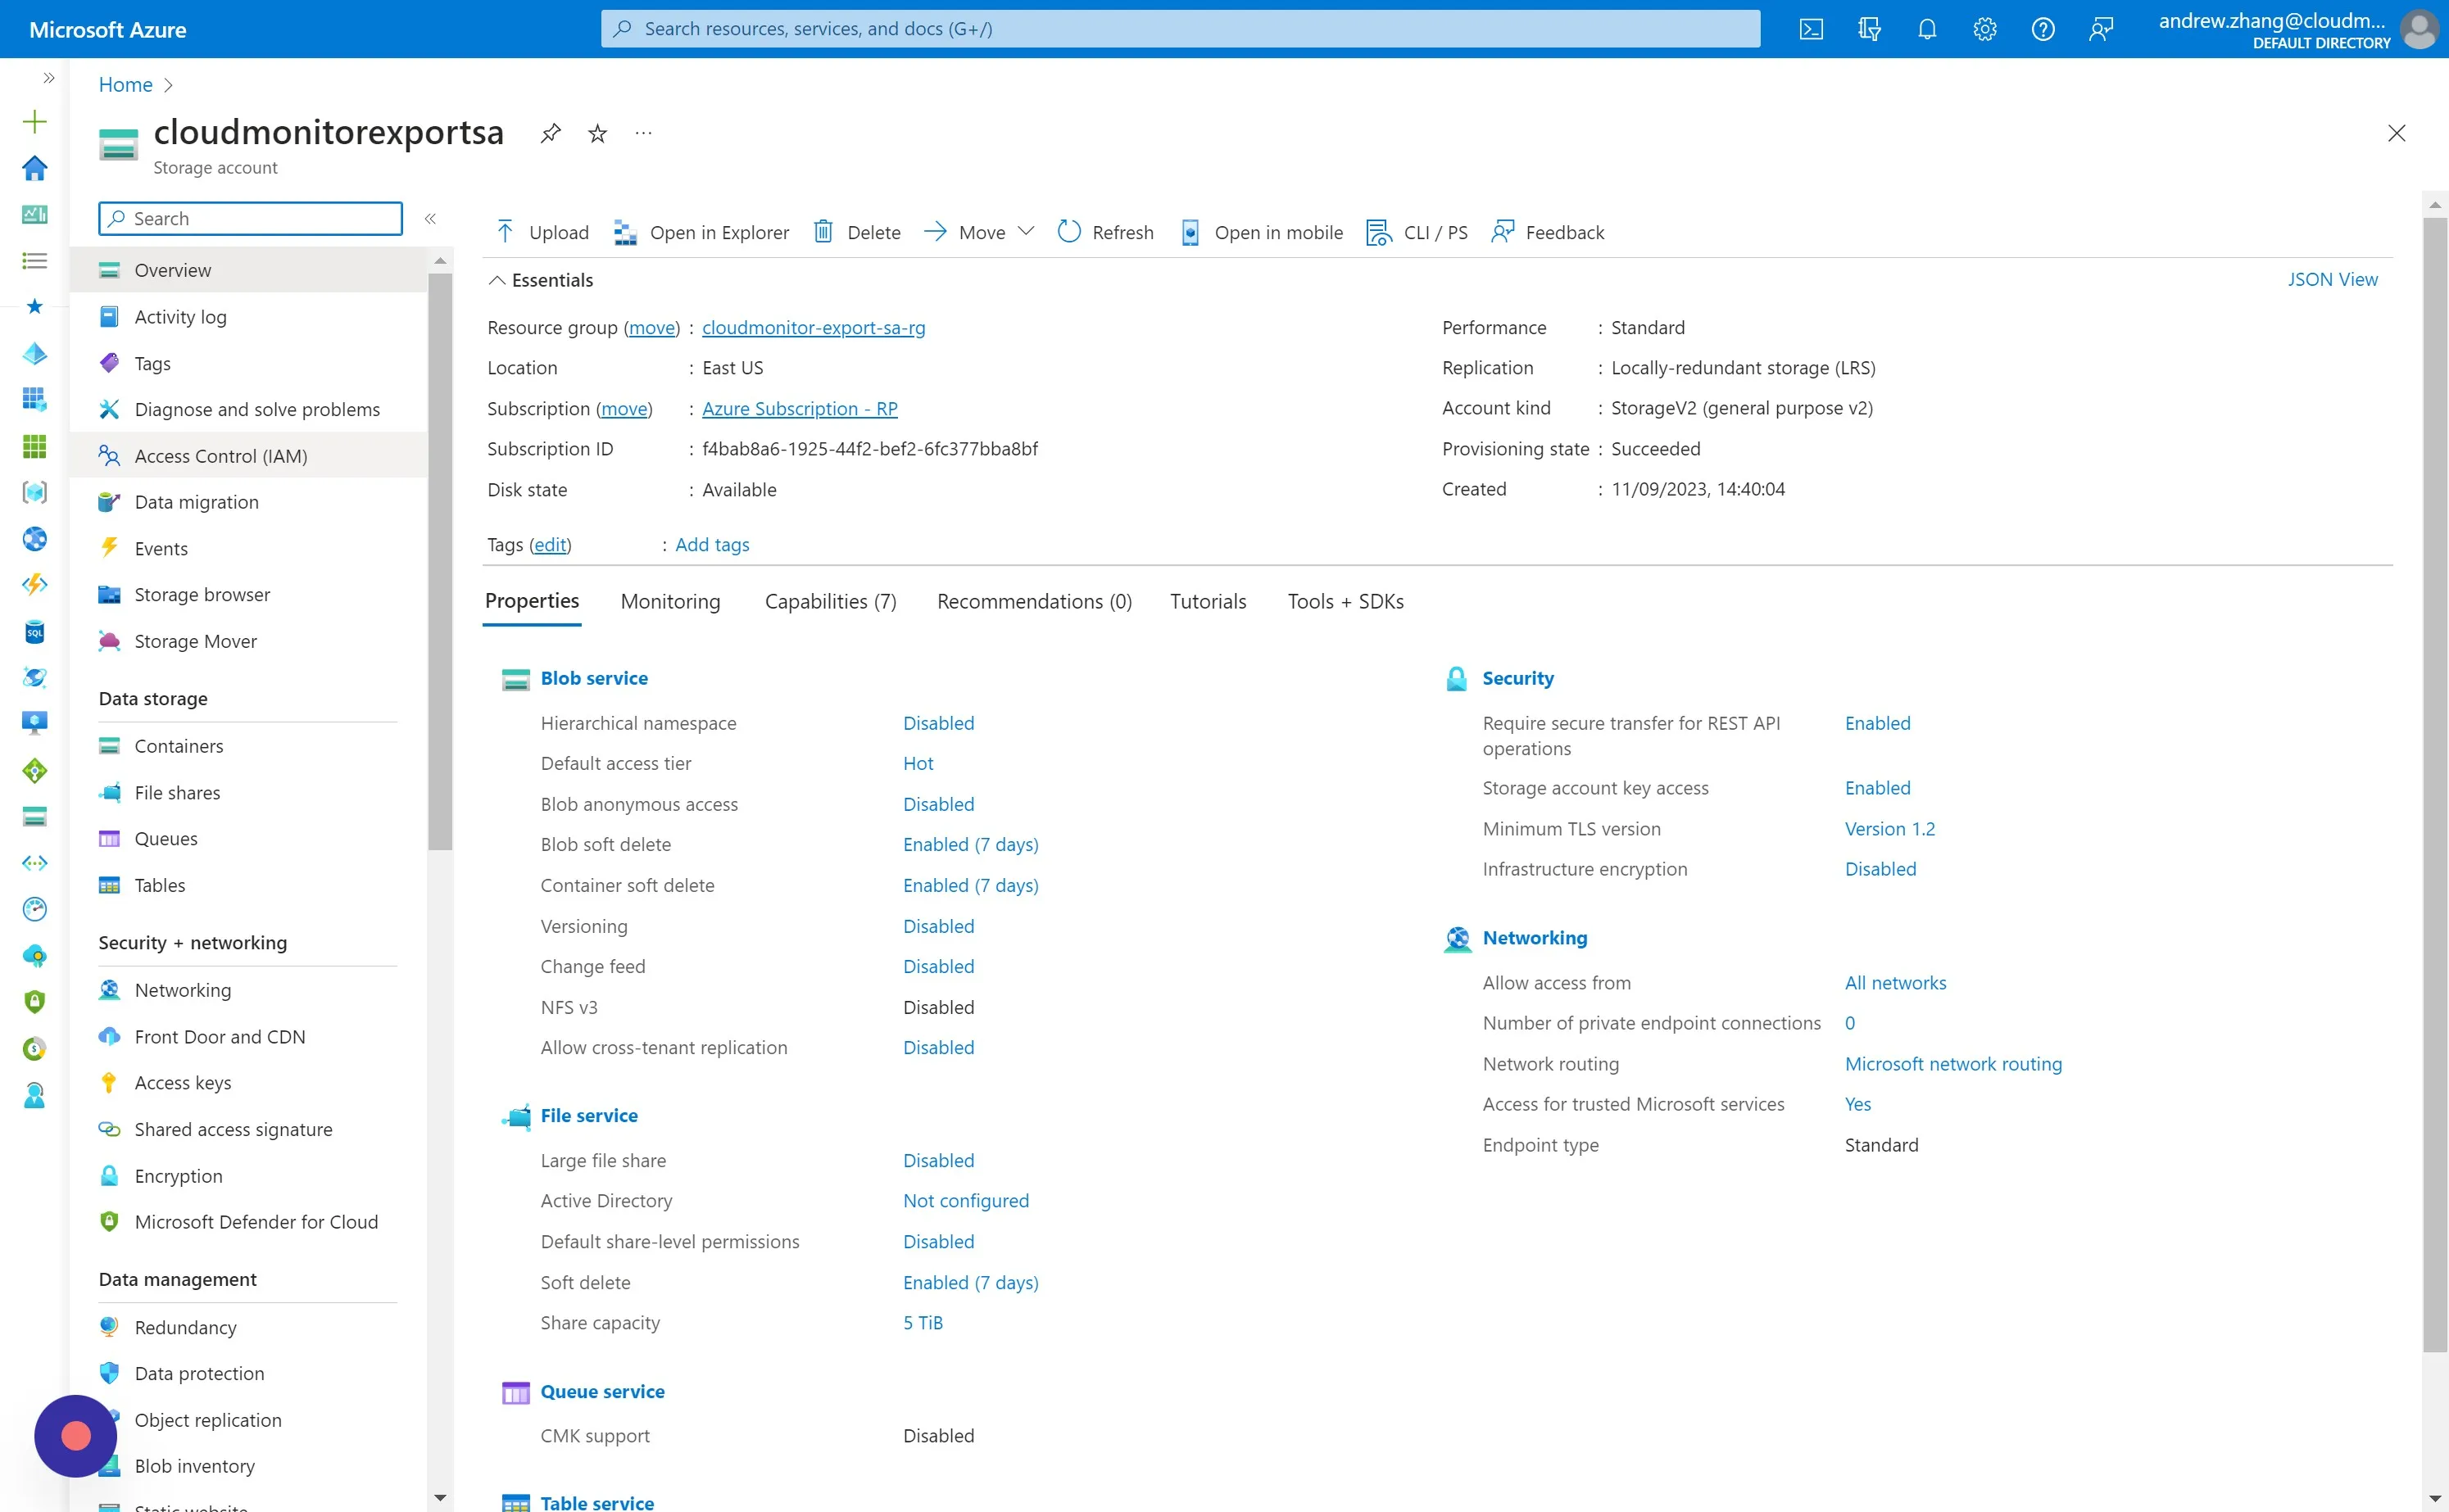
Step 13
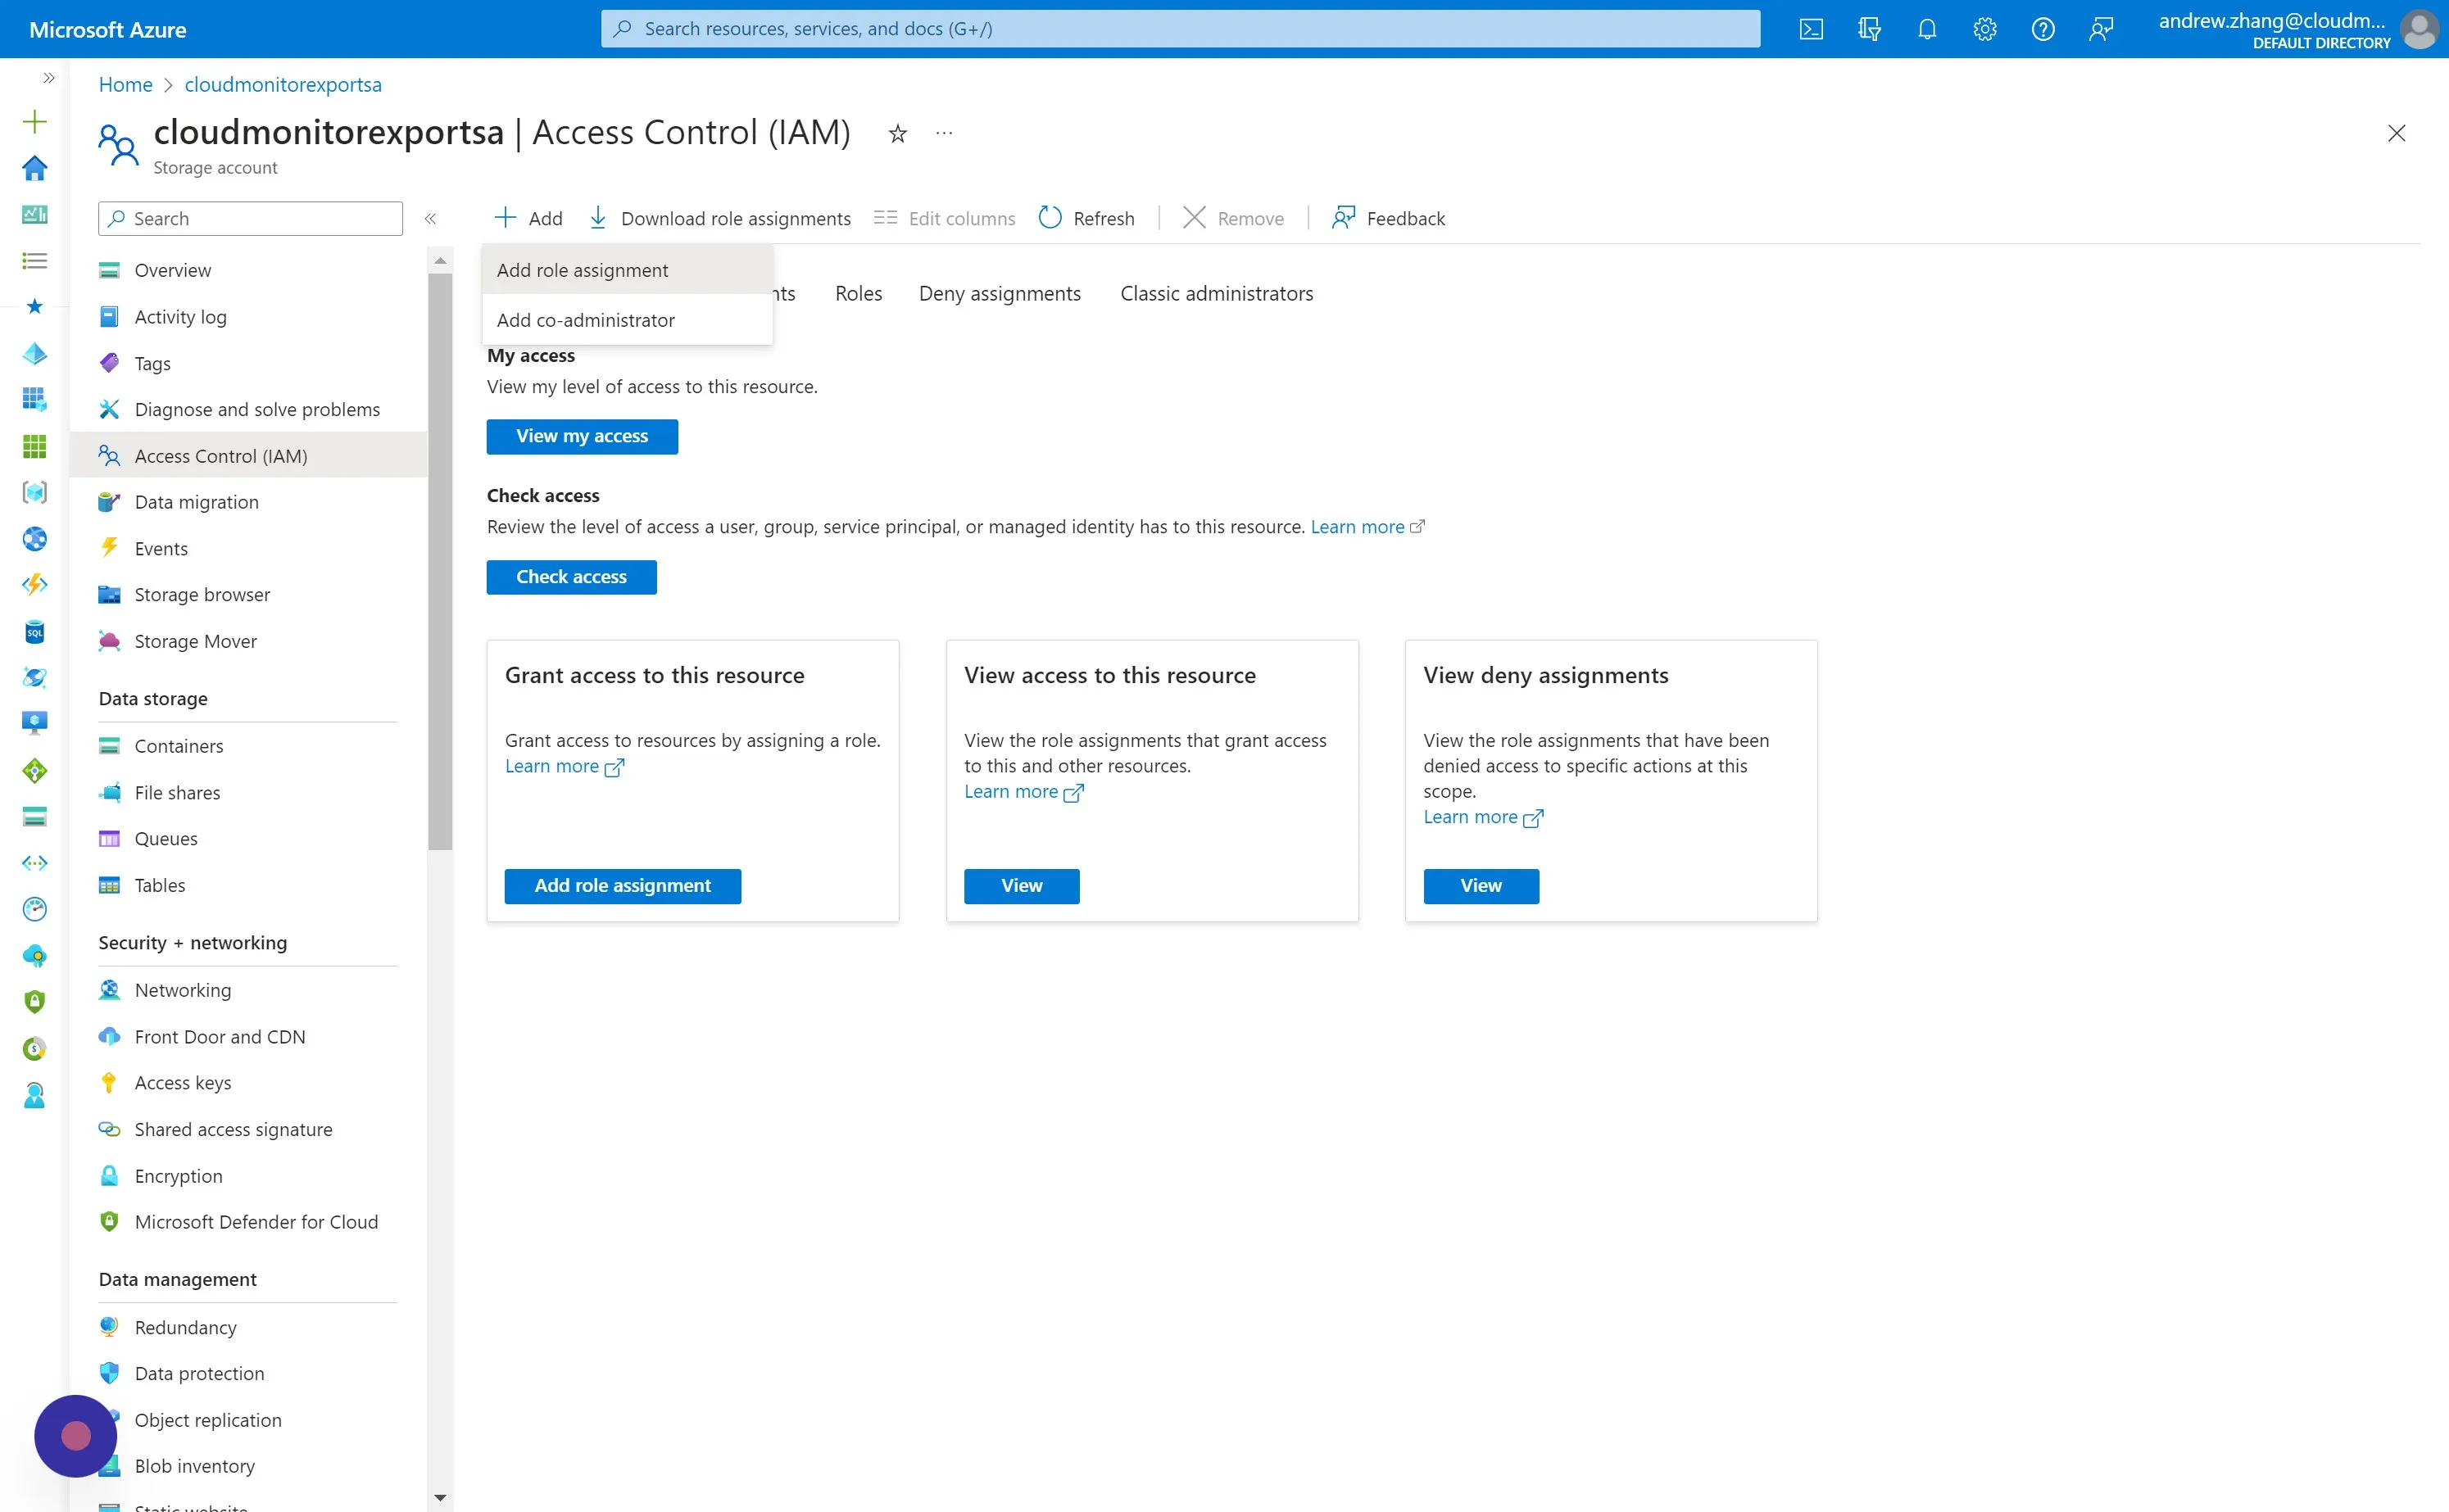
Section titled “Step 13”Navigate to Access Control (IAM) and click “Add > Add role assignment”.
Step 14
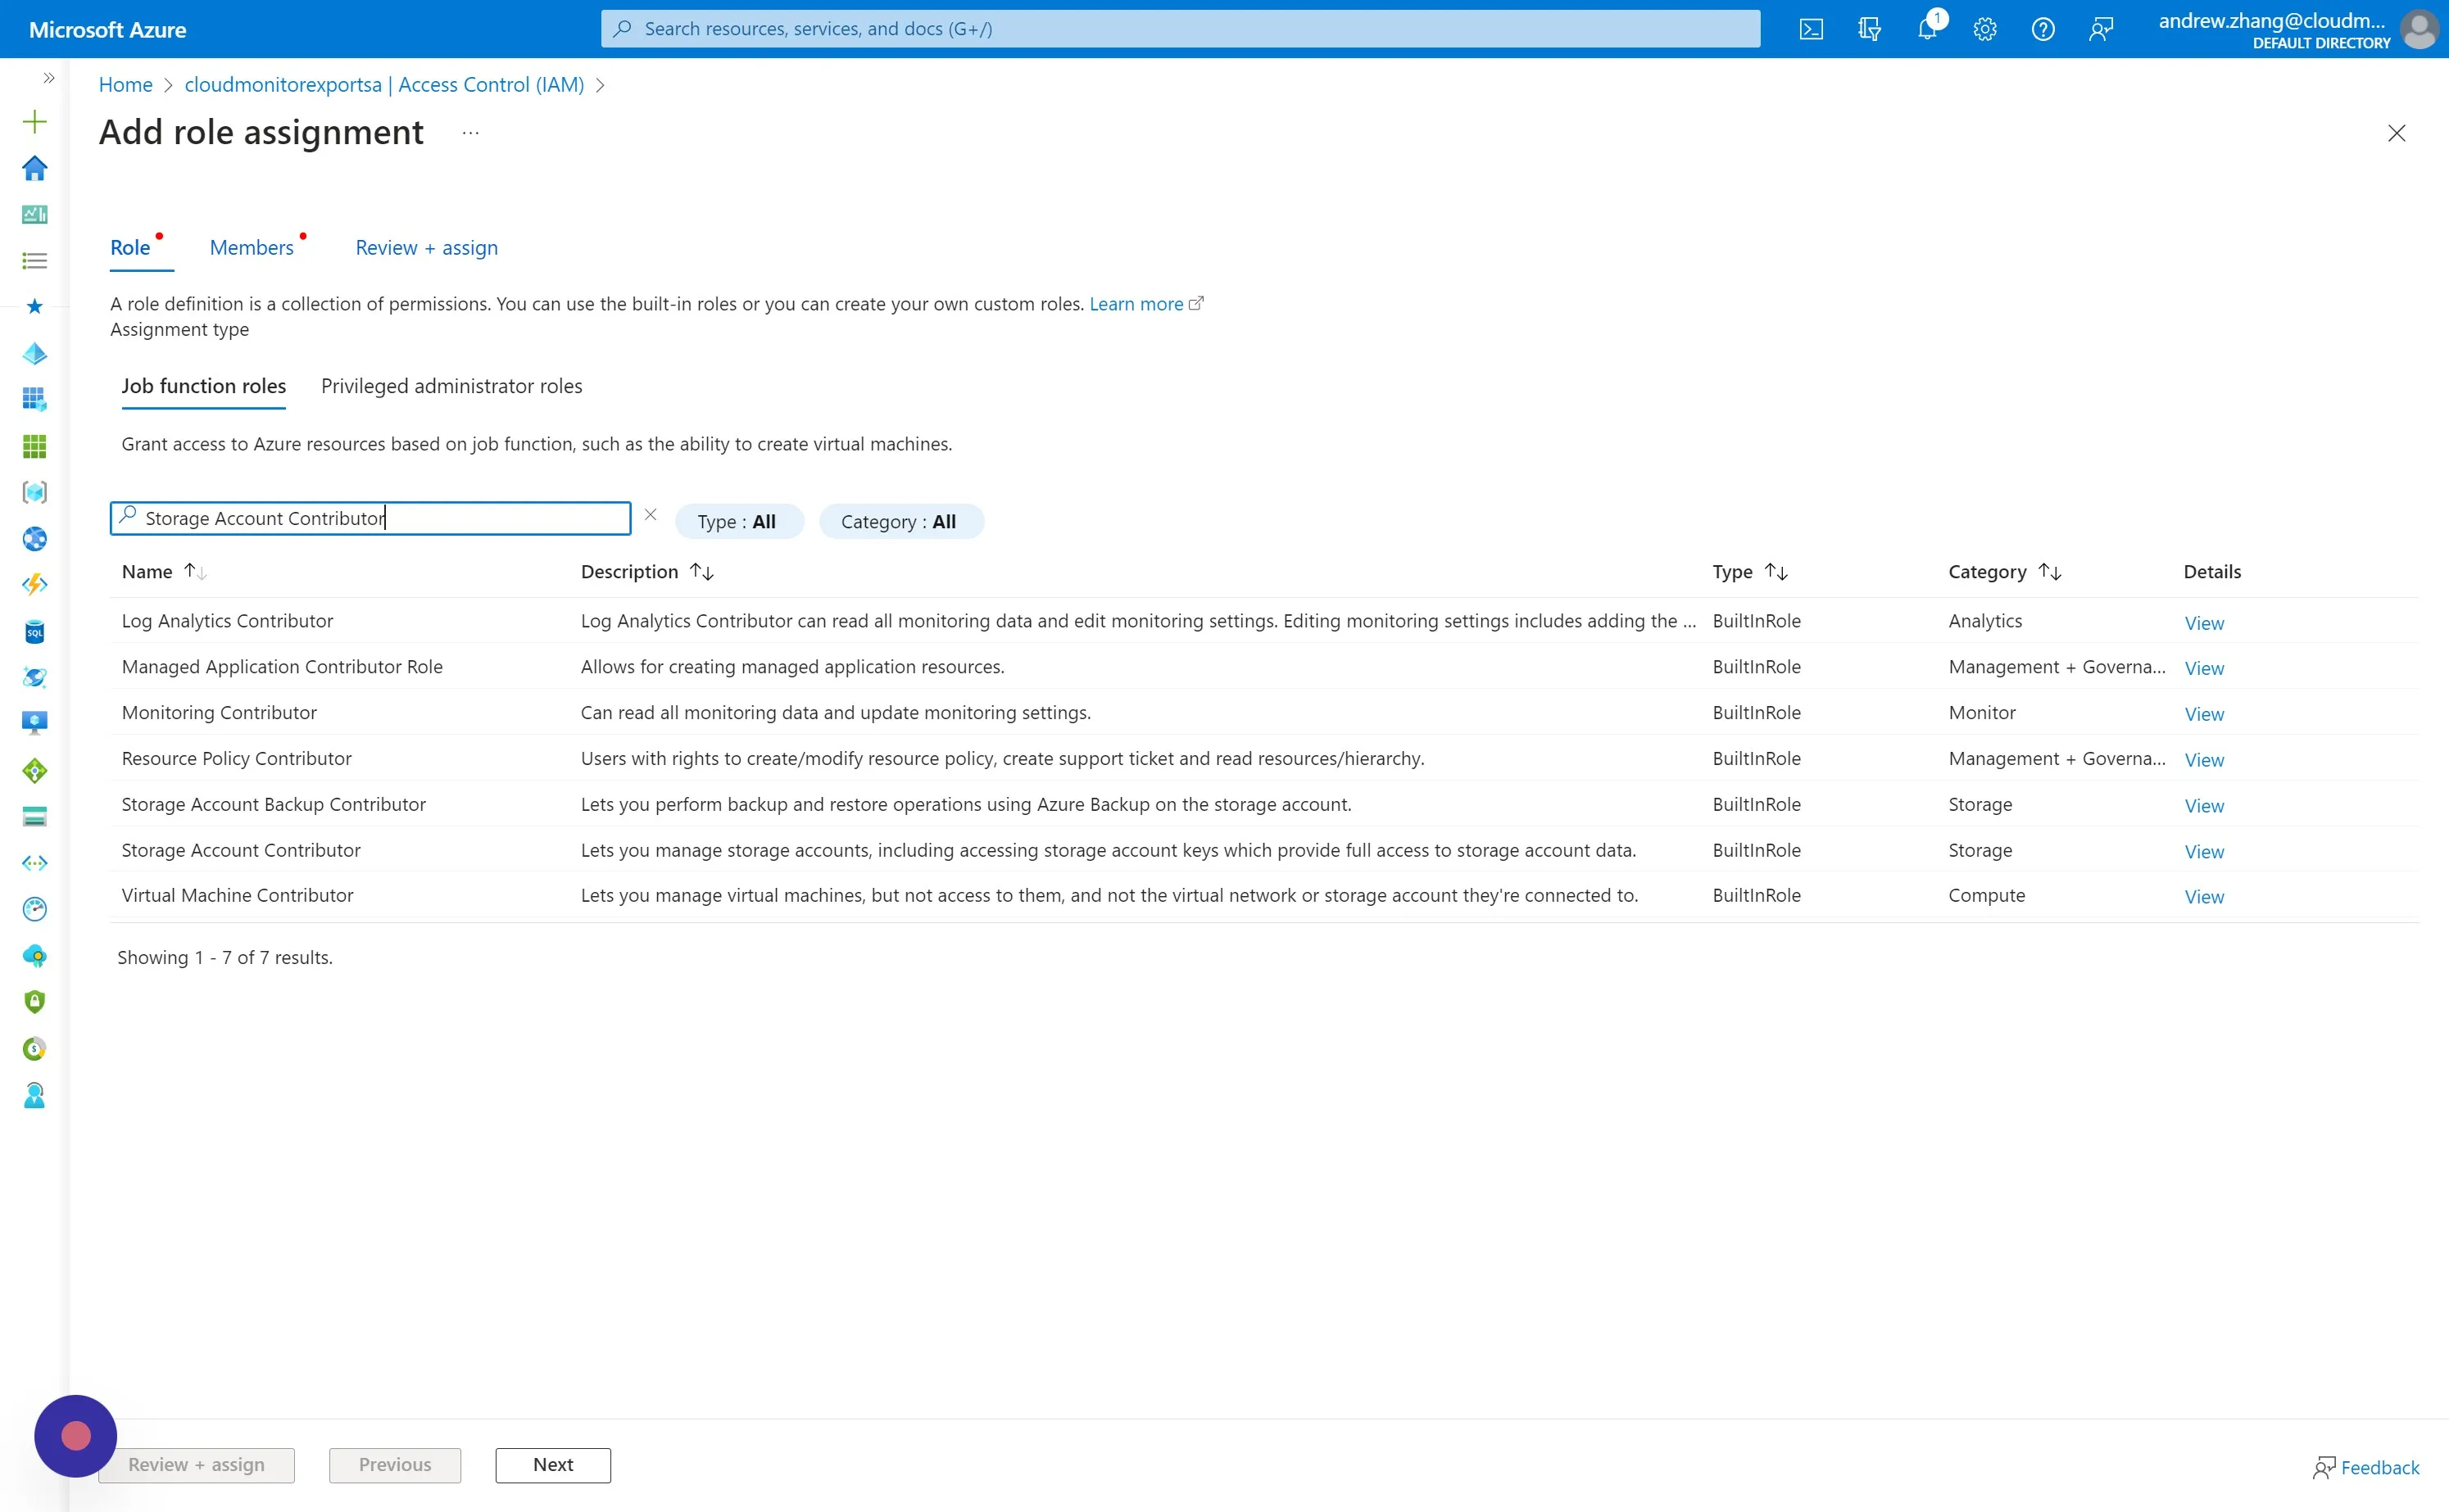
Section titled “Step 14”Under the Role tab, select “Storage Account Contributor” as the Role.
Step 15
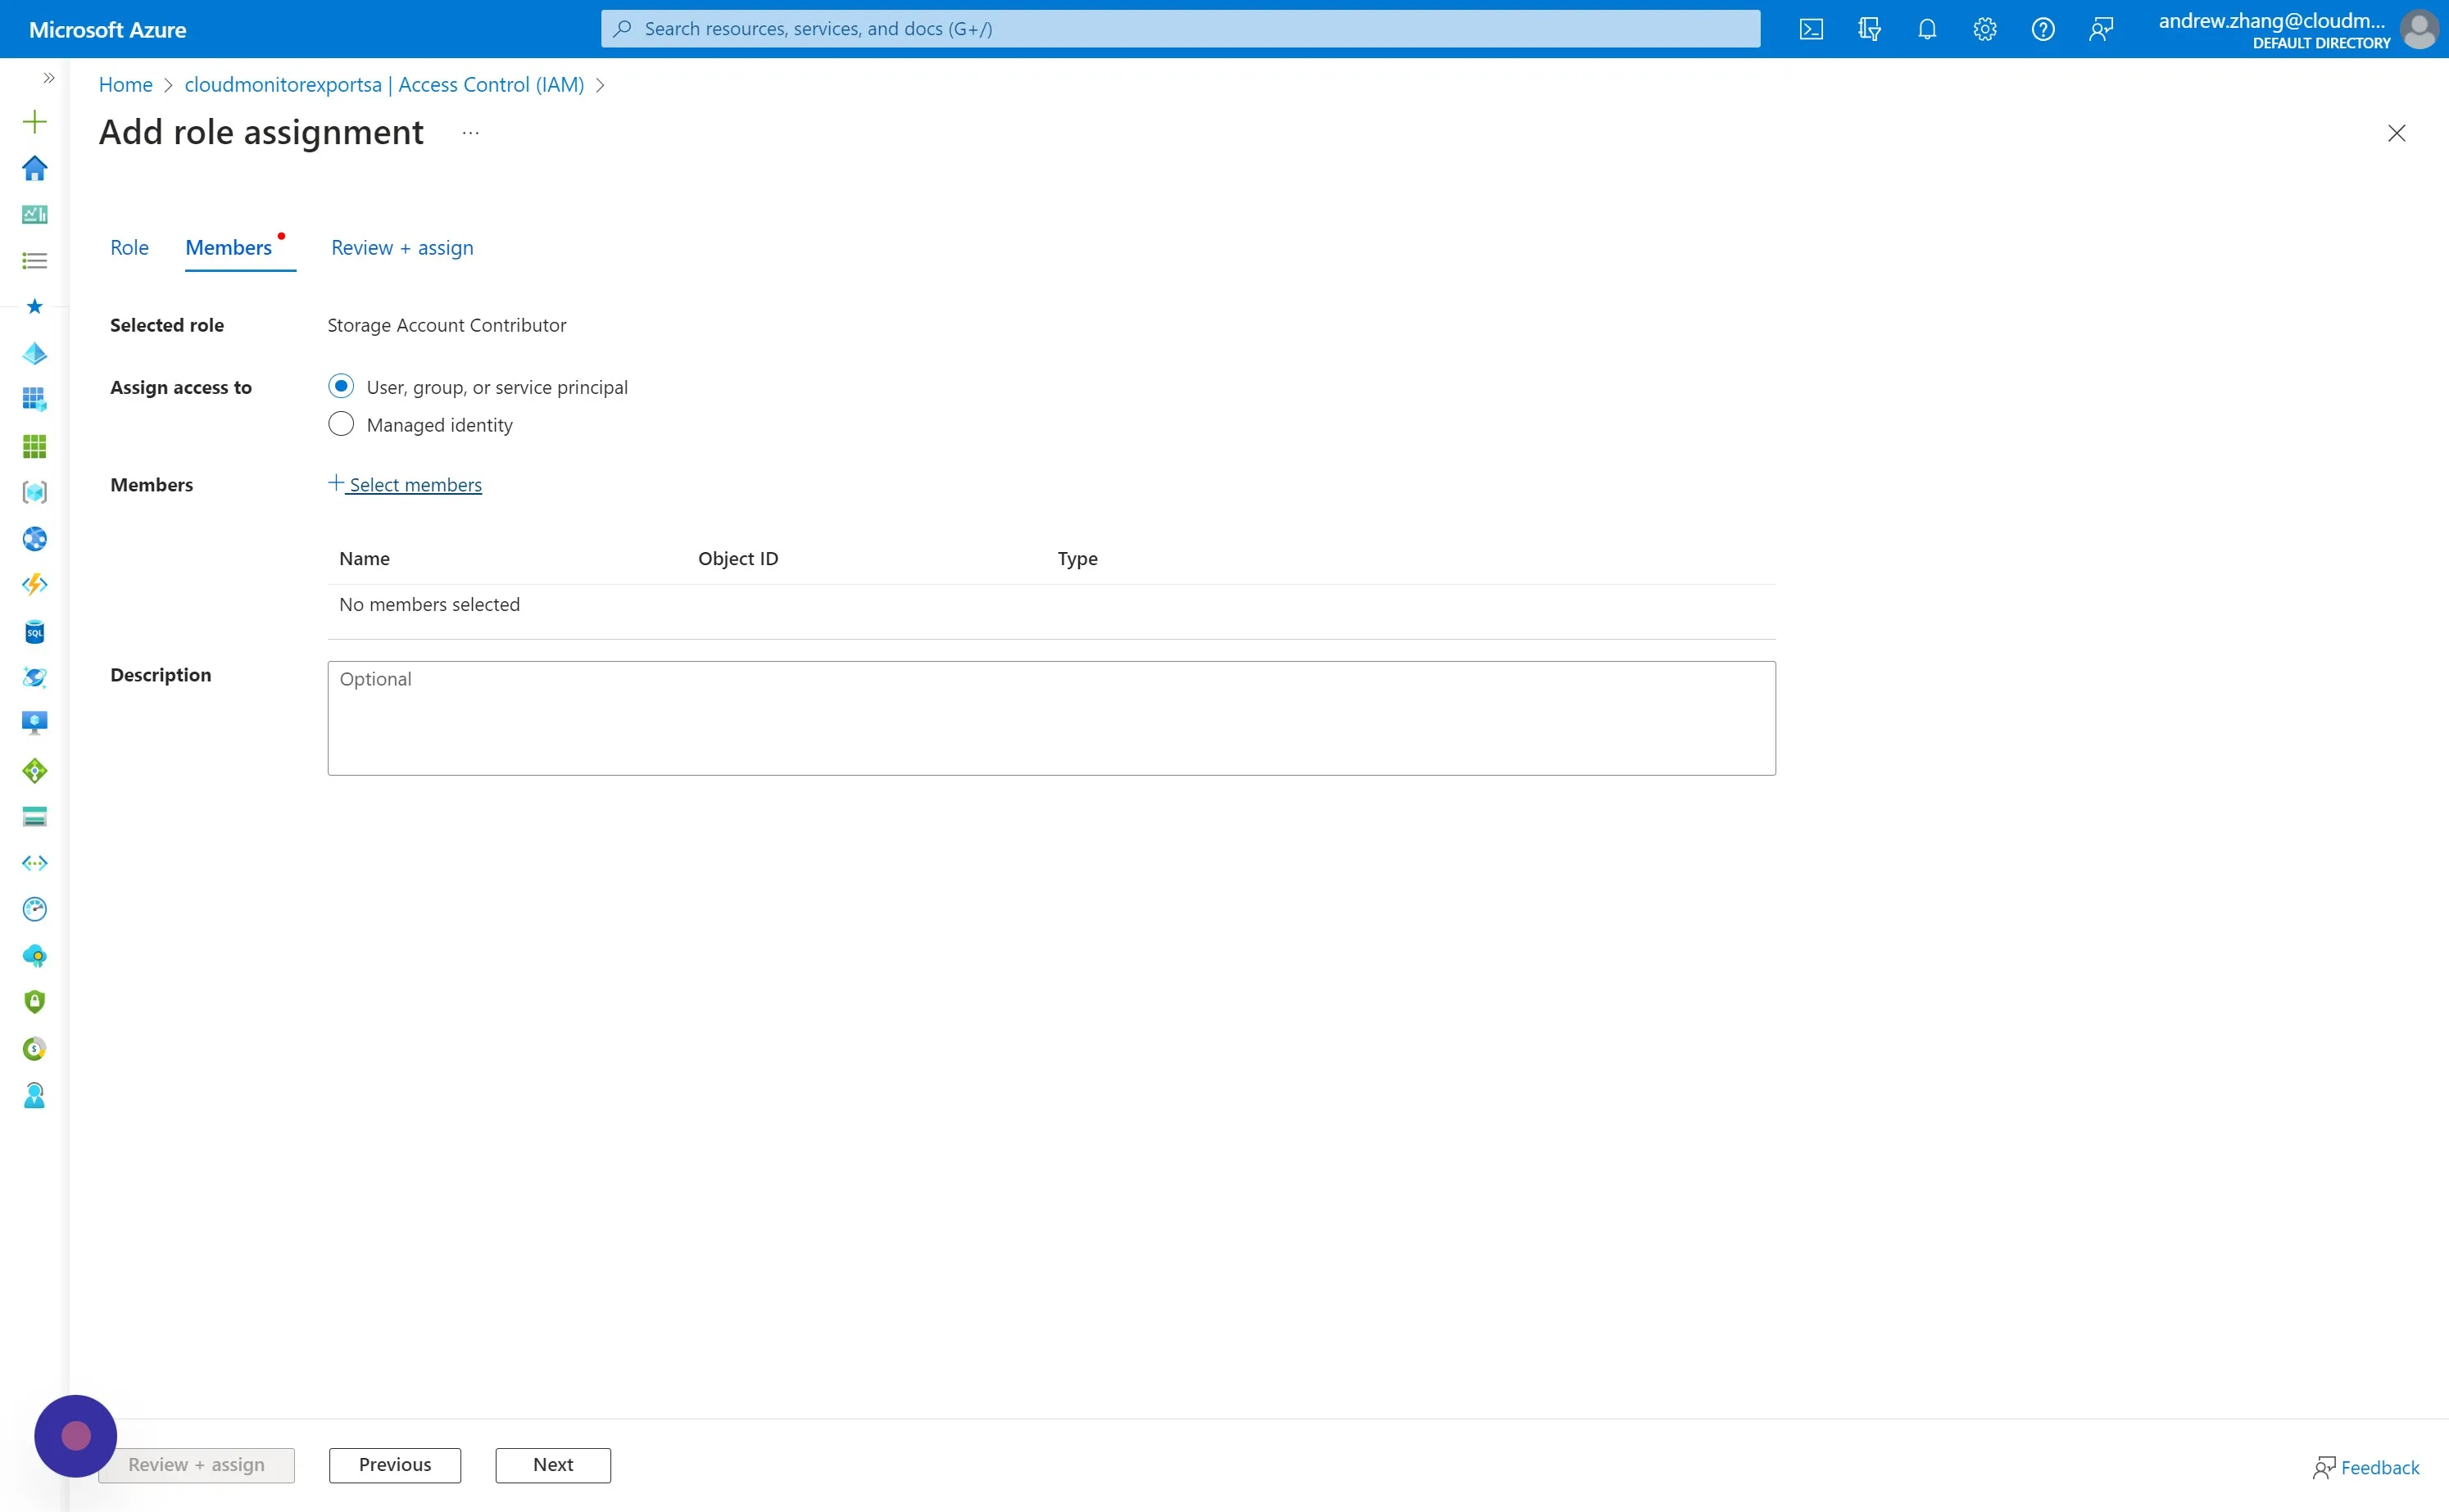
Section titled “Step 15”Switch to the Members tab, and click “Select members”.
Step 16
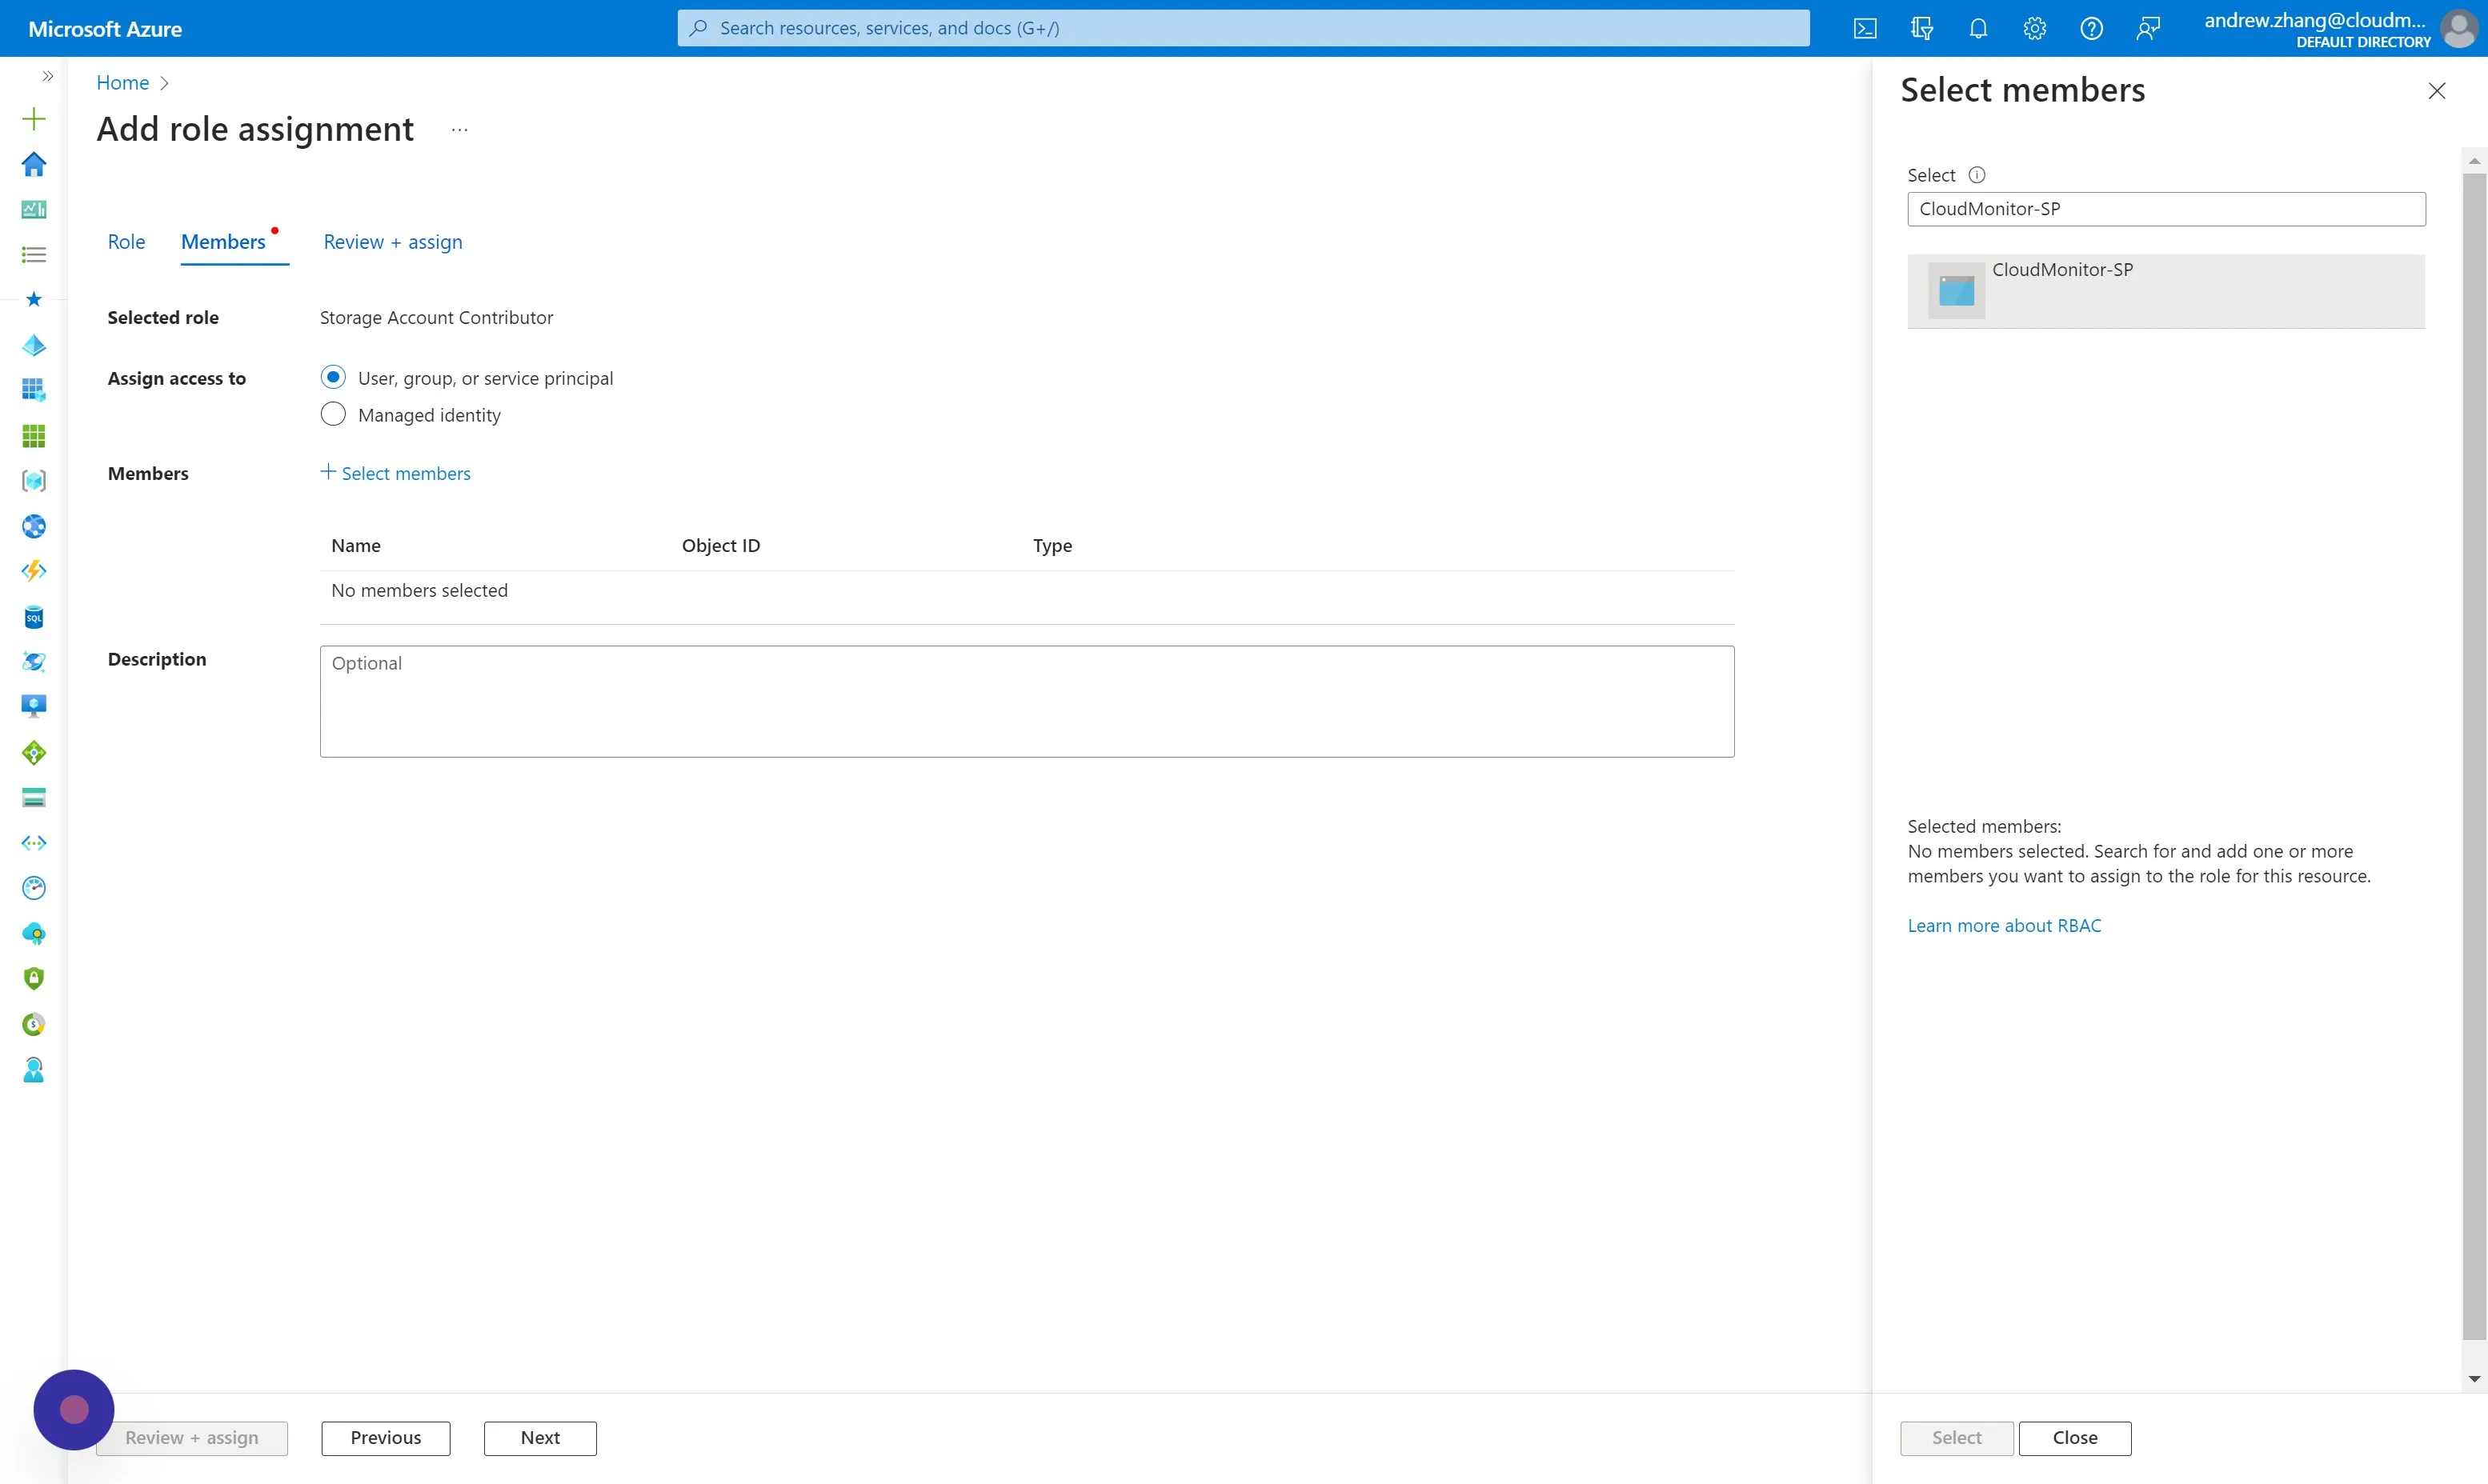
Section titled “Step 16”Search and select your CloudMonitor Service Principal name.
Step 17
Section titled “Step 17”Switch to the Review + assign tab and “Review + assign”.
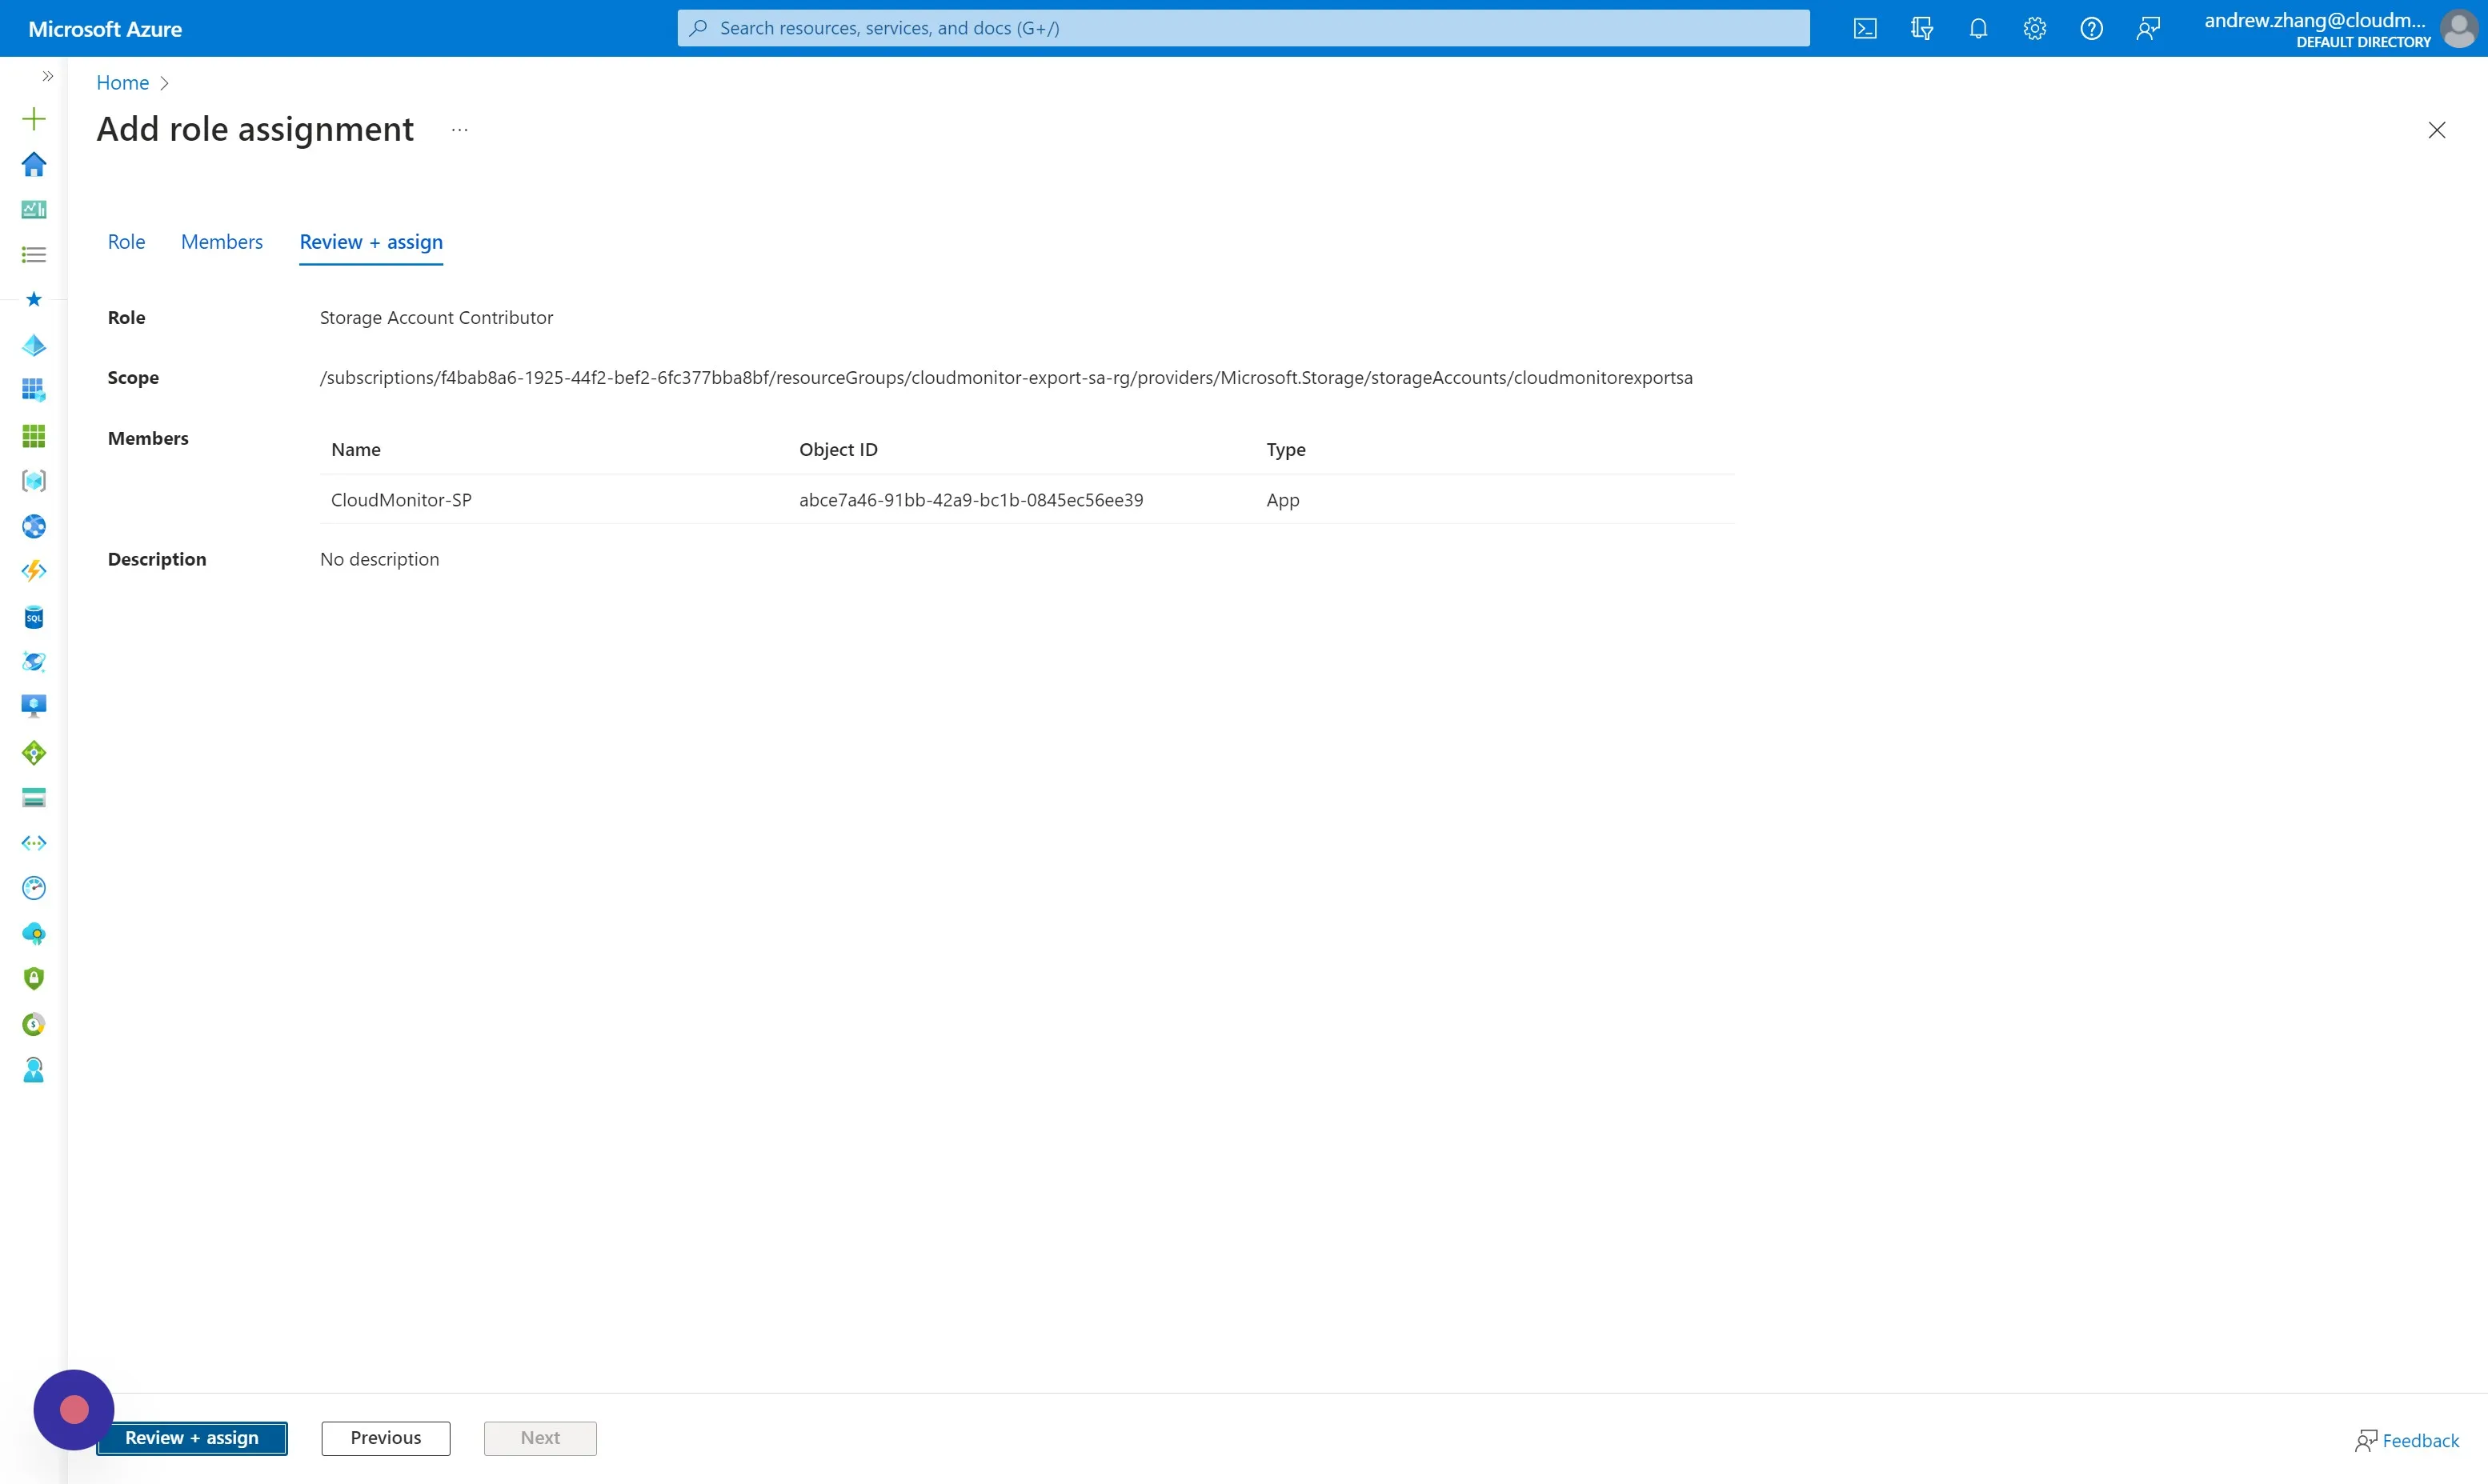
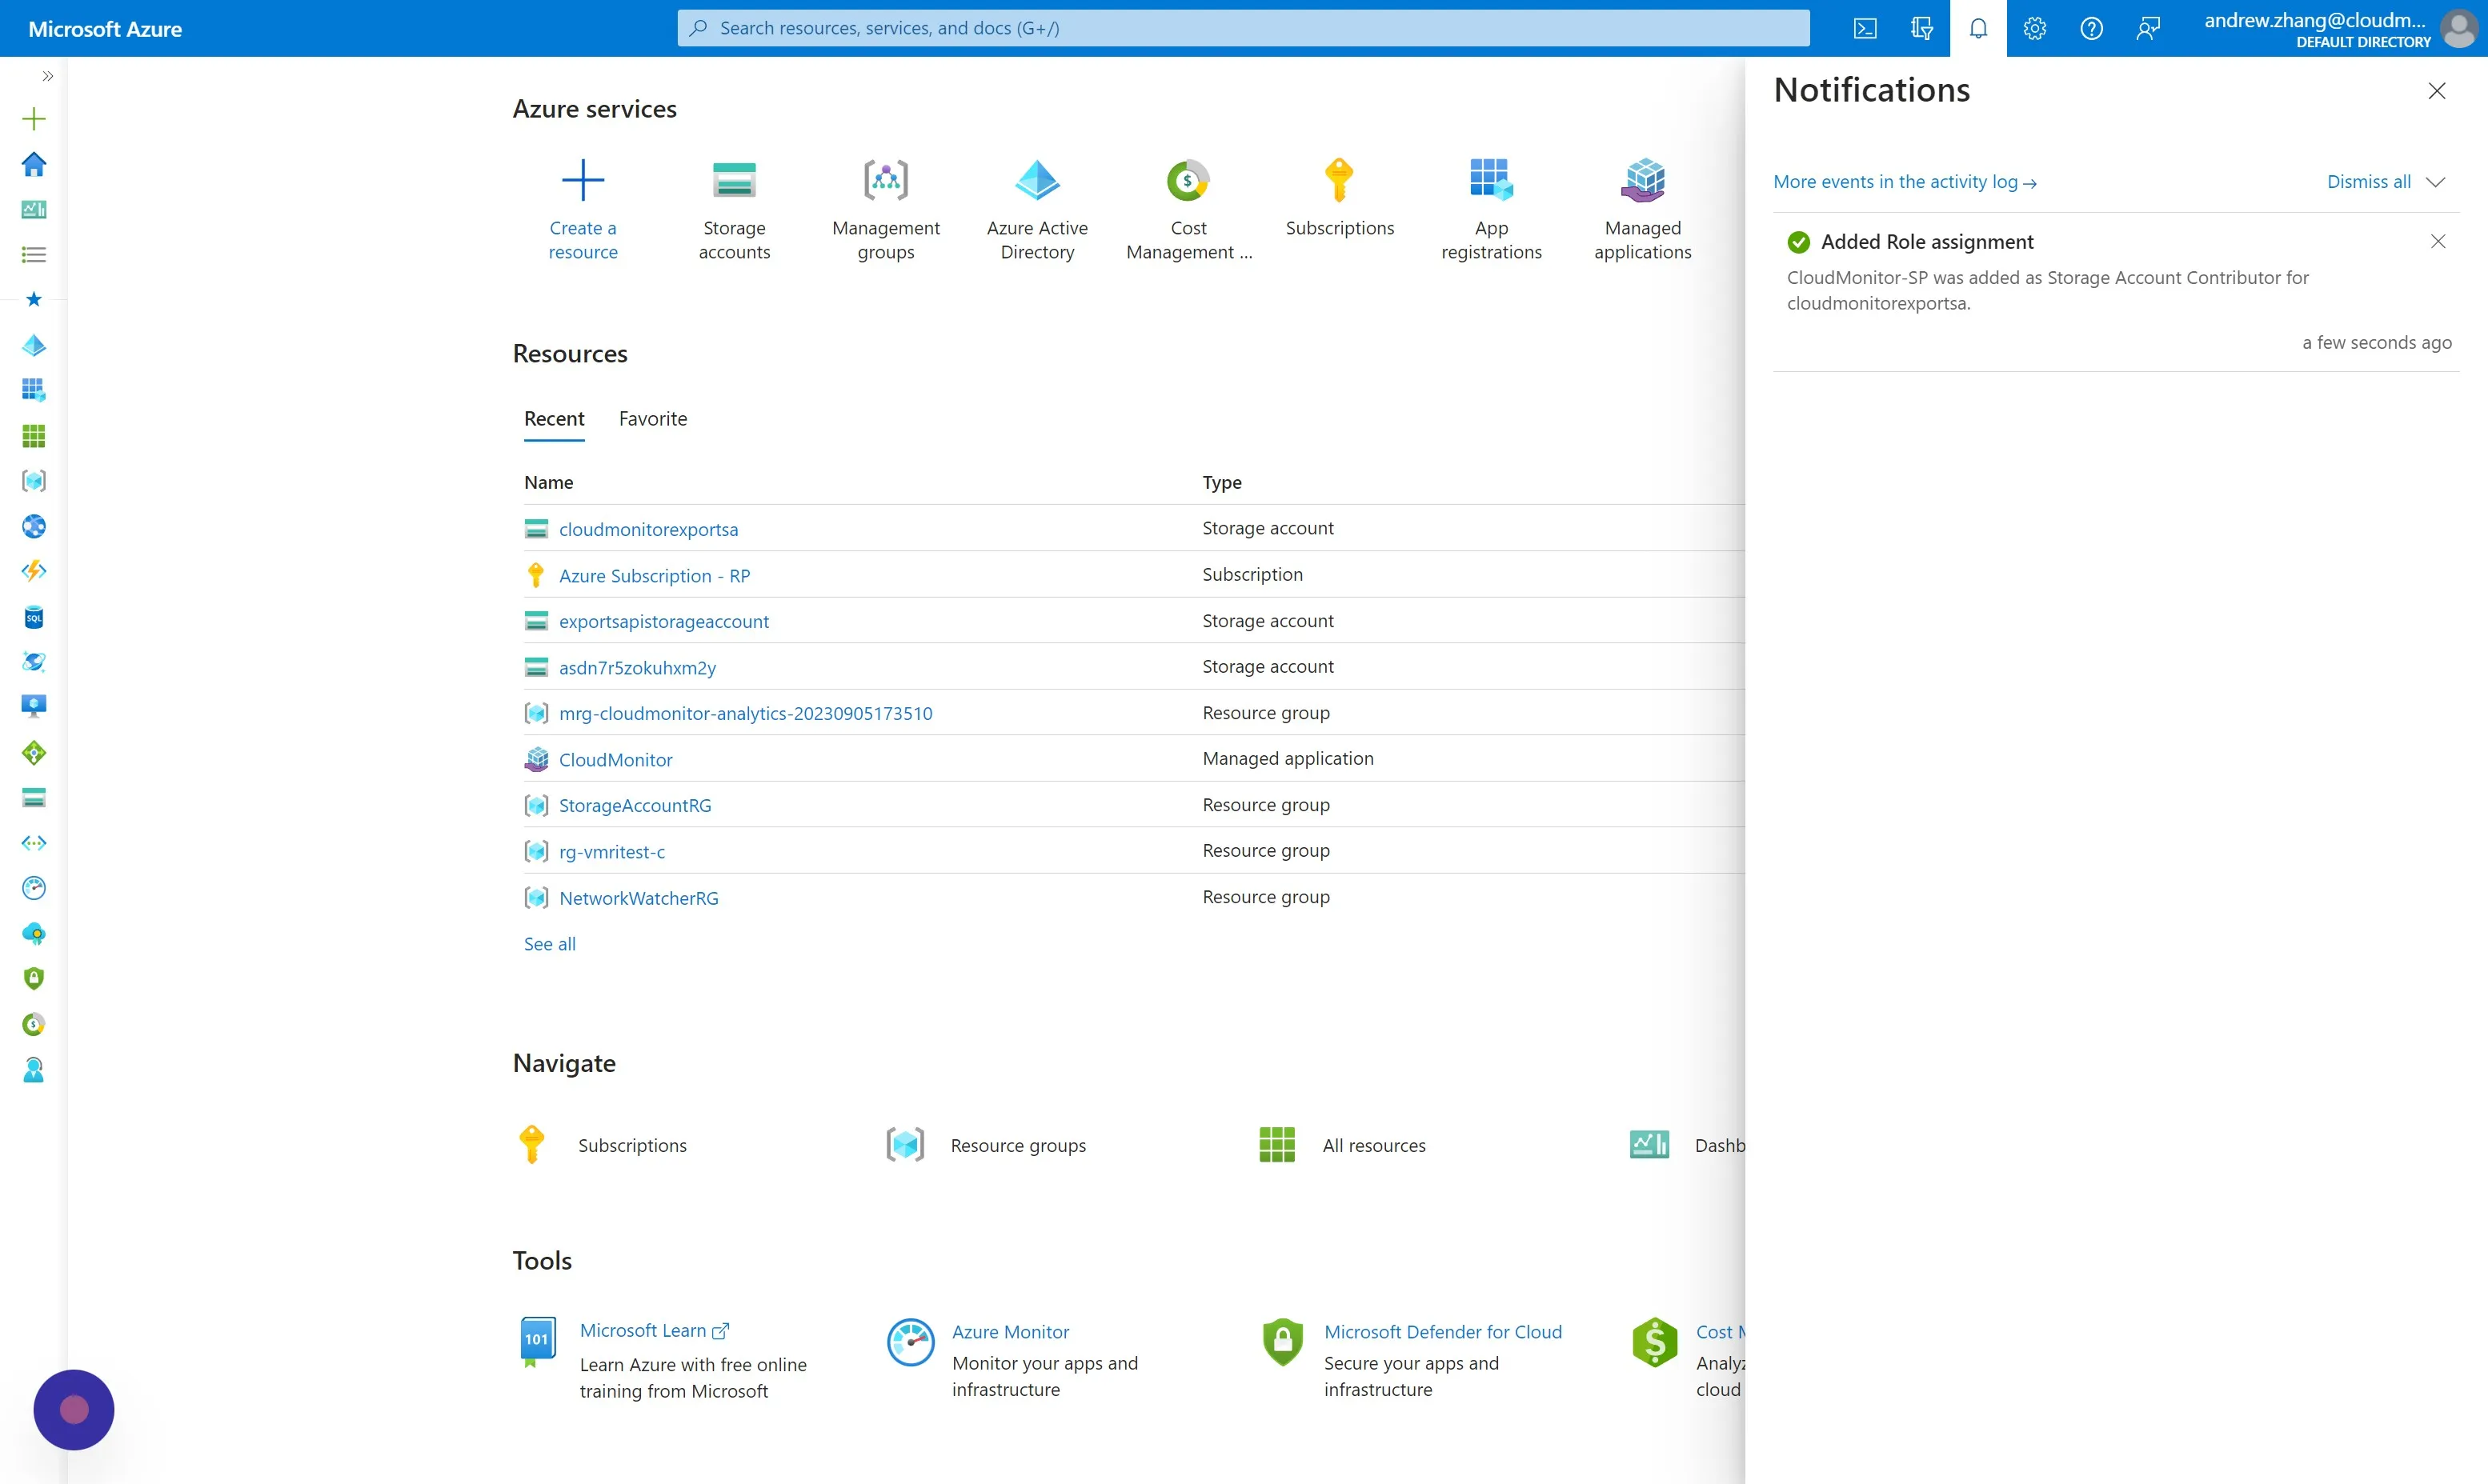
Step 18
Section titled “Step 18”You will receive a notification for successfully assigning the “Storage Account Contributor” role.
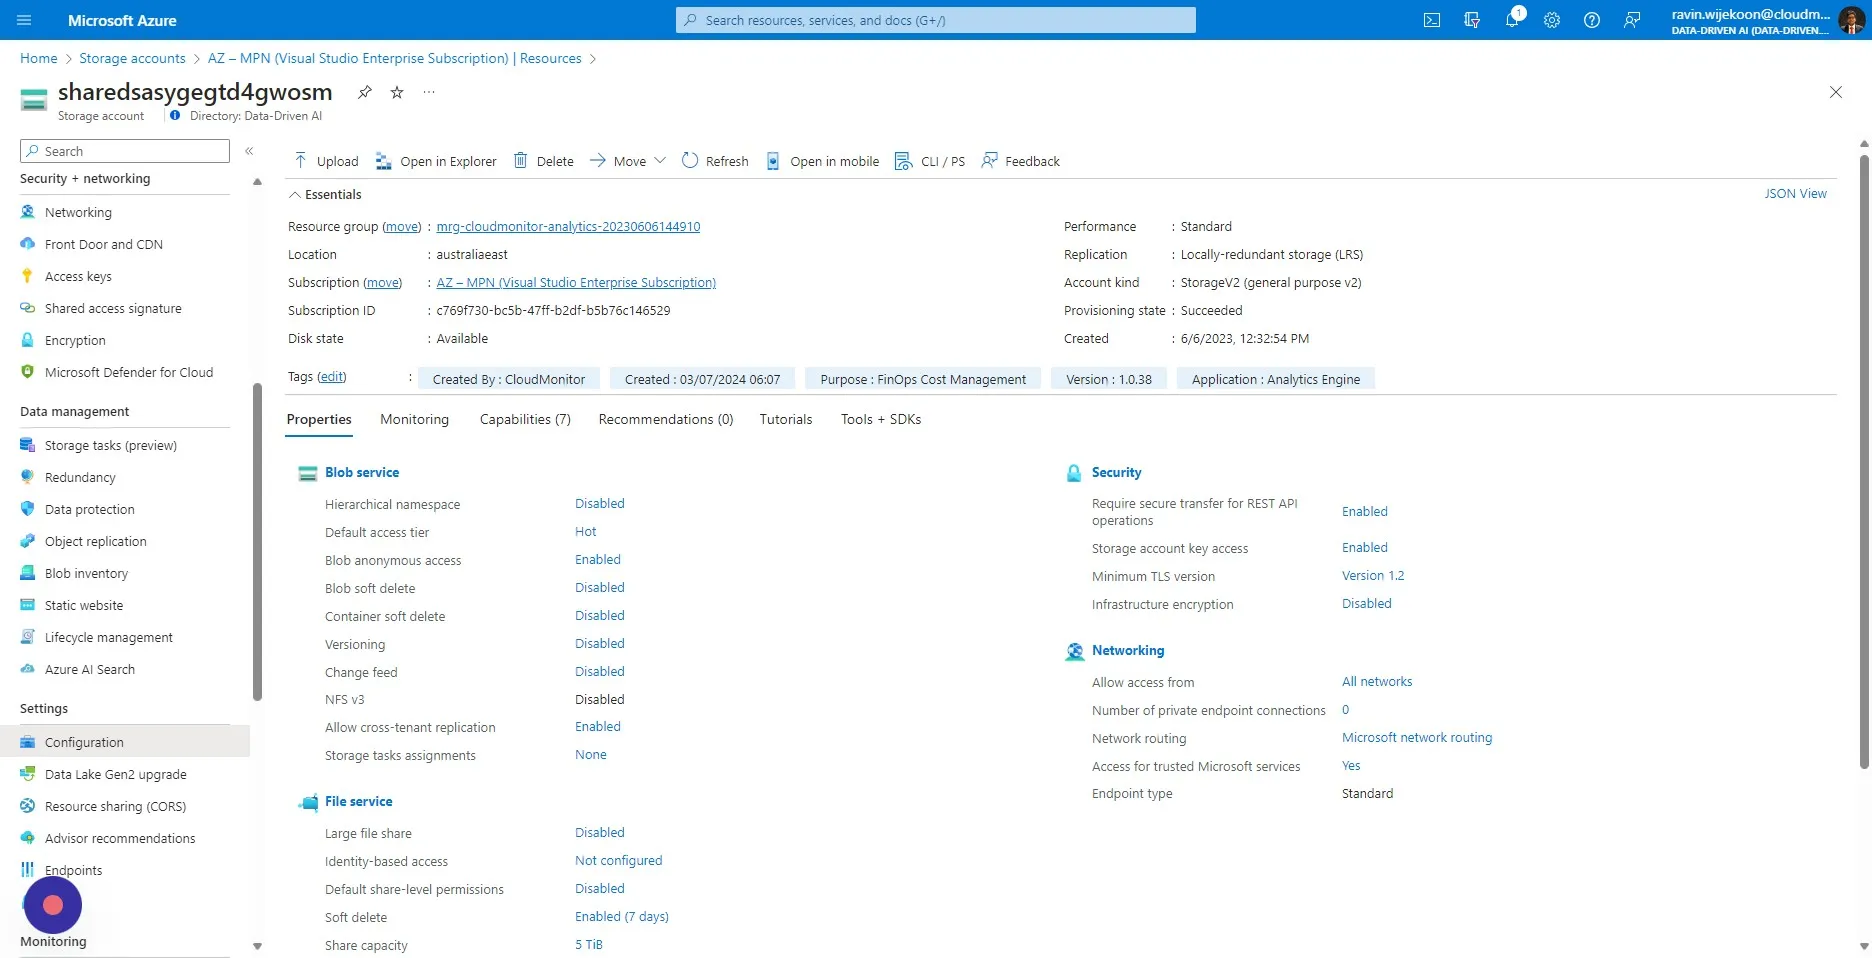
Step 19
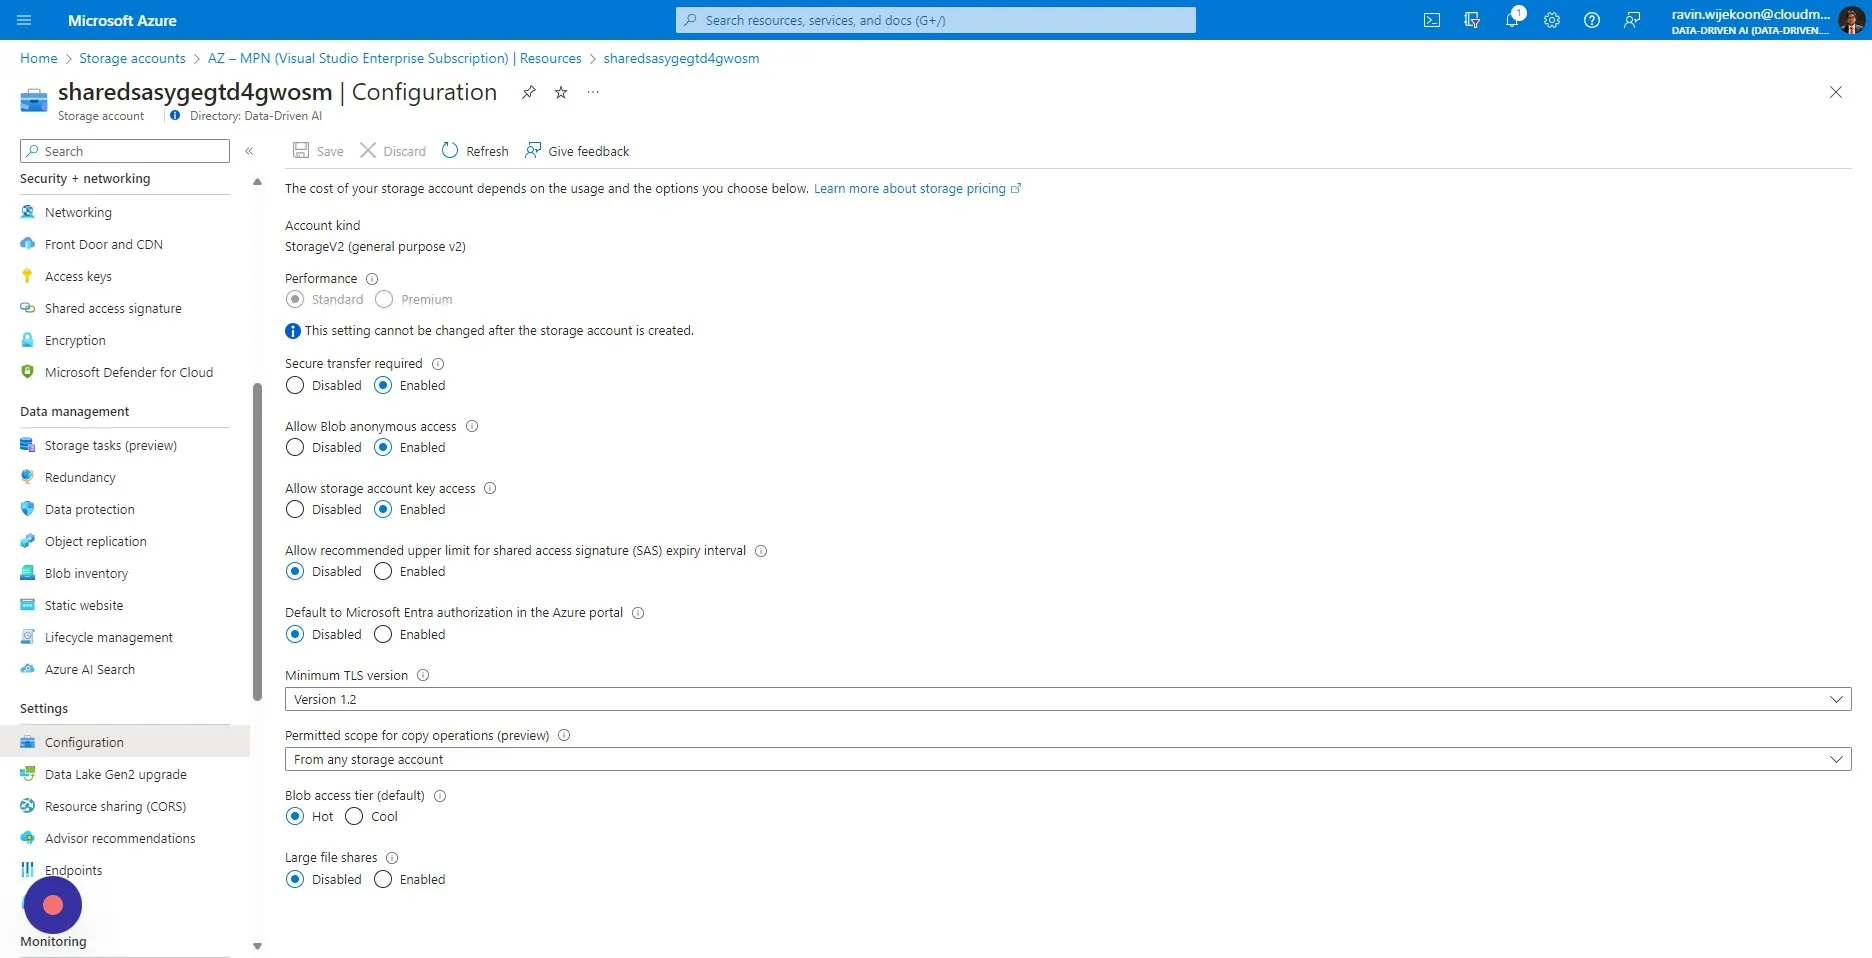
Section titled “Step 19”Navigate to the Storage Account and Click “Configuration”
Step 20
Section titled “Step 20”Expand the drop down of “Permitted Scope for Copy Operation” and Click “From any storage account”
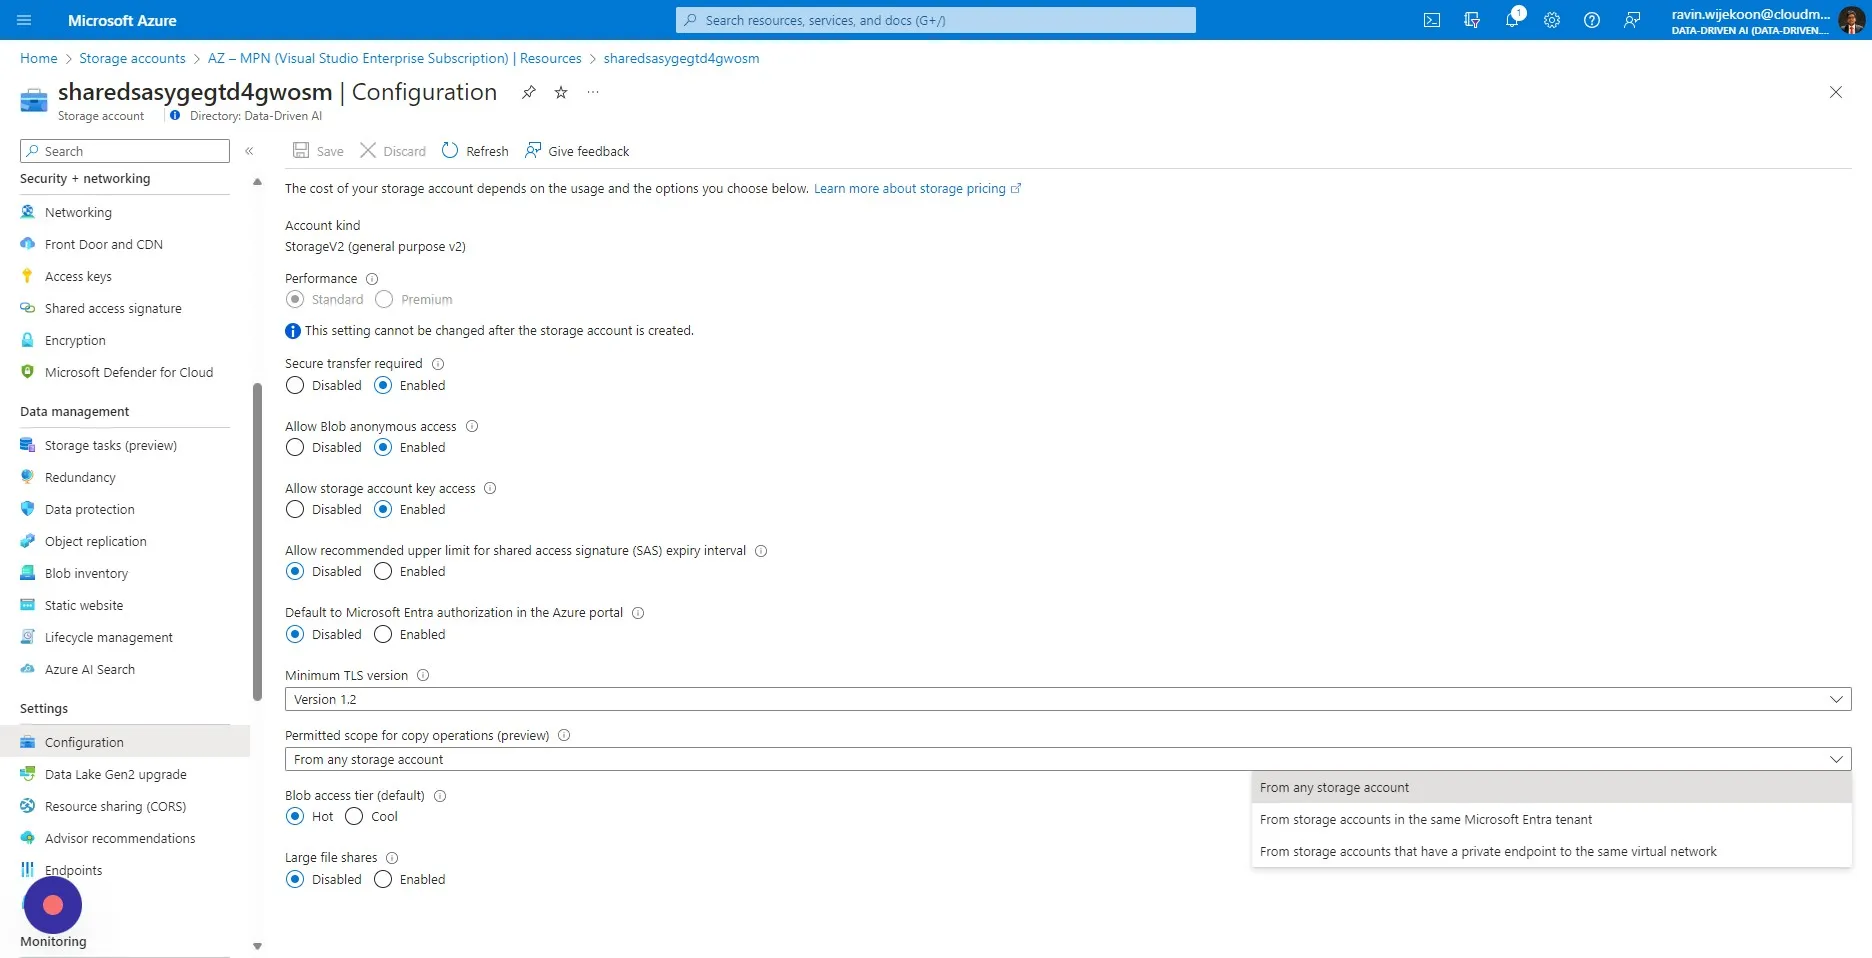
Step 21
Section titled “Step 21”Click “Save”.
Step 22
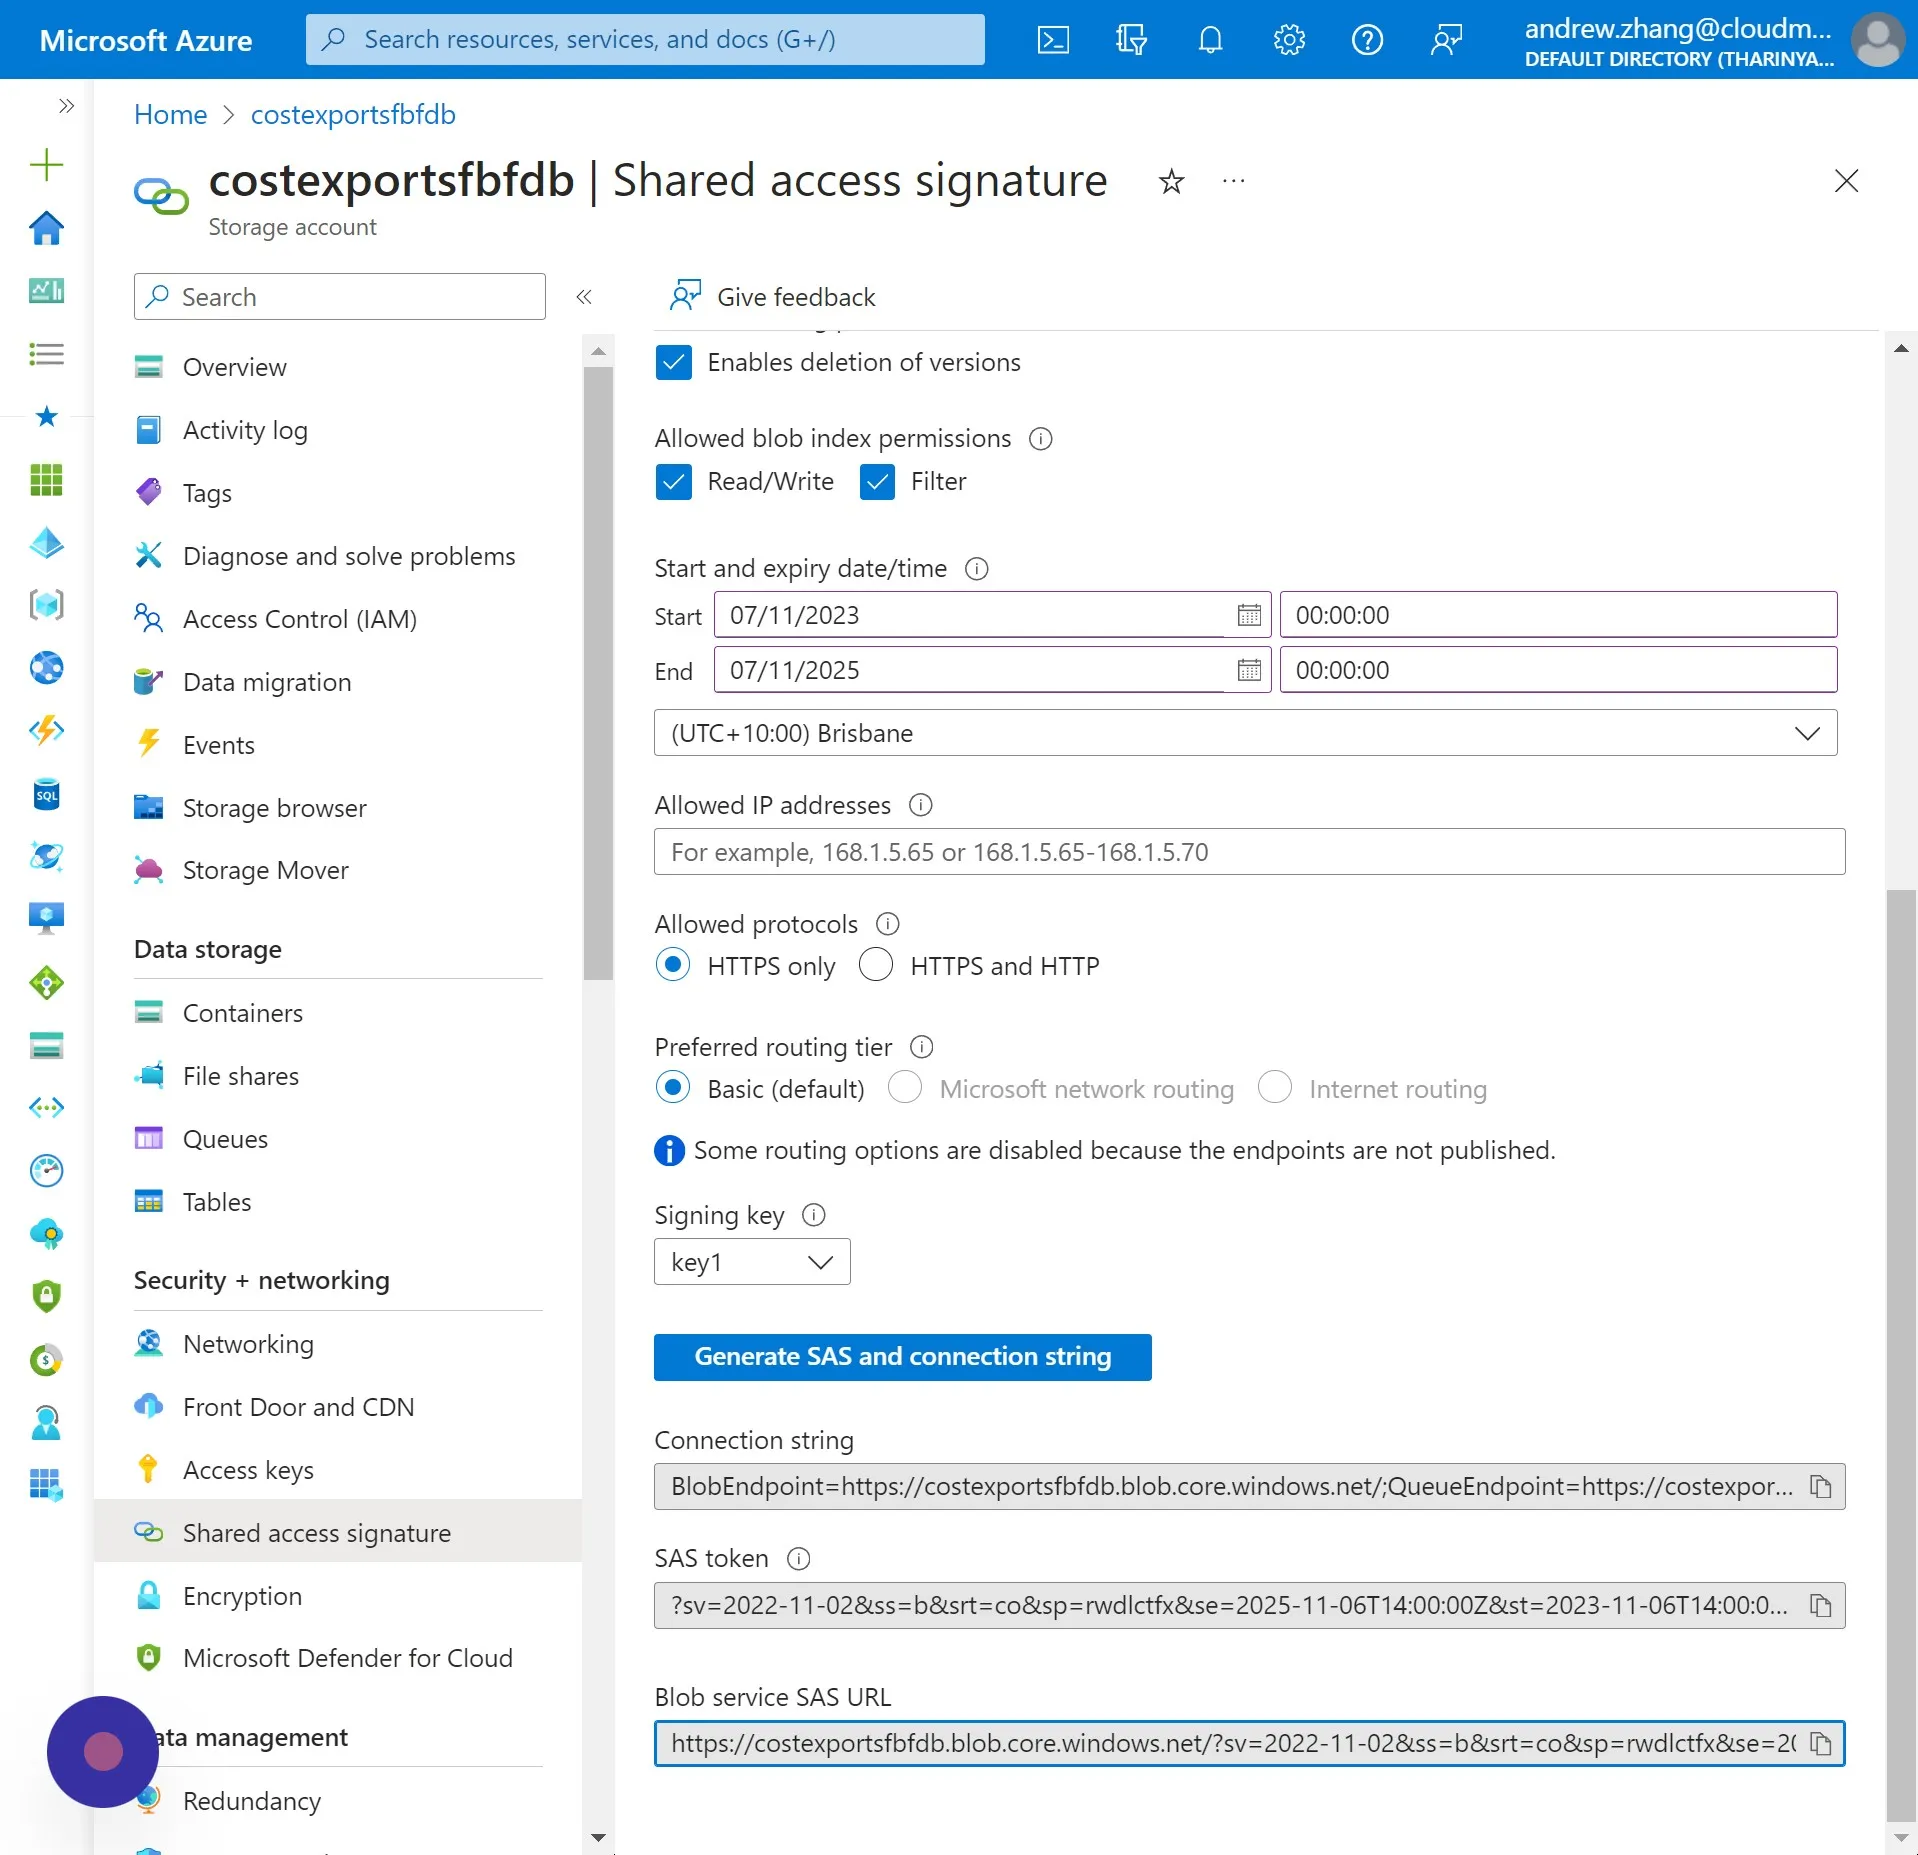
Section titled “Step 22”On the same Storage Account Resource, click “Shared access signature”.
Step 23
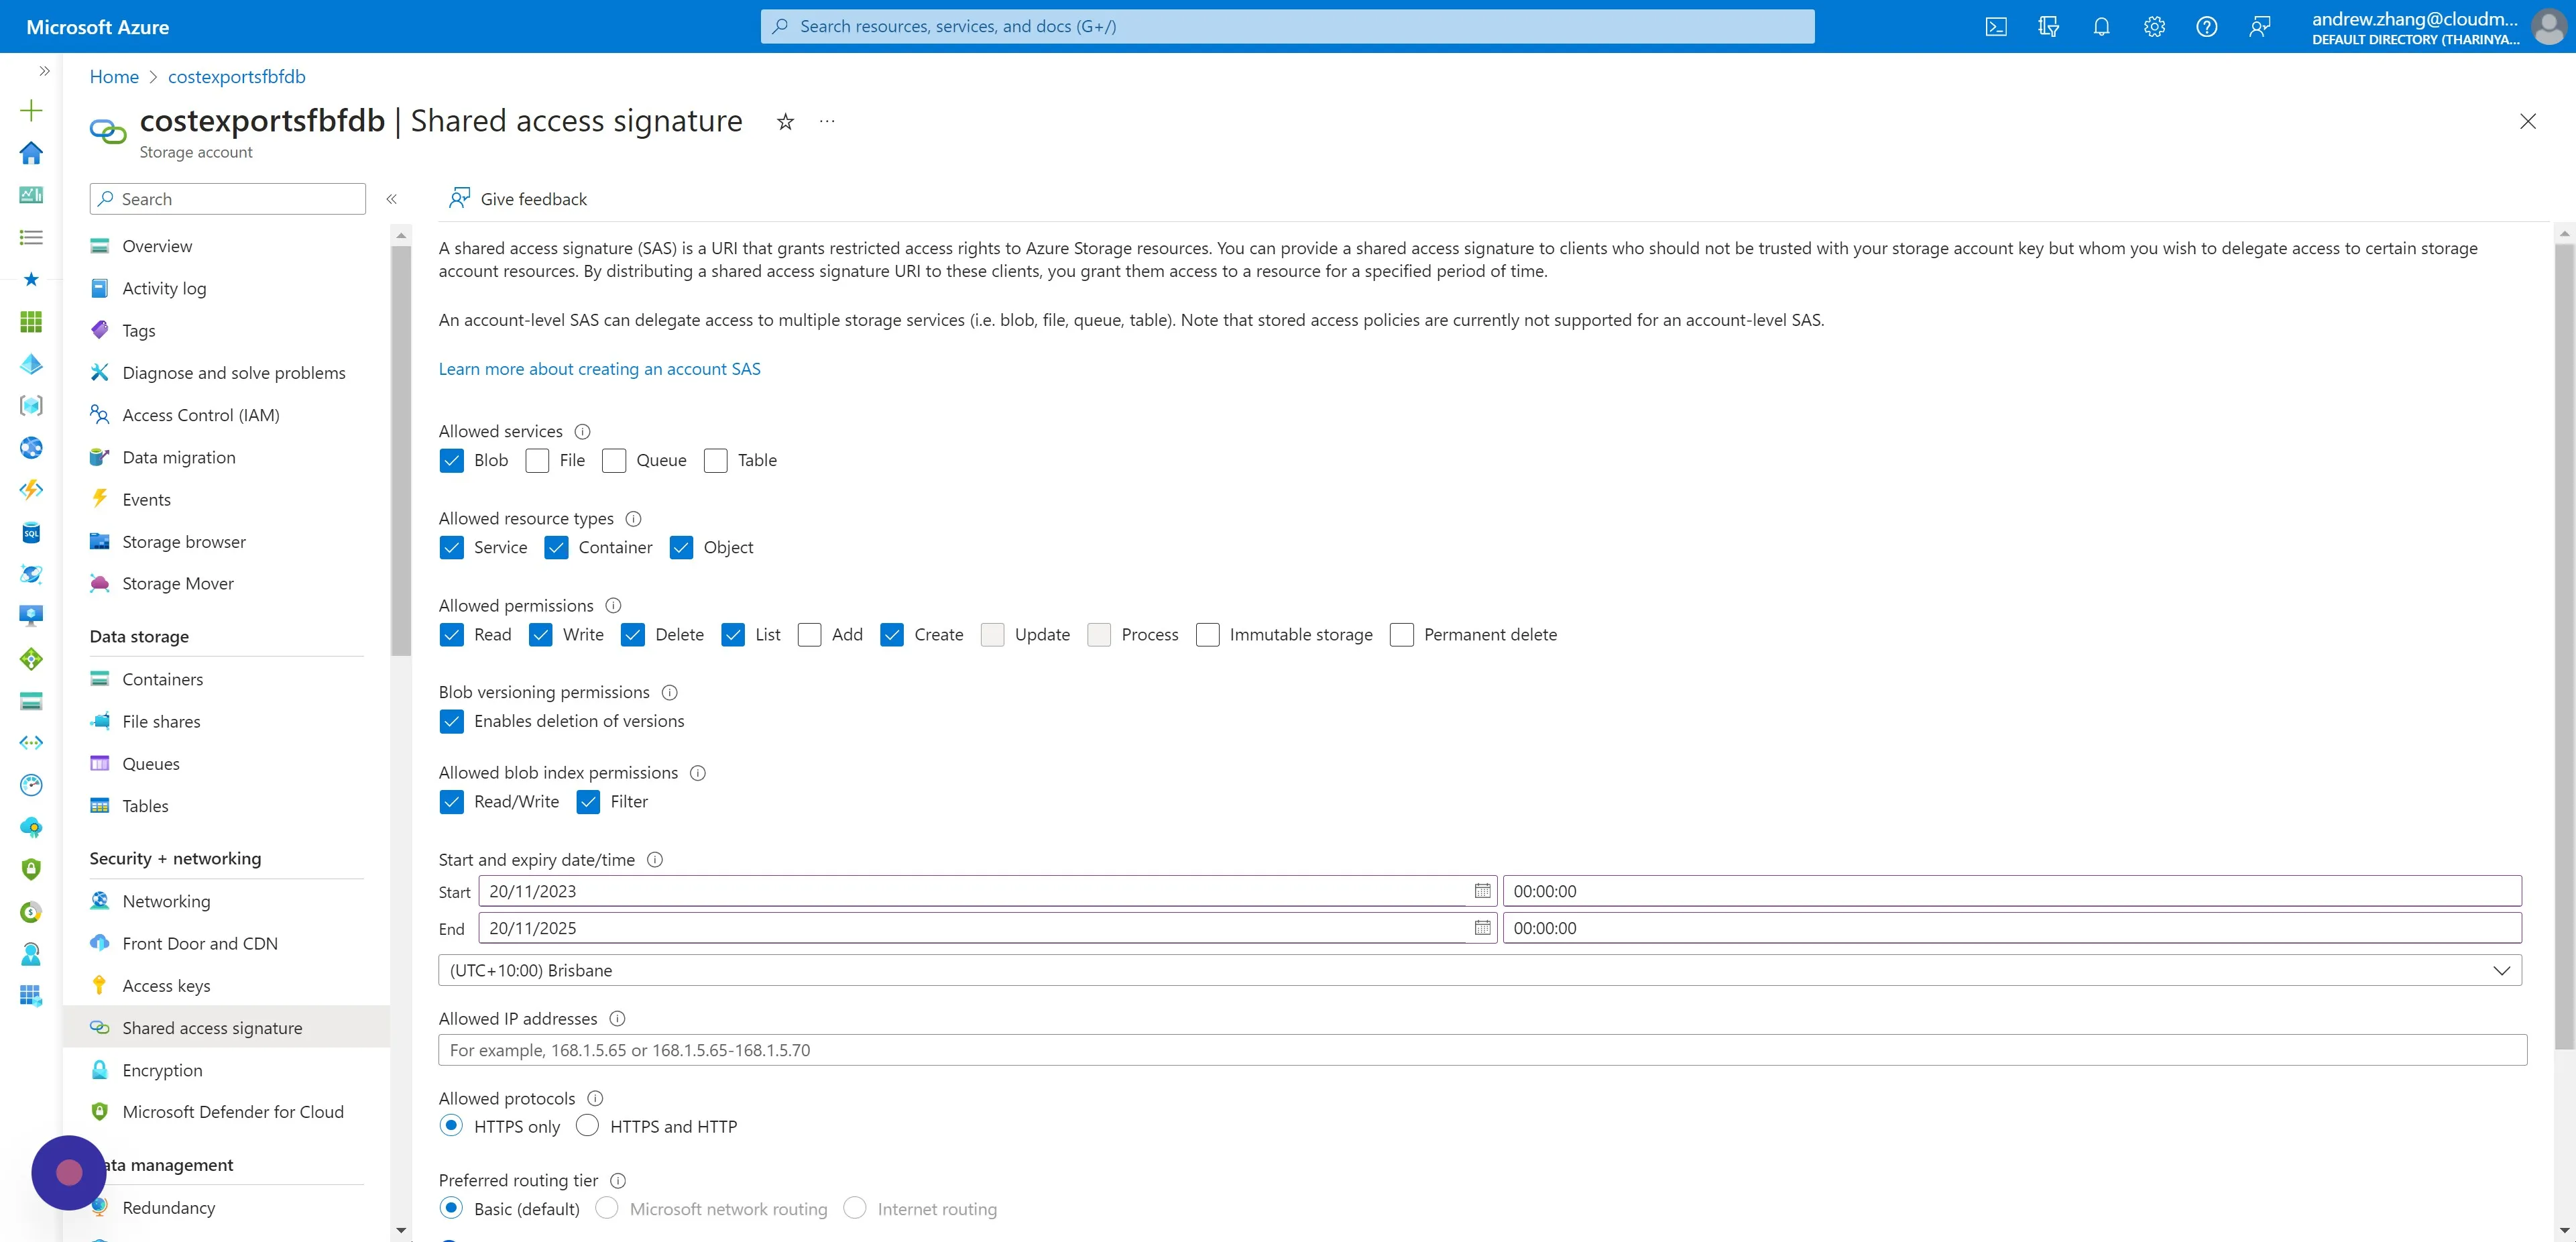
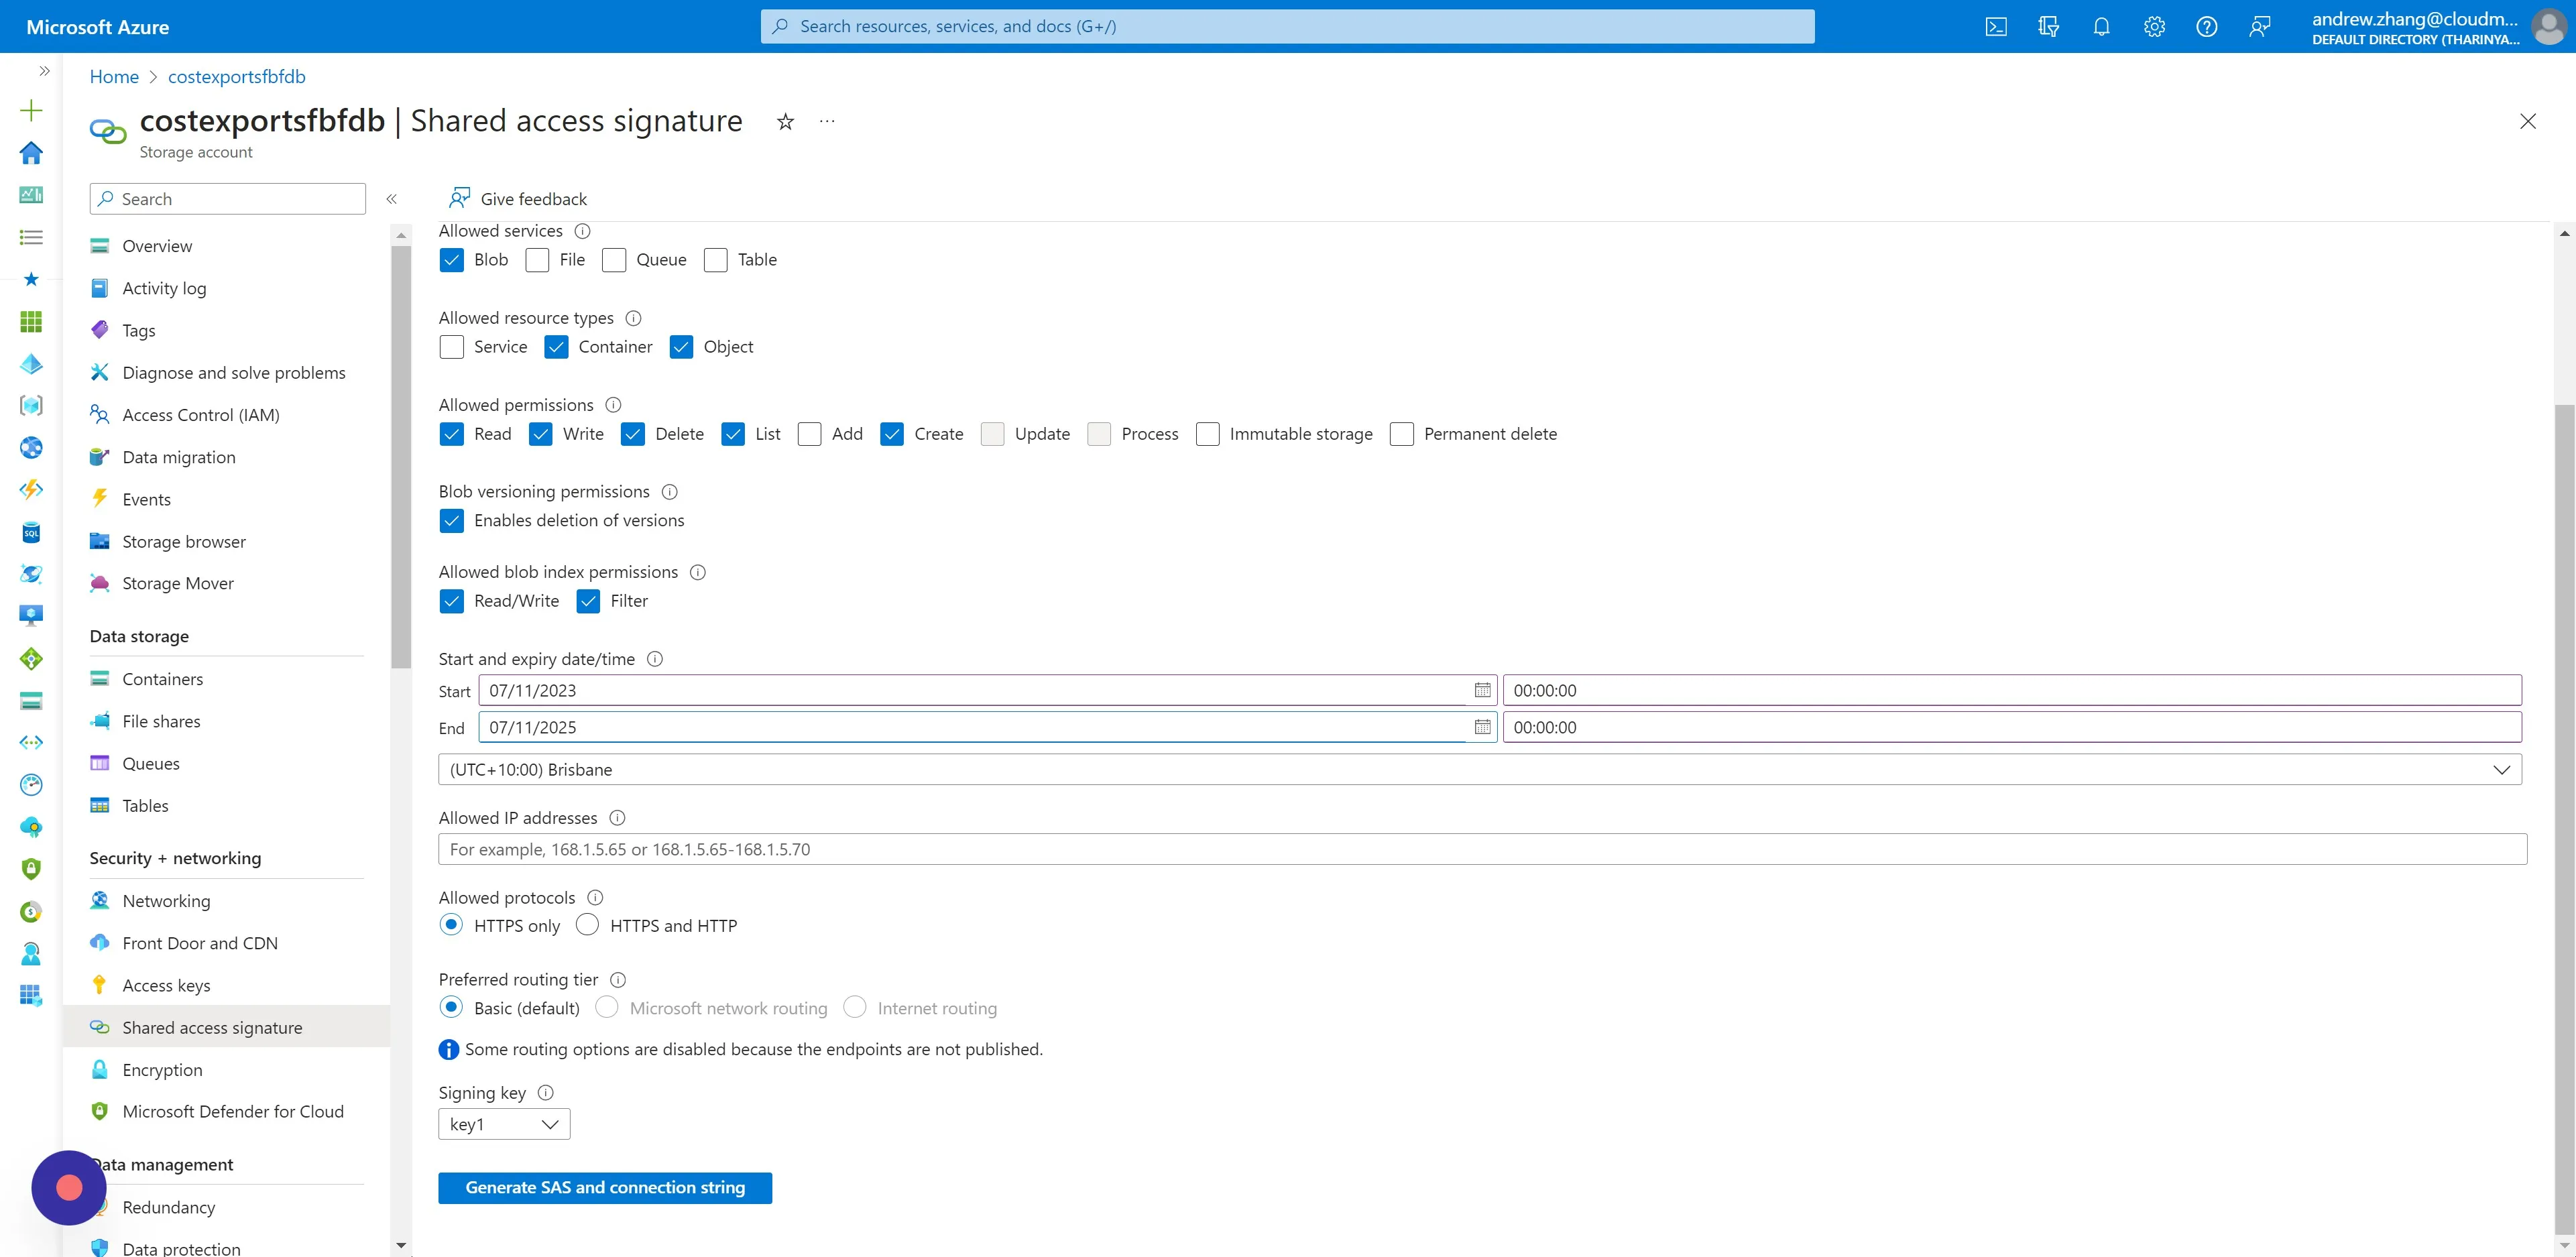
Section titled “Step 23”To ensure secure and minimal access configure the SAS with the following settings:
- Under Allowed Services, check ‘Blob’ to restrict access to Blob storage only.
- For Allowed Resource Types, select ‘Service’, ‘Container’ and ‘Object’ to permit operations at the service, container and blob level.
- Choose Allowed Permissions ‘Read’, ‘Write’, ‘Delete’, ‘List’, and ‘Create’ to exclusively manage blob content within the container.
- Do not enable any other services or permissions not specified here.
Apply these settings to provide CloudMonitor with the necessary permissions to manage blobs without overextending access rights.
Step 24
Section titled “Step 24”When setting the SAS expiration, it’s advised to choose a date two years from today to ensure continued access without frequent renewal.
Step 25
Section titled “Step 25”Click “Generate SAS and connection string”
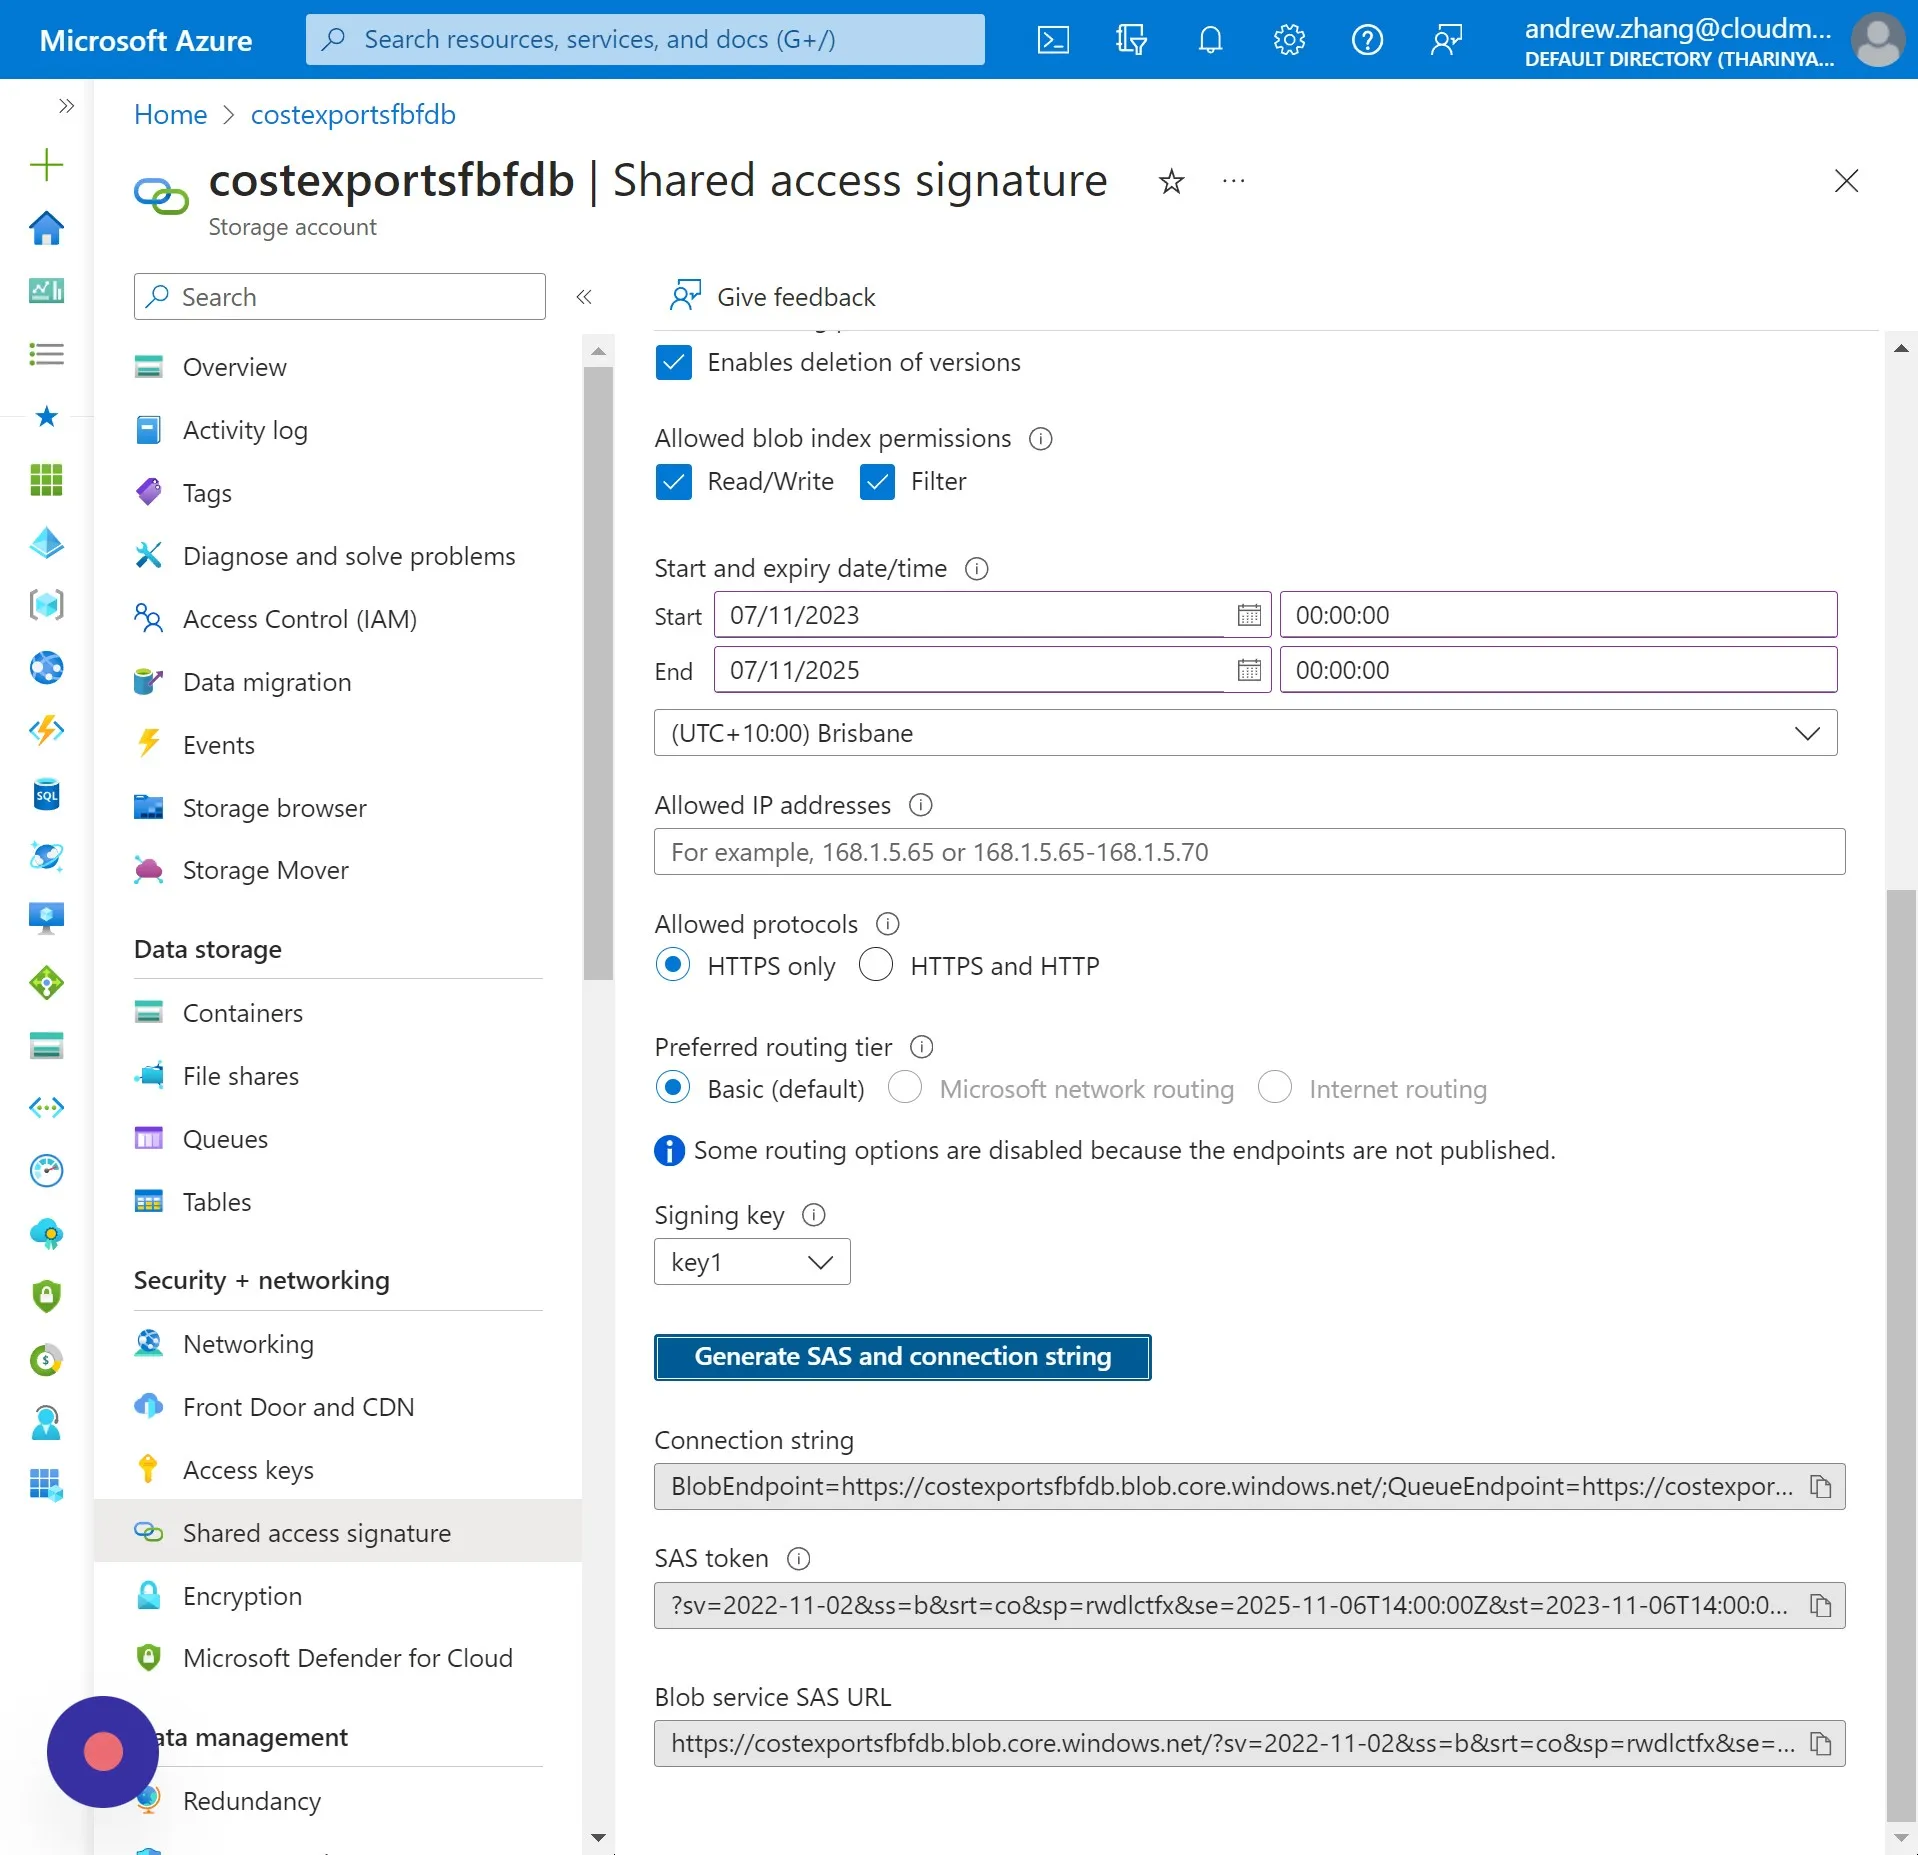
Step 26
Section titled “Step 26”- Find the Blob Service SAS URL located at the bottom of the page. Copy this URL and store it securely.
- Also, copy the URL of this webpage. It contains the Storage Account Resource ID.
Save this information in a safe place since that information will be required in the next step.